Category Archives: N5HRK Amateur Radio

My ongoing adventures in the world of ham radio

It’s All Rigged!

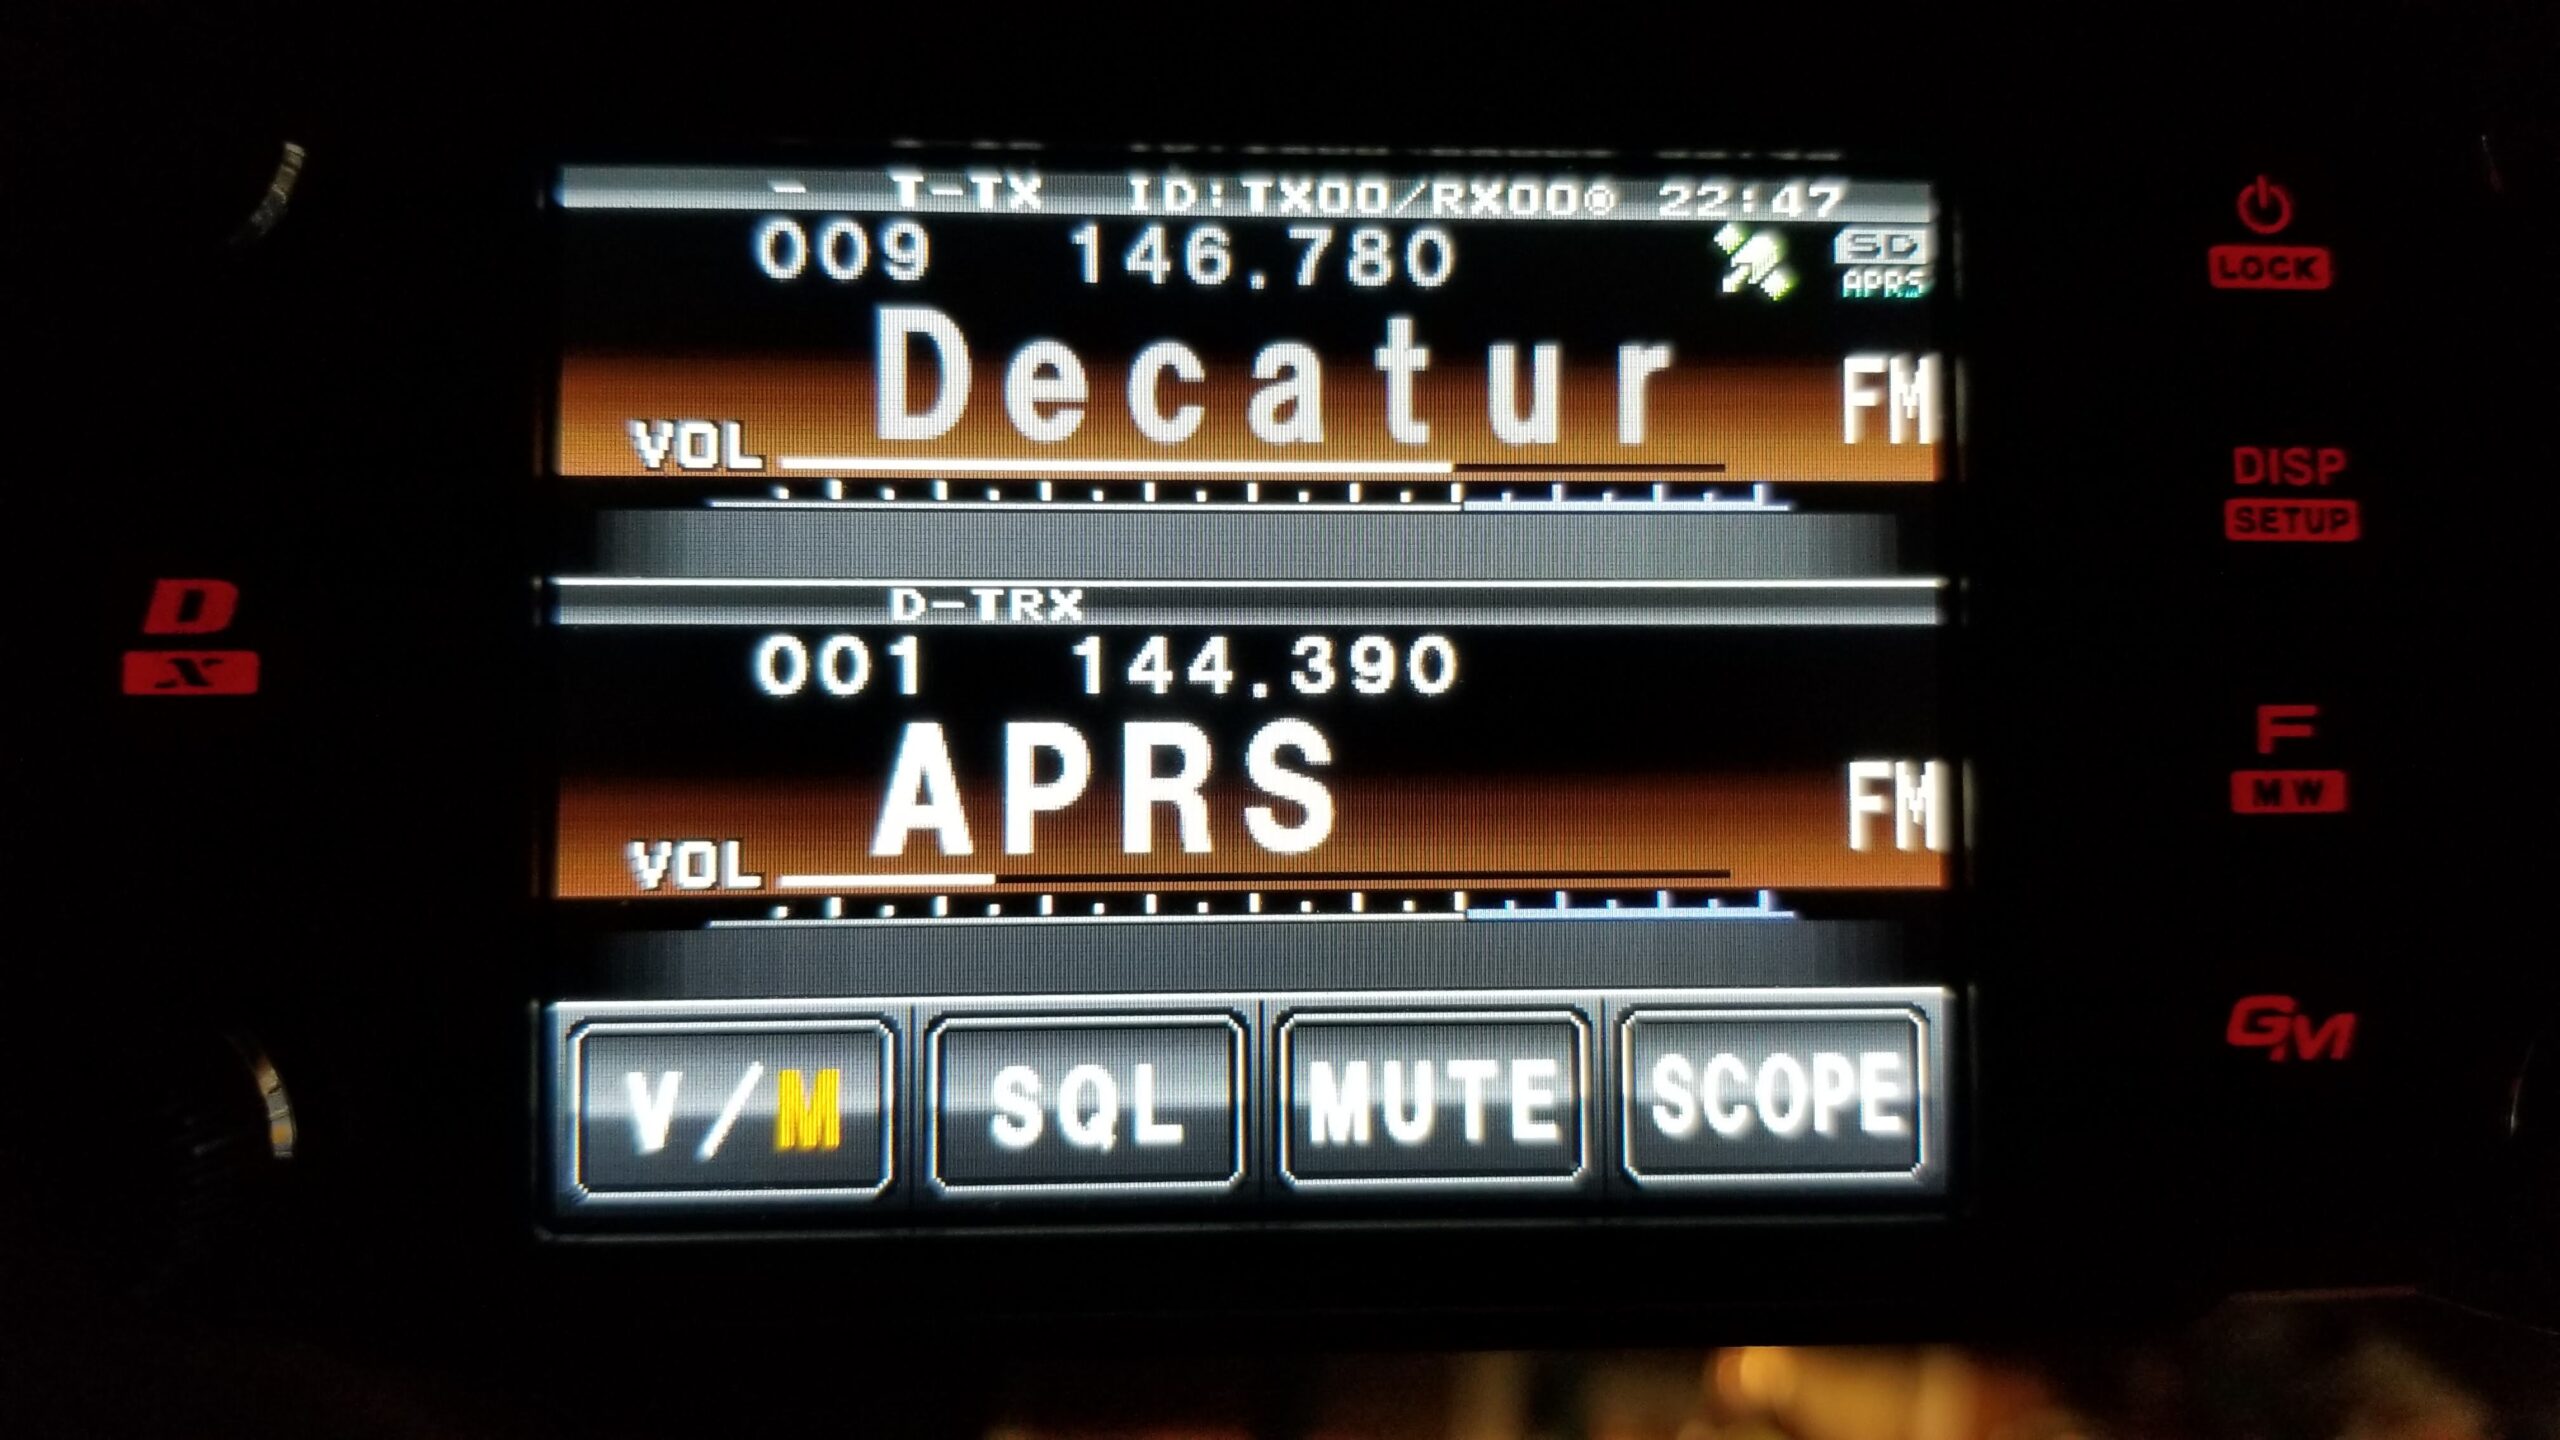
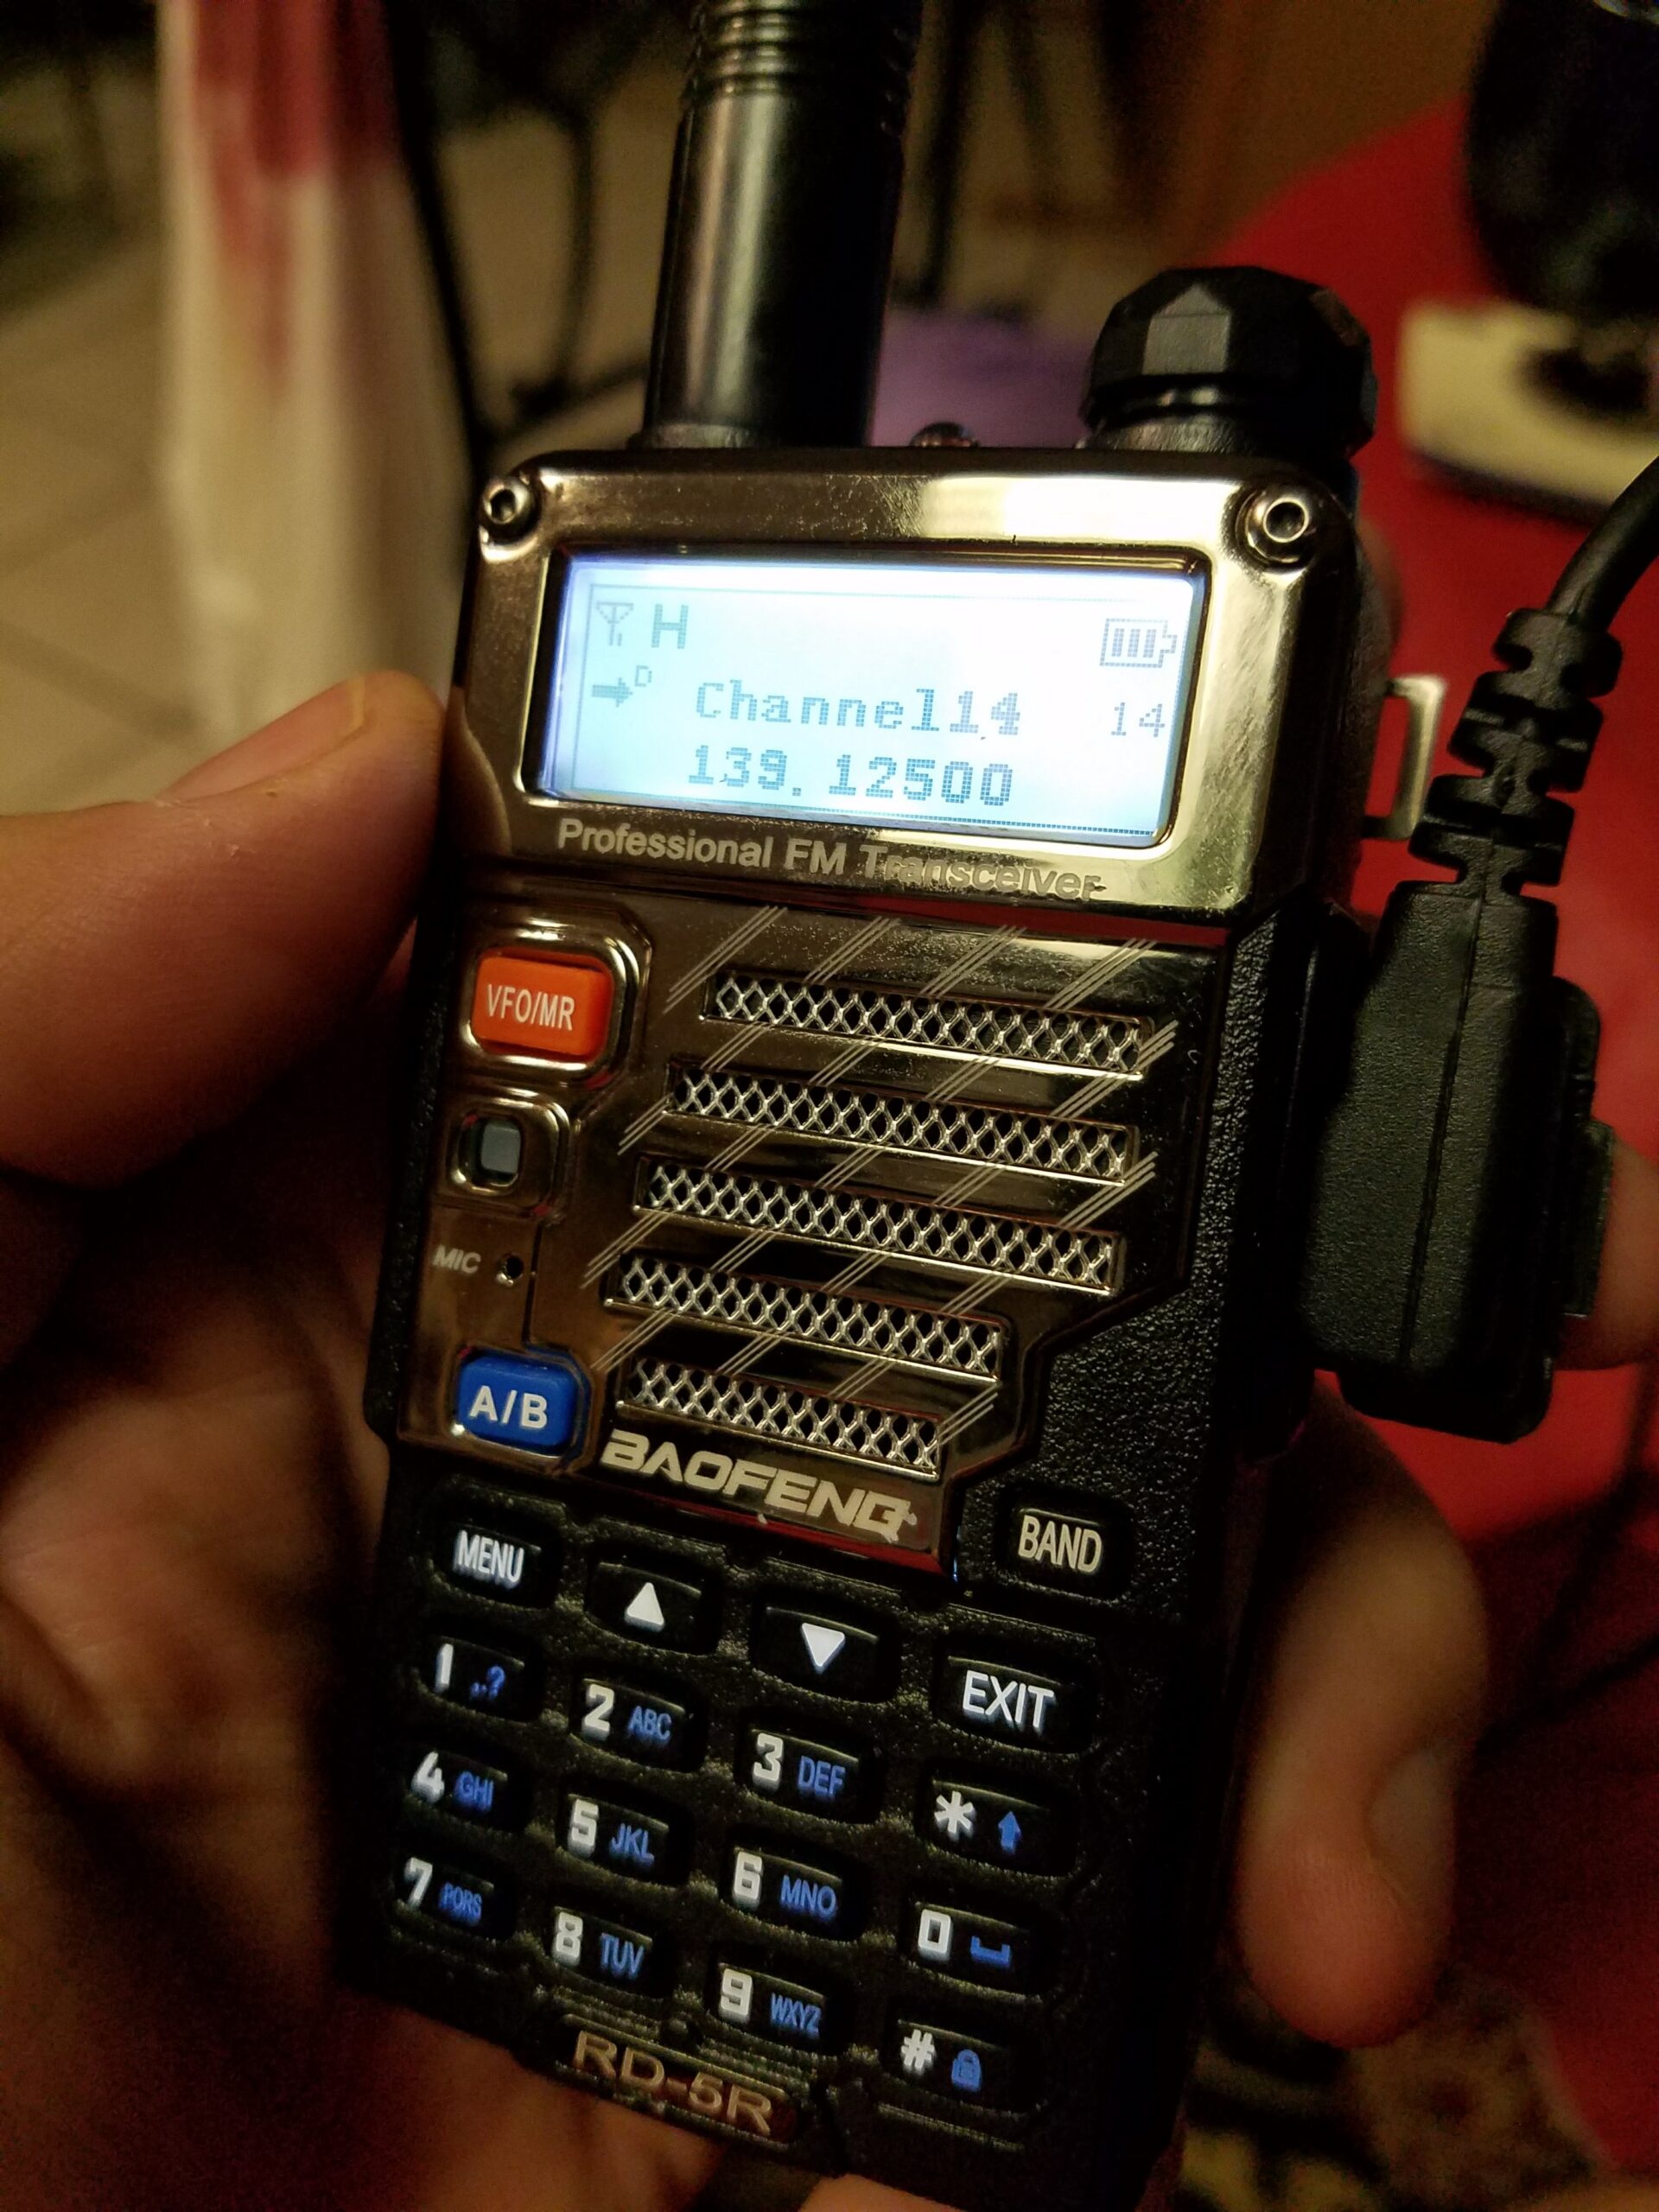
As mentioned earlier, I have been setting up my work desk with some ham radio things, namely my Yaesu FTM-100DR for local repeater and WIRES-X access. I also wanted to redeploy my RemoteRig-equipped IC-7100 for HF access. That did not go quite as planned.

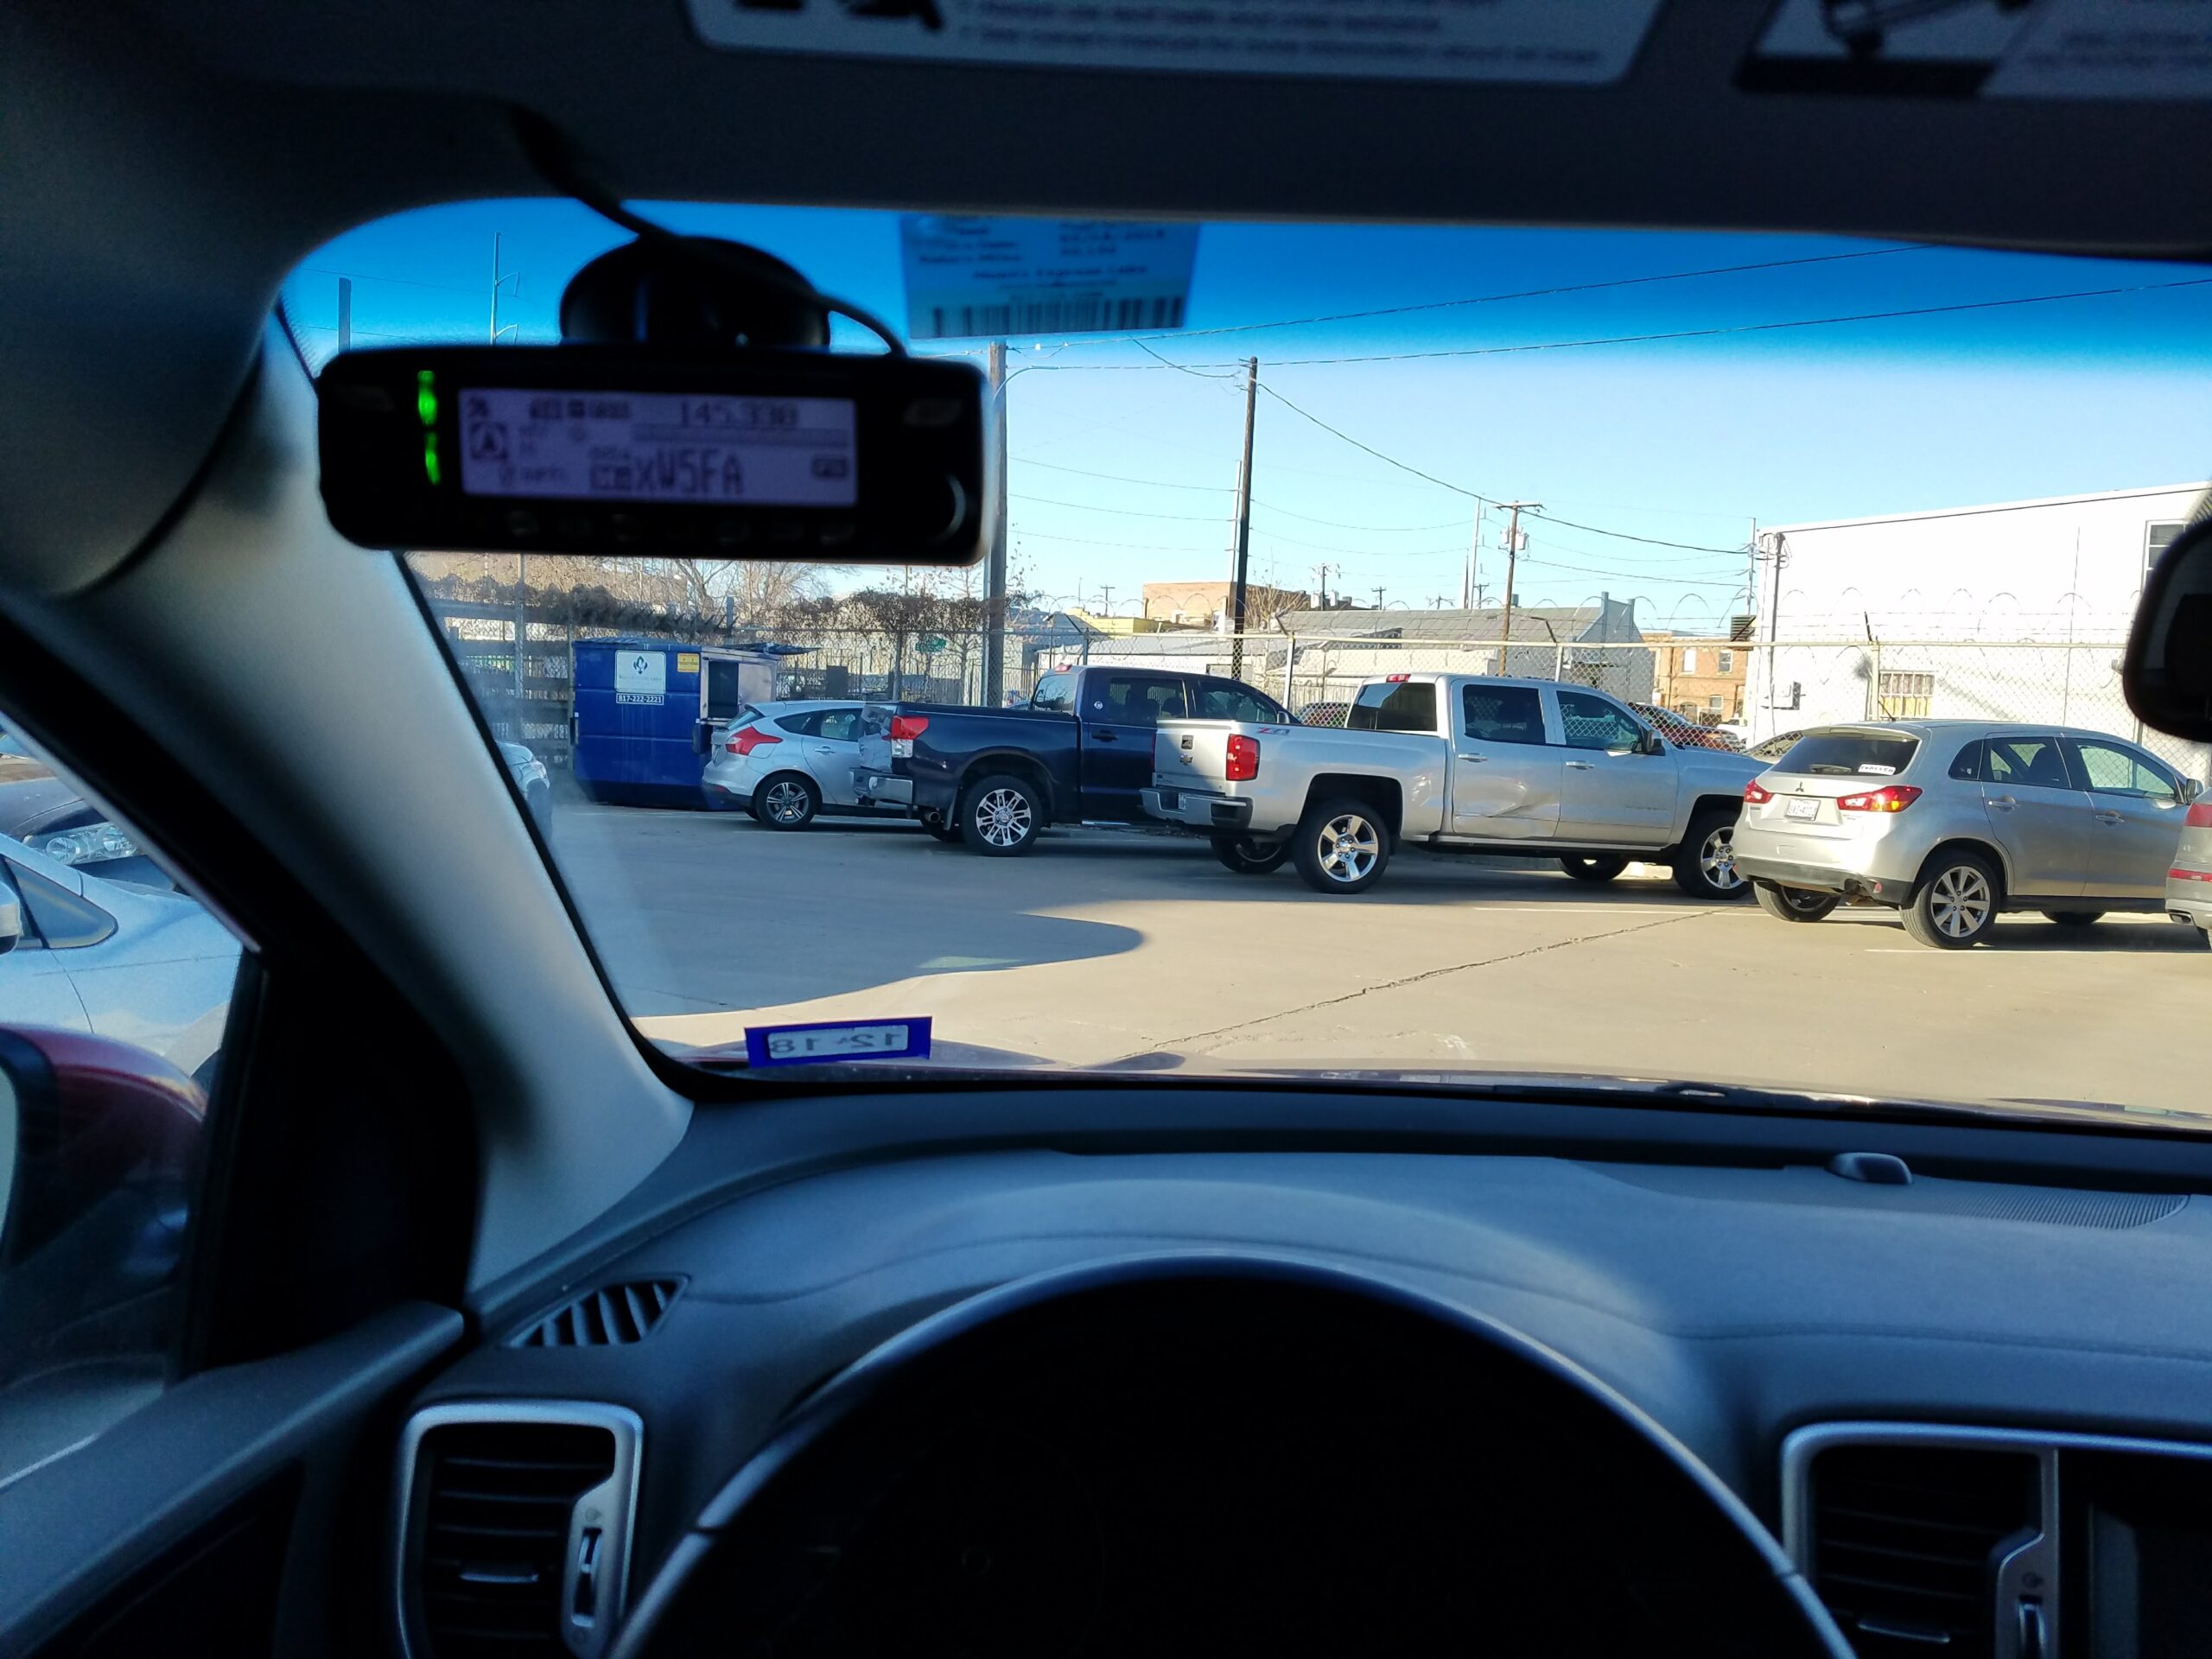
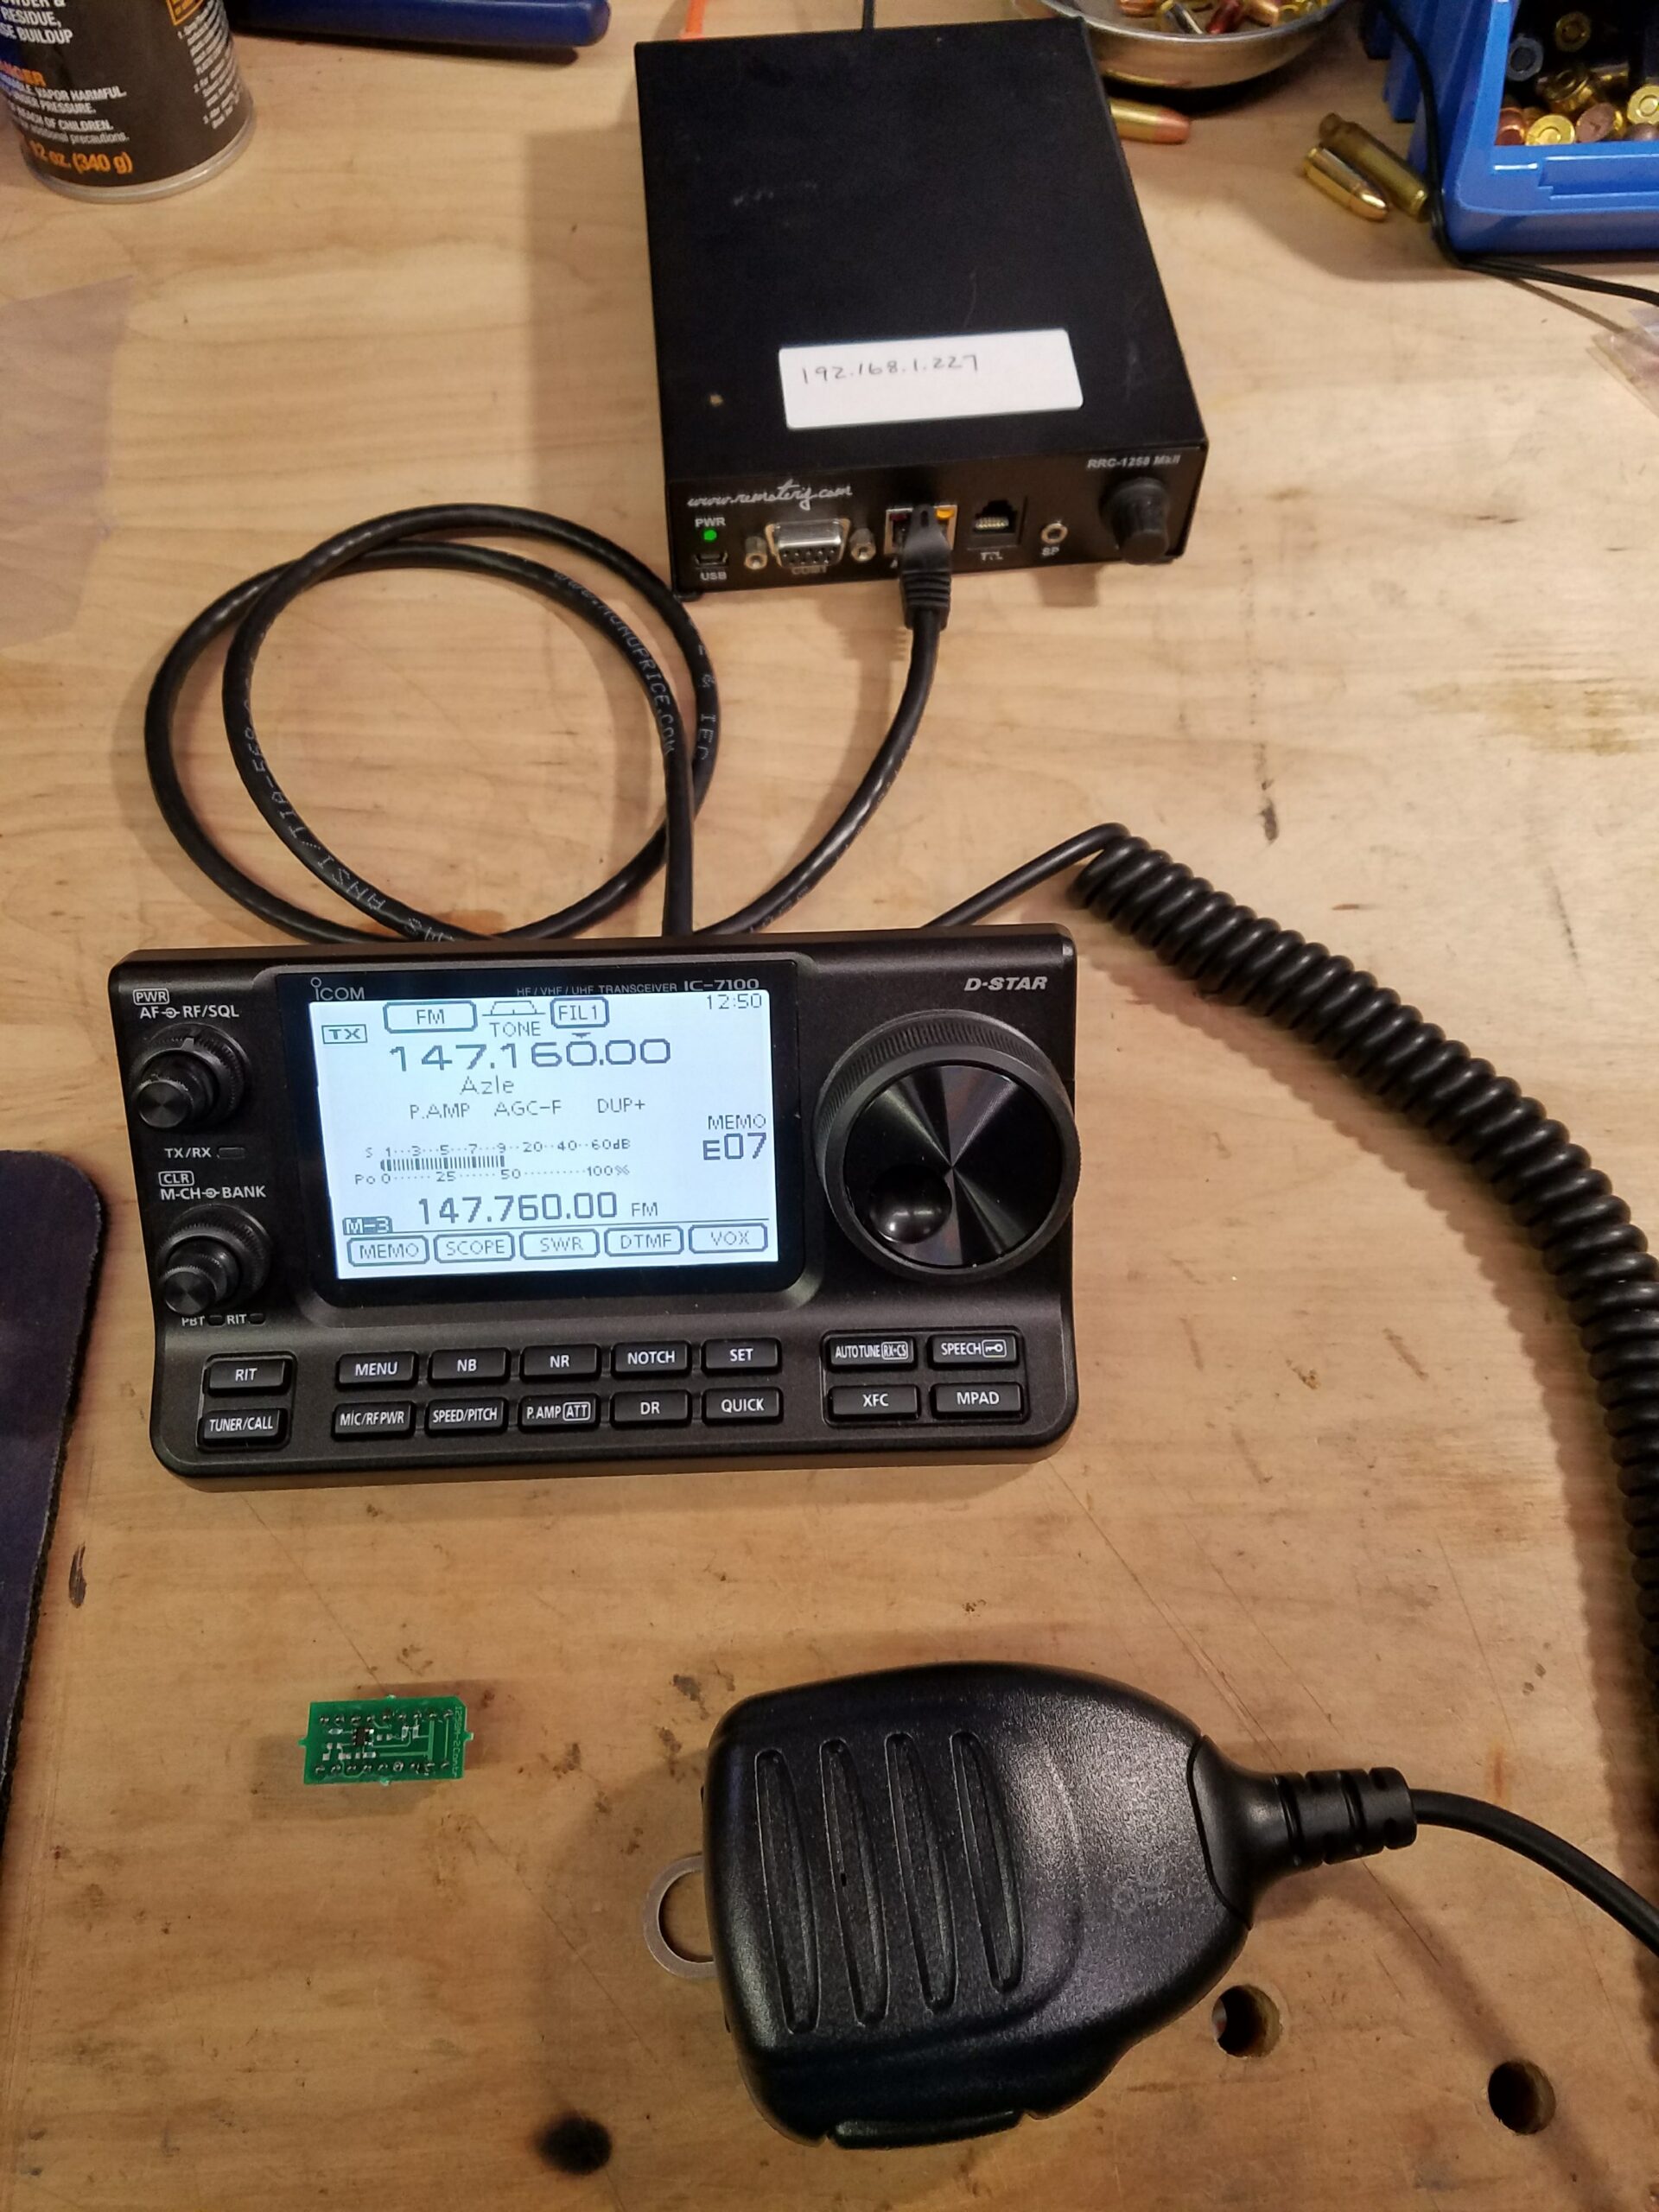
A bit of RemoteRig history as it pertains to my domicile. My wife indulges my numerous hobbies, but only to a point. A room packed full of radio equipment would be a step too far, so my HF rig and it’s attendant antennae are installed in my workshop and I invested in a set of RemoteRig RRC-1258MkIIs units paired with my Icom IC-706MkIIg. There are other ways to remotely operate a radio, but this solution uses SIP and VoIP technology to extend the control head separation cable over an IP network, whether locally or across the planet. It does a great job of it.

I originally purchased my set in 2015, along with the increasingly rare and expensive Icom OPC-581 separation cable (which I then, painfully, had to cut in order to use) but I was able to control my IC-706 in the workshop from anywhere on the property and with a little forethough, pretty much anywhere else either. In practice, I really only tested it from anywhere else, but I used it from the house frequently. Though I had not planned to do so, a situation kind of forced me to use it for Field Day 2015. Then I failed to submit the logs for my 57 QSOs. Sigh. I also used it for a Texas QSO party contest from our dining room. The thing just works.

I digress. When I got the itch up upgrade rigs around 2017, I kept in mind to find a compatible rig and landed on the Icom IC-7100. It was equally easy to reconfigure RemoteRig to the 7100.

Life and such ensued and some years passed with occasional use, but somewhere in there, the RemoteRig control unit was misplaced. I have searched quite extensively for it and while I am sure it will show up someday, I reached the conclusion that it was no longer practical to keep searching for it and elected to replace the missing unit.

In the years since my original purchase, RemoteRig had restructured somewhat and no longer does any direct sales. I think Ham Radio Outlet used to carry them, but they are no longer listed. I looked at all the vendors listed on RemoteRig’s webpages and found no US distributors. Furthermore, I found only one who sold single units, as opposed to a pair in a set, Limmerad in Sweden. The price looks scary at 3,600 kronor, but that is only about $365 US.

Only, he says.

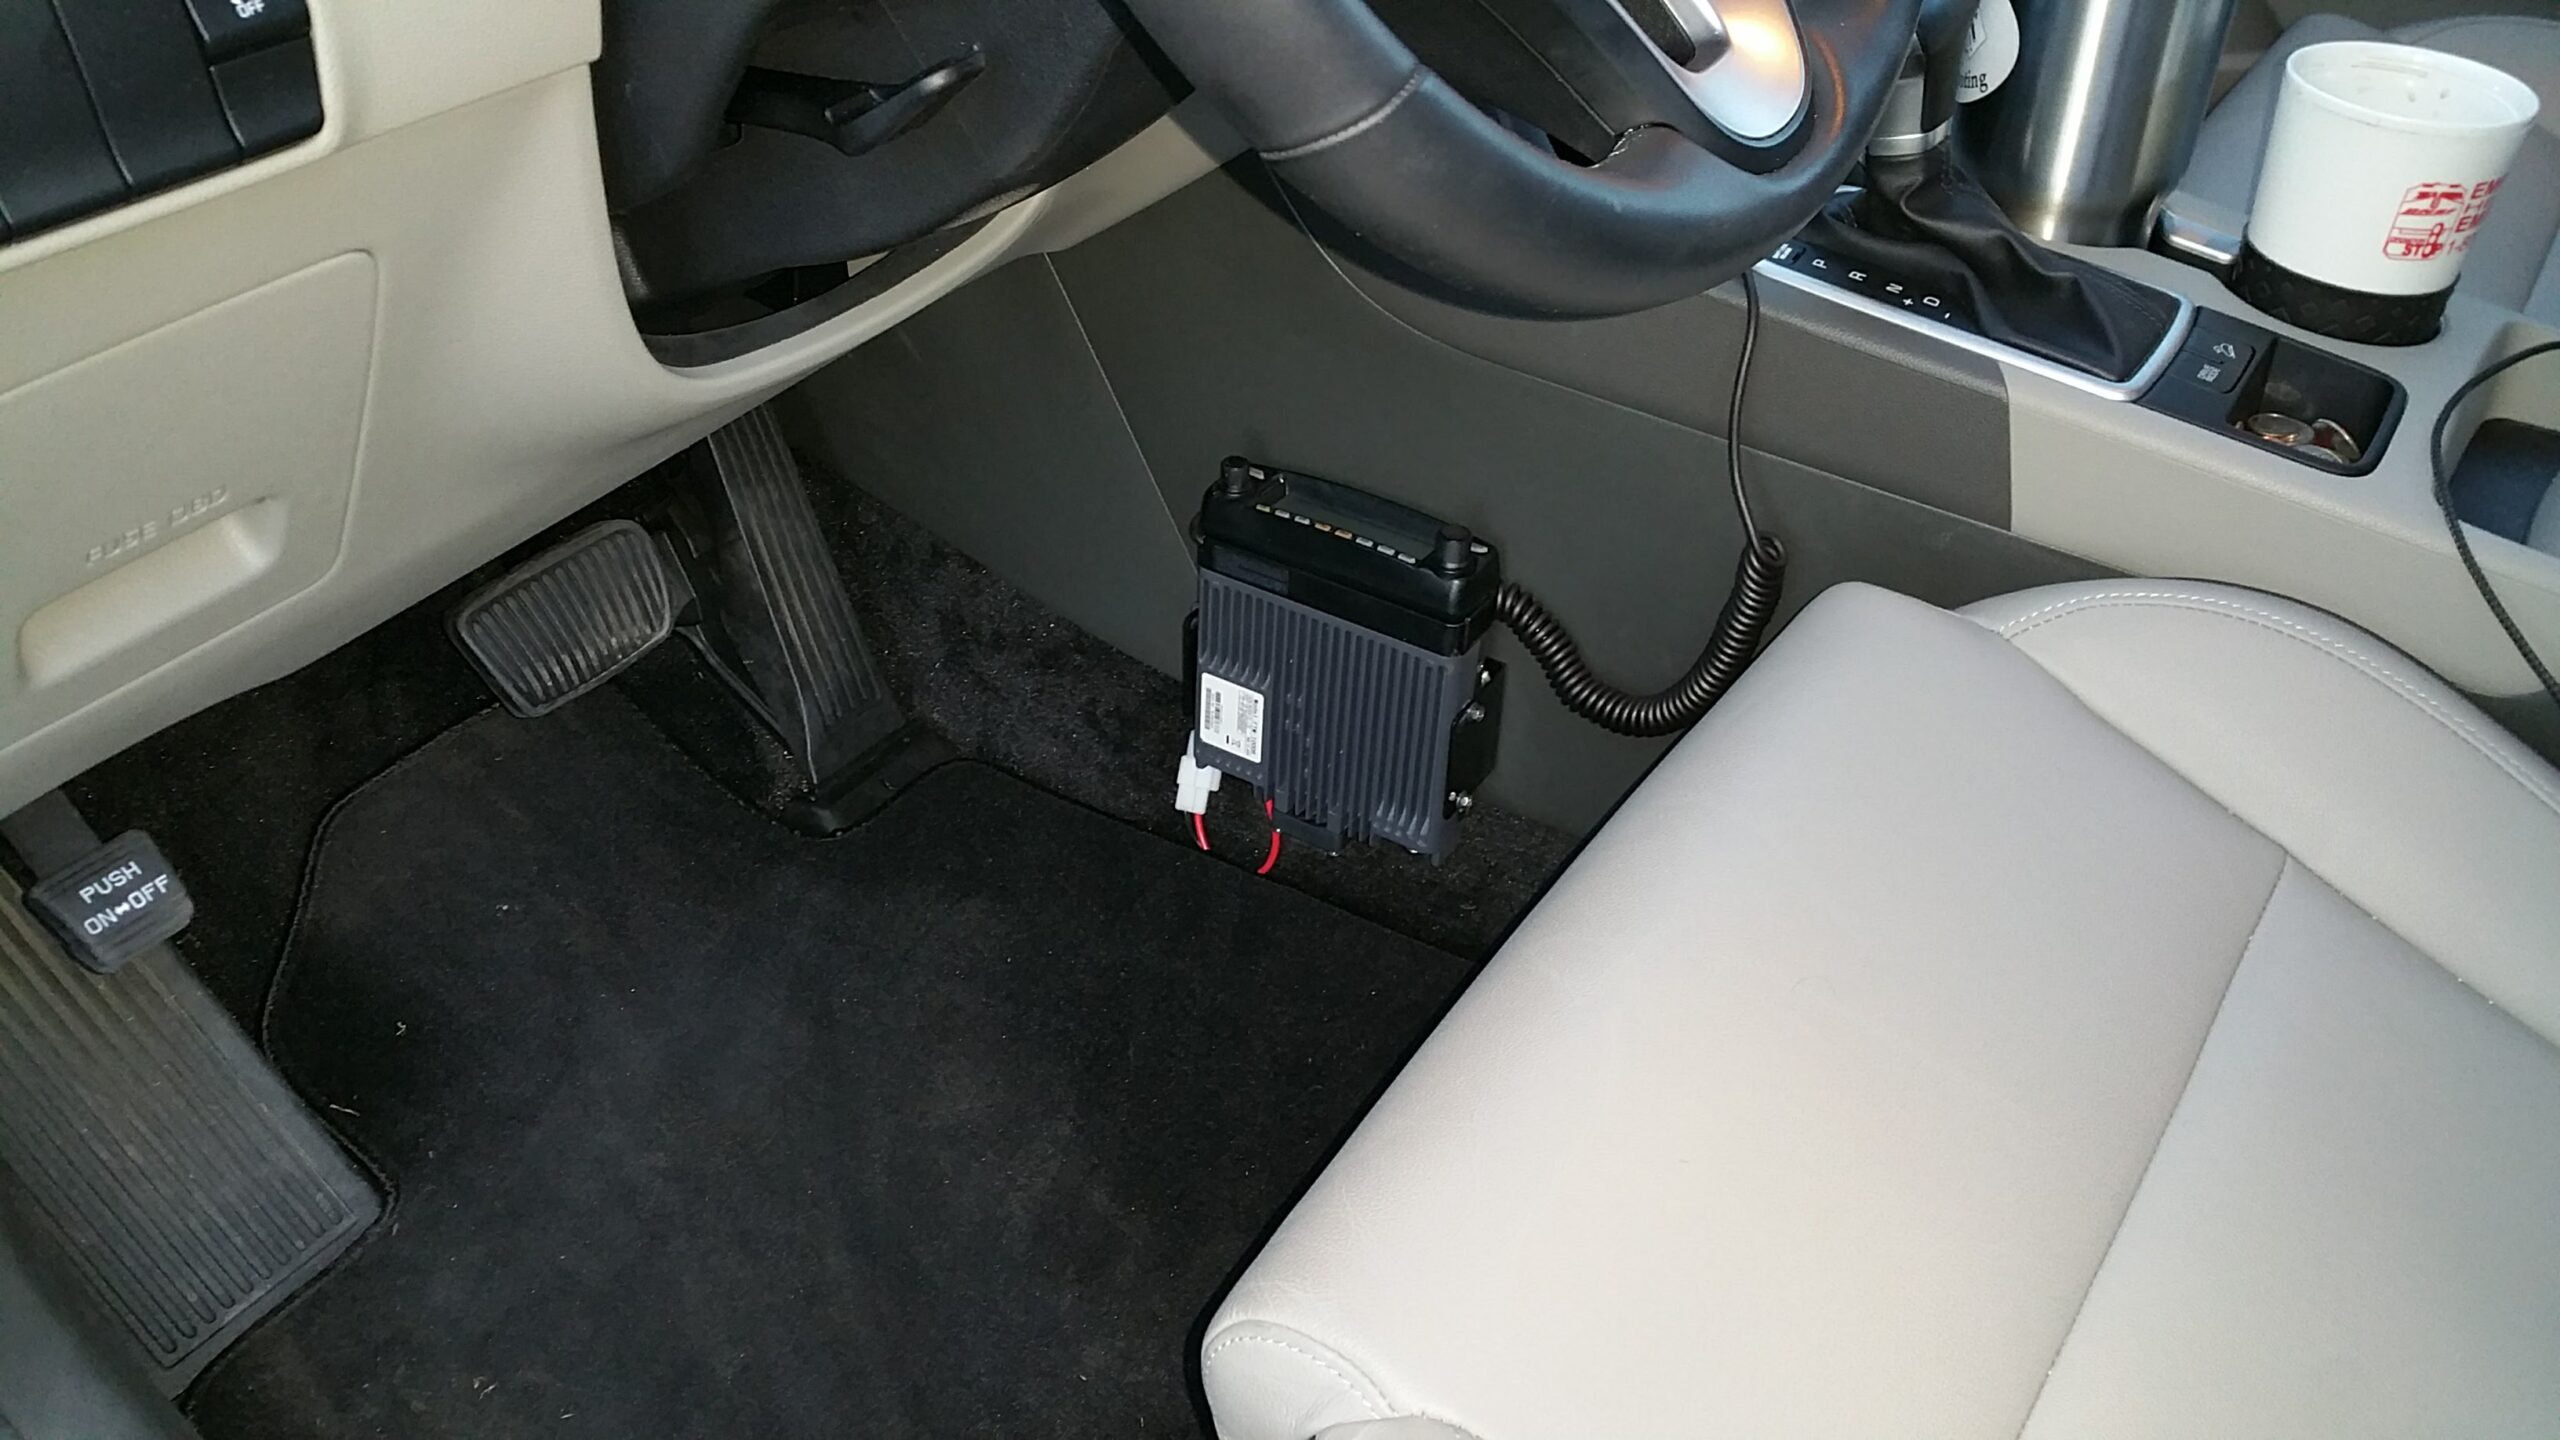
So a week later, it’s in hand and set up. I updated firmware on both units, especially since I’m sure the last time the radio unit was updated was around 2017 or so. Everything seemed to come up working, but because I’m not really operating regularly, it would be quite a while before I would notice an issue. I had no transmit audio.

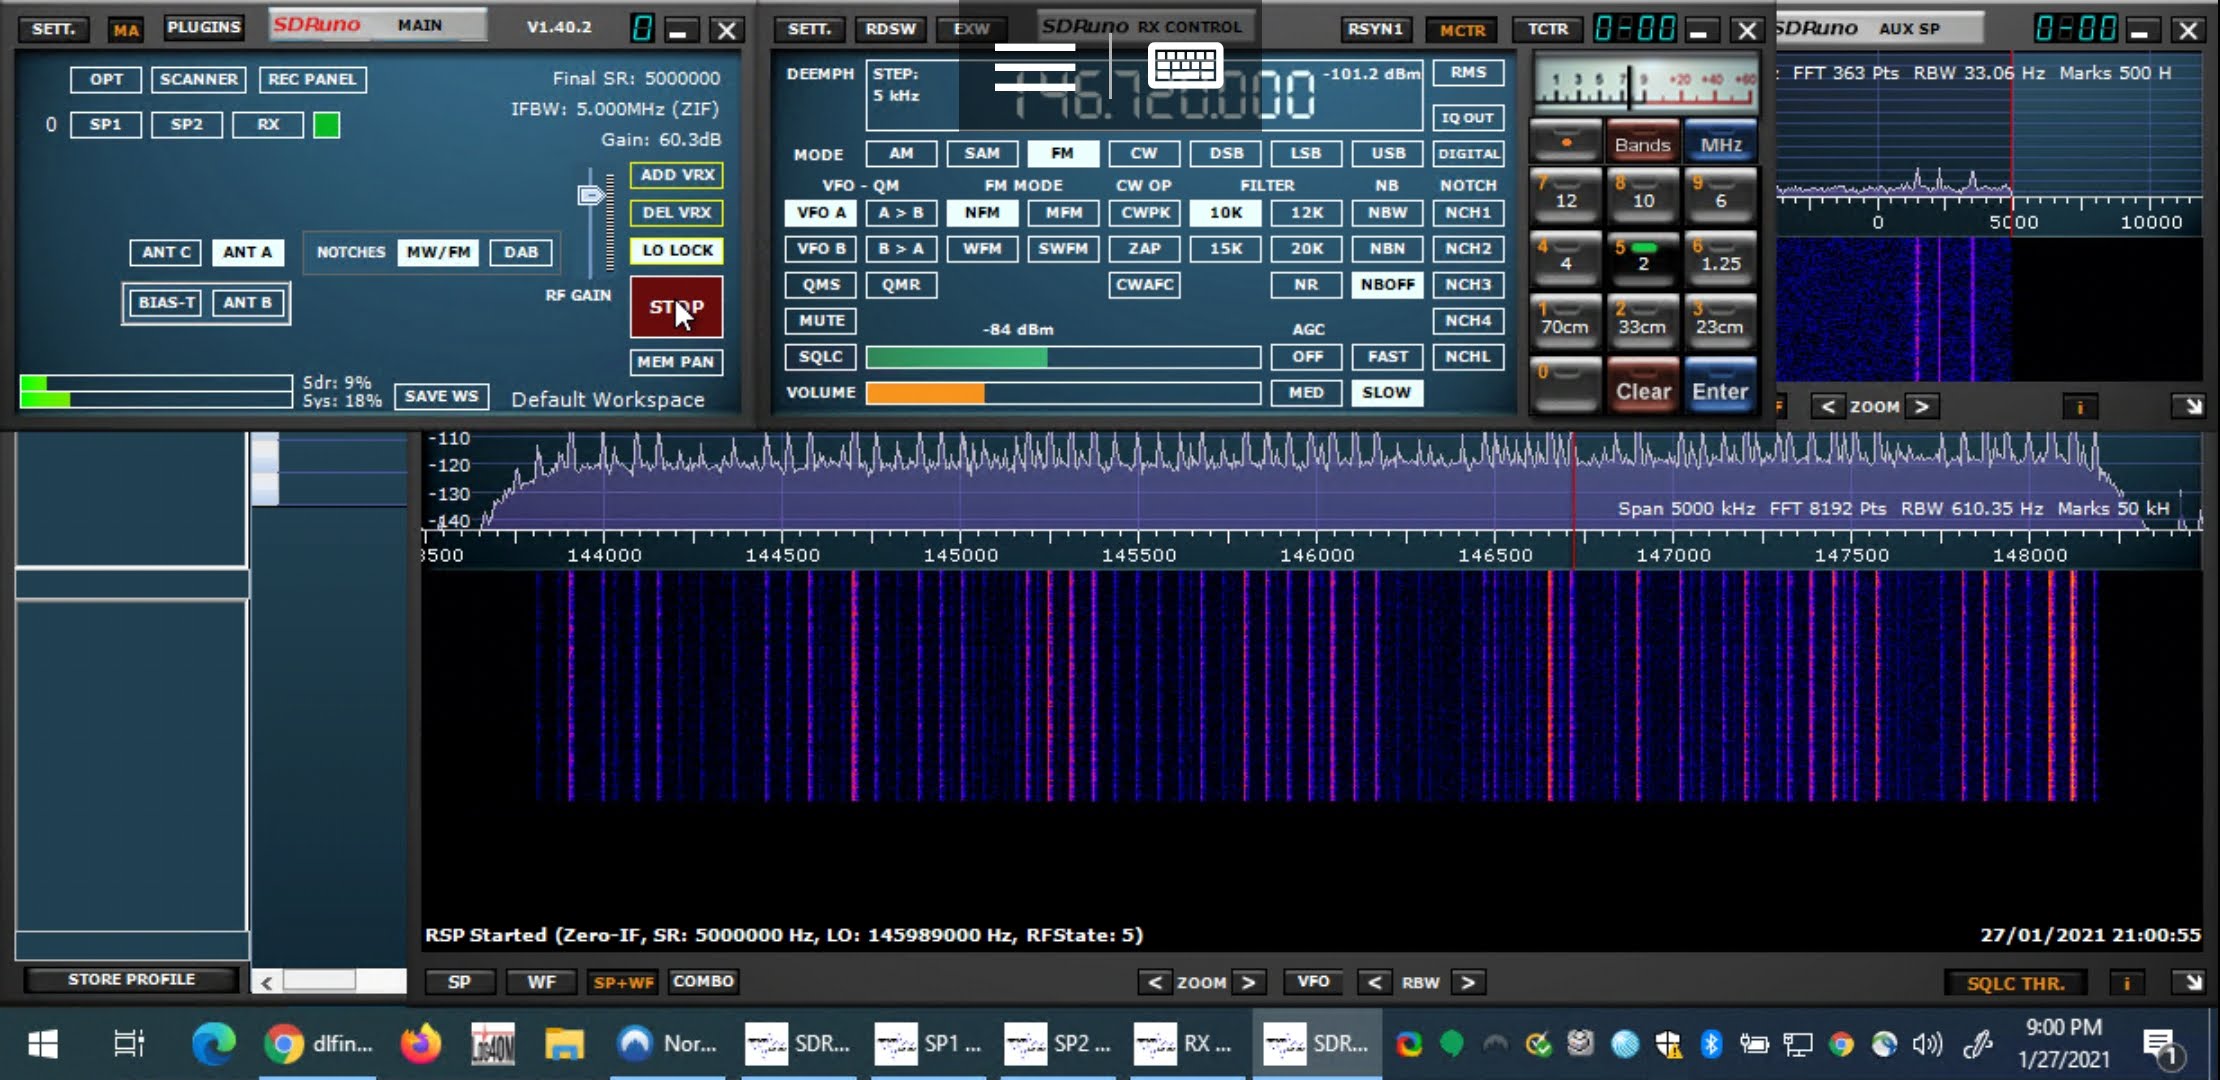
The troubleshooting saga deserves its own story. Over a period a a couple of months, I used Wireshark to snoop packets to verify that there was essentially no payload audio in the outgoing packets from the control.

For sanity check, I verified that audio packets coming from the radio definitely had data.

I used an oscilloscope to verify that the microphone was passing through the control head and into the jack on the RemoteRig device.

This signal was pretty low, 600ish mV peak to peak, so I also measured it directly at the microphone to ensure that it was not be adulterated by the control head, but it is the same 600ish mV for a similarly loud signal (of me emulating a tone generator; I can hold a frequency reasonably stable). I honestly expected some sort of amplification or buffering to happen in the control head, but that doesn’t appear to be the case.

Following the suggesting of a new friend from a RemoteRig forum, I was going to tap the option strap for the microphone inside the RemoteRig control device to verify that audio was making it *to* the device. In his experience, these strapping jumpers are unreliable. I removed the cover to gain access to the jumpers, then pulled up the documentation to see which pin I needed to connect to.

Hello!

I specifically remember putting in the jumpers that were not directly across from one another first then going back fro the ones that went straight across. I obviously skipped one and the one I skipped carries the microphone signal into the RemoteRig.

Doh!

I put the missing jumper on and they lived happily ever after.

Wired WIRES-X

Four years ago, I mentioned that I had purchased a discone antenna and some (unintended) coax to install in the attic, primarily intended for SDR use, but secondarily for having some sort of dual band radio in the house, probably my FTM-100DR.

I finally did that.

Sparing absolutely no expense by using four zipties to mount it to a handy rafter brace, the antenna works quite well up there. It is quite unweildy assembled, so I brought it up in the attic unassembled and put it together pretty much in place.

My desk is in a converted sunroom, so the simplest way to get the coax down was to drill in the plywood ceiling then conceal the wiring in plastic ducting.

I also added a CAT5/6 cable to provide wired LAN to my desk. I hope to redeploy my RemoteRig and operate HF from here soon!

With the antenna up, it was time to figure out the radio. This is a small desk that I tend to keep crowded, so I knew I needed to keep it space efficient. Because the LMR-400 is pretty stiff, it was going to be best parallel to the wall, so I would need to “remote” the control head. I originally had this radio installed in my car, with the remote cable fairly permanently installed. When I upgraded the car radio to the FTM-400, I left that cable in place and left the 400’s remote cable in it’s box. Hurray!

The 400’s accessories also include a mounting bracket. The instructions only show it deployed with adhesive tape, however it has a bend in it that would suggest attaching it to something like a car sun visor, if any of them were that thin anymore.

What can be that thin is plywood. I have placed the power supply on the desk, a rectangular piece of plywood under the radio (turned sideways) with the control head mounted on one end of it.

The other end of the plywood is against the wall, (mostly) steadying the control head for button pushing.

After verifying that I could hit several of the repeaters that were already in the radio’s memory, I set about getting in on WIRES-X.

There is a slightly sad tale here. The data cable for the FTM-100 obviously came with it. I’ve had it for years. It stayed in my car for a long time because that’s where the radio was. The FTM400 uses the same cable, so now I have two of them.

Somewhere.

Even currently unemployed, I reached the point where I’d rather buy the replacement cable than keep fruitlessly searching for either of the TWO cables that I KNOW I have. So, naturally, I would put the wrong one in my cart and order the cable for the FT3D handheld, for which I do already have the cable in hand. I would ironically discover this when I got home from a trip that involved a stop at Plano’s Ham Radio Outlet, where I could have picked up the correct cable, had only I have known two hours earlier.

Since I was experimenting with WIRES-X anyway, I looked at my now-four-years-old registration attempt and it was with the radio ID for the FTM100, which makes sense; that was the radio I had then. However, at the time that registration was submitted, I had never actually brought the radio up online, I had never activated that registration. I still had my credentials, logged on, updated the radio ID to my FT3D because I have a functioning data cable for it and tried to get it activated.

It was quite insistent on this error. I consulted a couple of people experienced in such matters and the consensus was that I should try to register it as a new device with new rooms, etc. I submitted all that and waited. Back in 2021, when I first registered the FTM100, I received a reply from the WIRES server team in about 24 hours. This time, it had been several days with no reply. I decided to submit a ticket on the bad registration, still planning to have two devices registered. Miraculously, I received both the new registration email and an update for the old registration at the same time, three hours later. πŸ™‚

After that, it pretty much just about came up working. Since the program won’t let you in to mess up any settings until it connects successfully, I had no bad settings to go fix. πŸ™‚

I spend most of the time parked on TEXAS NEXUS because some buddies and a couple of local repeaters are frequently there.

At this point, I have not yet connected the FT3D to WIRES-X because I have not figured out how to use it on the same laptop without trashing the FTM100 config. Research ensues.

A Novel Experience

I have told this story before. I first became a Novice (KA5RZY) ham in the early 1980’s. I upgraded to Technician (N5HRK) in the mid 80’s. I never got over the 13 word per minute hump, so never upgraded to General. Many years passed and I did Other Things ™ and my license lapsed so hard that even the 10 year renewal grace period was years out of date when I got interested in the hobby again around 2011 or so. I had to study and test again to get my license anew. It is a no-code license and between the study tools and my own experiences, it was possible for me to take the tests for Technician, General and Extra in one sitting. I kinda squeaked by Extra (AE5XB), but I did pass. I didn’t like my new Extra call all that much, though it did have a X in it. I searched for a vanity call. For all the searching, the best vanity call for me was my old Technician call, so here I am, N5HRK again.

Also, 10 years have passed and it is time to renew my license and for the first time ever, I did it.

One Orbit Closer

I received my Arrow antenna today. It is trivial to assemble and seems really well designed and built.

Knowing I would be using two radios to achieve duplex operation, I ordered it without a duplexer. However, I failed to order any BNC cabling with it and I don’t have any BNC connectors to make the necessary cabling, so, I packed it down into it’s handy portable bag, ordered what I will need and began the next stage of waiting.

And Sputnik Was His Name-O

I received my MFJ-1866 discone antenna. Assembly was trivial, basically screw all the elements into the right holes, short ones on top, long ones on bottom. It looks as much like Goddard’s early work as an antenna.

I mused that it looked like Sputnik and my wife has already called it Sputnik (as in, “Are you going to move Sputnik out of the bedroom?”

Sputnik it is.

I did screw up my order, though. I had toyed back and forth with what coax I was ordering and ended up with the unintended product in my cart in the end. I ordered a 50′ jumper of 400MAX, which is awesome cable, but it’s 1/2″ diameter stuff and I had intended to get much thinner RG-8X as there will be a 6-8 foot bit of it showing… INSIDE THE HOUSE! It’s not like I’ll never have a use for the 400MAX, so I’m conflicted on whether to jump through the returns hoops, but delays delays delays. I *may* have some RG-58 laying about already, leftovers from a trapped dipole antenna project I started at the old house. There is a box in the storage container that says “ANT TRAPS” that has been misinterpreted by more than one person.

I did connect the discone with a short cable to the SDRdx. Even sitting on the floor in the spare bedroom, it improved reception over the Comet SMA ducky that was used before and I was able to pick up a few 70cm repeaters. Receiving on 2M was a problem, though.

SDRuno

Note the terrible birdies. The receiver and antenna are just a few cubits from my LAN gear, most notably a Cisco PoE switch powering a few Polycom phones. As that is my day job and I work from home, they must remain. However, my personal laptop kinda lives in that room for now and it was the easiest (read: least nanny state) to install the software on. All this will get better when it is moved away from that cluster.

Fun fact, the screen capture above is from my phone, running the Android version of Microsoft’s Remote Desktop, connected to the laptop running SDRuno. Mouse operations are a little weird, but it otherwise works just fine.

Long term, I’m thinking the discone may go into the attic, with the *thin* coax coming down into the kitchen; we have a DirecTV coax coming down in an unobtrusive corner. Then I can kinda shoehorn a little VHF/UHF/SWL station in that corner where we have a PC or two, using the SDR and my FTM-100DR with an antenna switch. RDP lets me work it from largely anywhere else. I can also play with putting the FTM-100 on WIRES-X at that time. The trouble with evil plans is that they just keep comin’.

My Arrow antenna has not shipped yet. The order confirmation said “Your order is estimated to ship within five business days. Orders usually ship within two business days.” Today is the evening of 7th business day, not even counting the day I ordred, so it’s late, but probably not late enough for me to reasonably complain. :/

Sat On A Light

There have been amateur radio satellites in orbit for literally my entire life. Hams were in space only four years behind the Russians, less than a year before I was born. It also was the first satellite deployed as a secondary payload from a primary launch… ejected using a spring purchased from Sears. Remember, it doesn’t *have* to be expensive to work, but if *my* life is in the balance, I’d rather it was. It should at least be a McMaster-Carr spring…

The first time I heard of amateur radio satellites, I presumed that was an exotic part of the hobby that only the ham elite (read: rich hams) would ever have access to. I think a big part of that was the math needed to predict orbits and the presumption that exceptional precision would be needed. Turns out that it’s not particularly difficult, but neither is it trivial. Johannes Kepler figured it out on paper by candlelight. With the advent of personal computers in general and the ubiquitous smart phone in particular, much of that number crunching is a few finger swipes away. Now working satellites seems to be reduced to learning the idiosyncrasies introduced by chasing a slowly tumbling 1/2 watt transceiver 300 miles away while it flies by at 17,000 miles per hour. Piece o’ cake.

I exaggerate the difficulty, though not the conditions. As rough as that sounds, it can be done with as little as a handheld antenna and a dual band HT, assisted by some tracking software.

Armed with some basic tips obtained from various YouTube sources (which I will detail below) and an Android app, I was able to pick up the beacon on a couple of satellite passes with only my existing base station gear, an Icom IC-7100 and a Diamond X-300A. This is a fixed base station antenna optimized for transmitting and receiving towards the horizon.

Undocumented Satellite Beacon Pass

Note that I am chasing the Doppler frequency shift, which is one of the two biggest idiosyncrasies. Satellites are moving fast enough for Doppler frequency shift to matter. Most satellites operate crossband, with an uplink that is either 2M or 70cm and a downlink that is the other band. Obviously both are affected by Doppler shift, but as it is a percentage effect, the higher the frequency, the larger the effect, so 70cm is more affected that 2M.

Having now heard such a birdie tone intentionally, I am reasonably sure that I have accidentally heard them before and perhaps just didn’t realize it was a satellite! How simple must it be if I can do it accidentally?

I have tried a couple times since then to hear QSOs and I can *just* tell there *might* be something there, maybe the tiniest bit of a beat tone tuning the range, but not enough to pull out of the noise.

To give myself the best chance of success, I ordered an Arrow 146/437-10WBP antenna. This is a 3 element 2M and a 7 element 70cm on a shared boom. The BP suffix is the split boom (back pack) version which breaks down easily for transport, so I also got the carrying bag for it. At this writing, it has not yet arrived. Being a handheld antenna, it helps with the other major idiosyncrasy, polarization fading. As the satellite tumbles in microgravity, the antennae are changing orientation and being able to rapidly change polarization is one strategy for coping with that. Antennas built with circular polarization is another.

My plan to start is to try FM using two handhelds. I have 2 each Baofeng UV-5Rs, RD-5Rs and an Icom ID-51, so I can mix and match as necessary.

I also used this as an excuse to picked up an SDRPlay receiver, the SDRdx model. I have nearly purchased an SDRPlay receiver a few times over the last few years, but never pulled the trigger. I’m not sure if it will actually be used for satellites or not, but I imagine I will at least experiment with it. Plus, everything else you can do with an SDR πŸ™‚ Not necessarily only for satellite use, but for very wideband SDR reception, I got an MFJ-1866 discone antenna. This will be my first experience with a discone. This model can do double duty as a 200W transmit antenna for 2M to 23cm as well. It might become the first antenna mounted on the house, as opposed to the workshop.

Three Years? Really?

I guess it has been.

I have done a few things ham related in the last three years, but I haven’t really been very active on the air. Bad ham!

In February of 2017, I installed the FTM-100DR in my new Kia Sportage. I did not want to drill the roof for the antenna, so I used a magnetic mount, but I found a clever way to route the cable into the car.

There are rubber plugs on the rear gate.

And a cable passthrough from the gate to the body of the car to fish the cable through…

From there, I don’t have any good pictures of it, but I fished the coax from there down to the spare tire well.

By then, the end of the coax was reached and I had to add a connector and more coax to make it reach the front of the car. From there, it’s a pretty normal tuck under the floor mats to the driver side console.

About a year later, I ran the wire to remote mount the control head on the windshield. Sorry about the focus. πŸ™‚

Among the things I enjoyed with the FTM-100DR was playing with APRS. The FTM-100DR can do APRS or something else, but not really both. It can sort of receive APRS messages while being set up to transmit voice, but if it is beaconing APRS data, it’s beaconing data. This was only one factor driving my desire to upgrade, so it was natural to choose the FTM-400XDR. As a side benefit, it was a drop in replacement in the car. Same mounting bracket and power cable for the main unit, same remote cable and suction cup for the control head. And now, APRS is a fully supported feature that can be turned on and off at will with almost no effect on voice operations.

My IC-706MkIIg had been a great rig, but had developed an intermittent transmit problem. Since I generally use it with RemoteRig, I can’t do anything physical to the radio when this issue comes up. I don’t operate often enough to want to deal with a troublesome rig, so I bit the bullet on getting another. I didn’t want a used rig, so I shopped around a bit. I was looking for another rig with with a detachable head for use with RemoteRig; I like that paradigm. I did not have any particular bias for Icom, but I did like the control head for the IC-7100. It seemed well suited to remote operation on a desktop.

Ironically, when I was ready to connect it to the RemoteRig, I found that the radio end unit was non-functional. It had been a while since I’d used it, so I don’t know if it was a storm or long term heat out in the shop that killed it. Long story short, it had no signs of life and the voltage regulator on the board ran super hot, not enough to melt anything, but definitely not right. I contacted Microbit and after a couple of emails and tests back and forth, it was determined to be unrepairable. They sold me a replacement board at a discount price, which was fine with me. It was relatively trivial to get the IC-7100 working over RemoteRig.

Since the IC-7100 has a built in USB soundcard for digital modes, I wanted to look into that. The connectivity with RemoteRig and the USB port is complicated, so I also looked into Icom’s RS-BA1 remote software. To operate *that* remotely, I needed a PC that was local to the radio and it seemed like a tiny fanless PC would suit the purpose.

It worked mostly, but I had a lot of trouble getting it to stay awake long term, no matter what BIOS settings I use. It would be fine for a couple of days then it would go to sleep. I would have go out there and touch it to wake it up. Within a few months, it went belly up as well. I have not revisited it as yet.

Some time back, I bought a new Icom ID-51 handheld. After a couple of years, I decided to sell it because I just had no real use for one out here in the country. Then around January 2018, I decided to get another for access to D-Star. Shrug. Make up my mind!

Speaking of handhelds, inspired largely by Radioddity review and tutorial videos from Dave Casler, I got interested in DMR. Of course, no DMR repeaters in handheld range out here, but Radioddity BaoFeng radios are cheap enough to get two and set them up for simplex operation between the two. It works pretty well, so whenever I do find some DMR repeaters somewhere, I should be able to join in. Plus, there’s always the DMR hotspot angle. Pay no attention to whatever that frequency is there. It was in the radio when I turned it on.

I have never been truly active enough to *justify* QSL cards, at least not in my mind, but I still wanted some. I finally had an epiphany and figured out what would be the best QSL card for me. I found a caricature artist service online and had them produce a portrait suitable for QSL cards.

Antenna Tweakage

I had some time one afternoon to use the RigExpert analyzer to tune the ol’ 6BTV.

For tuning a trap vertical, I can’t imagine it being much easier. Between the analyzer and the DX Engineering tilt base, it only took about an hour.

The procedure is simple. Hook the RigExpert to the antenna, scan the band you want to tune, tilt the antenna down, adjust the length of the space between traps, repeat.

You do the highest frequencies first as that is the bottom of the antenna and will affect the lower frequencies higher up the antenna.

This antenna is pretty broad banded in all the small bands, which isn’t really that hard to do. It does make tuning a matter of moving the small peak to a more desirable spot, in my case, the lower ends of the band where JT65 lives. The charts are kinda dull for 10, 15, 20, 30 and 40 meters.


The nature of lower frequencies combined with an extra wide 80 meter band mean that its pretty hard to make an antenna that covers the entire band. This one is no different.

Since the bandpass is so peaky, I chose to try for the middle of the band.

Scanned the whole range the antenna can do:

Now, after all this, I need to get on the air some more…

The Off Kilter Dipole

I couldn’t help it. A few days ago, I was looking for something else (a common pass time for me) and in the cabinet I opened, I saw the off center fed dipole that I built when I first got back into the hobby. I had it up at the old house. It was an attempt to have a physically smallish antenna that could operate on several bands. I used it for at least on ARRL Field Day. There were problems, most of which are not expected to have been with the design of the antenna πŸ™‚

While I have not found a specific online source of the original instructions, I have found several essentially identical sources, so I will refer the reader toΒ Google on the matter.

Basically, cut a wire to the full length of a half wave dipole for the lowest frequency desired, in my case 40 meters so a bit short of 66 feet, plus a foot or so working and tuning room. Instead of cutting it in the center, the design I chose had me cut it 14% off center, 42′ 2-1/4″ and 23′ 8-3/4″. You connect the legs to a 4:1 balun and voilΓ , OCF dipole. Note the wording “14% from the center”.

20161001_102212

Here’s where the online information and what I was holding in my hand depart. As I write this, I have not carefully measured the legs of the antenna, but I strongly suspect that I may have cut the short leg not 14% from the center but 14% from the end. That leg of the antenna is significantly shorter than 23 feet and I really think it’s more likely about 9 feet, which would indeed be 14% from the end. Definitely a newbie sort of error. Turns out that 14% from the center is the same as 36% from one end, which most directions specify, rather than 14% from the center. Had I originally found instructions written that way, I may not have made that particular mistake. πŸ™‚

Now it gets maybe kinda weirder.

I strung that antenna up Saturday morning. Well, very temporarily “up”, with one end anchored to the workshop door frame and the other to the Mule. The short end is nearest the camera.

20161001_102126

I connected the RigExpert to it with an 18″ jumper and did several SWR scans using it as a standalone unit.

Turns out, the antenna appears to be tuned a little low, but it’s not so far off that it would be unusable, particularly with a tuner. On the low end of 20 meters, might not even need a tuner.

ofc-hf

Those low SWR dips are just below 40, 20 and 15 meters.

I think it’s funny that, at the time I was testing it on Saturday, I did not yet know about the 14%-from-the-wrong-point error I apparently made when I built the thing, so this didn’t seem to be off base at all.

Scanning the whole range that the RigExpert can do reveals an even more surprising bit. From a vector analysis point of view, the antenna appears to work at 2:1 or better from about 70MHz up. I suspect real world results might not bear that out.

ocf-all

This scan is a little rough because there are only 100 points on a plot covering a full 170MHz. Armed with the information I now have about this antenna, I think I want to set it up and scan it at higher resolution and see if I can learn enough to understand why it works at all. My intuition suggests that the high frequency response might be due to the one really short leg. I want to see exactly where that lowest SWR dip around 150MHz is and what relationship that has to the actual length of the short leg. I think the still reasonable response at lower frequencies may be related the antenna’s overall length and maybe harmonics of 7, 14 and 21 MHz.

I do not yet fully understand the Smith chart, but this doesn’t look like one to learn on, at least not at 170MHz bandwidth.

ocf-smith

Unrelated to that, I also rearranged the equipment rack to accommodate a Mirage 160W VHF amplifier. The power supply I have for it is only 20 amperes, so it may not be up to the task. It is also missing the binding post nut.

20161003_070448

At first glance, I thought this was a 1/4″ x 28 tpi stud, but it turns out to be 6mm x 0.75 pitch. Once I have the power supply connected, I will try out the amp.

Interestingly enough, the thing pulls about 8 amps just sitting there. I am mildly suspicious.