Photo metainfo indicates that we first started turning pens in November of 2012. I can only estimate that in the intervening 6 years, I have made somewhere around 200 pens. Well, until a recent order which adds 50% to that figure.
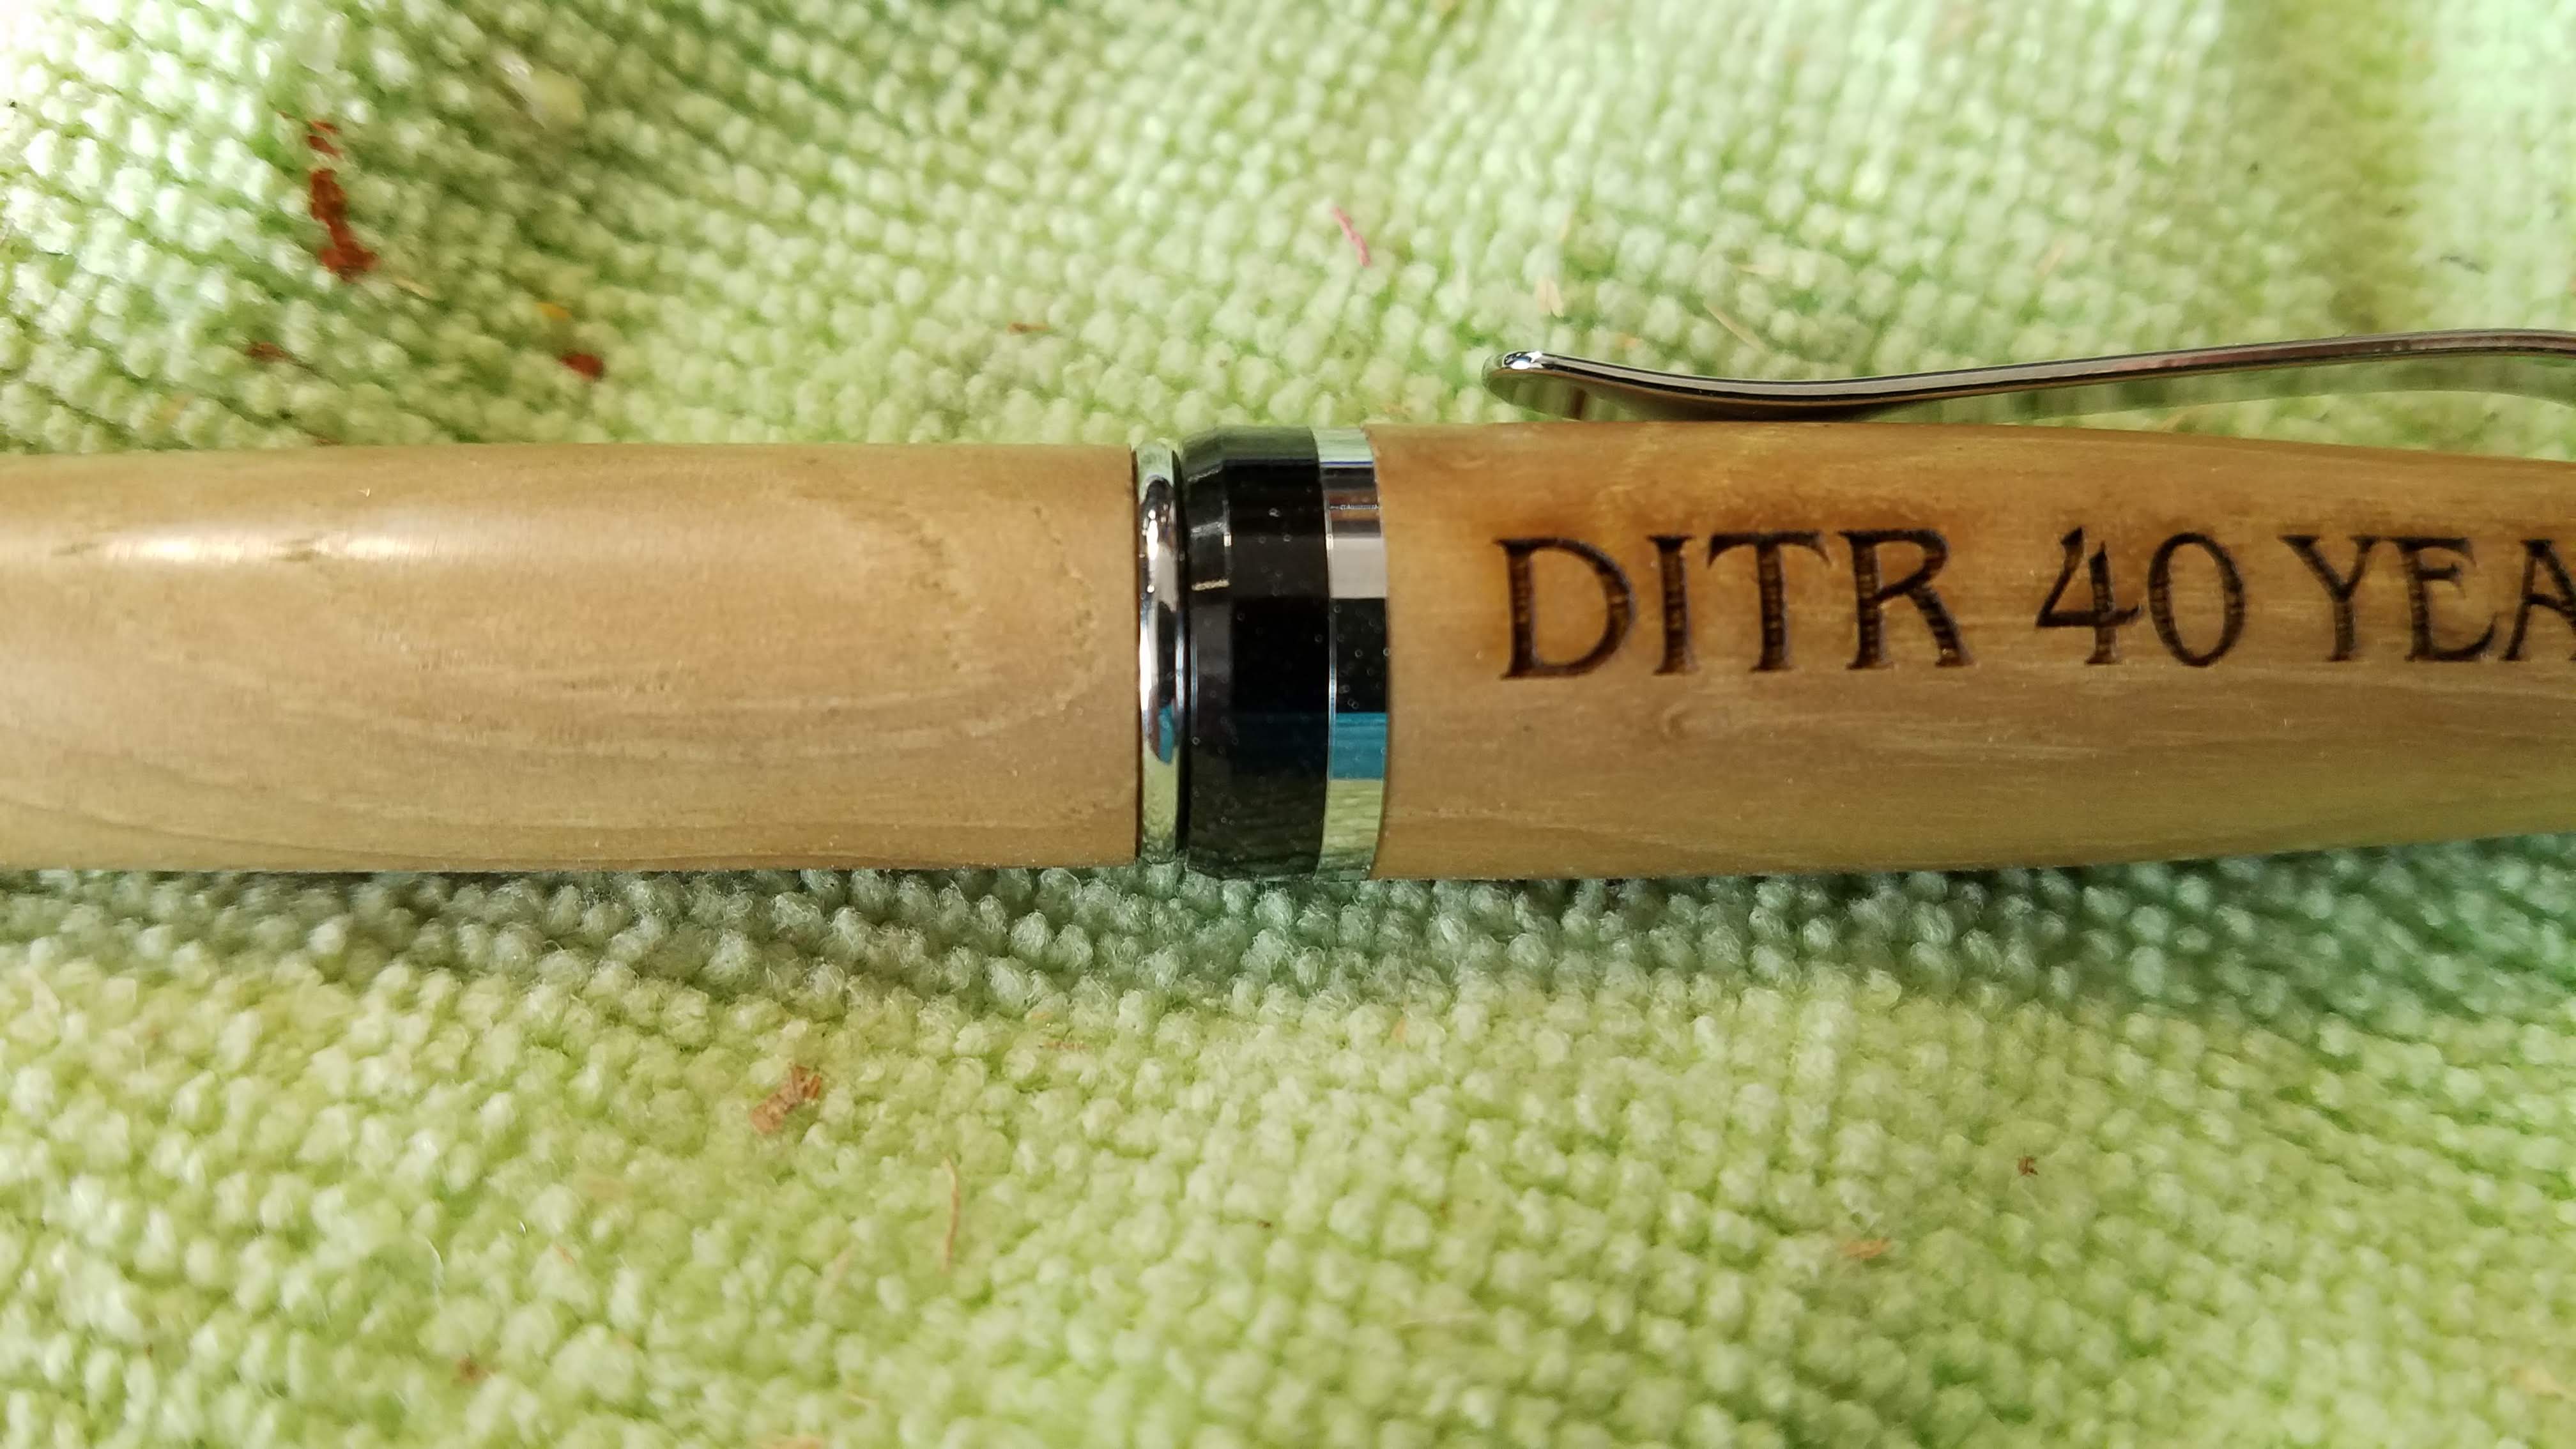
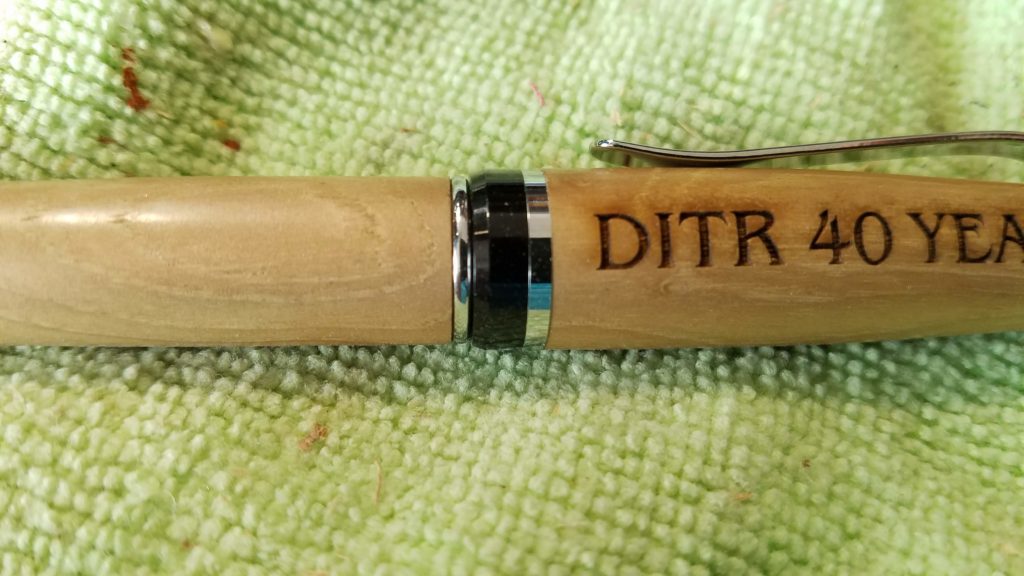
My wife is a golfer and her club has an annual charity golf tournament. This year is the 40th anniversary of said tournament, so they were looking for special items to include in the swag bags for 100 players.
Pens were a natural for us to suggest and to make it more special, we made them from wood from the golf course, mostly fallen branches.
Turns out that, within some limitations, the more diseased and damaged the branch is, the more interesting and beautiful the pen is.

Most of the time, I make pens one at a time or on rare occasions, I may suspend work on a pen for a bit while I make another, usually for rush orders or other such logistical reasons.
I made an order of 10 pens once. They were all turned from mesquite and they all had a company logo engraved on the cap. They each went back to the engraver later to have individual names engraved. I kept the units separated in a divided container and matched the parts up visually when the caps came back from from the logo engraving.
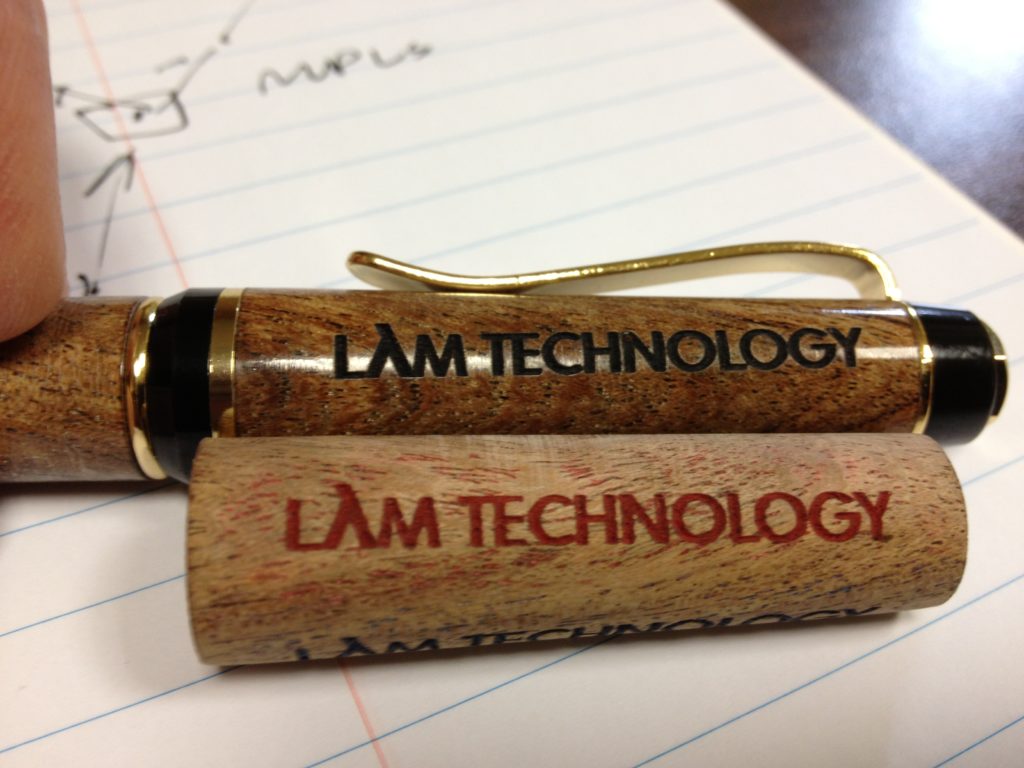
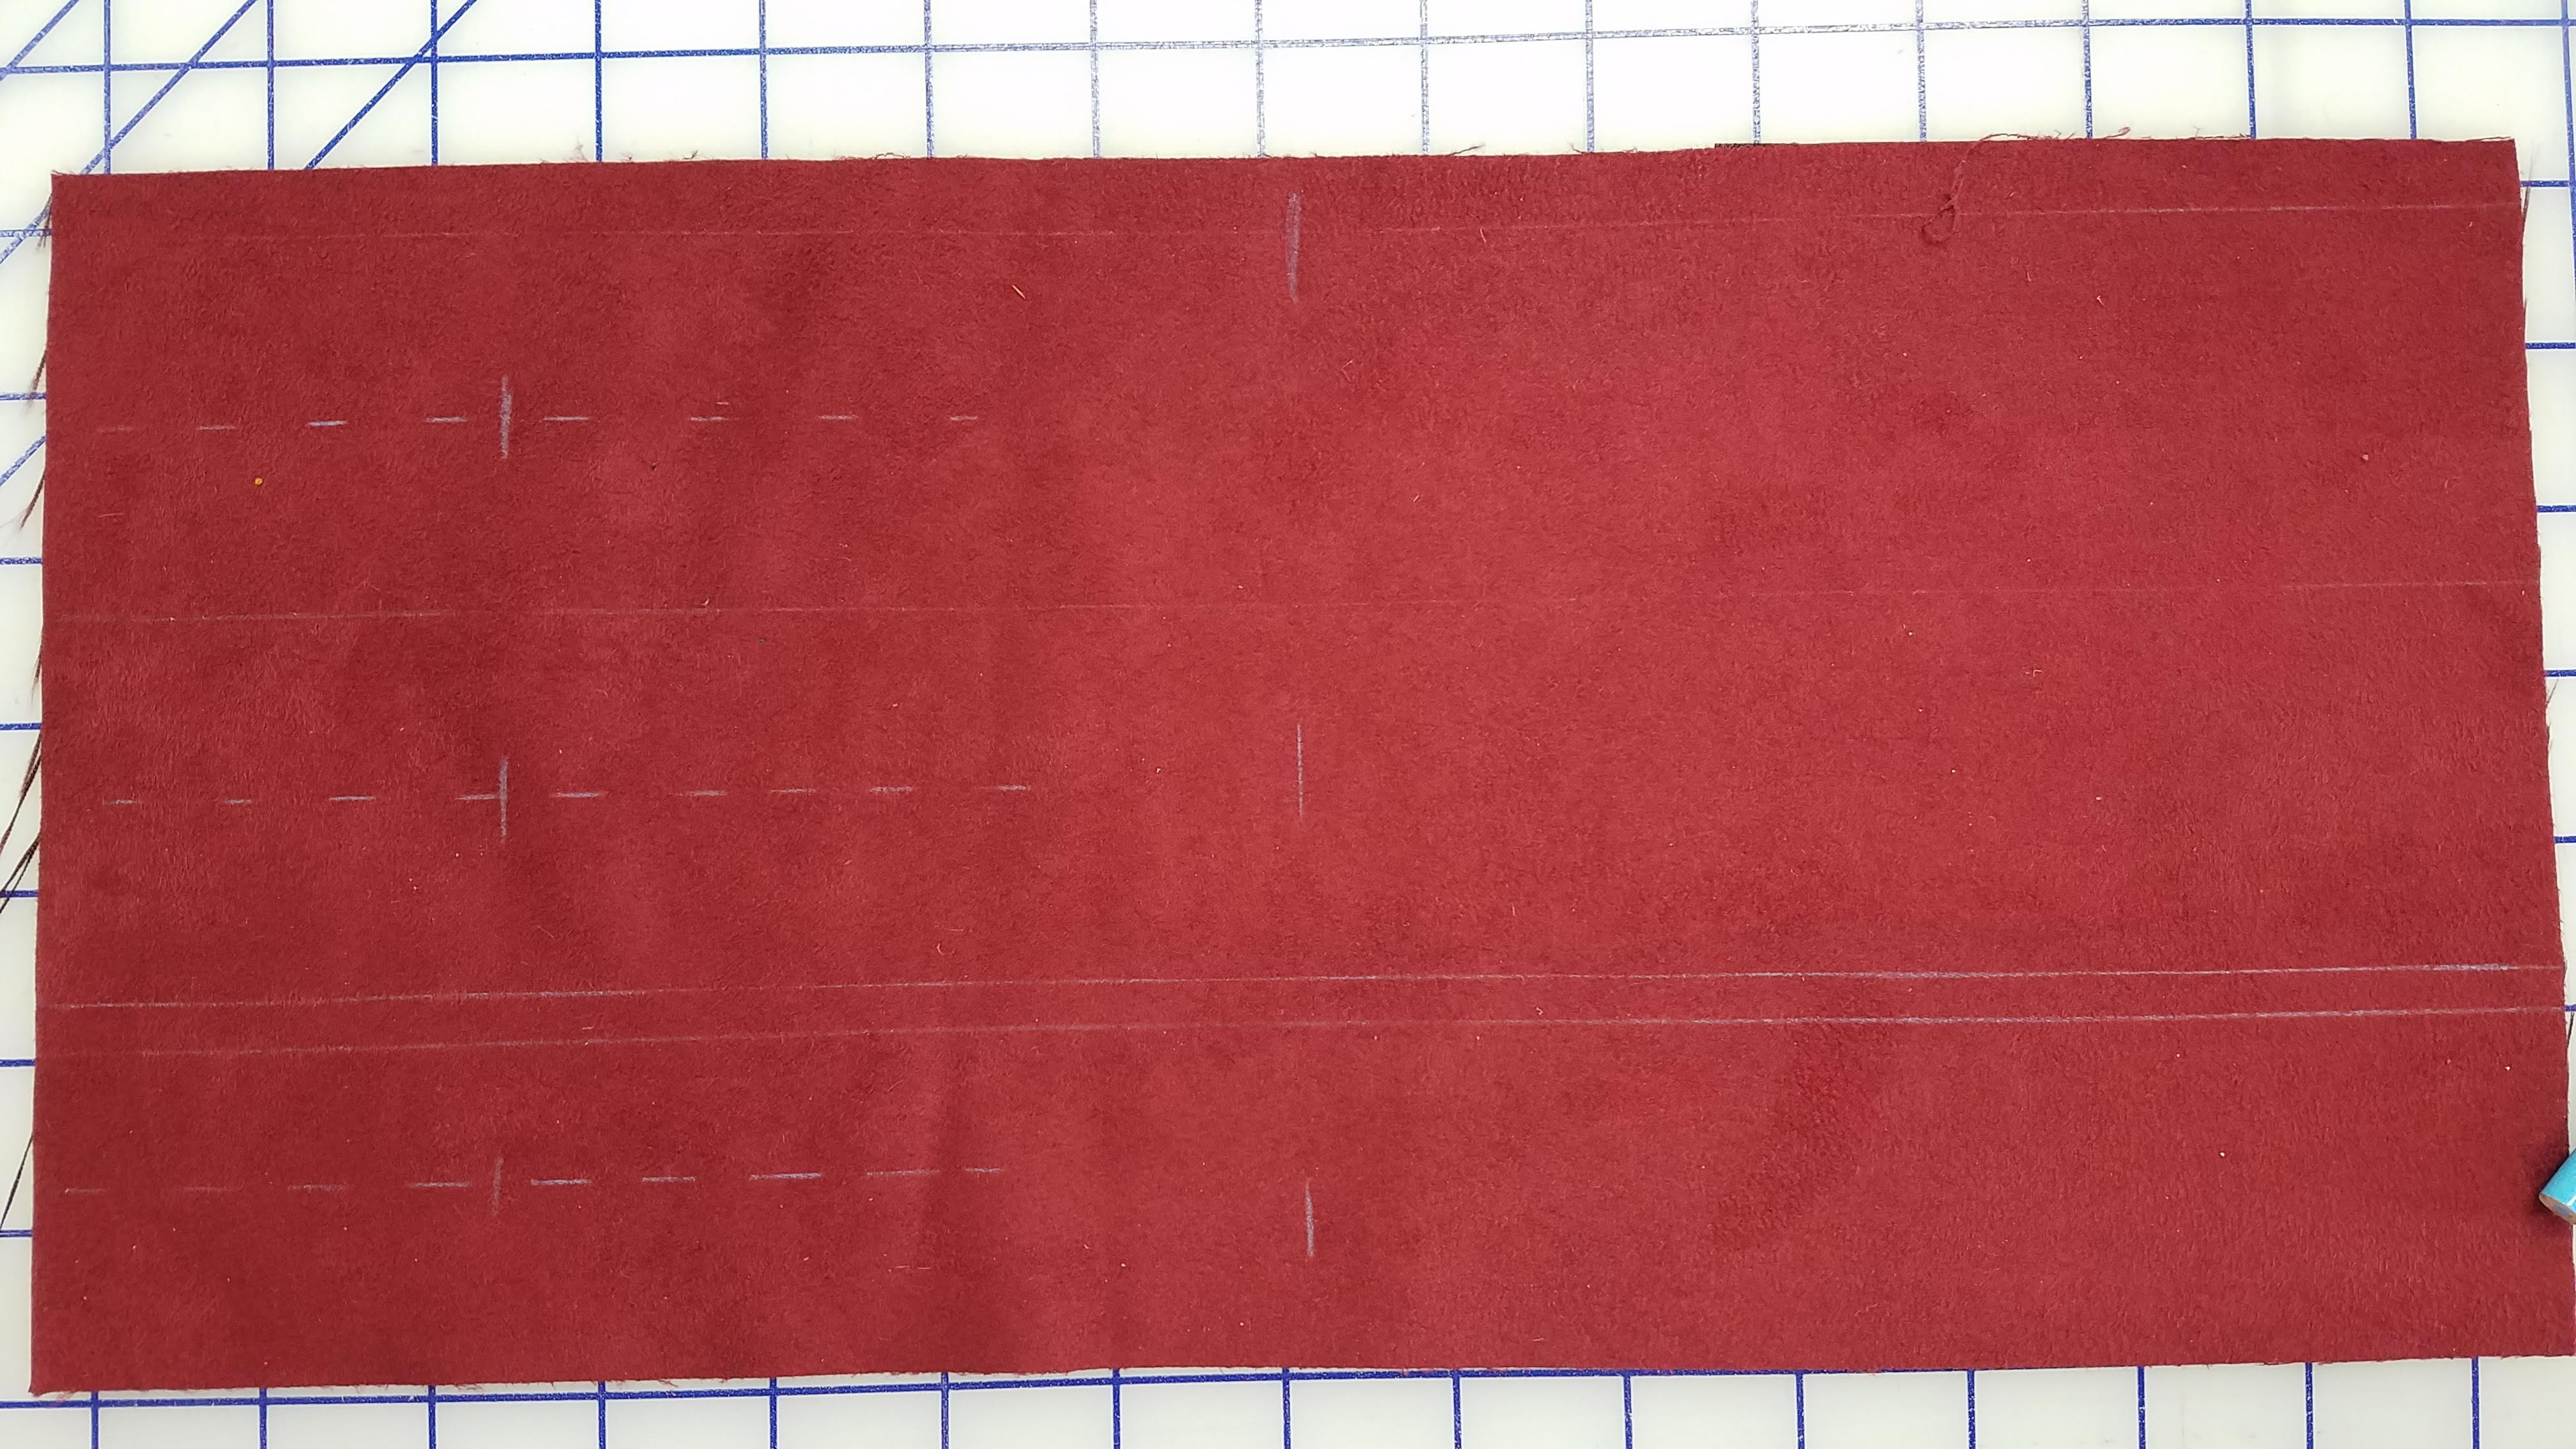
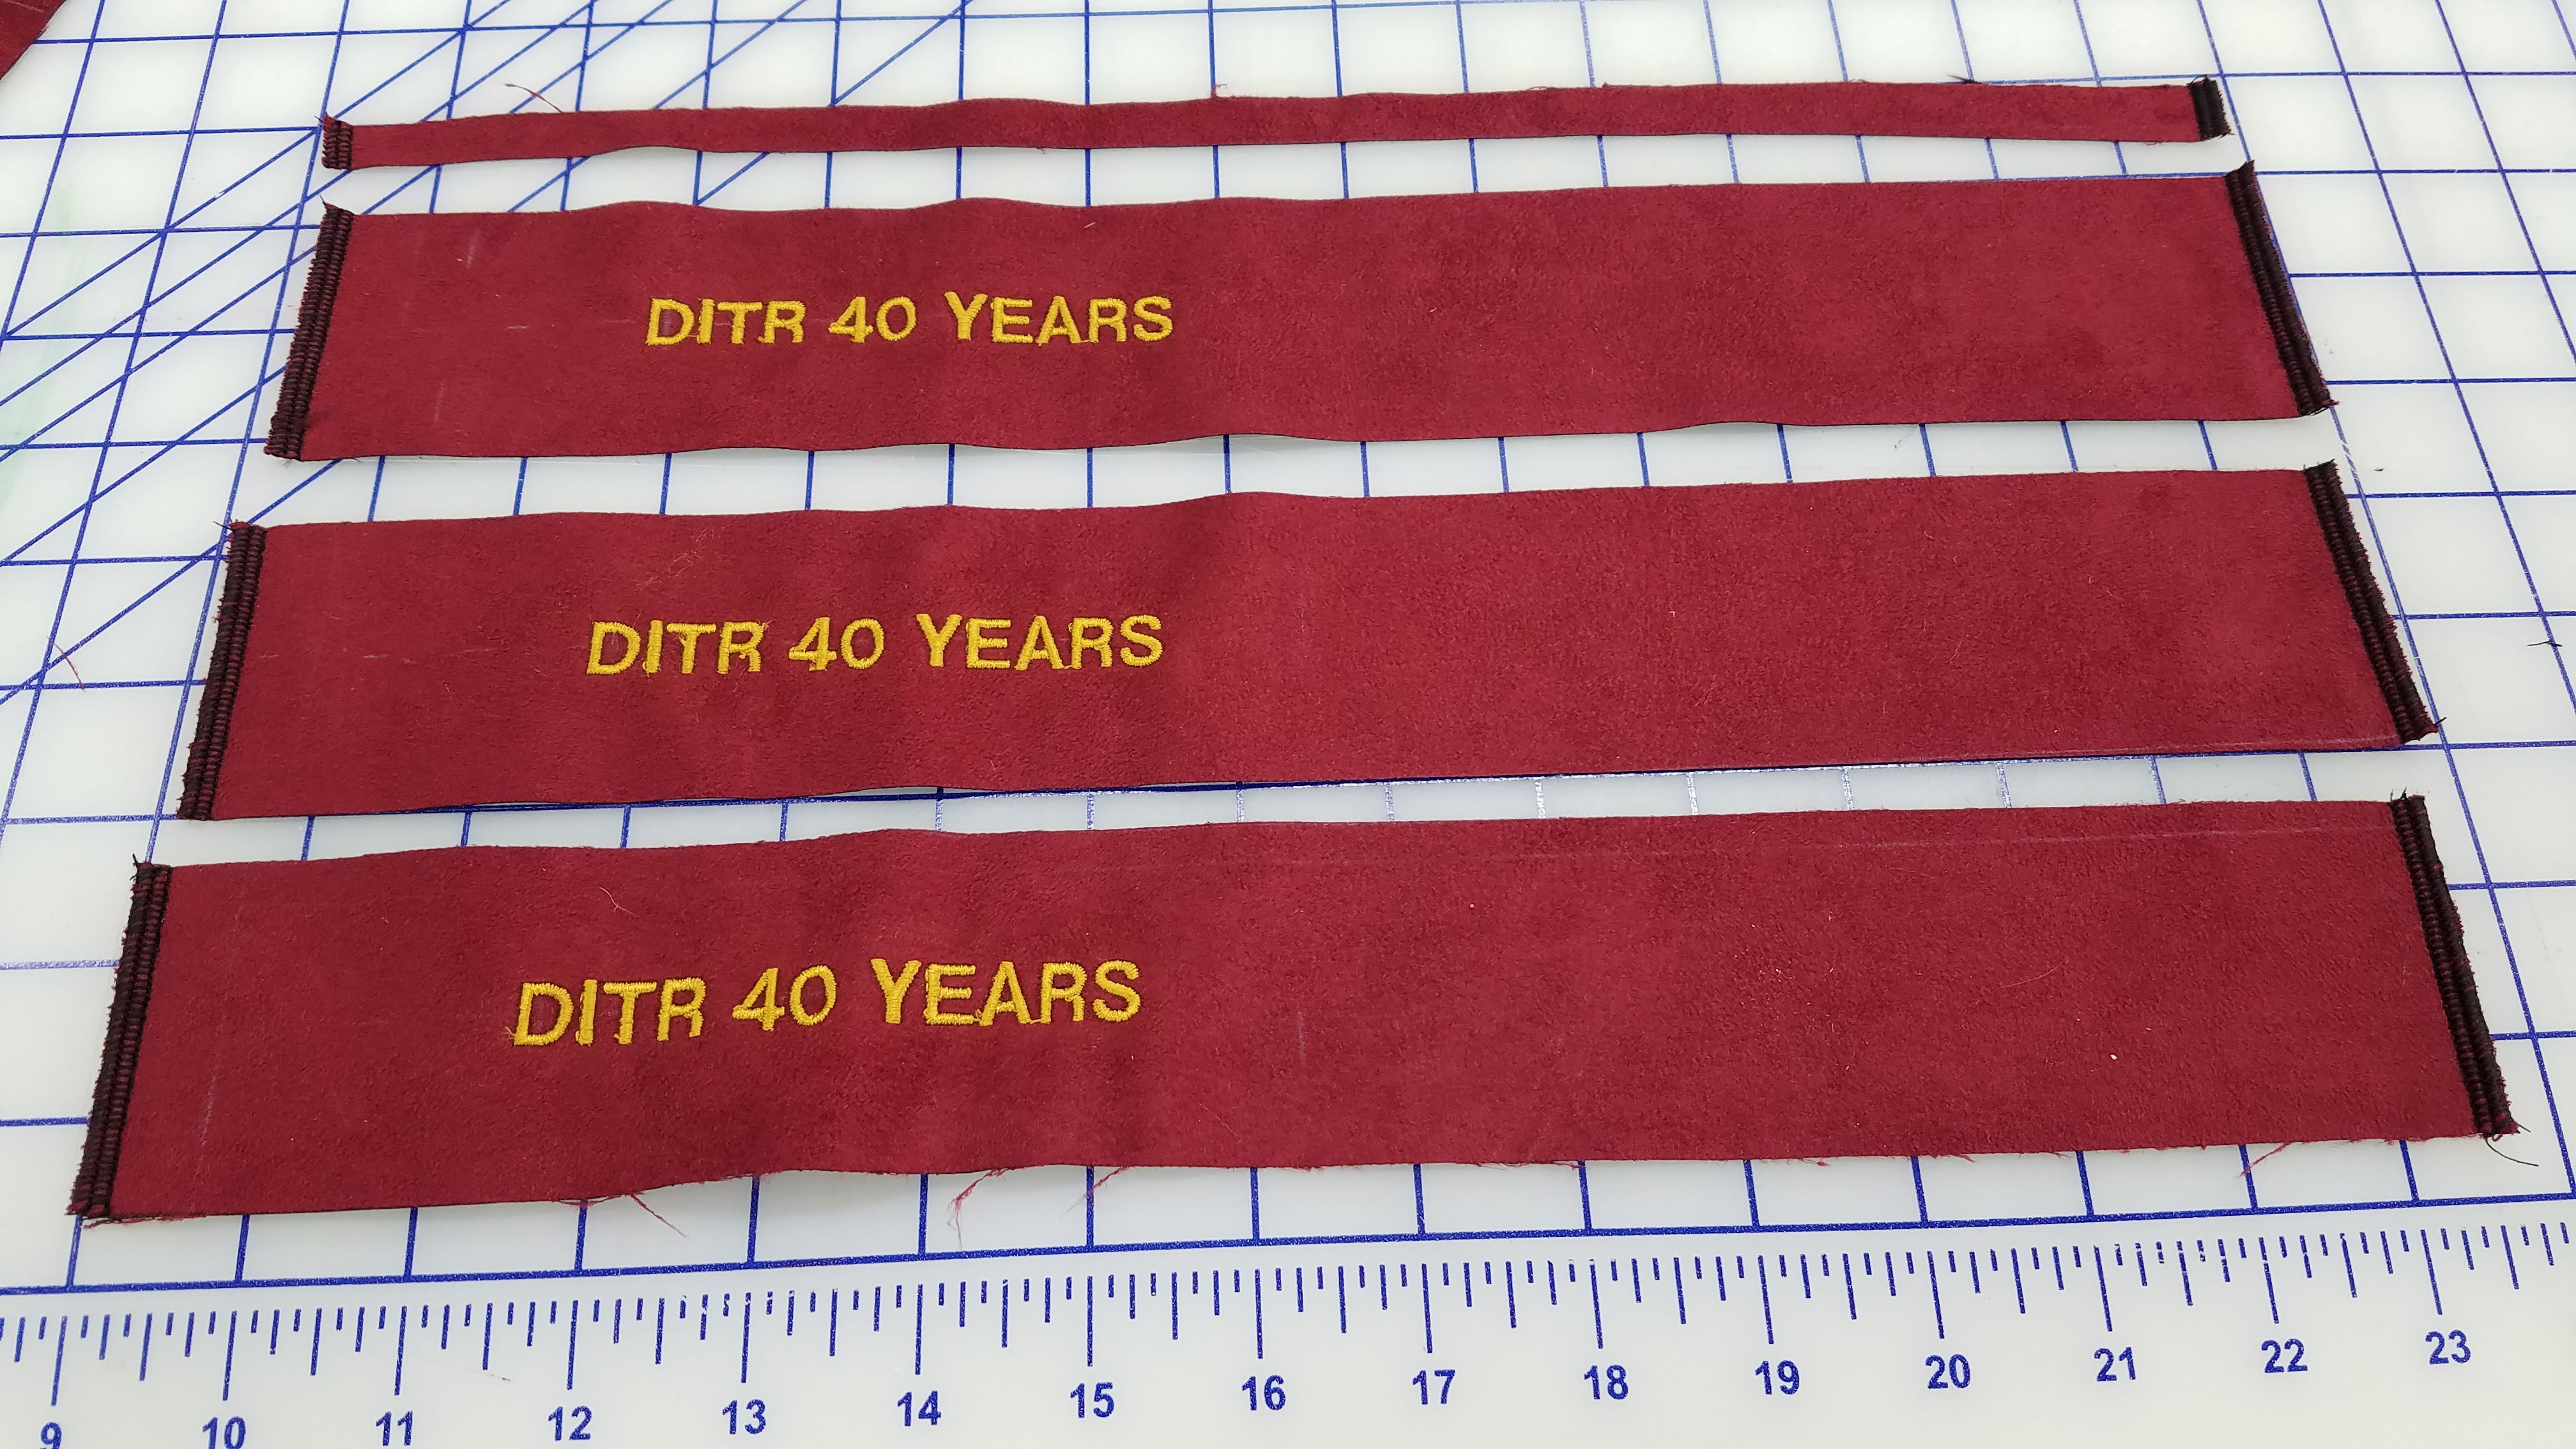
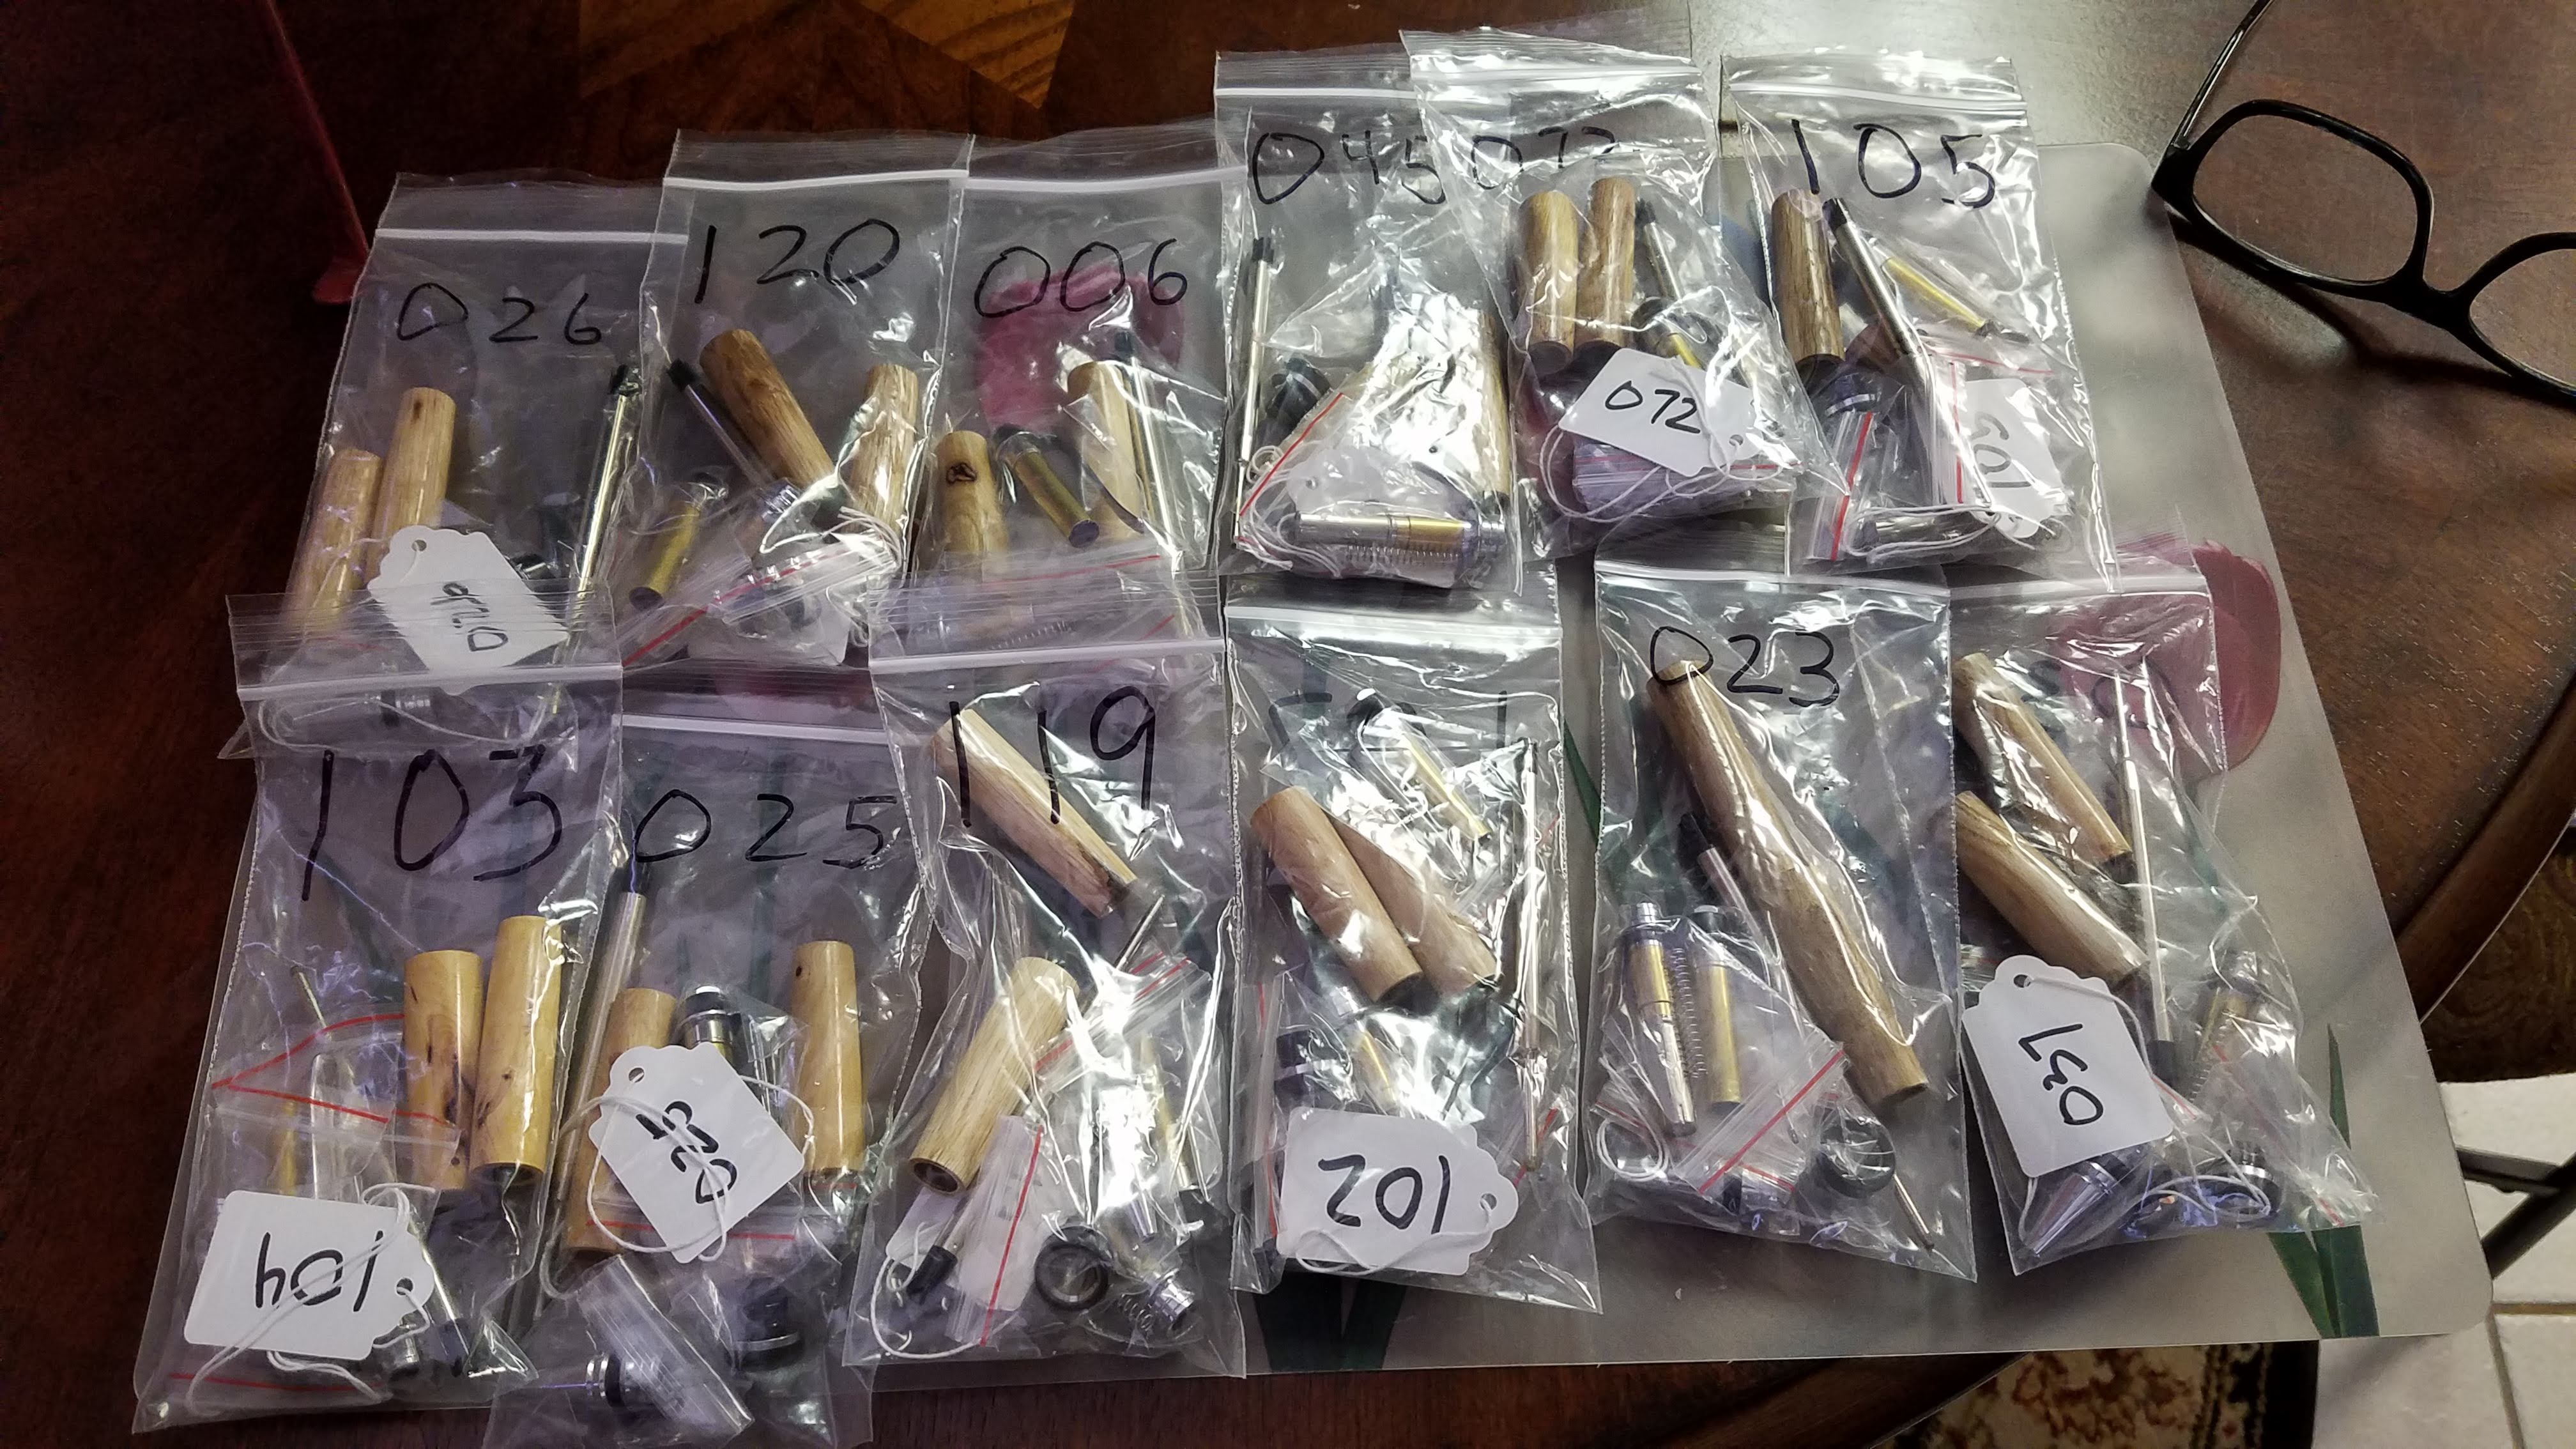
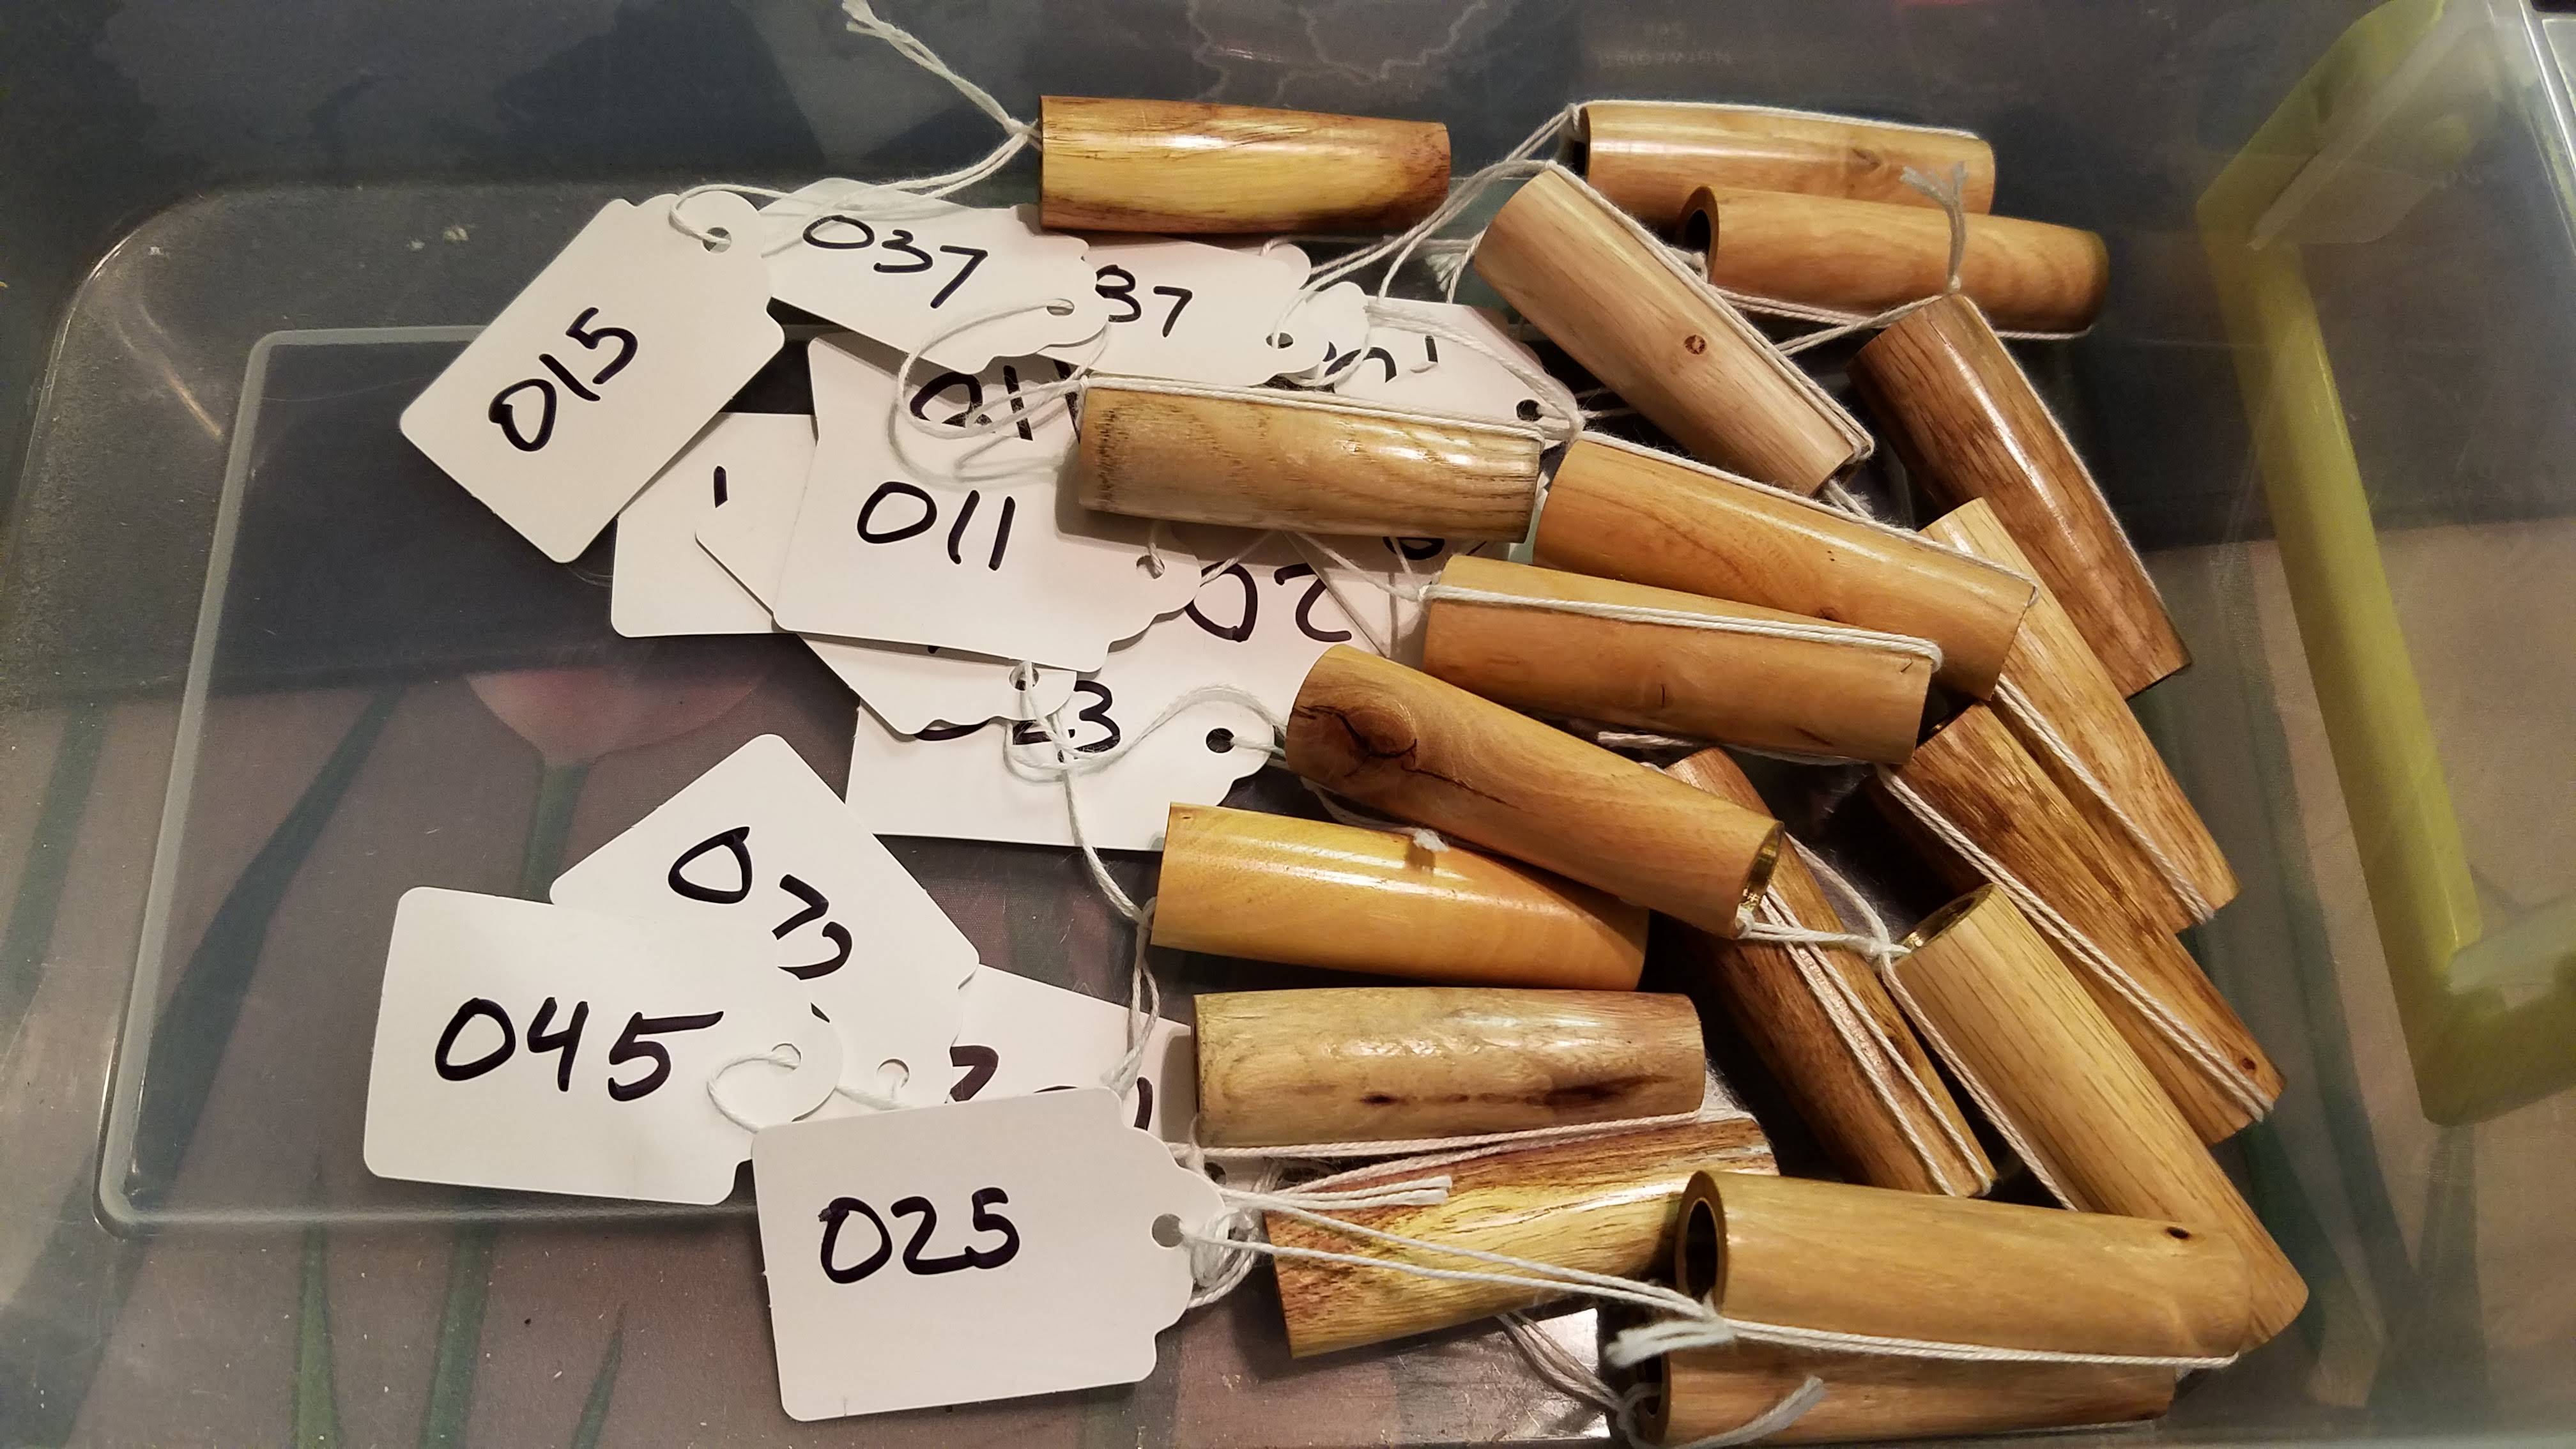
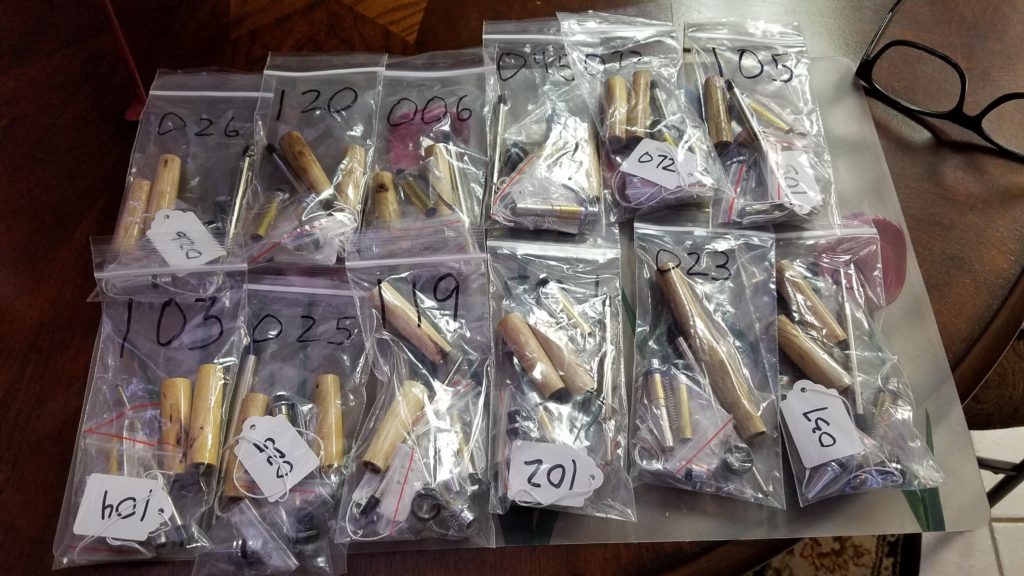
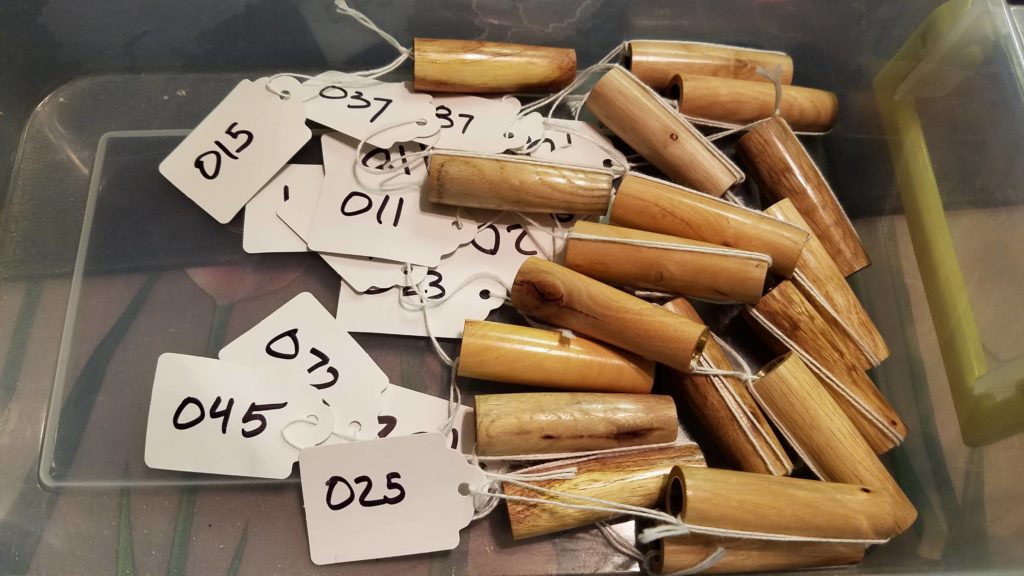
I knew that making 100 pens was going to need better organization. So, before I got started, I ordered tags and bags. 1.75 x 1.093 inch string tags and 3″ x 6″ 2 mil Zipper Reclosable Plastic Bags. I suppose ZipLoc is a brand 🙂
I used a Sharpie brand permanent marker 🙂 to number bags 001 through 100; likewise for string tags. I then ordered 100 Cigar pen kits from Craft Supplies USA. When they came in, I took the kits apart, putting the tubes in separate bags and putting the rest of the kit parts and the string tag in the numbered bags and finally putting the now numbered kits in a box.
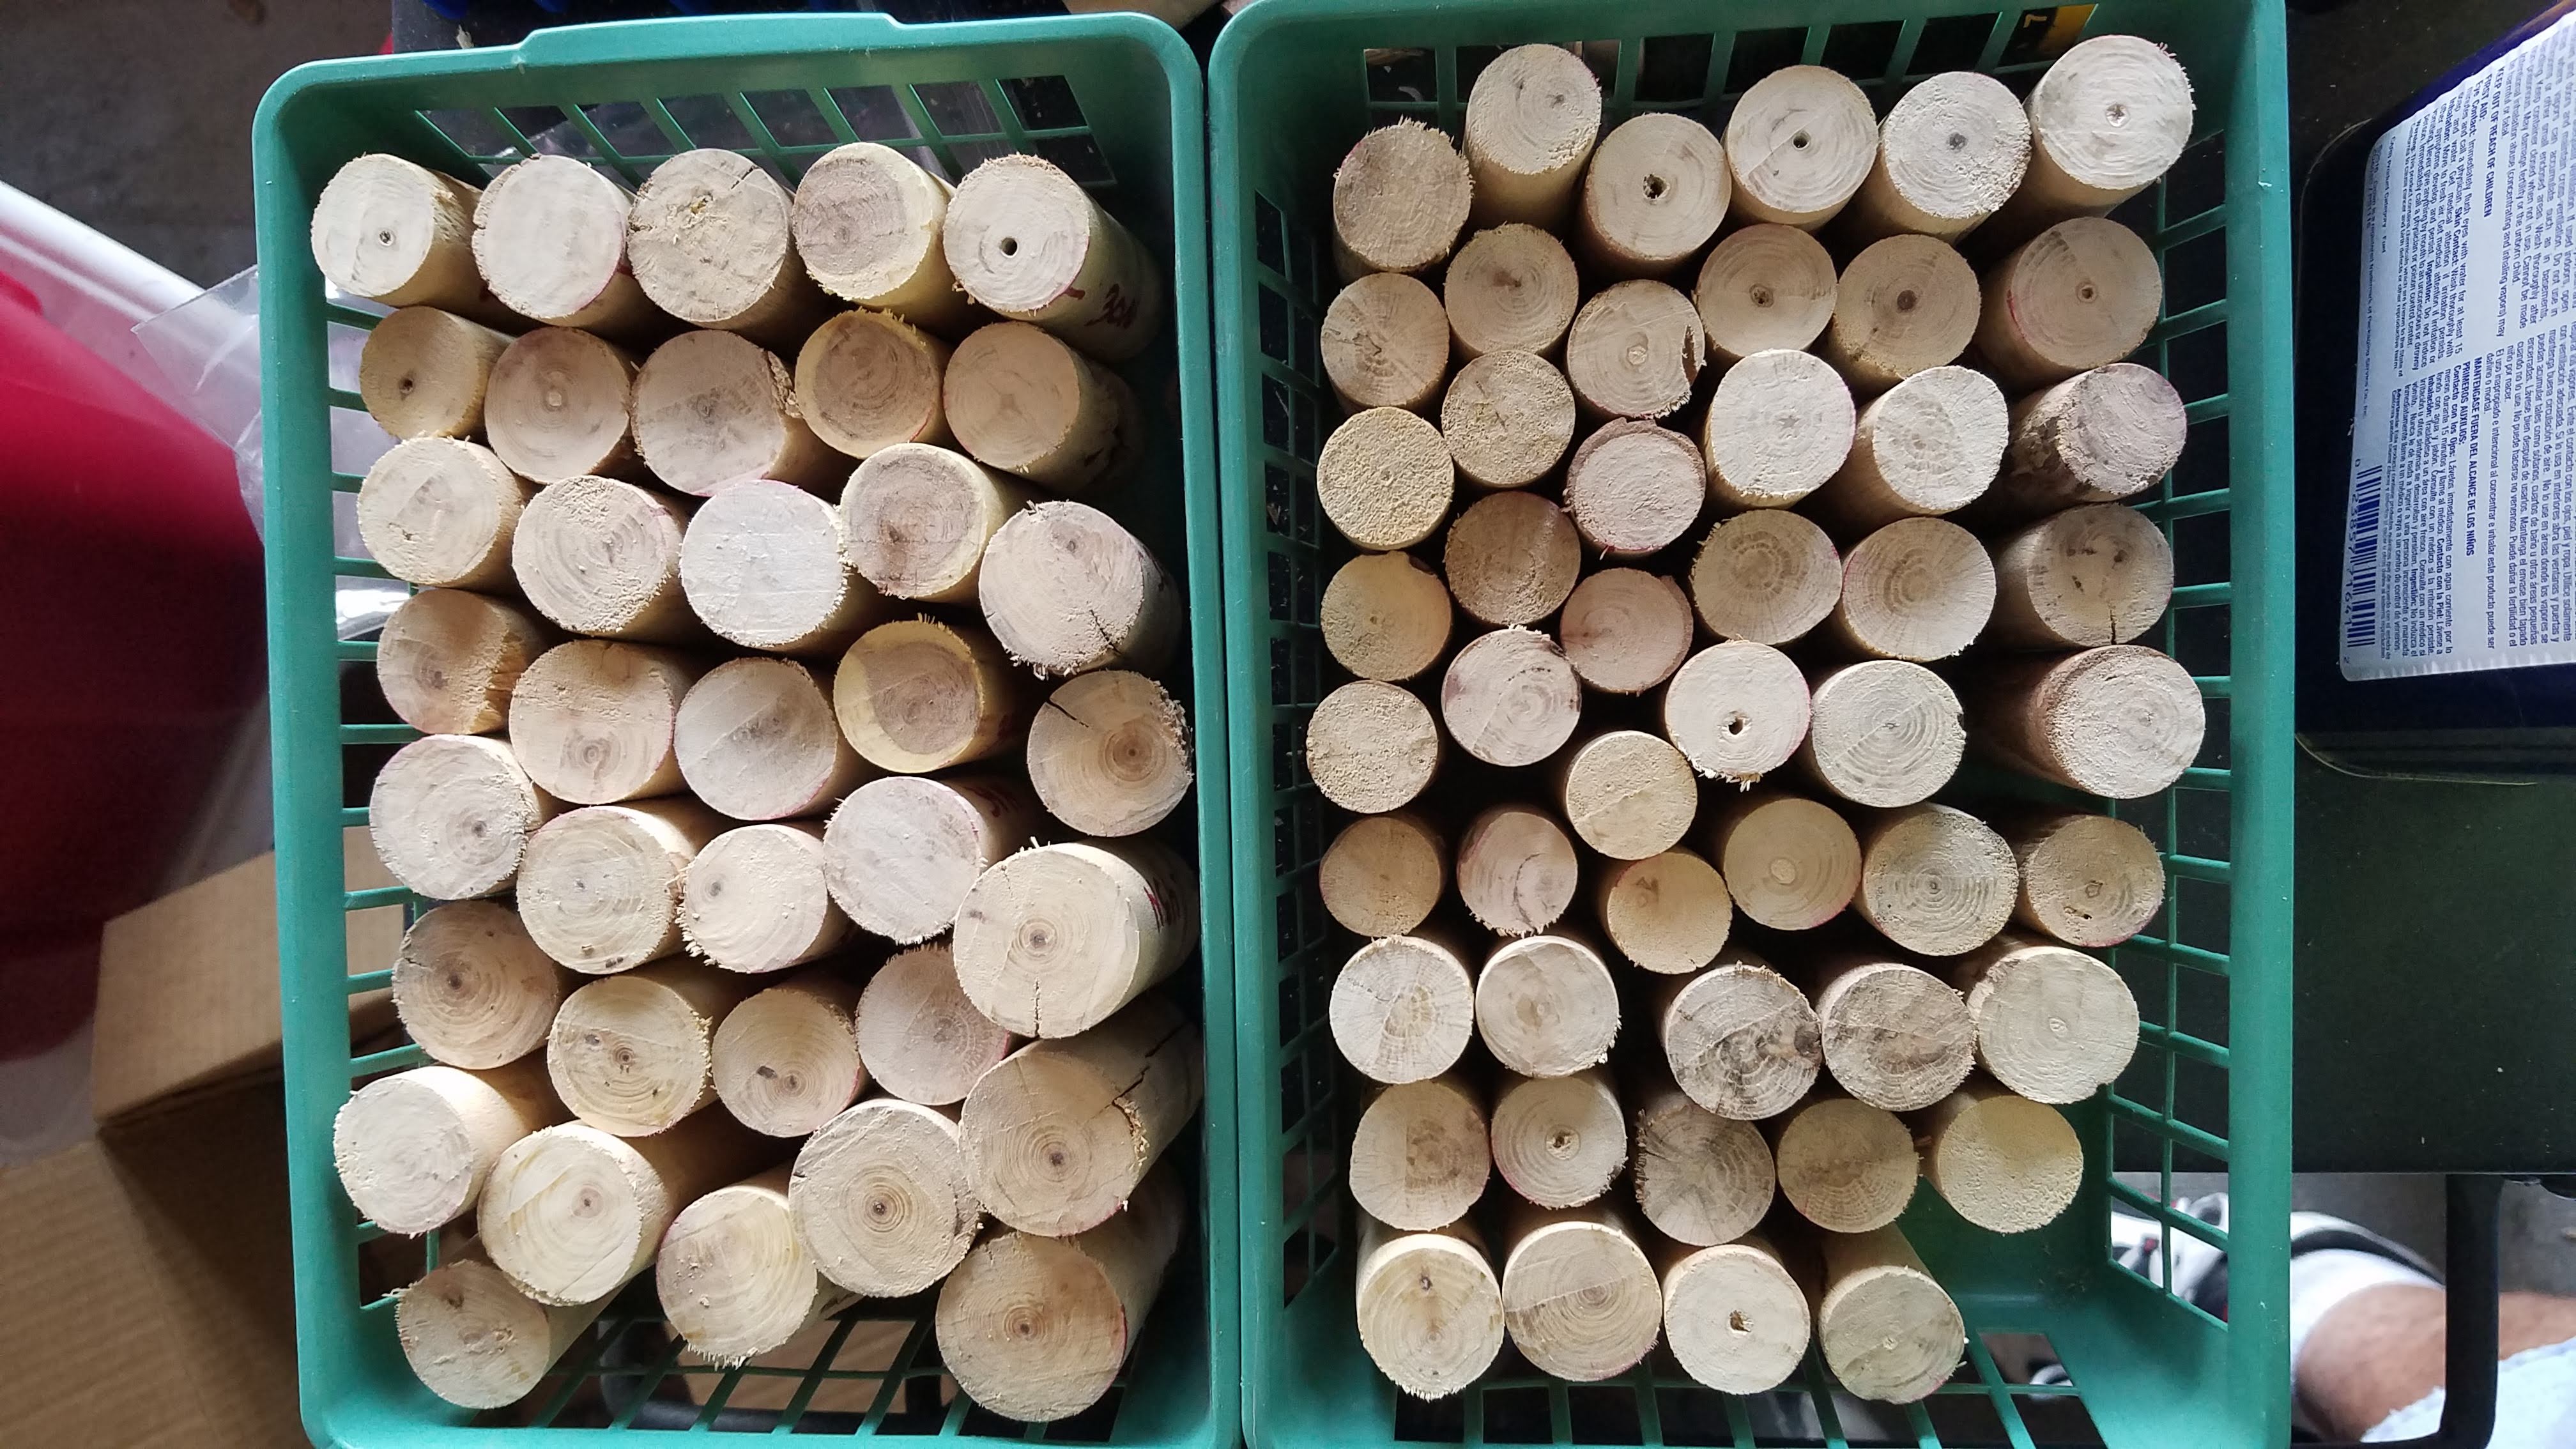
The wood selection was complicated. We had been gathering fallen branches at a low rate well before the pen order came to be, but accelerated once it was decided to use wood from the golf course for the pens.

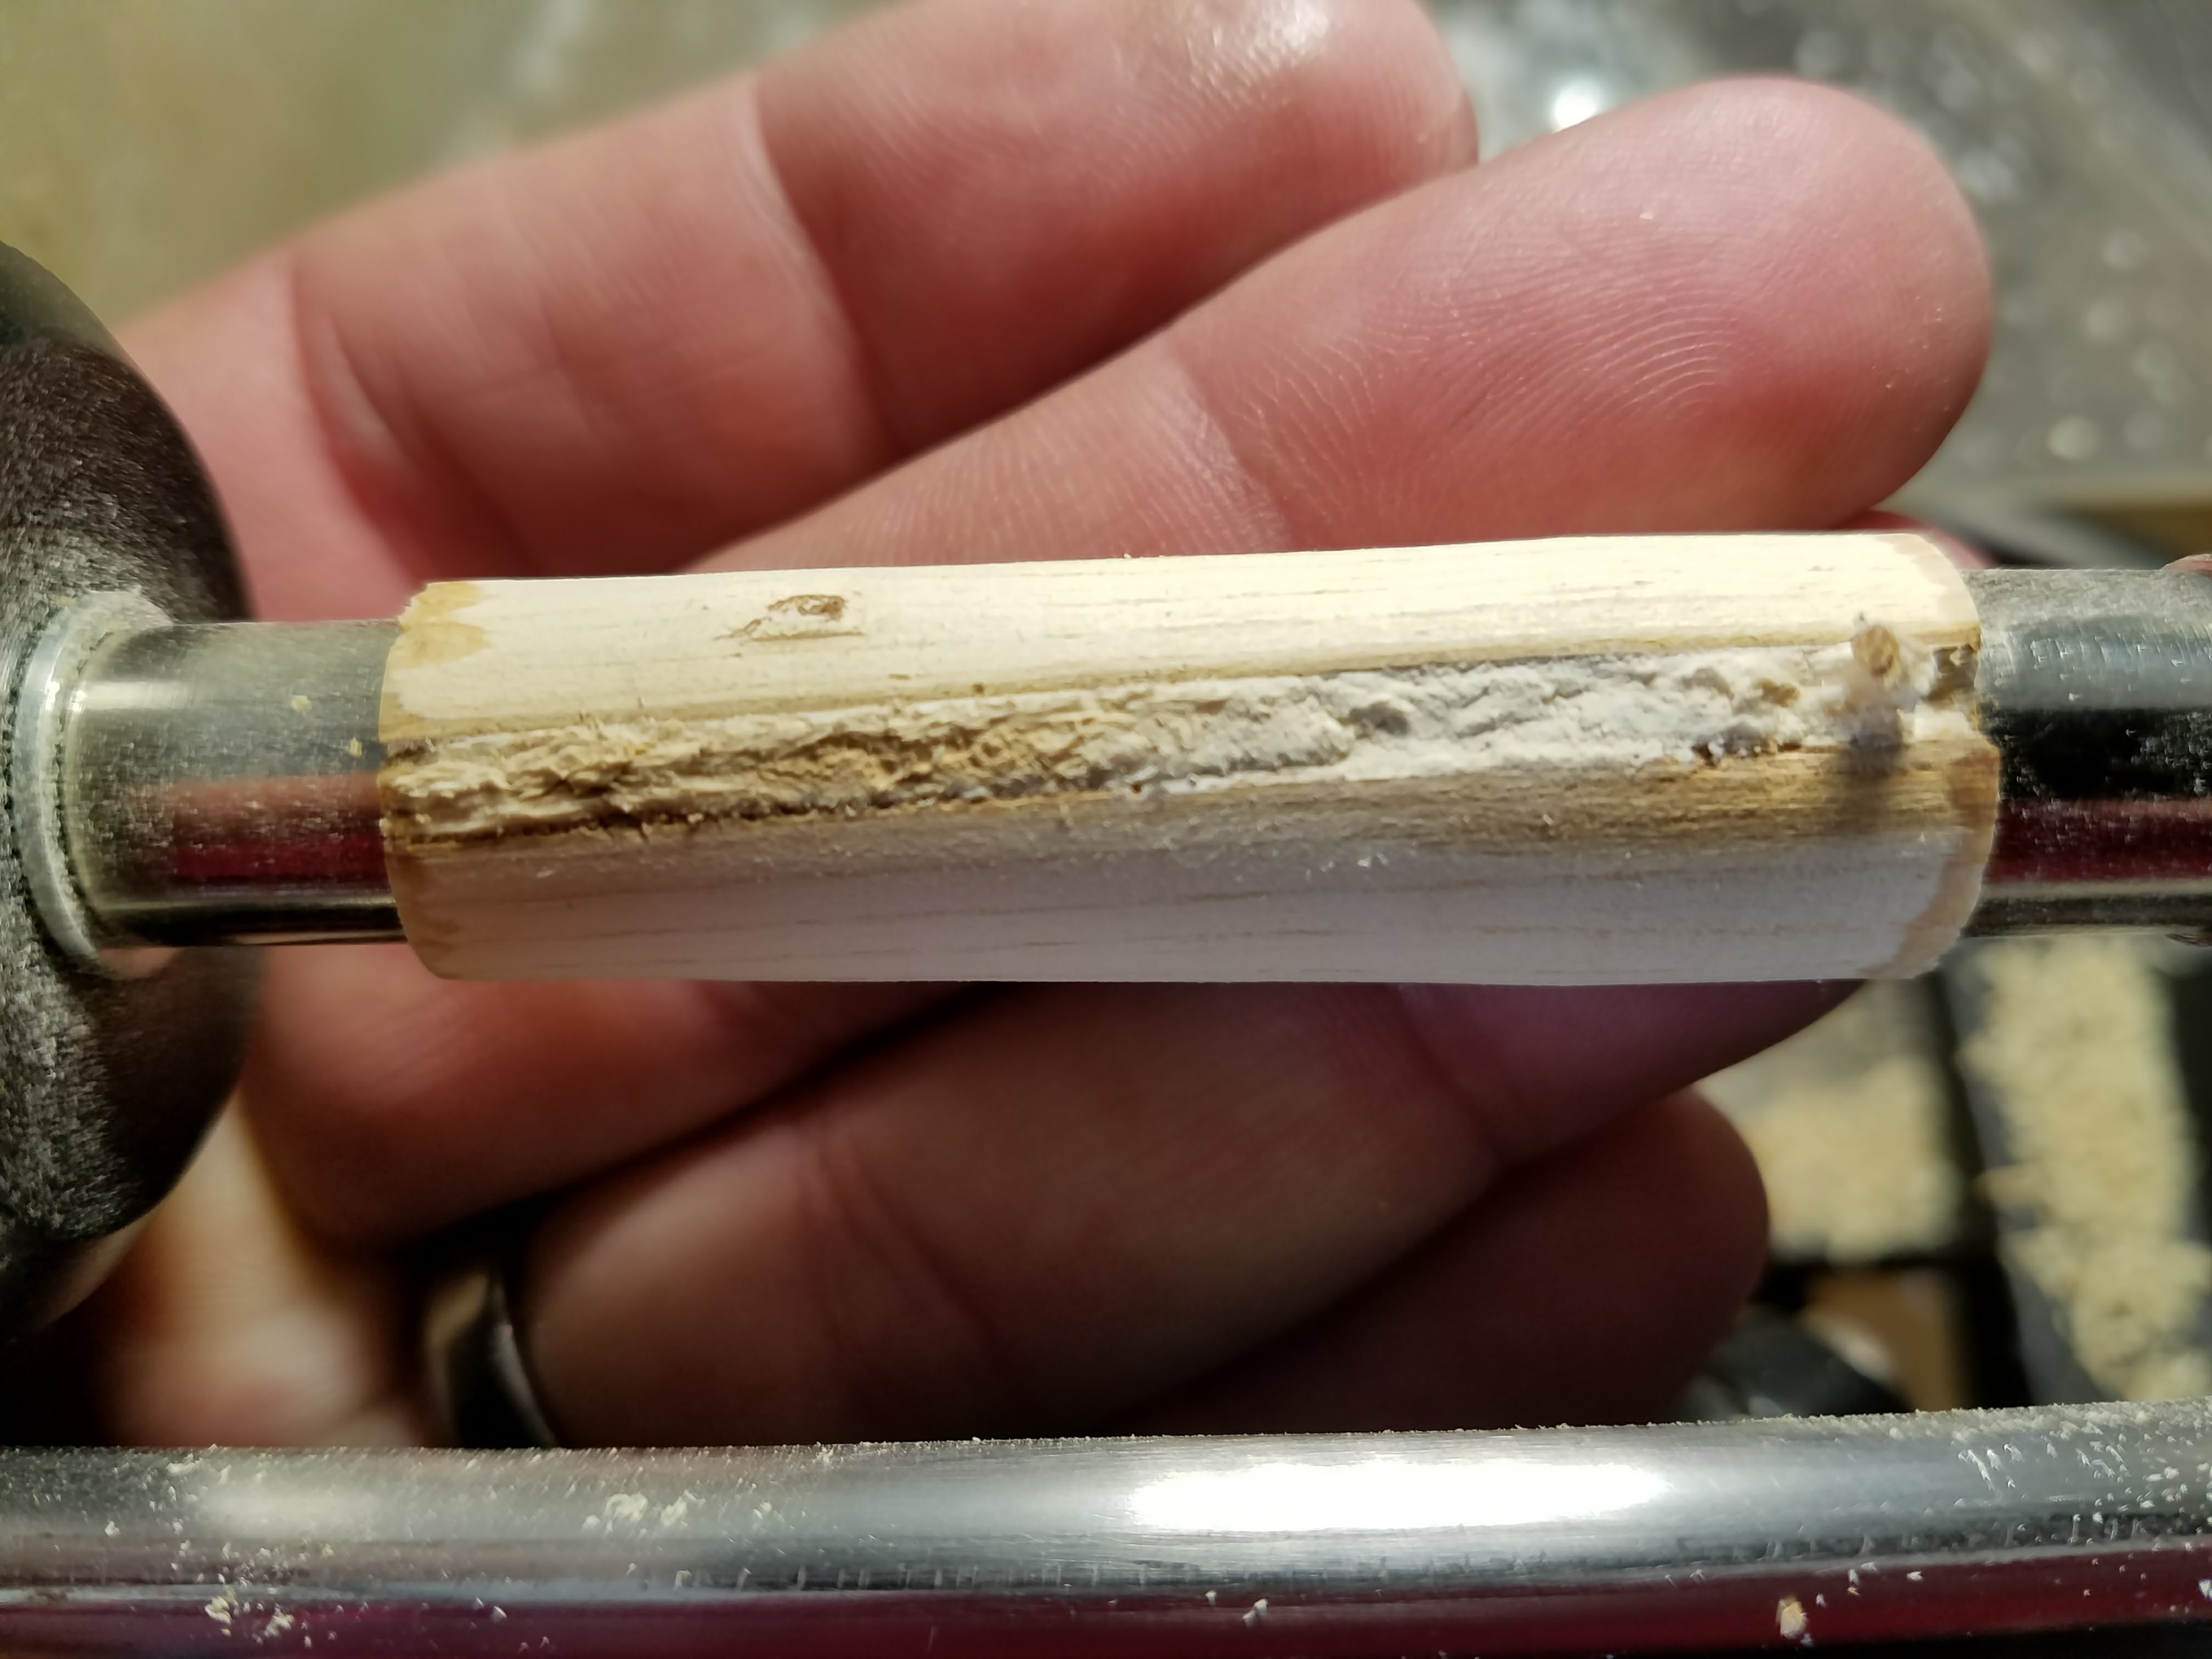
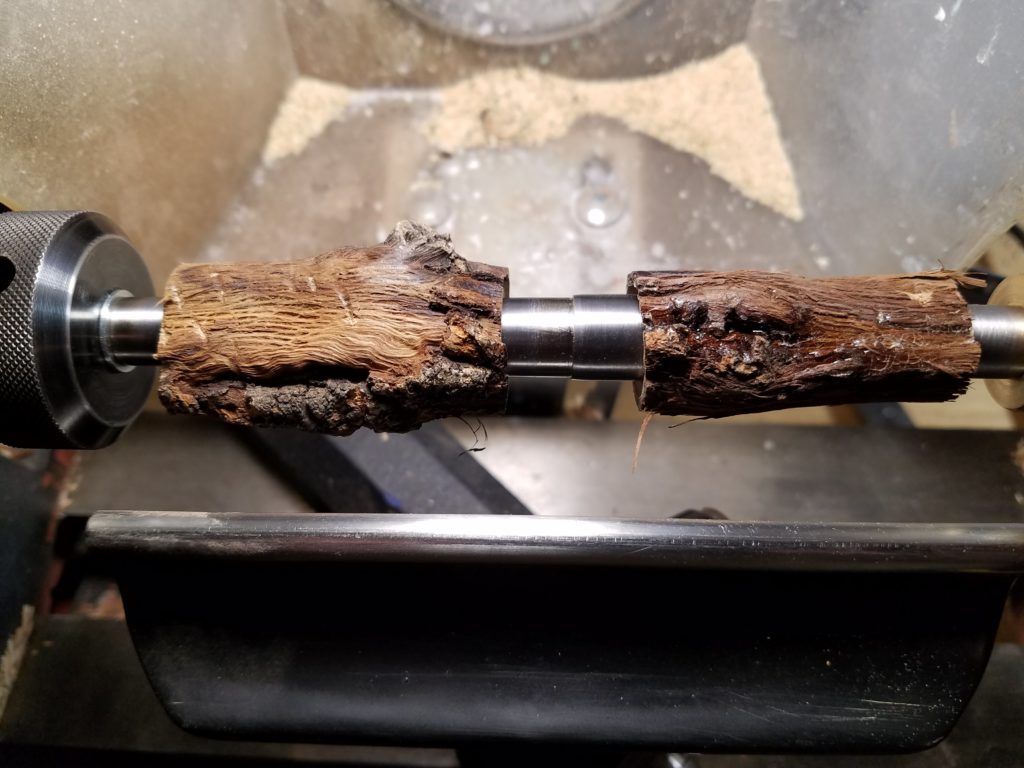
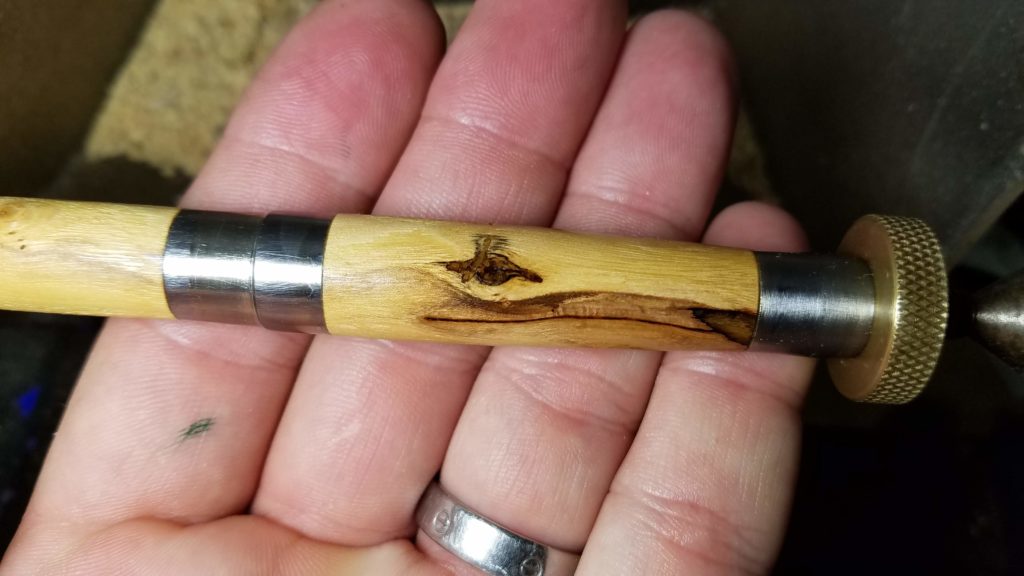
The golf course is populated with oak, sycamore and mesquite trees. For the most part, fallen branches have fallen because they were sick. Once I started cutting the branches into blanks, the rejection rate was pretty high. Some were obviously damaged by fungus. Some had insect damage that was not visible until you look really close. Whatever woodboring insect that enjoyed munching on these branches left a tightly packed fine sawdust behind. It’s so tightly packed and so much the same as the wood around it that it’s easy to miss, at least until it bites you a few times.

Wormholes at in the periphery of the blank are not much trouble and if the bug moved largely across the grain, leaving holes in surface that could be filled easily.
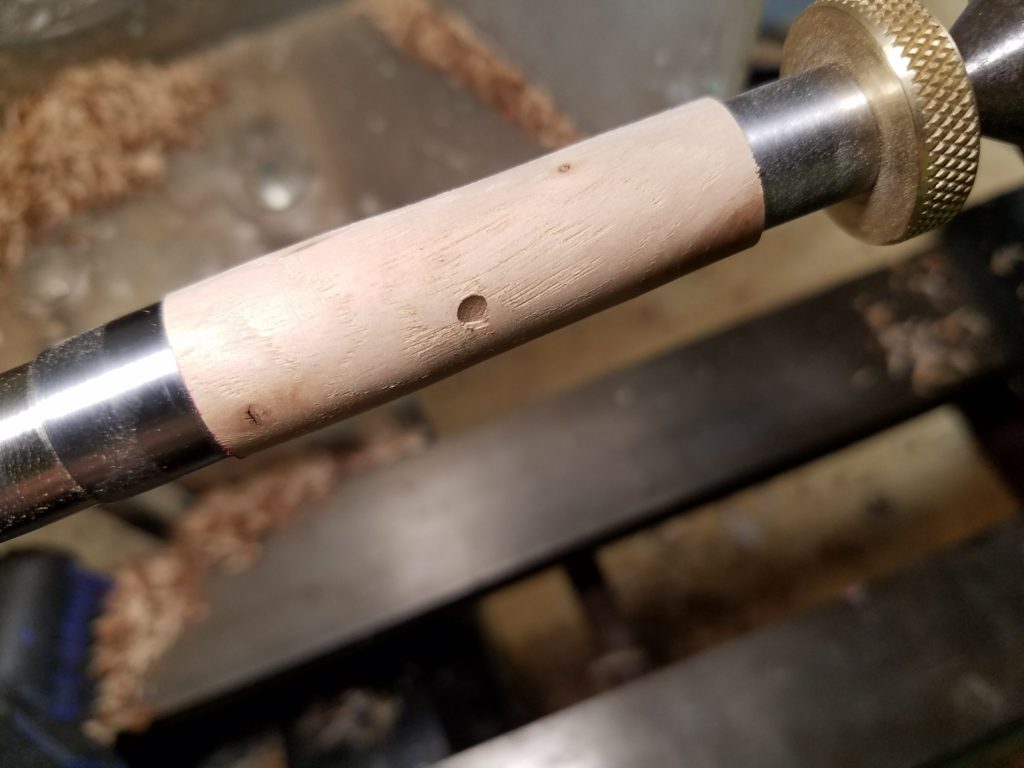
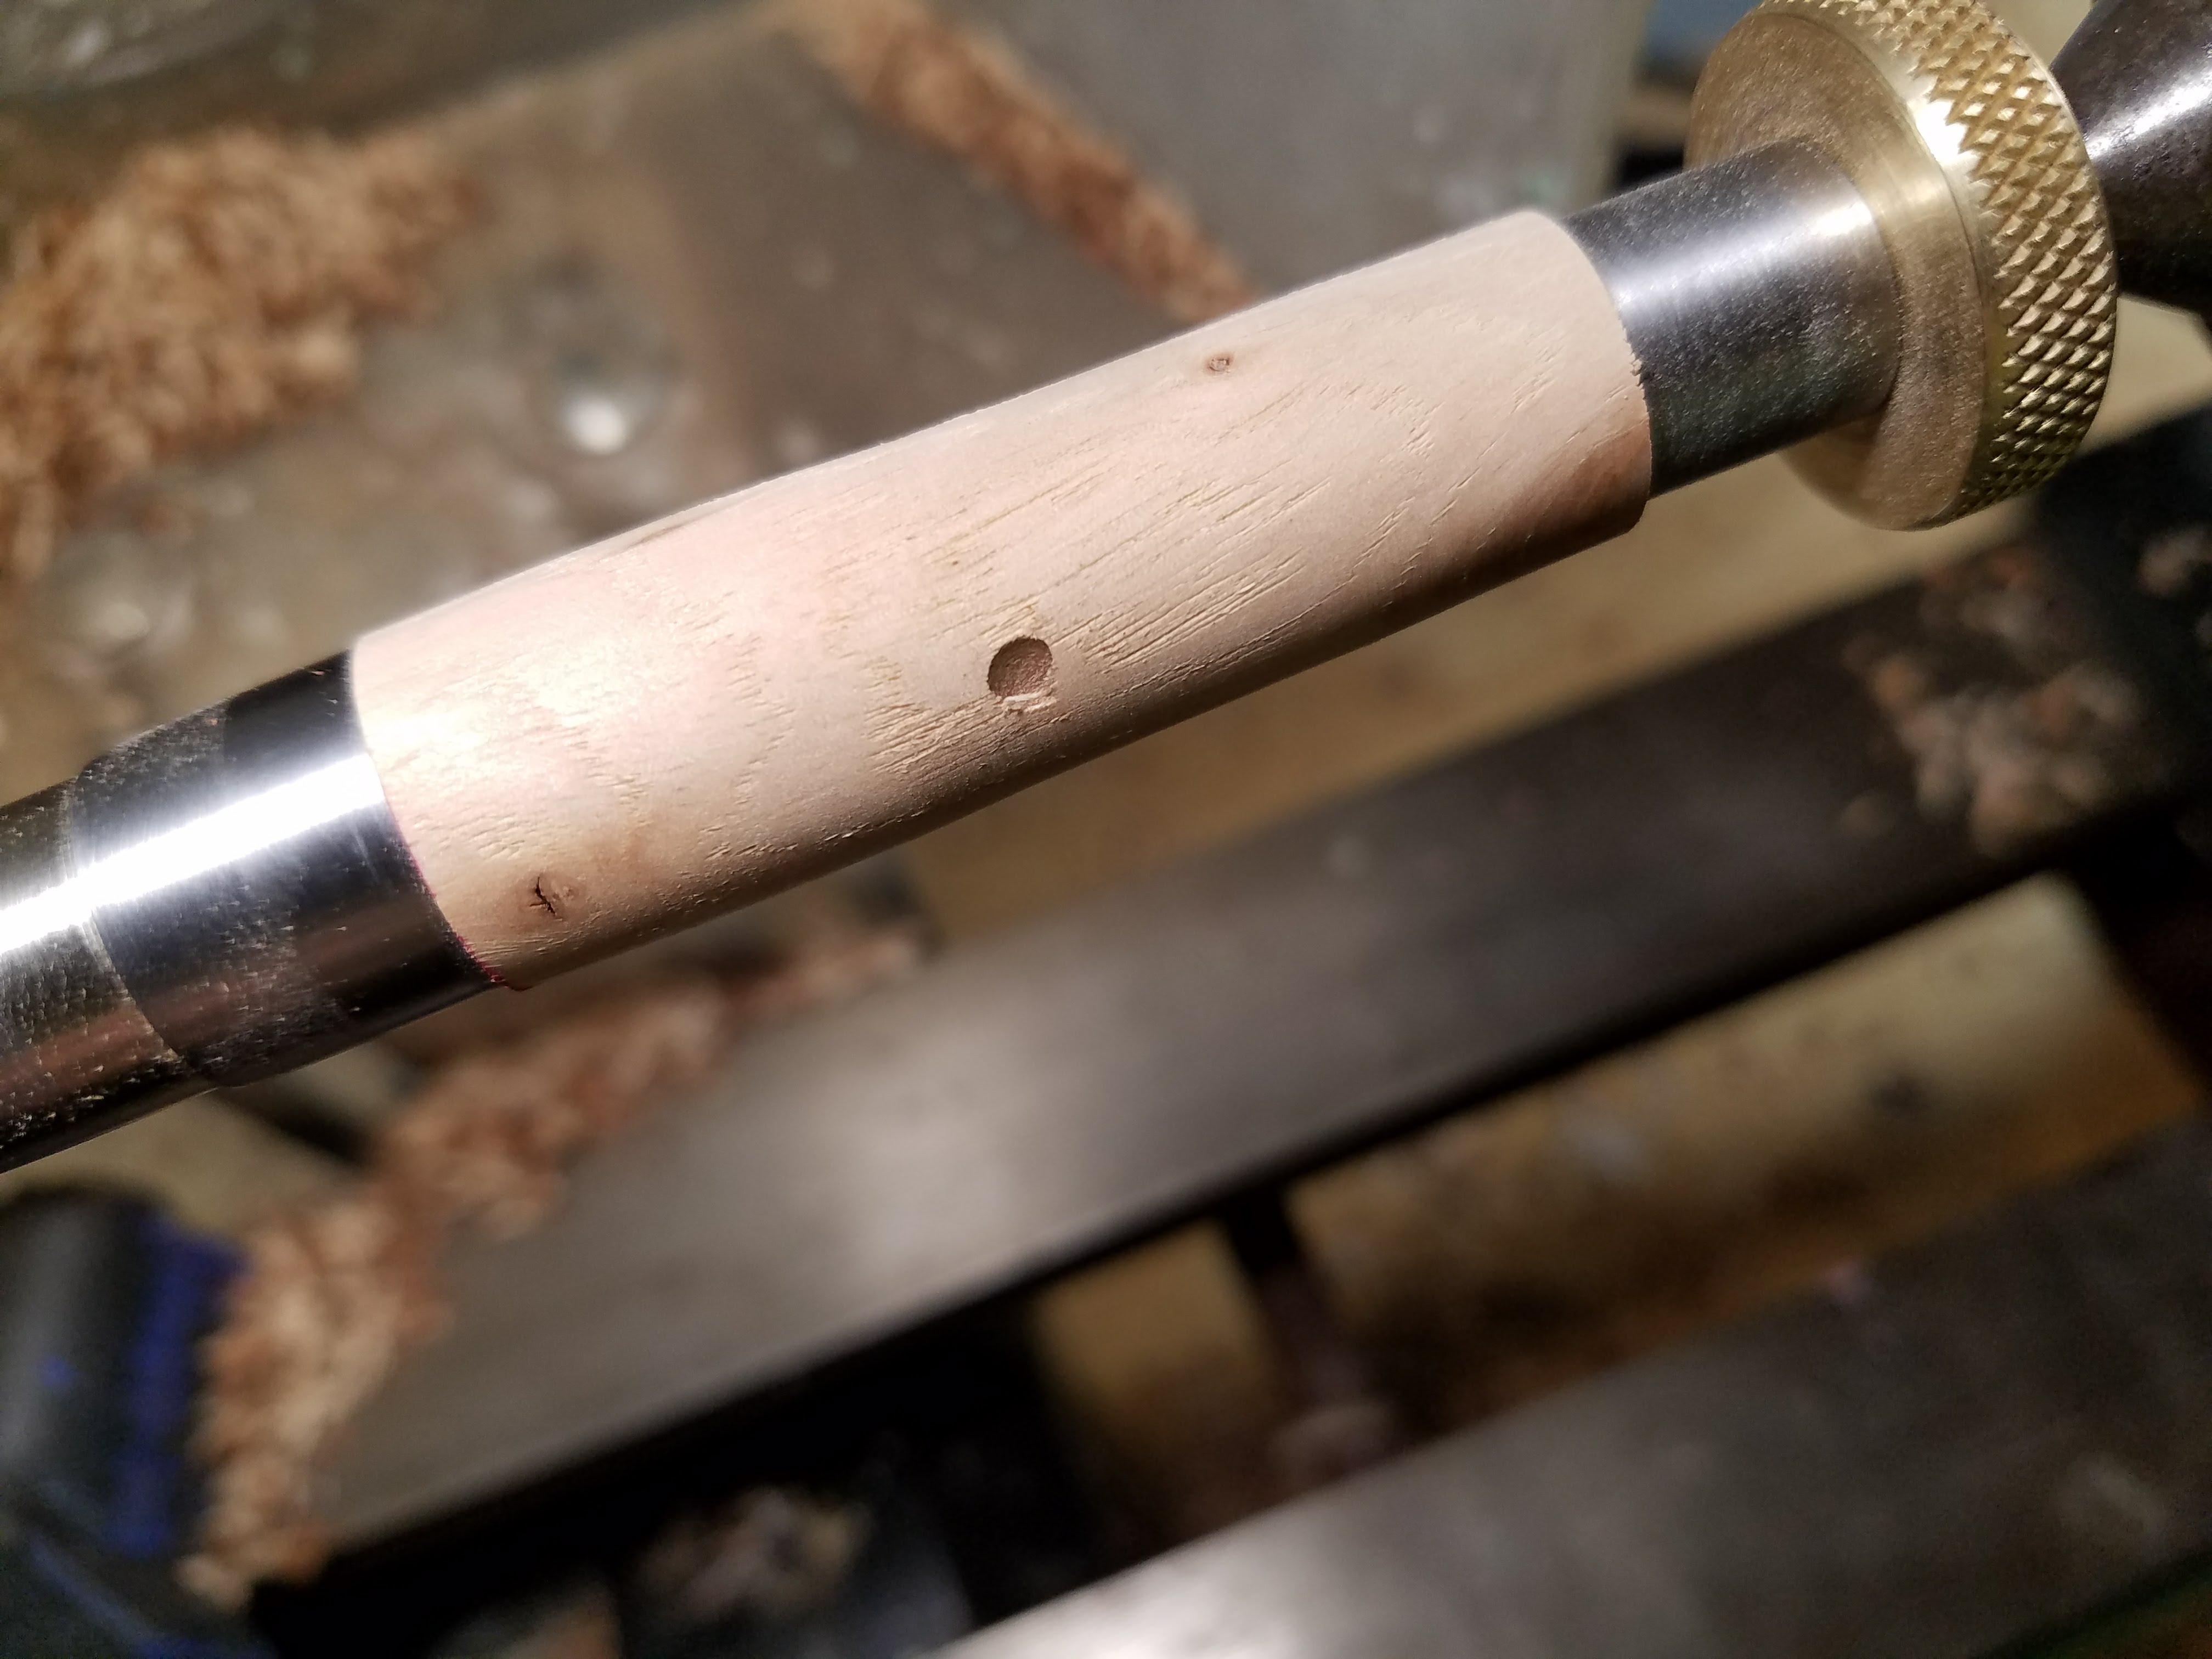
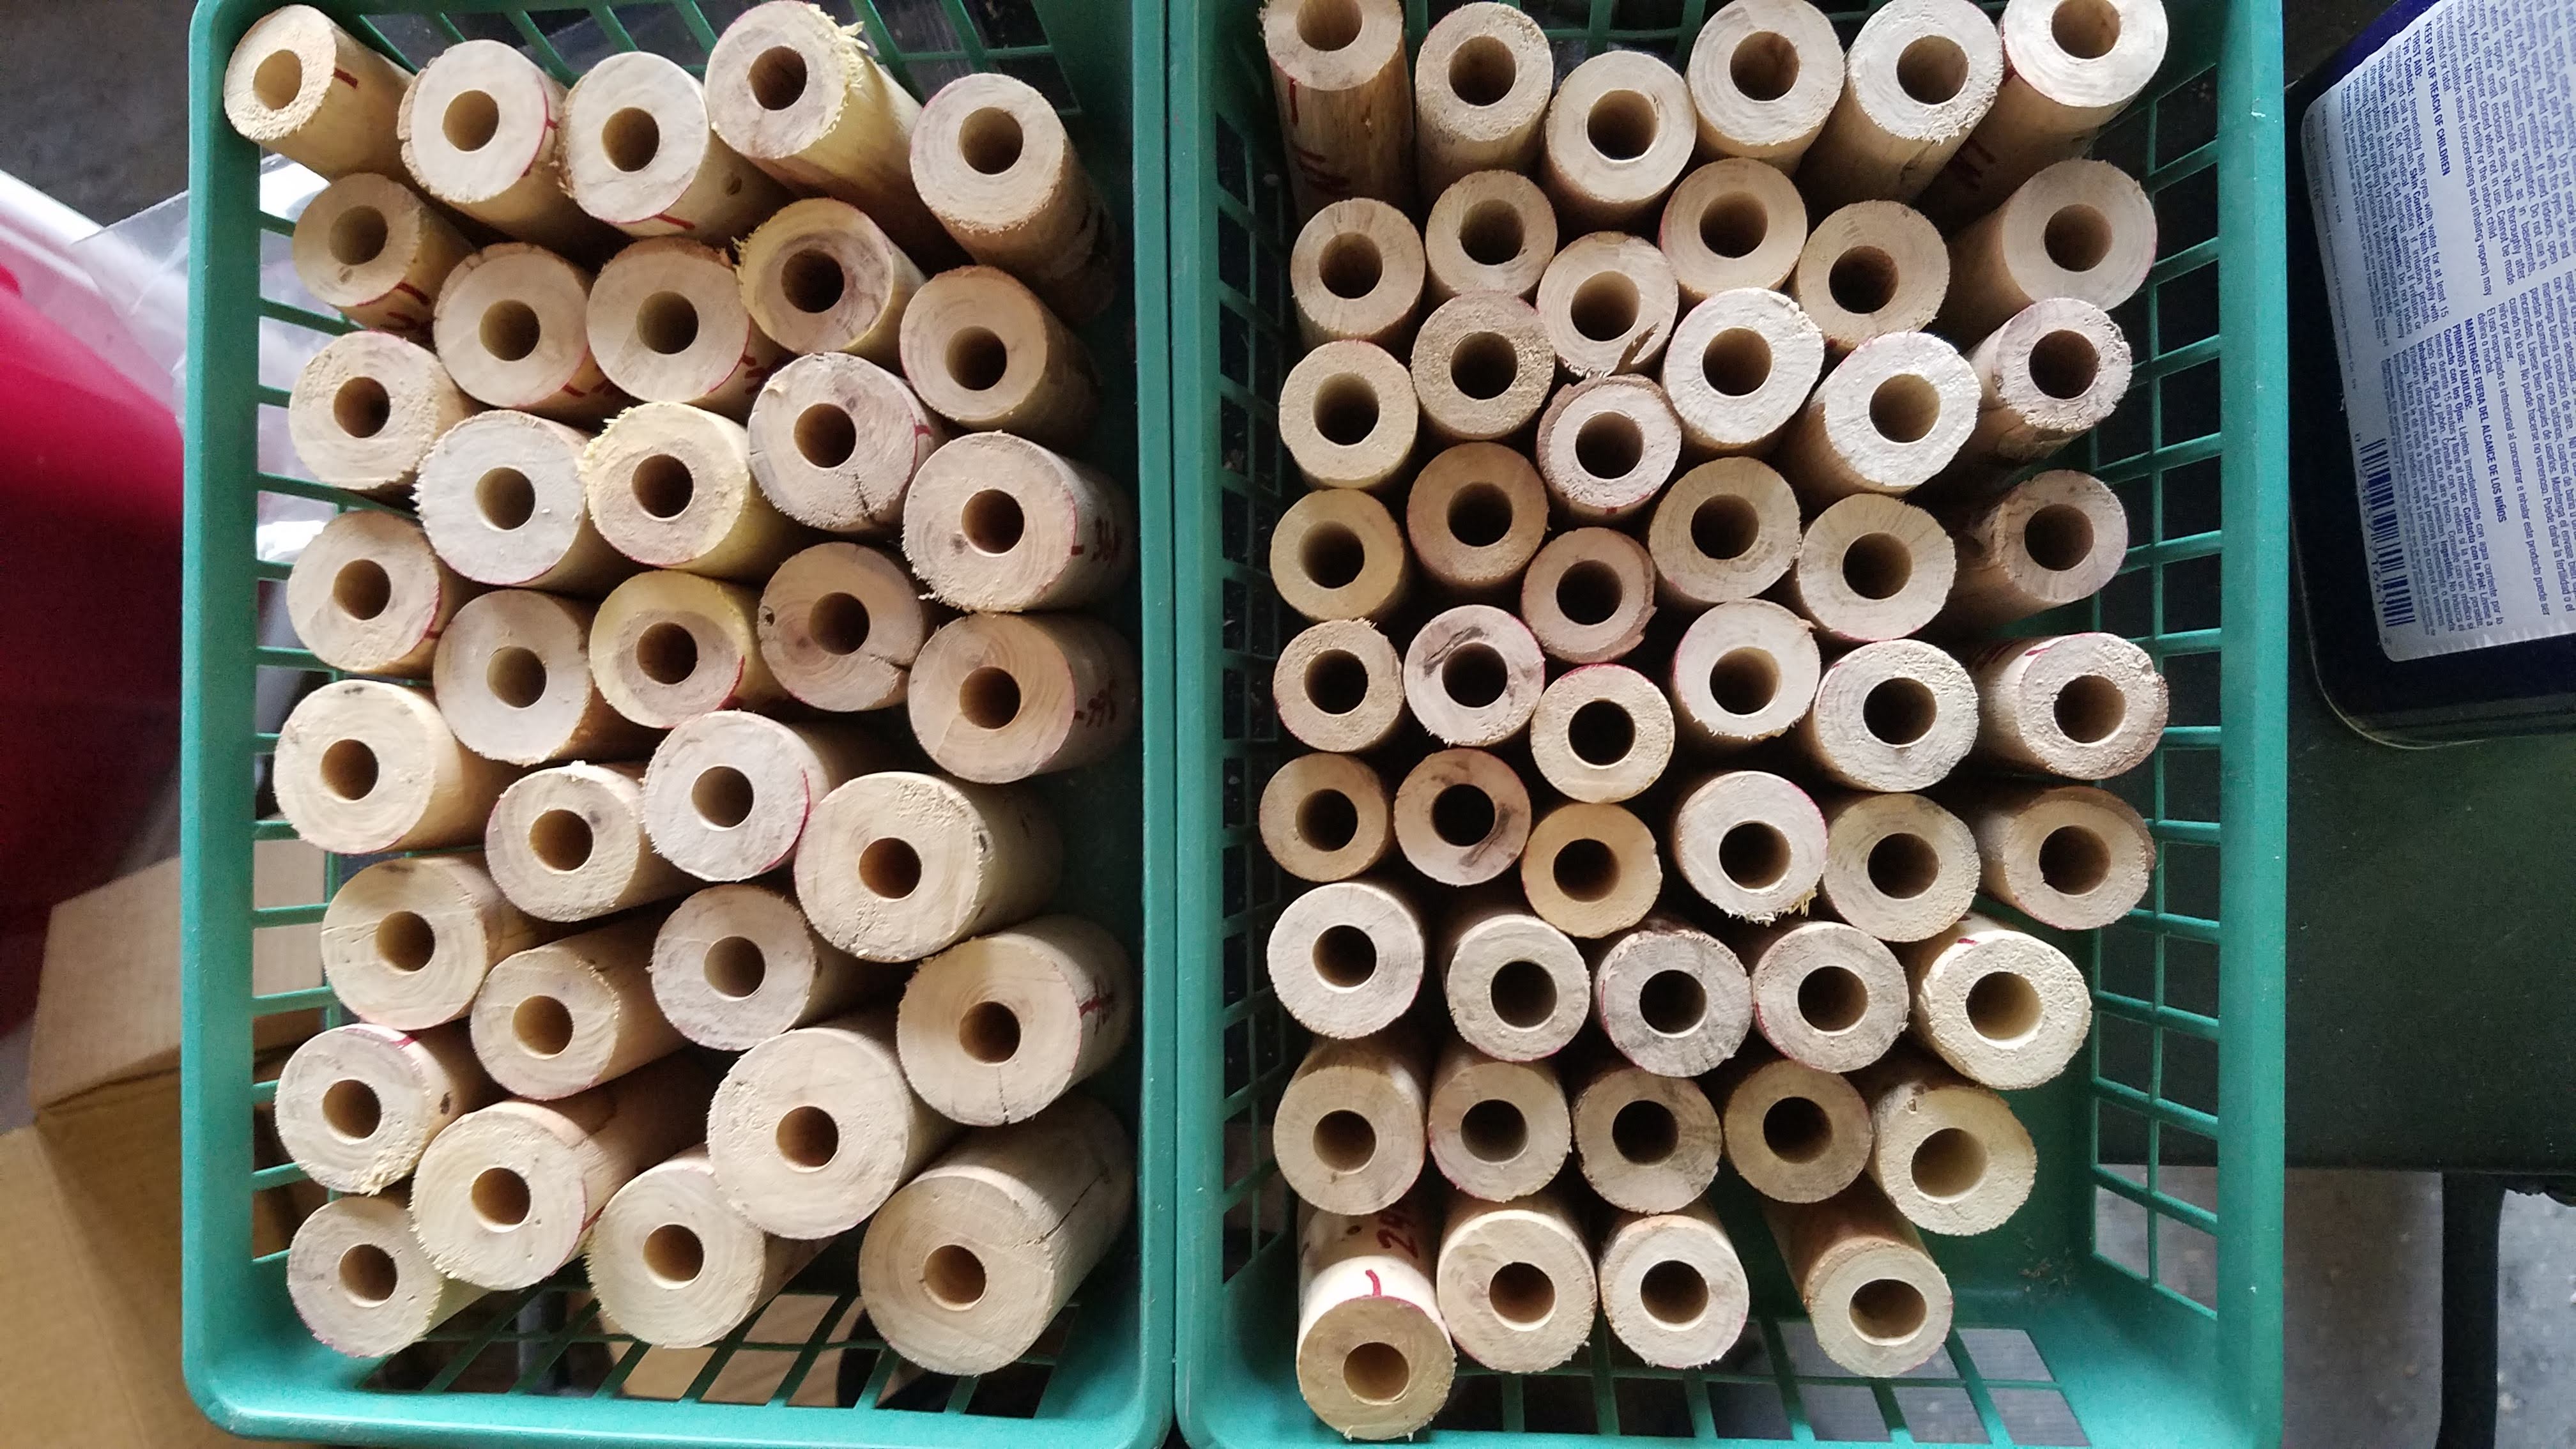
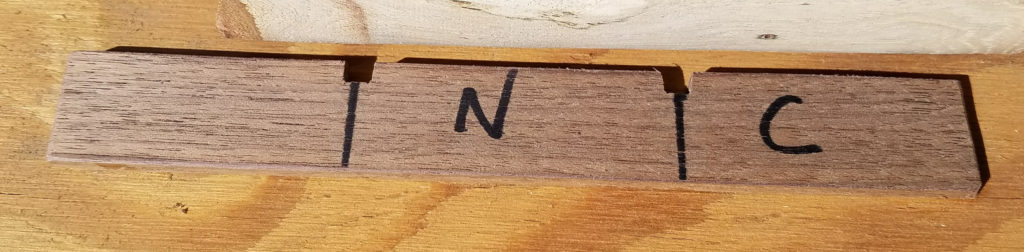
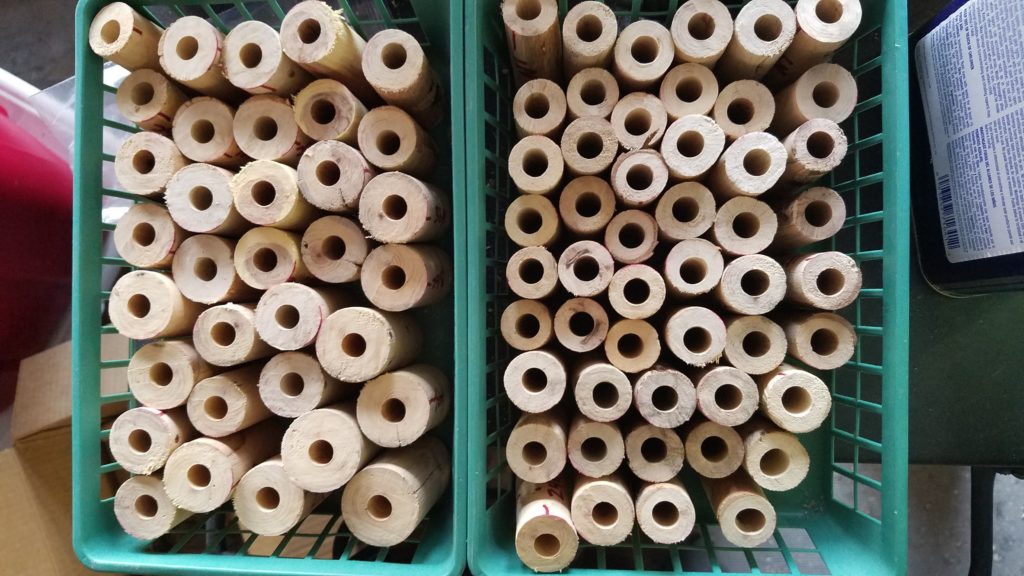
I did blank cutting in batches. I set up my bandsaw outside where sawdust could just be on the ground and cut until I was out of branches. I numbered the pieces as I went, just in numeric sequence. For the first half or so, I cut bark-on rough blanks into cap and nib end halves, marked with a jig tool I made.
That proved to be imprecise enough to cause more problems than it fixed at first.
Finally, I learned to cut the branches into lengths similar to commercial blanks, using one as a template. I would inspect the end of the cut to see if the insect damage was likely to be a problem and discard if necessary. If it looked ok, those went in a stack of potential blanks.
I set up a “spare” lathe outside as well after cleaning up a bushel of chips and dust off the workshop floor. Knocking the rough blanks down to round outside helped the workshop tremendously! Then the jig worked better marking the blanks for cutting to length.
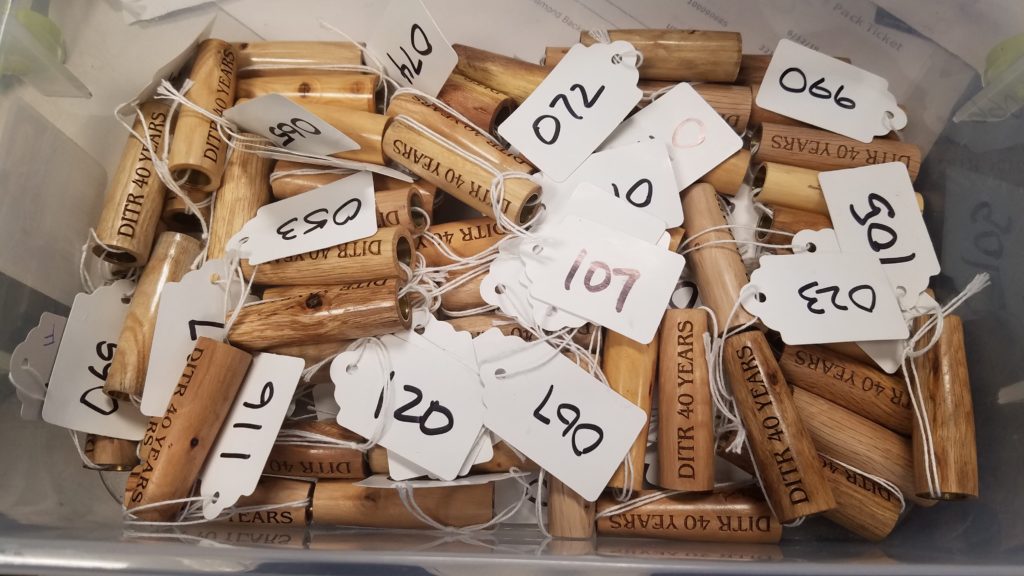
Somewhere in here, the organizers added 20 players to the roster, so I had to order some more pen kits and number some more bags and tags for a total of 120.
Fairly early in the process, I realized that I was spending about 10 minutes turning a pen and anywhere from 30 minutes to an hour with the filling and finishing process using CA. I prefer a CA finish, but it was killing my production numbers, especially as I had more pens to finish. I picked up some Doctor’s Woodshop Pens Plus finish. This is a walnut oil and shellac based friction finish that is probably 90% as glossy as CA, presuming the surface is nicely prepped before application. Most importantly, it usually takes about 5 minutes to apply and polish. I don’t have any really long term wear info yet, but the test pen I made has held up to use and transport without issue.
Surface prep before applying Pens Plus sometimes was just filling holes and sometimes even sealing / stabilizing spongy wood with thin CA. The Pens Plus finish works over the CA just fine. That does not work the other way round. It takes some time, but CA applied over Pens Plus will crackle and flake. That is not really surprising, but I had to at least try it.
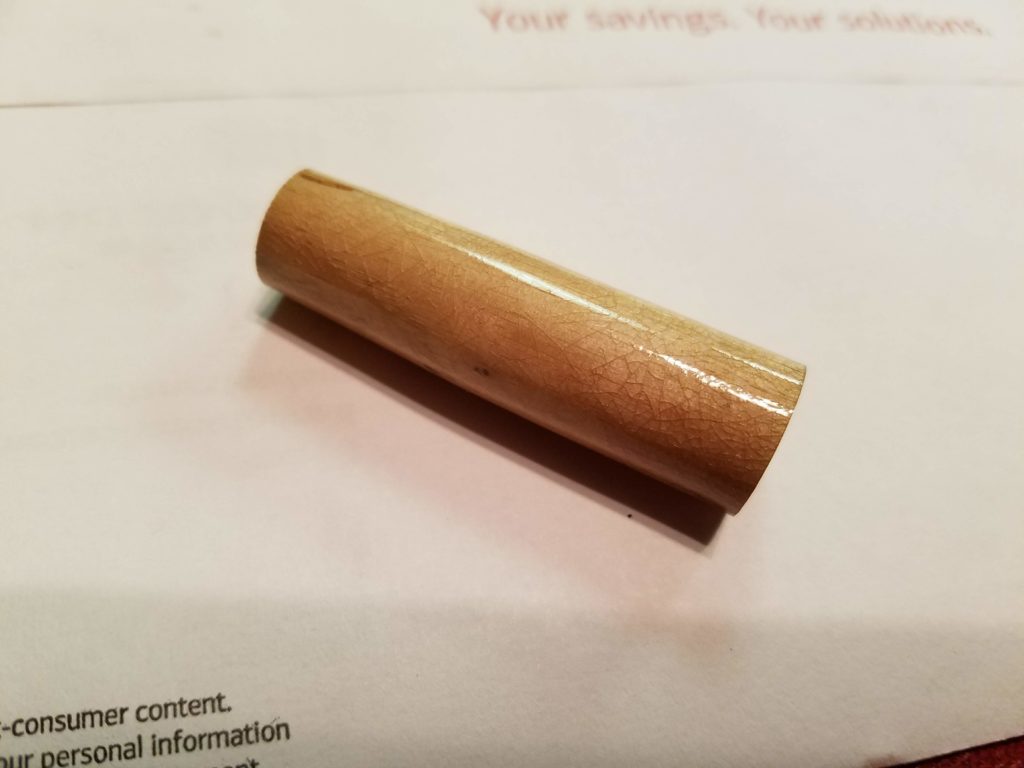
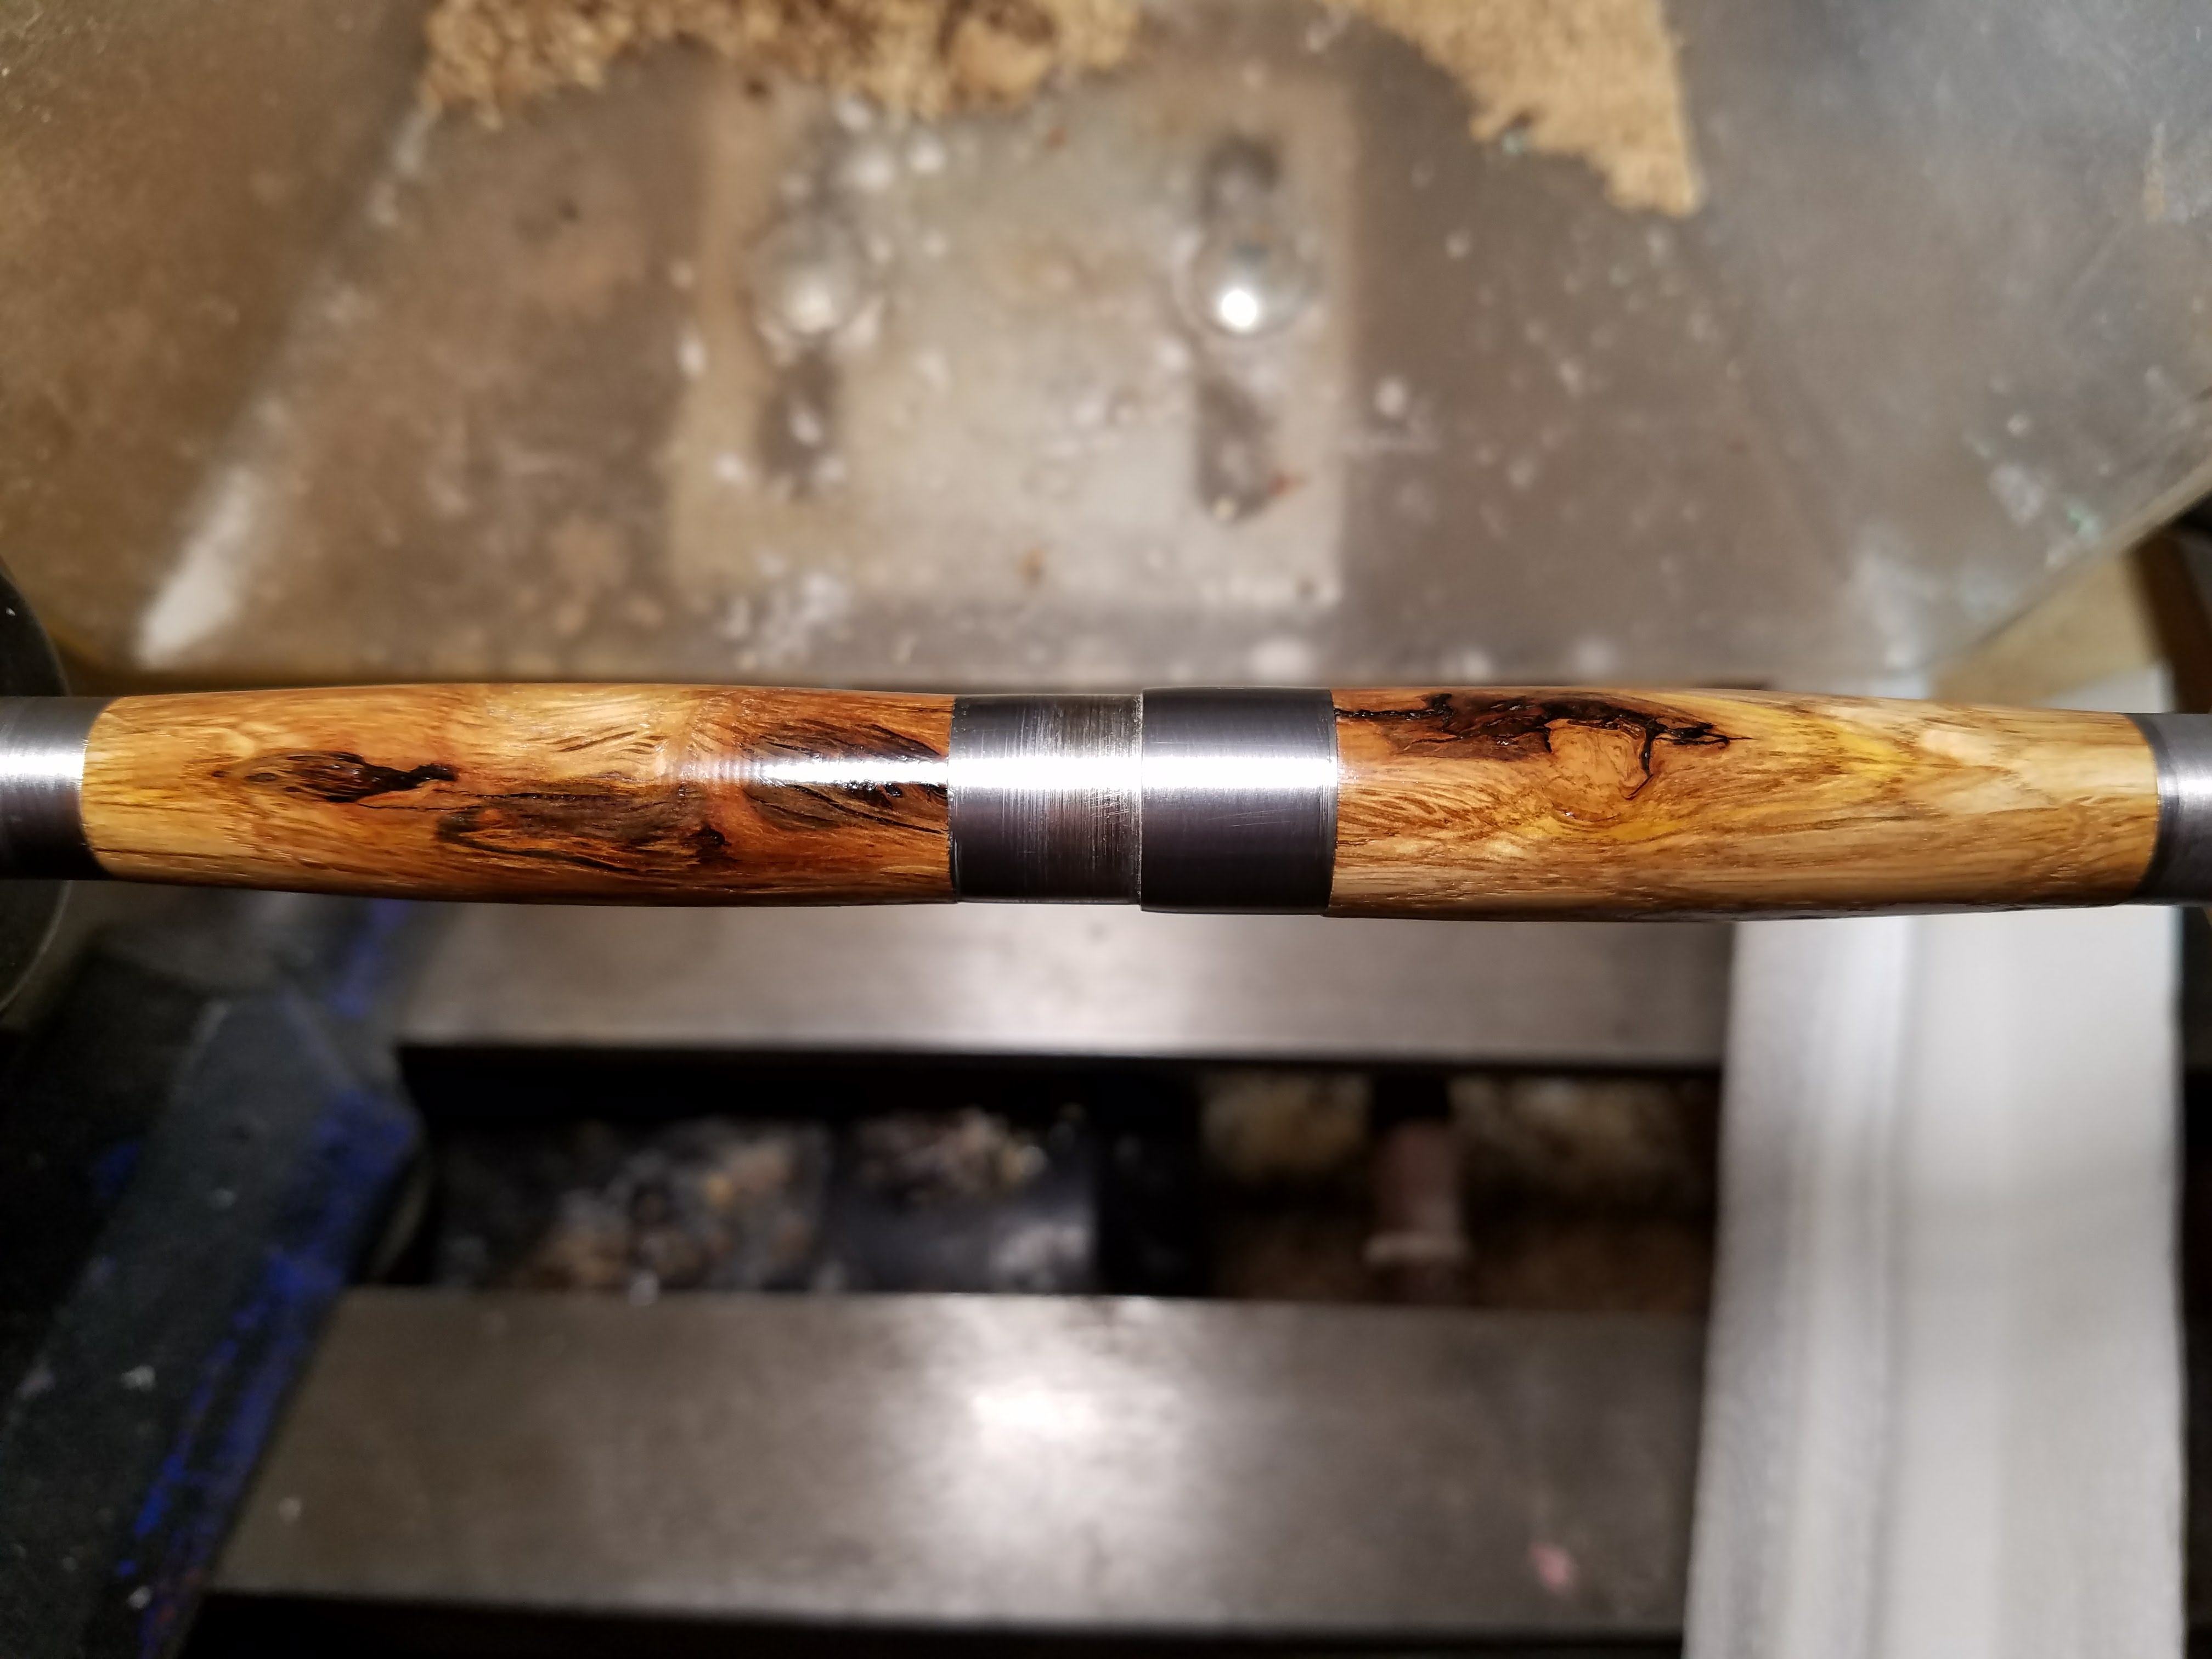
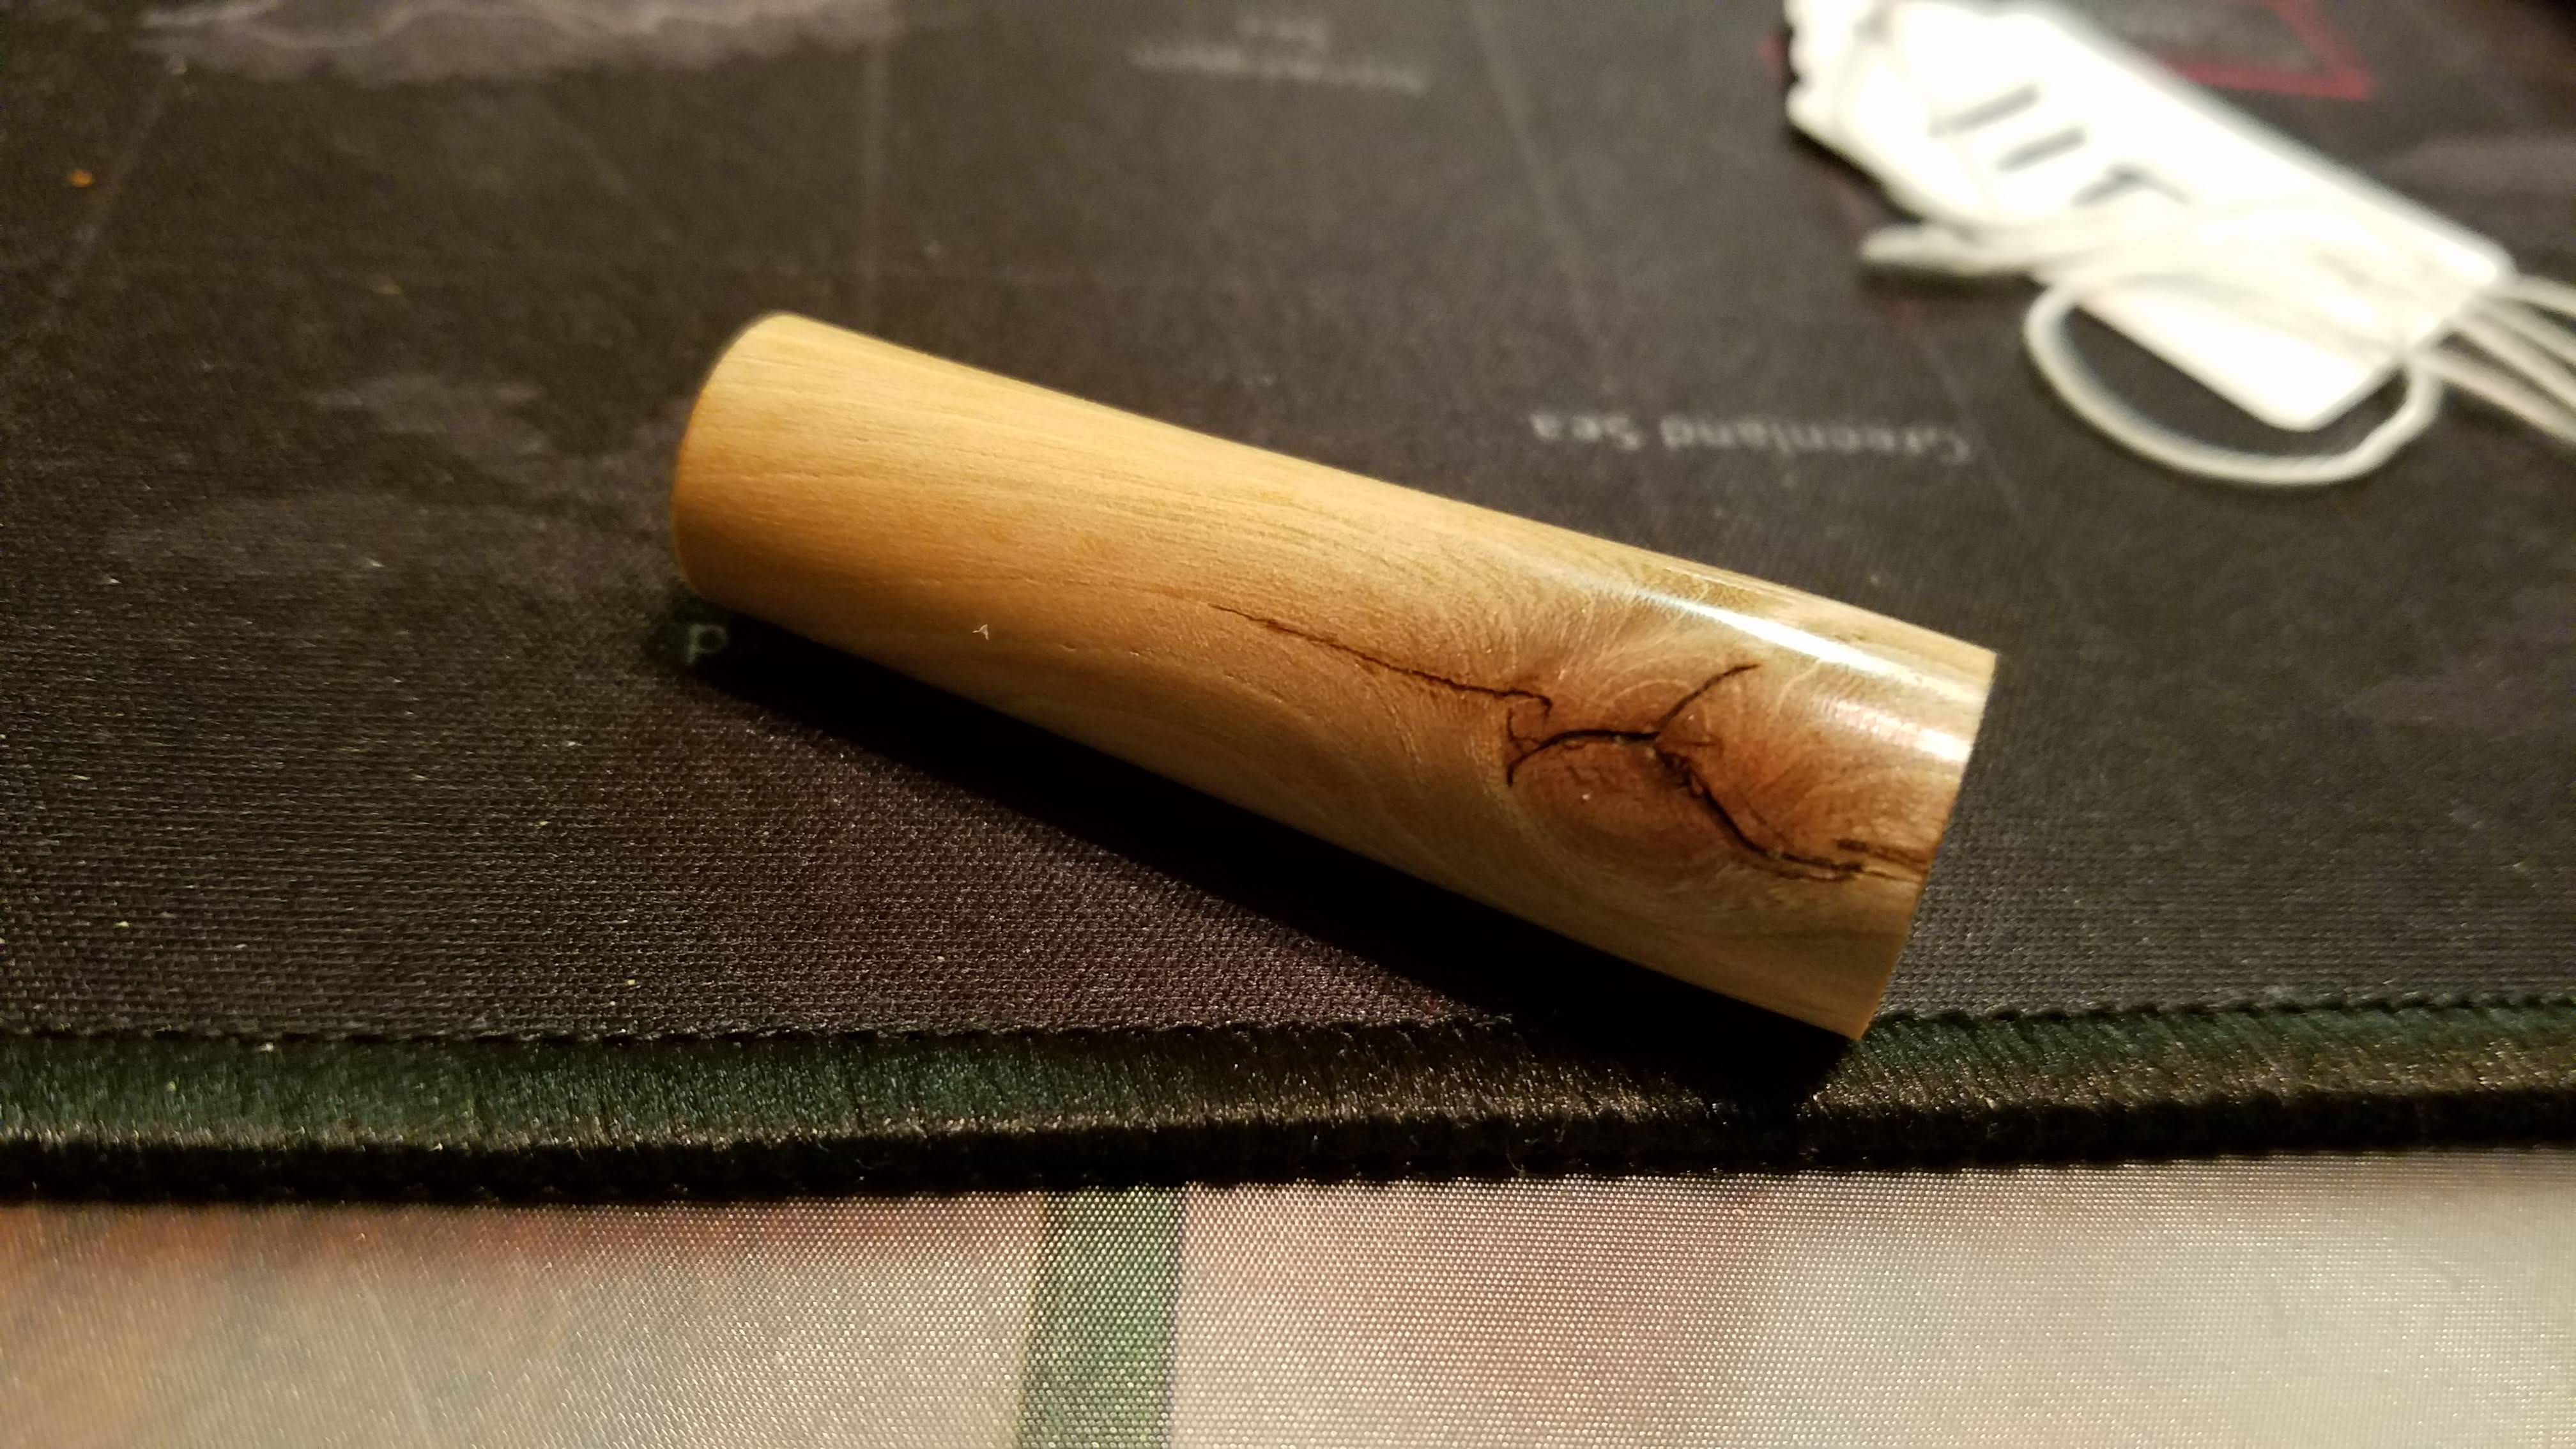
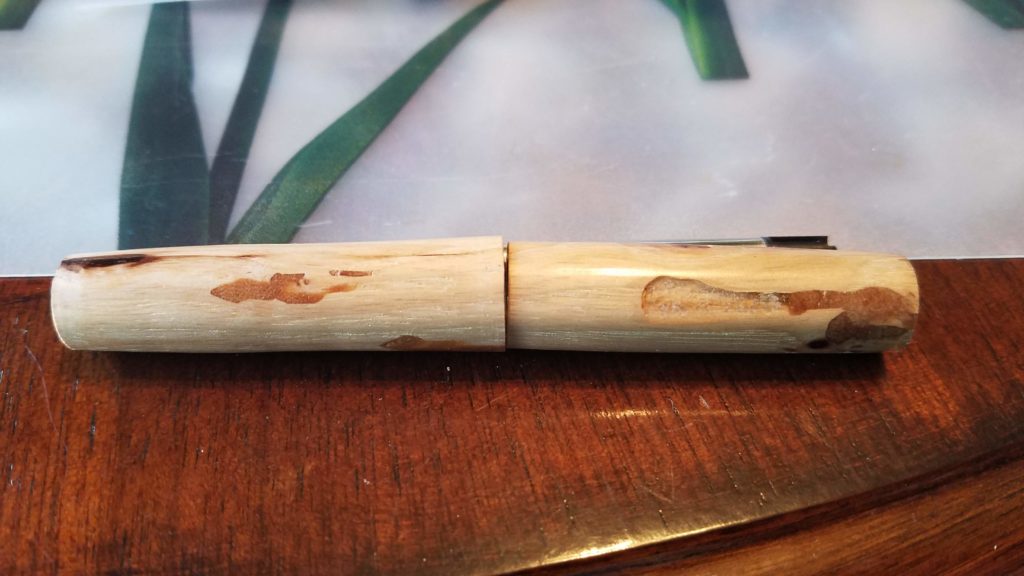
Most of the wood was oak or sycamore. The oak tended to have more simple insect damage and the sycamore tended to have more staining from disease. Most of the pens turned out basically white or light honey colored with little bits of interesting contrast, like knotholes, cracks, or staining. Some pens feature all three.

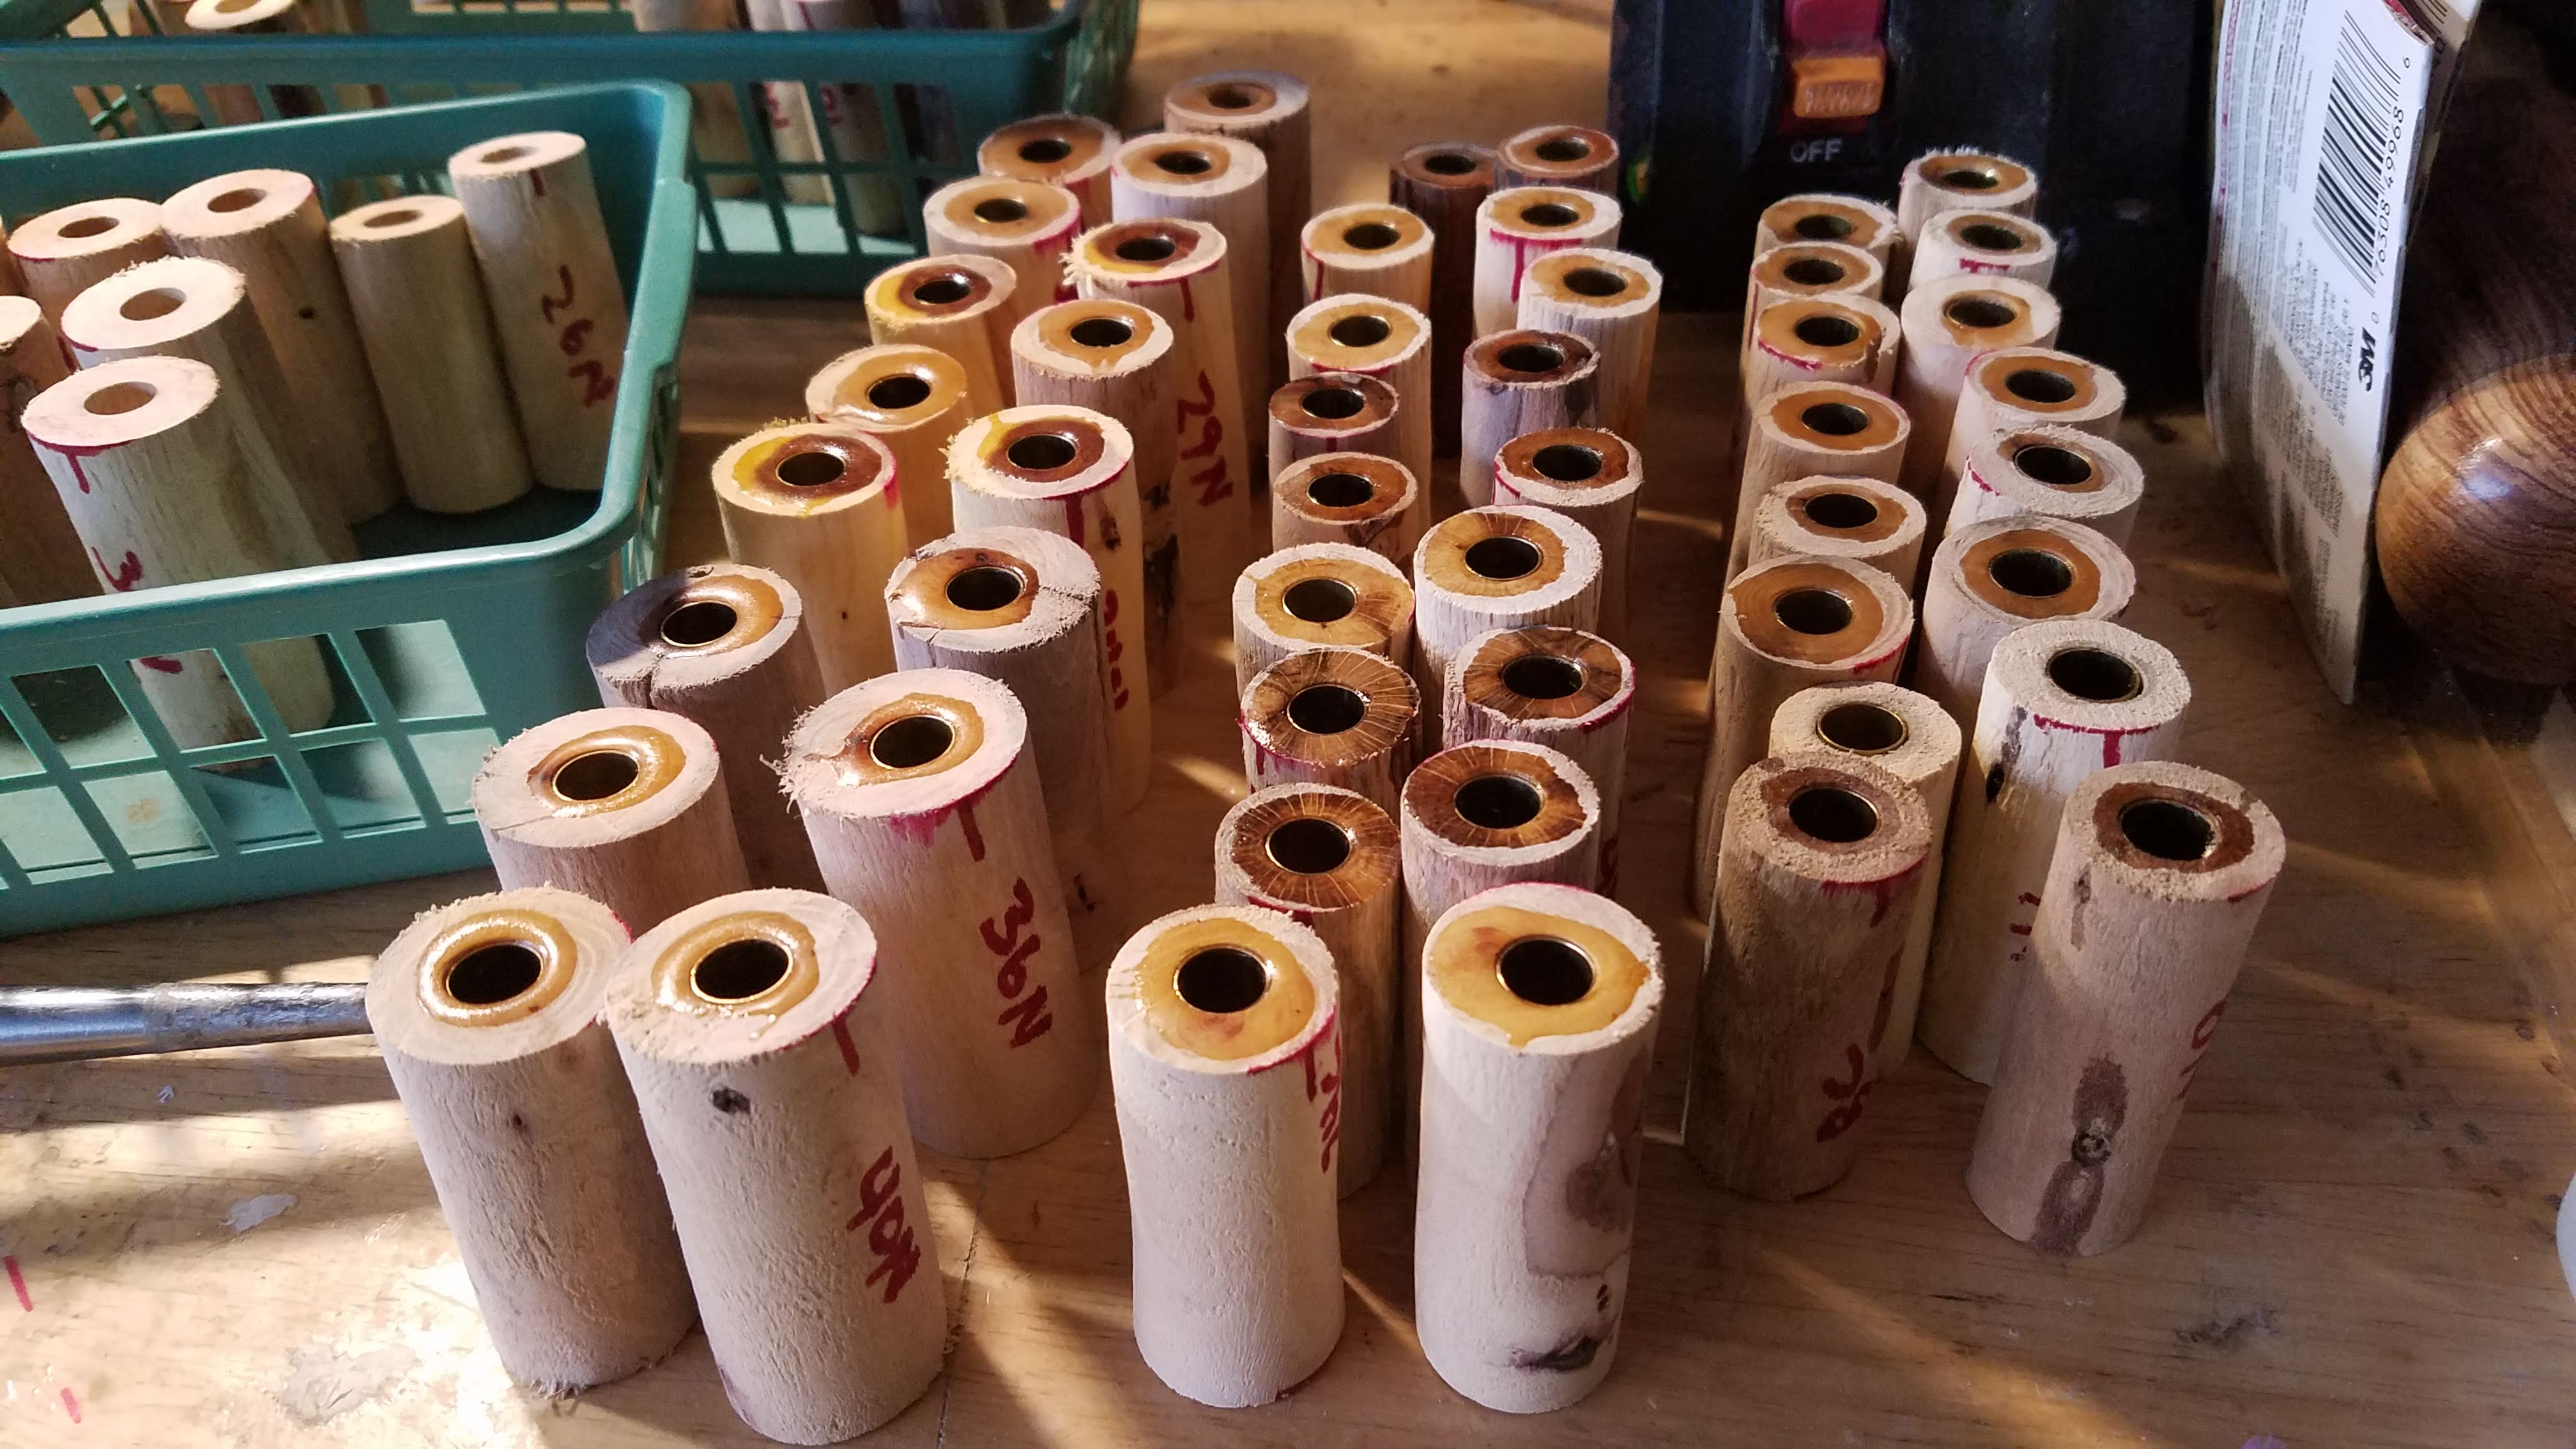
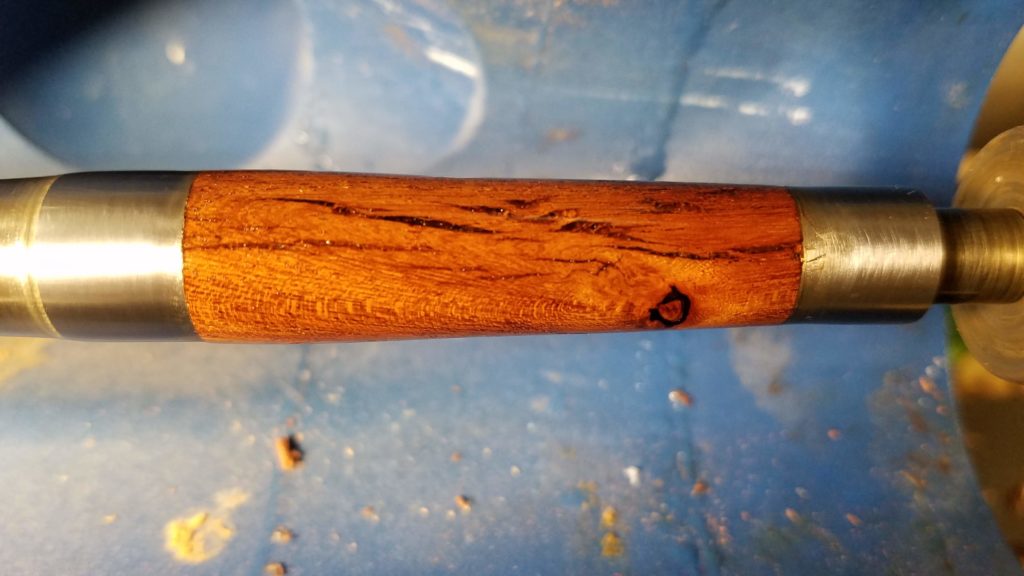
There was only a few pieces of mesquite. Some of those were very nice pieces but some were run through with cracks. I turned them down to within a few millimeters of the final dimension before filling the cracks with CA. The final pen turned out very interesting.
By the last half or so of the pens, I had a pretty decent process in place for spending a Saturday making blanks and a Sunday turning those, filling in the occasional weekday evening pen here and there.


The numbers in the batches of blanks were mostly just to keep the pairs together and did not correlate to the kit numbers at all. When I ran out of one batch of blanks, the next would restart at 1 and sequence up until I ran out of material.
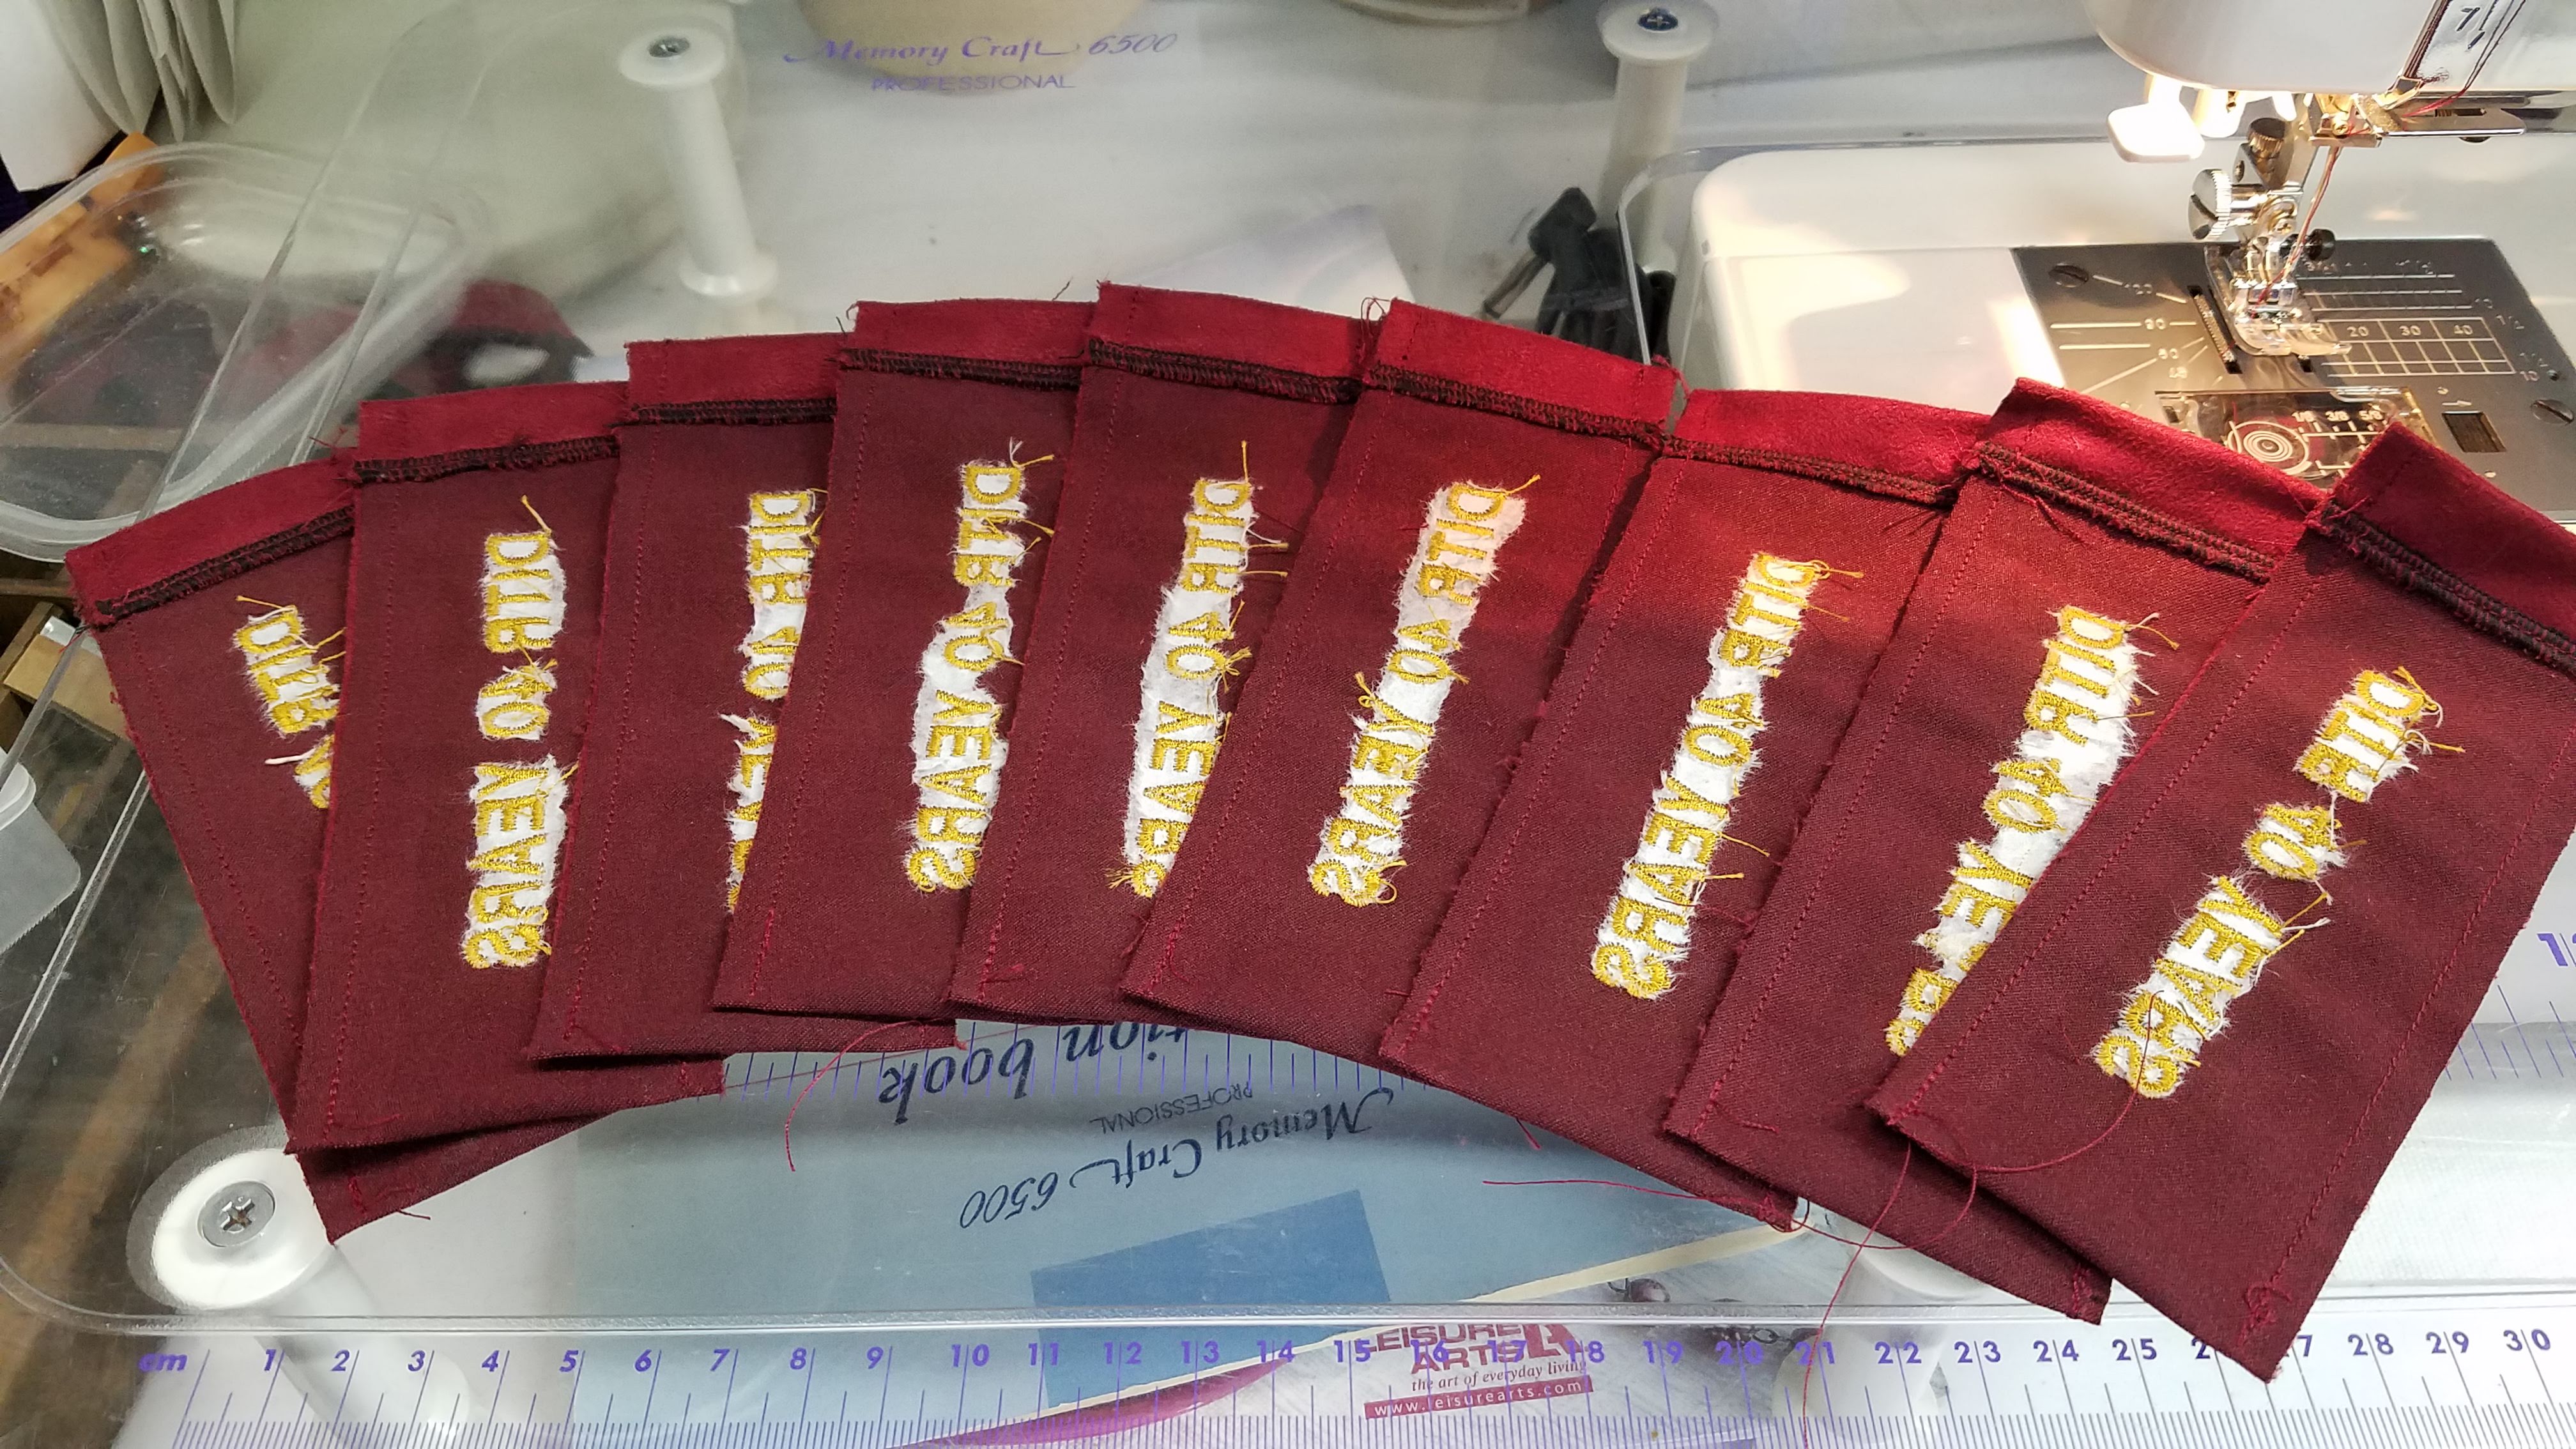
As I finished turning each set of barrels, they went into the next numbered kit bag that I pulled out of the box. They were just pulled out of the box without regard for the kit number; it didn’t matter at this point.
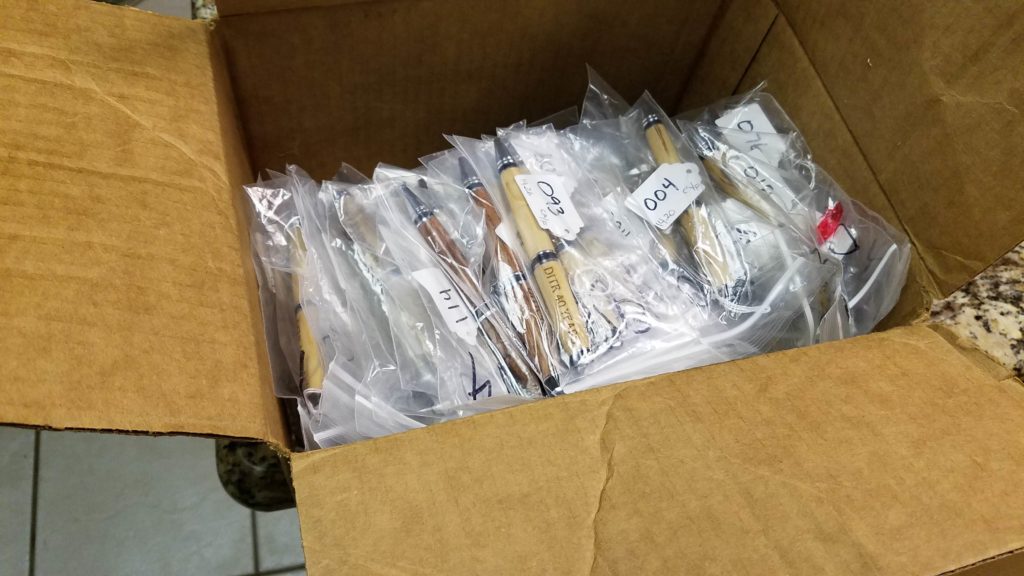
I delivered three batches of pen caps to the engraver to have the logo lasered on. I pulled the cap and the string tag out of the bag and ran the string through the barrel to secure it. The caps went in a plastic box and the kits with the nib end only went into their own box marked “out to engraver”.
Having had quite a few pens engraved by this guy, he let me basically run it on credit so we could pay for all the engraving at once at the end of the whole job. That way the LGA could write one check. Your mileage may vary.
When they came back from the engraver, I just had to pull out one bagged kit, find it’s mating cap in the box and do the final assembly of the pen. I put the string tag on the pen clip and put the assembled pen back in it’s numbered bag and finally into a box of completed pens.
Things did not go perfectly, so I had to make a few extra pens to replace those that did not pass muster.
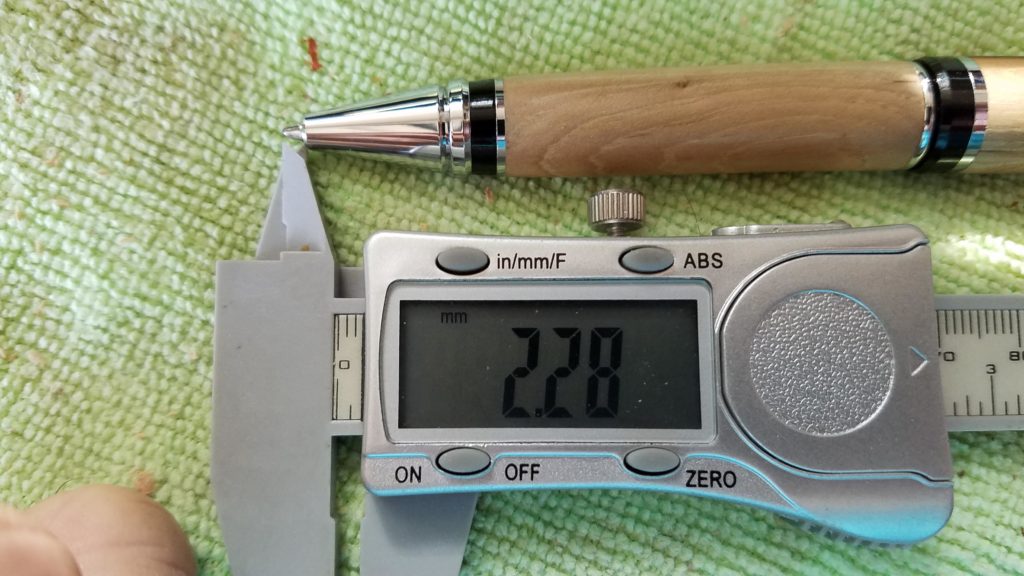
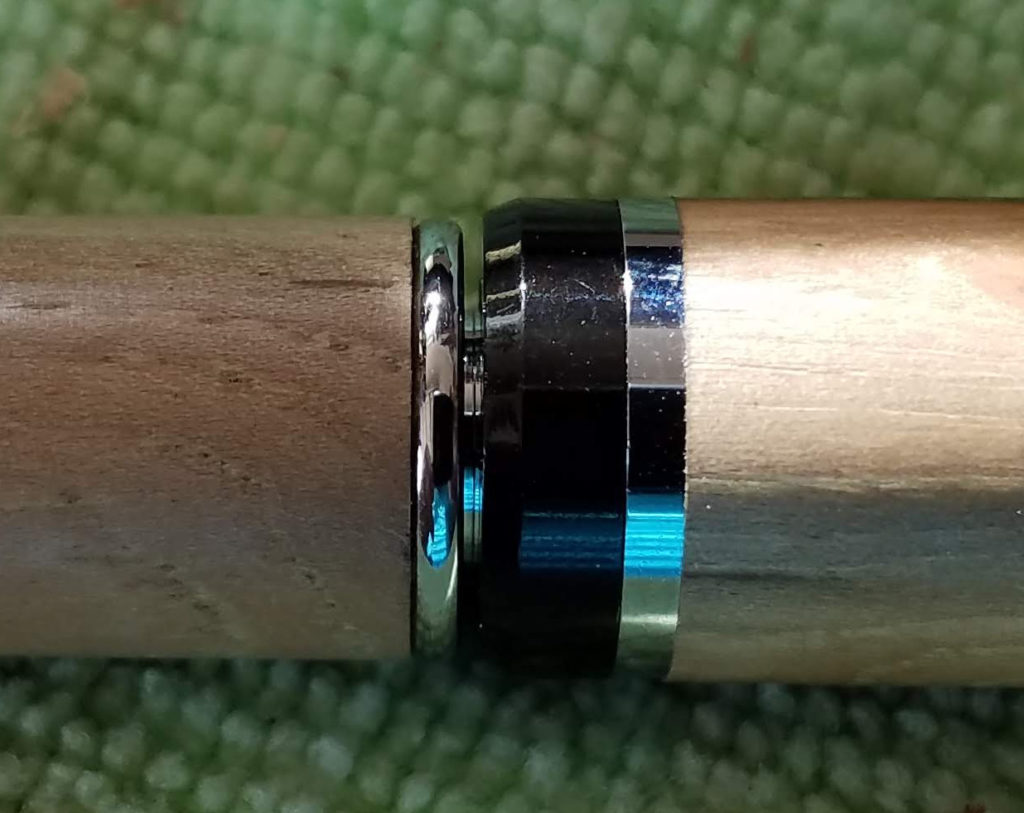
I overzealously trimmed some barrels, which I will blame on lighting and not being able to see it was trimmed enough. That resulted in a couple of pens with barrels that were too short, so the filler could not fully retract.
One that was particularly sad was for a pen in which I had found the live insect when I was turning the pen. Well, most of it anyway. I had gone to special effort to fill the very large void so that I could have a pen with a specific story.
Unfortunately, on this one and only pen, I had installed the center bushing reversed, so the finished pen did not fit the hardware 🙁
I should note here that we picked two especially stunning pens to be our own from this project. I spent the time to apply CA finish and I paid cash separate for their engraving.
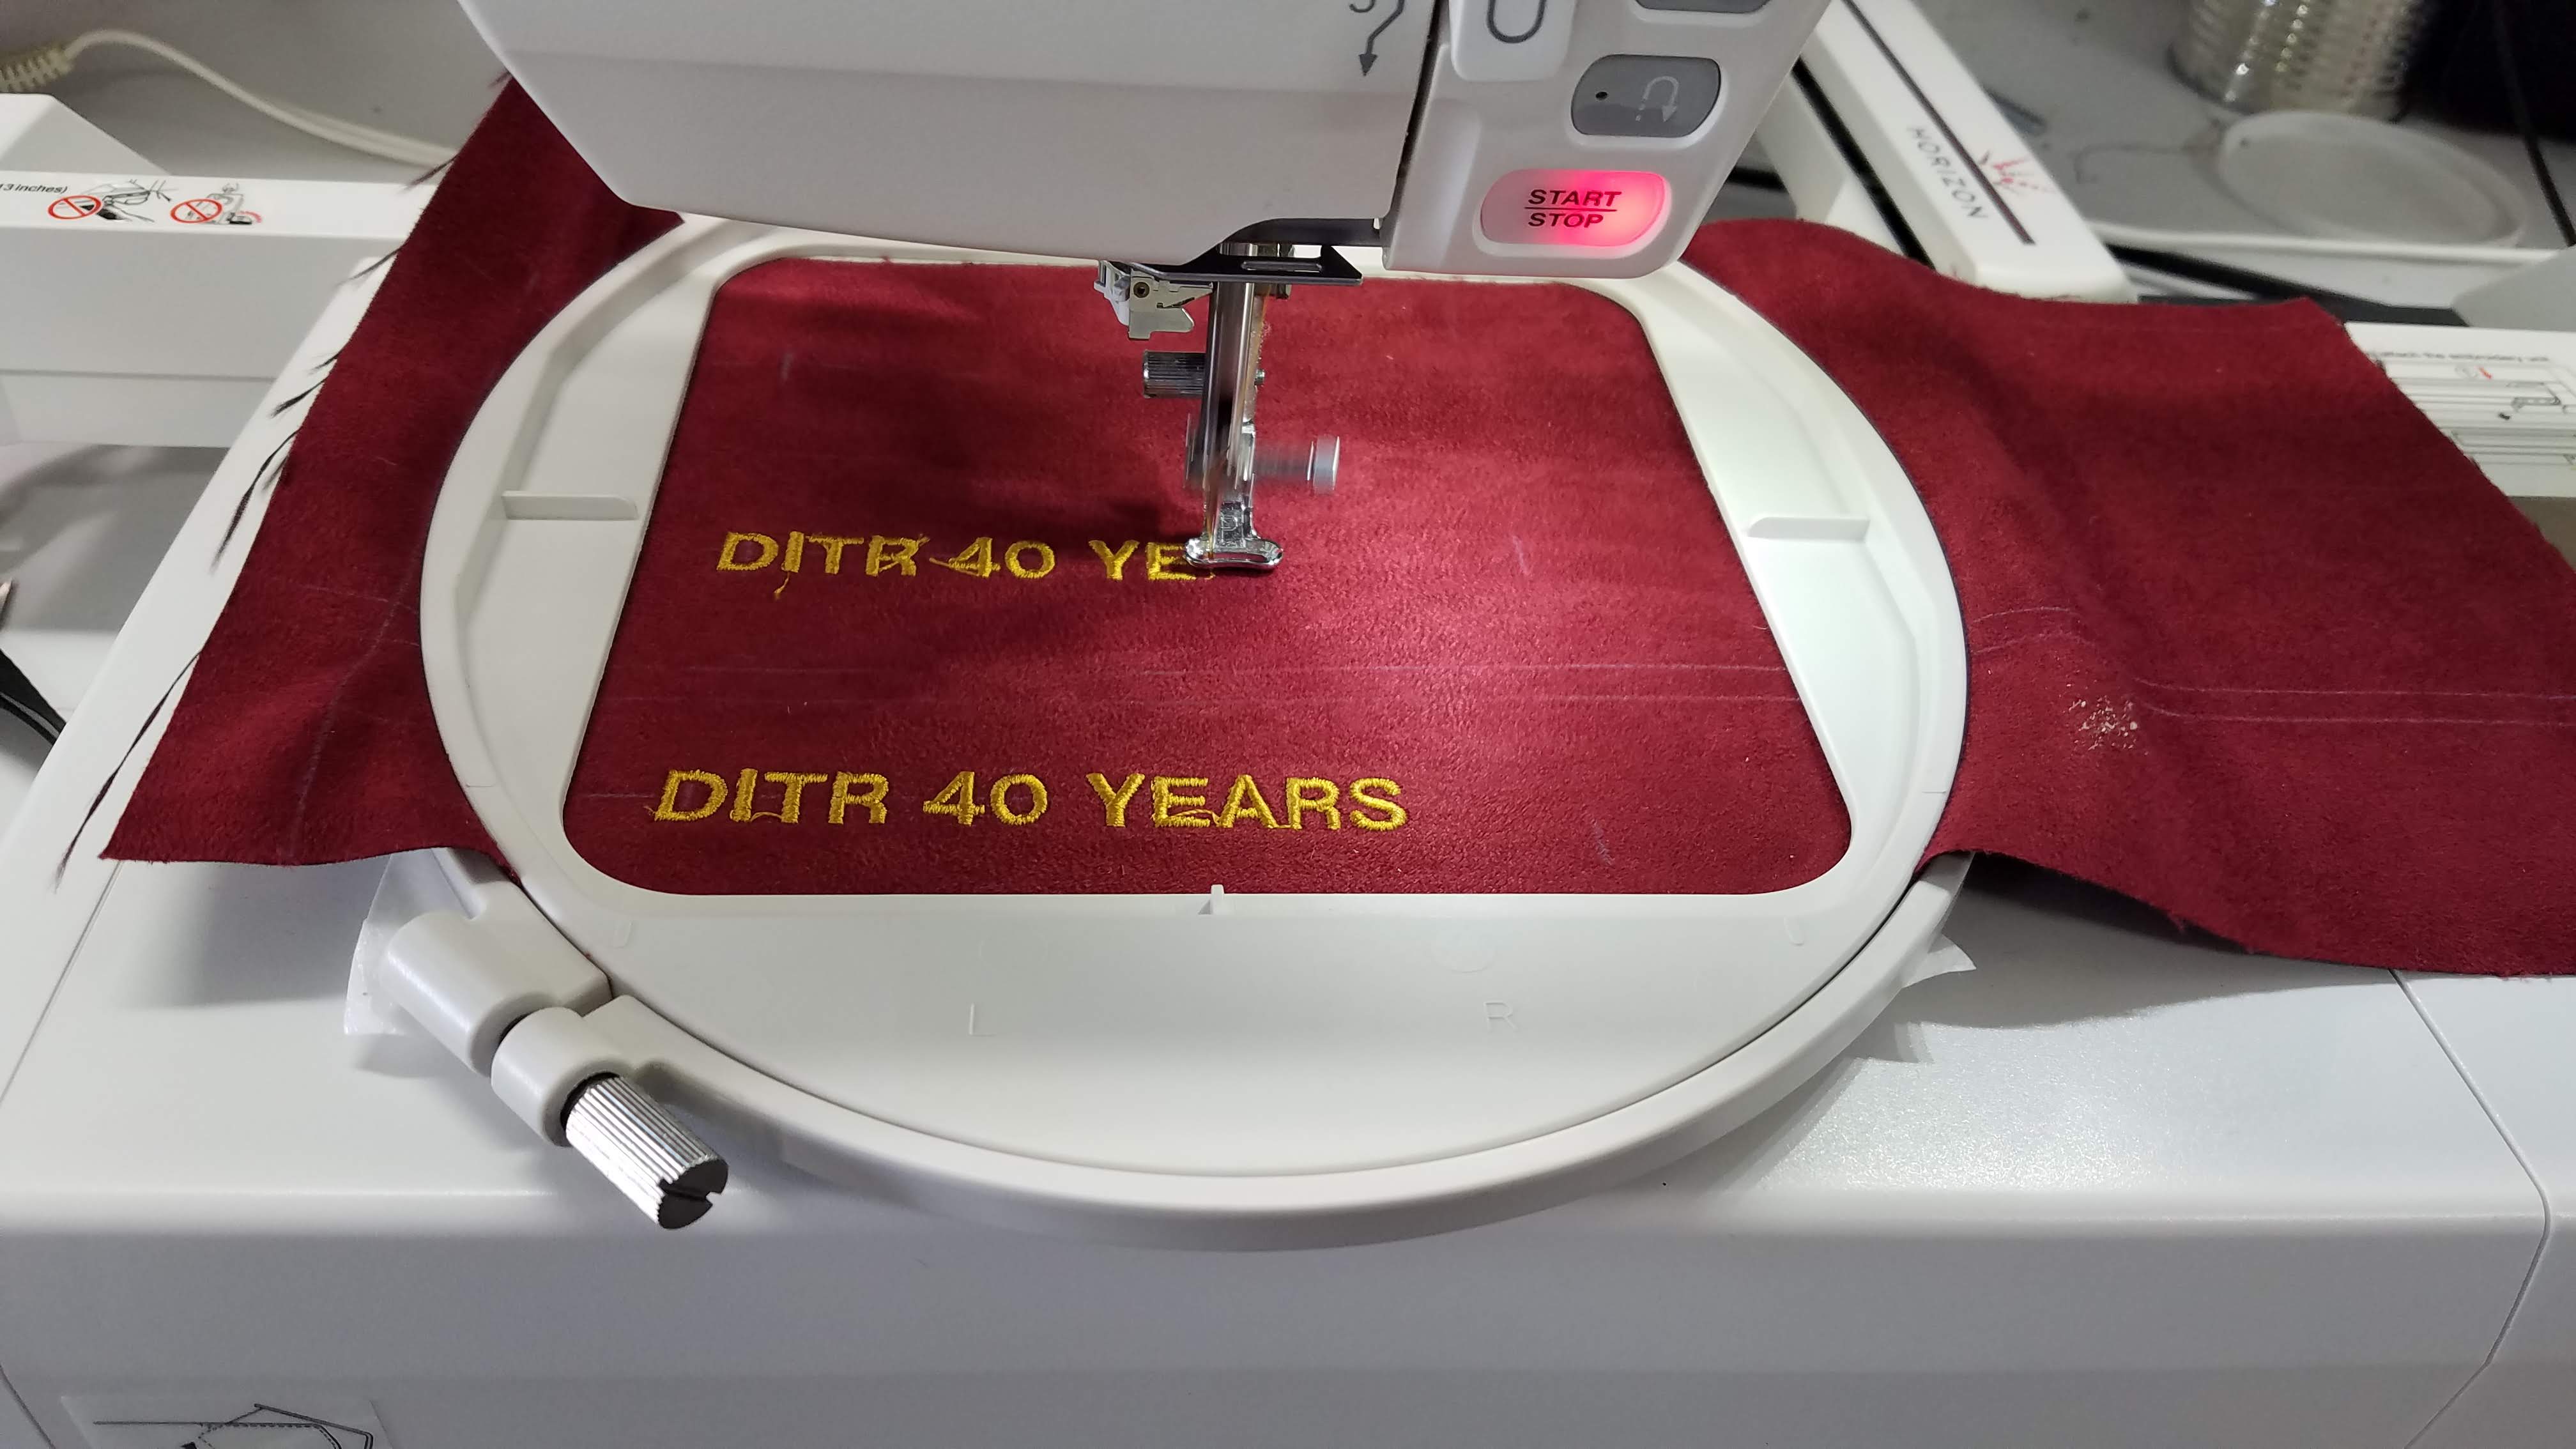
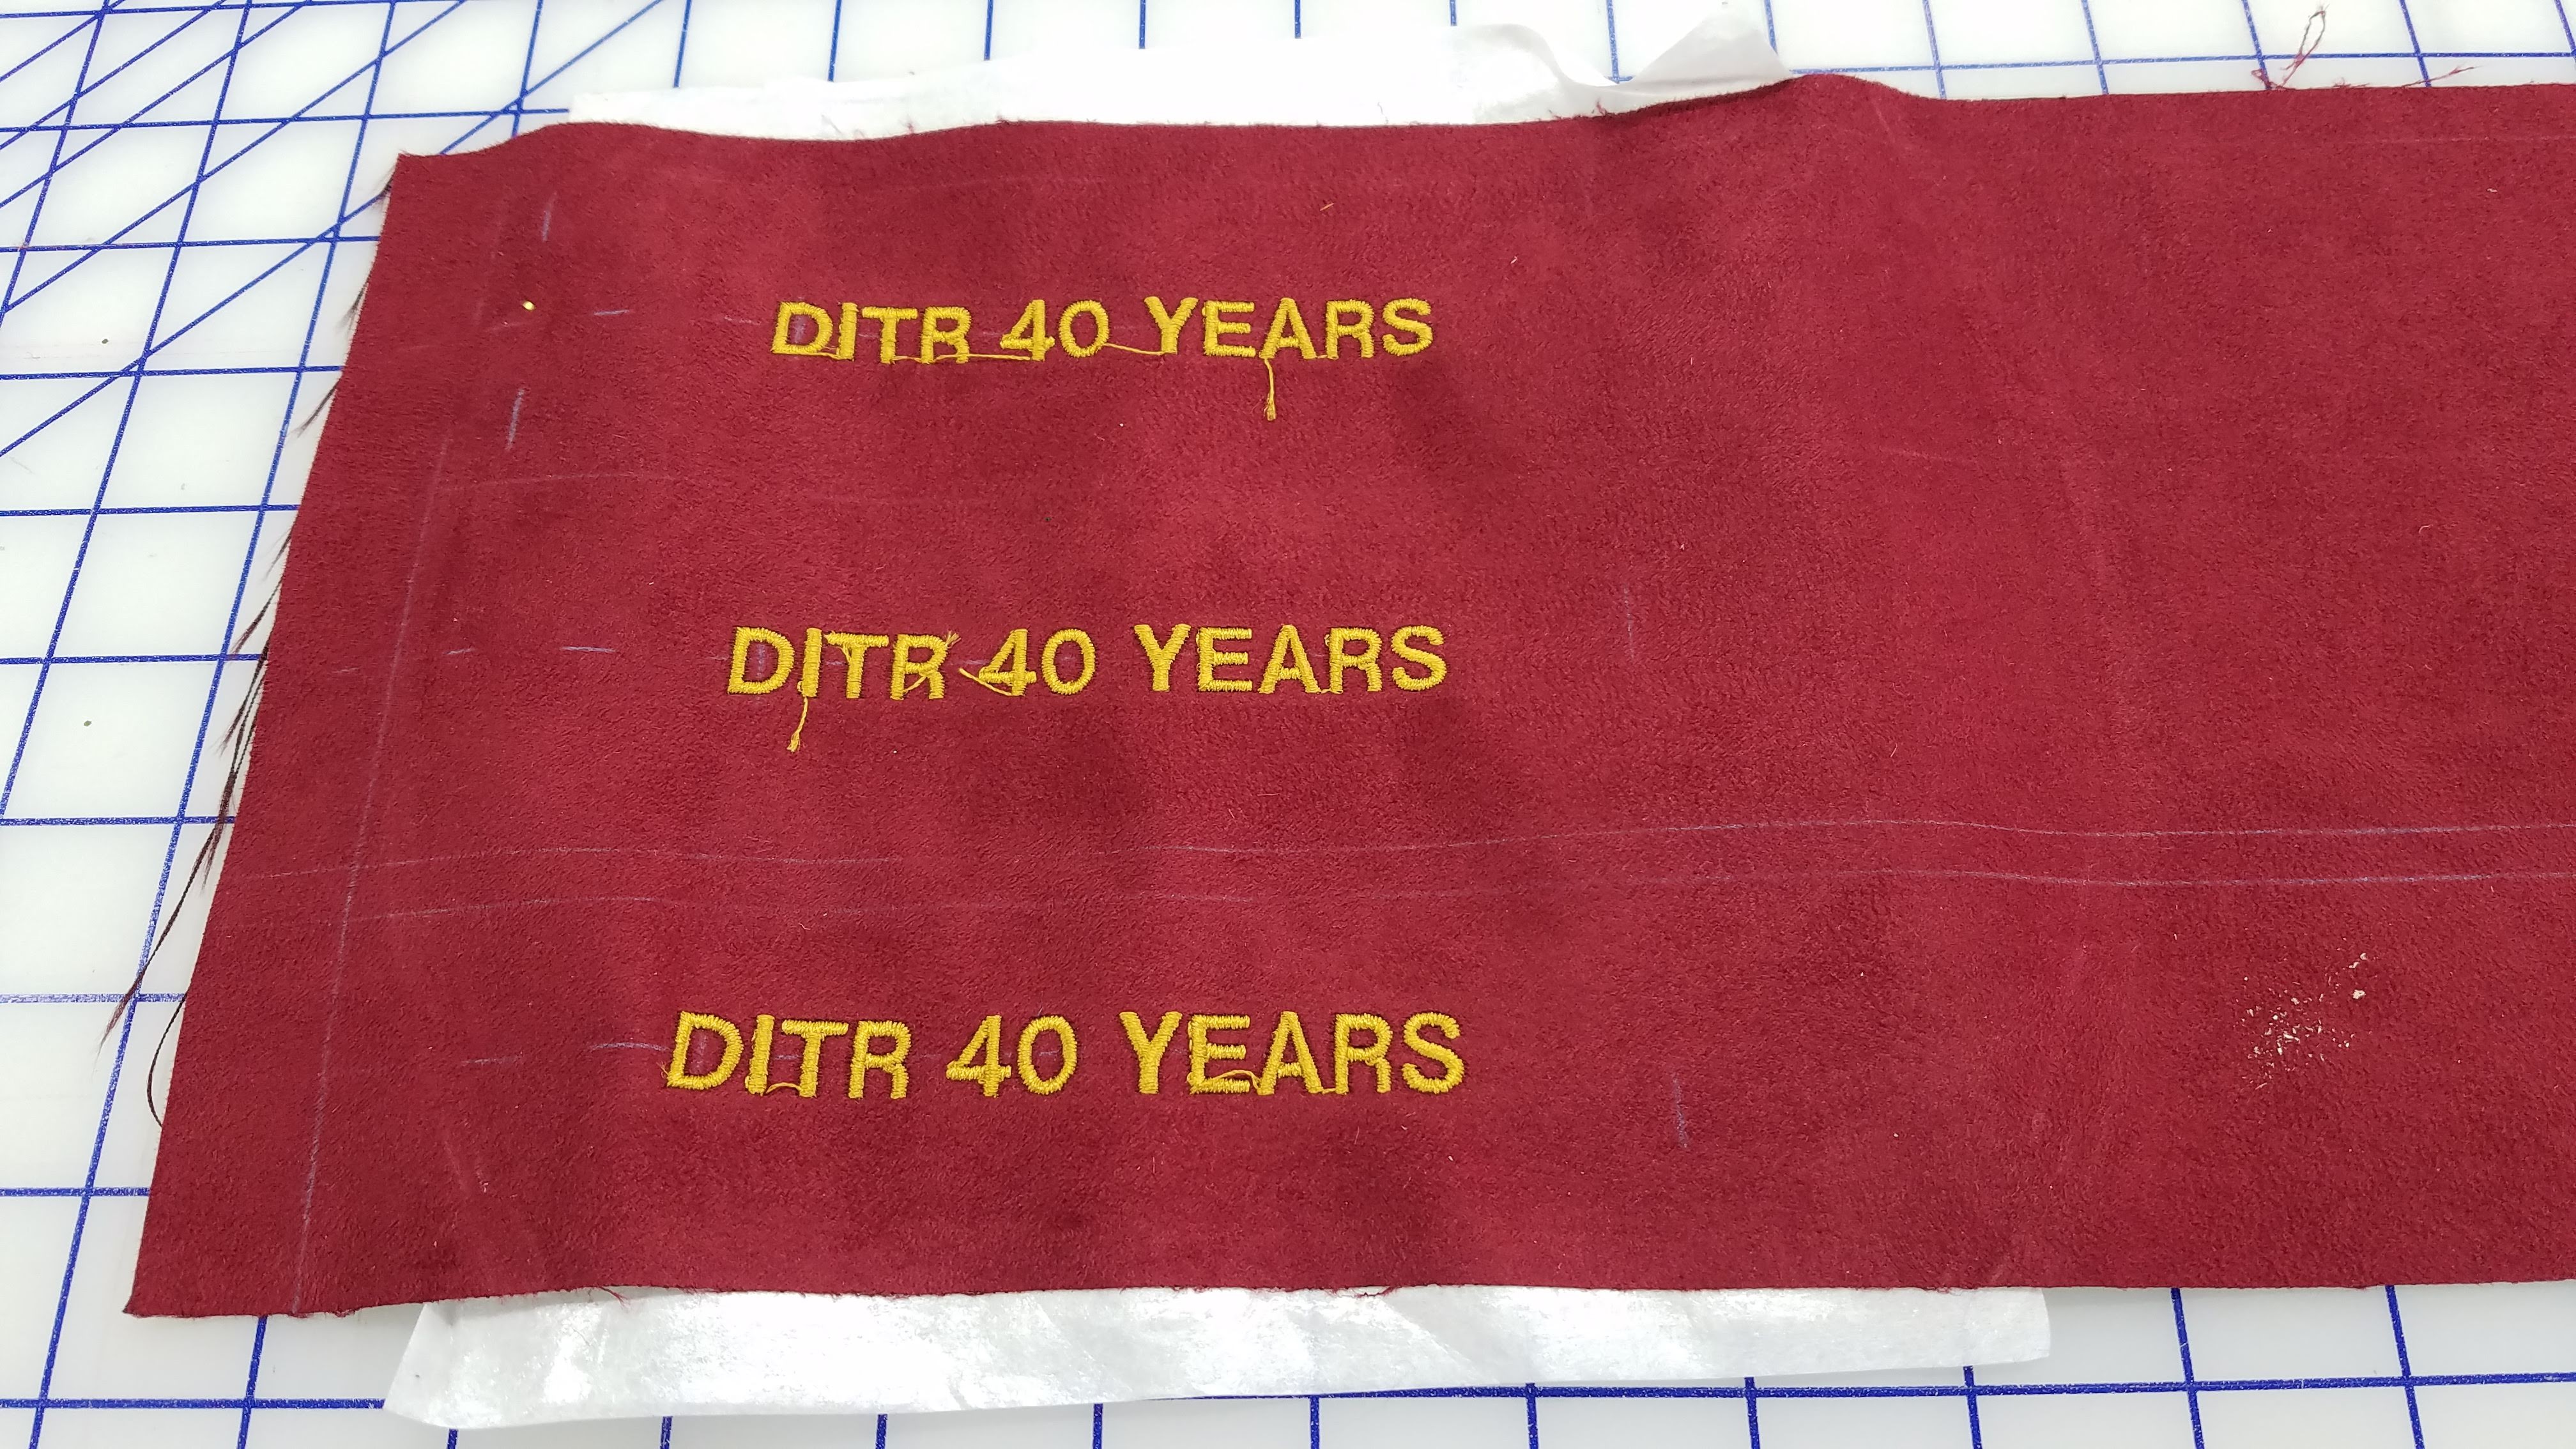
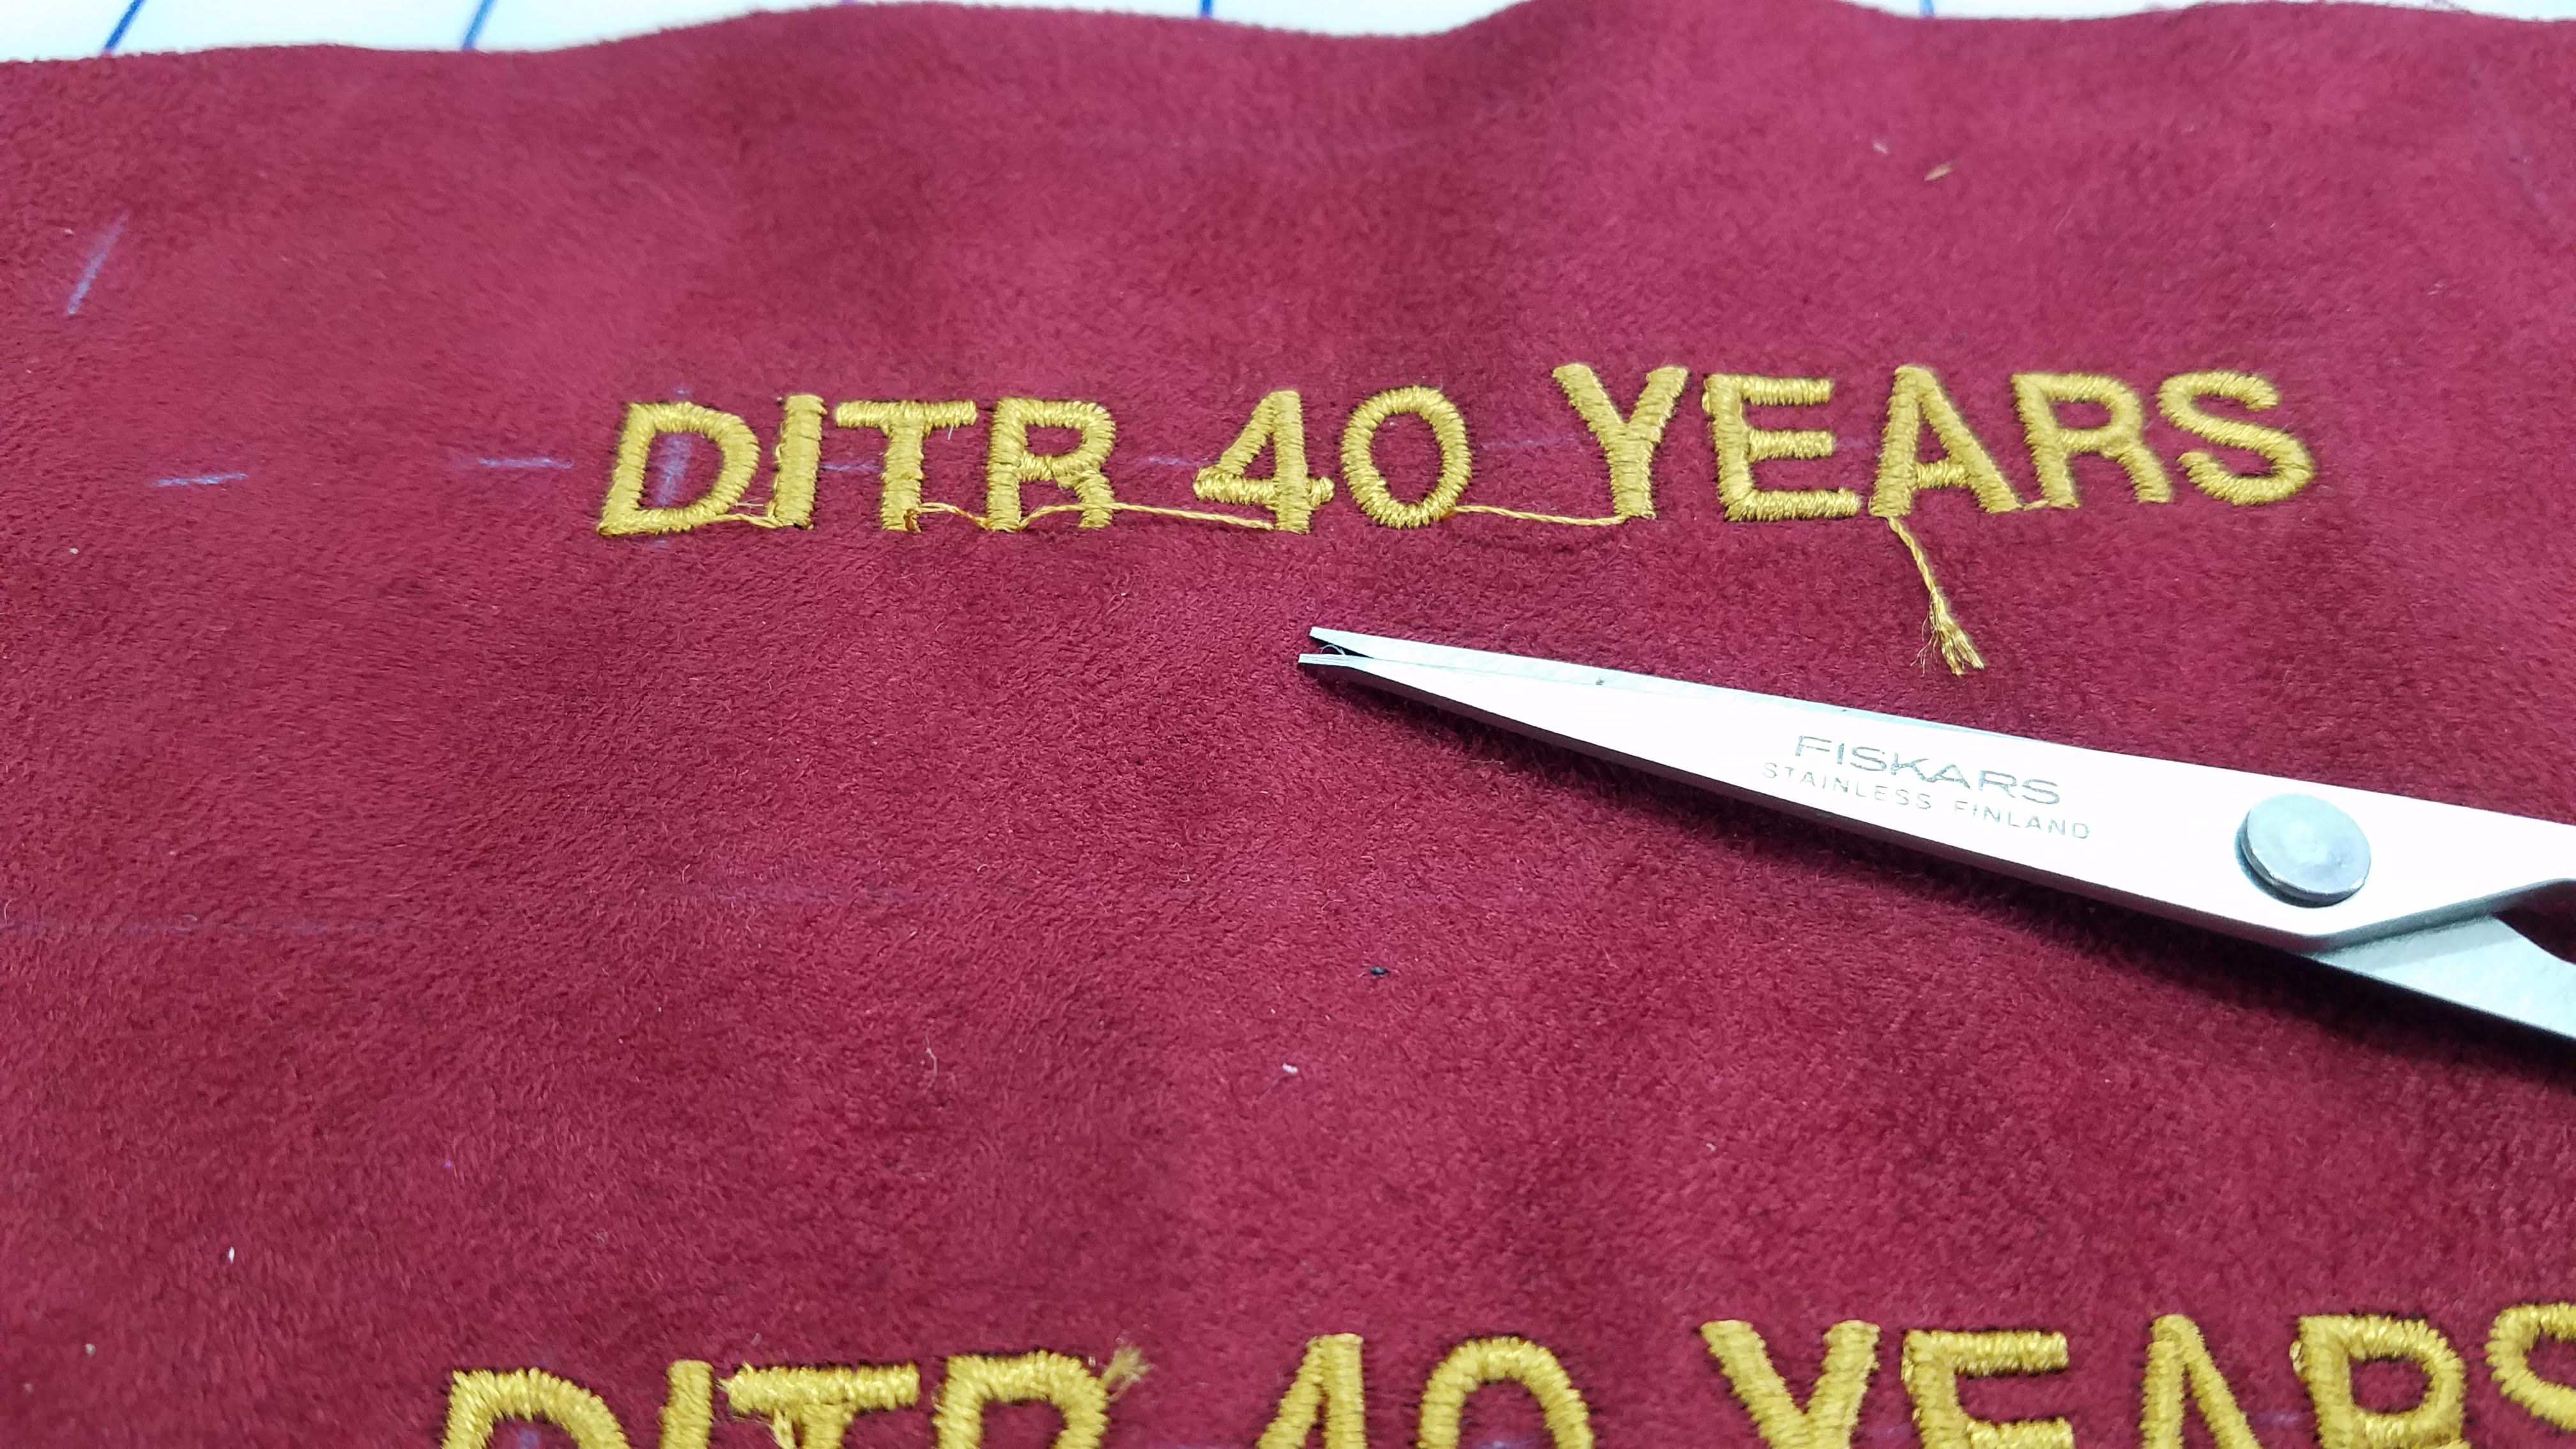
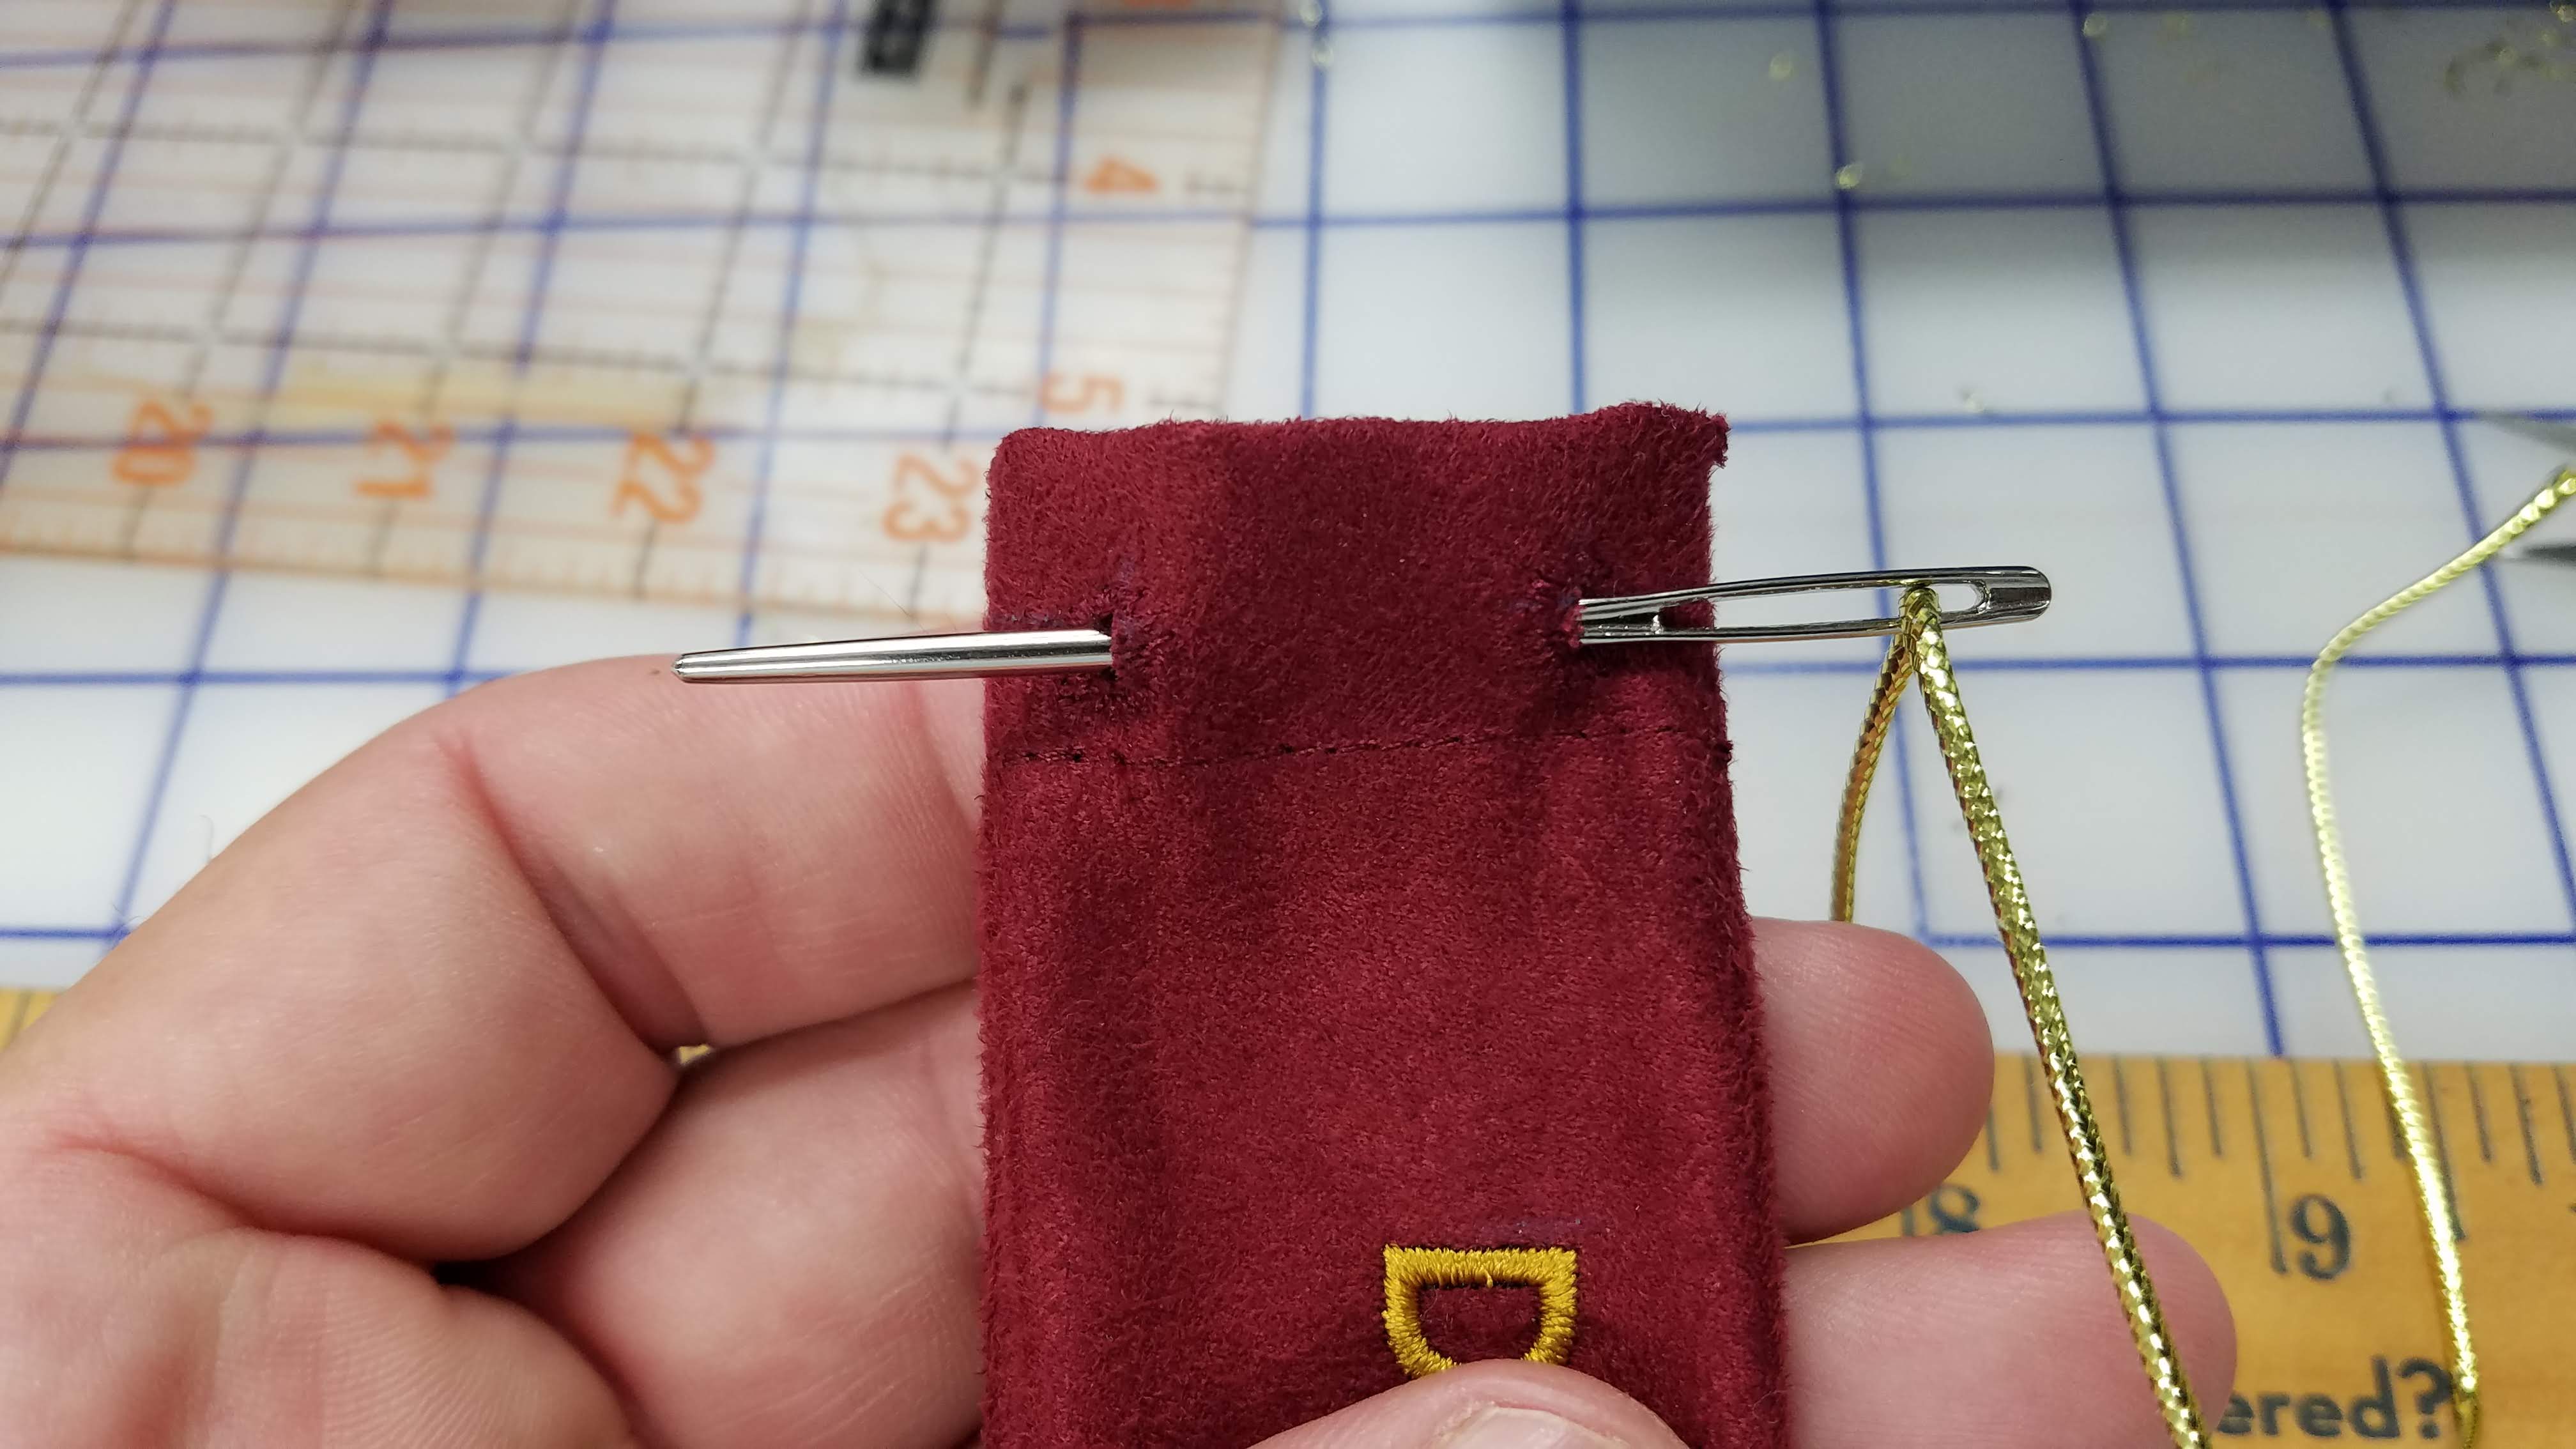
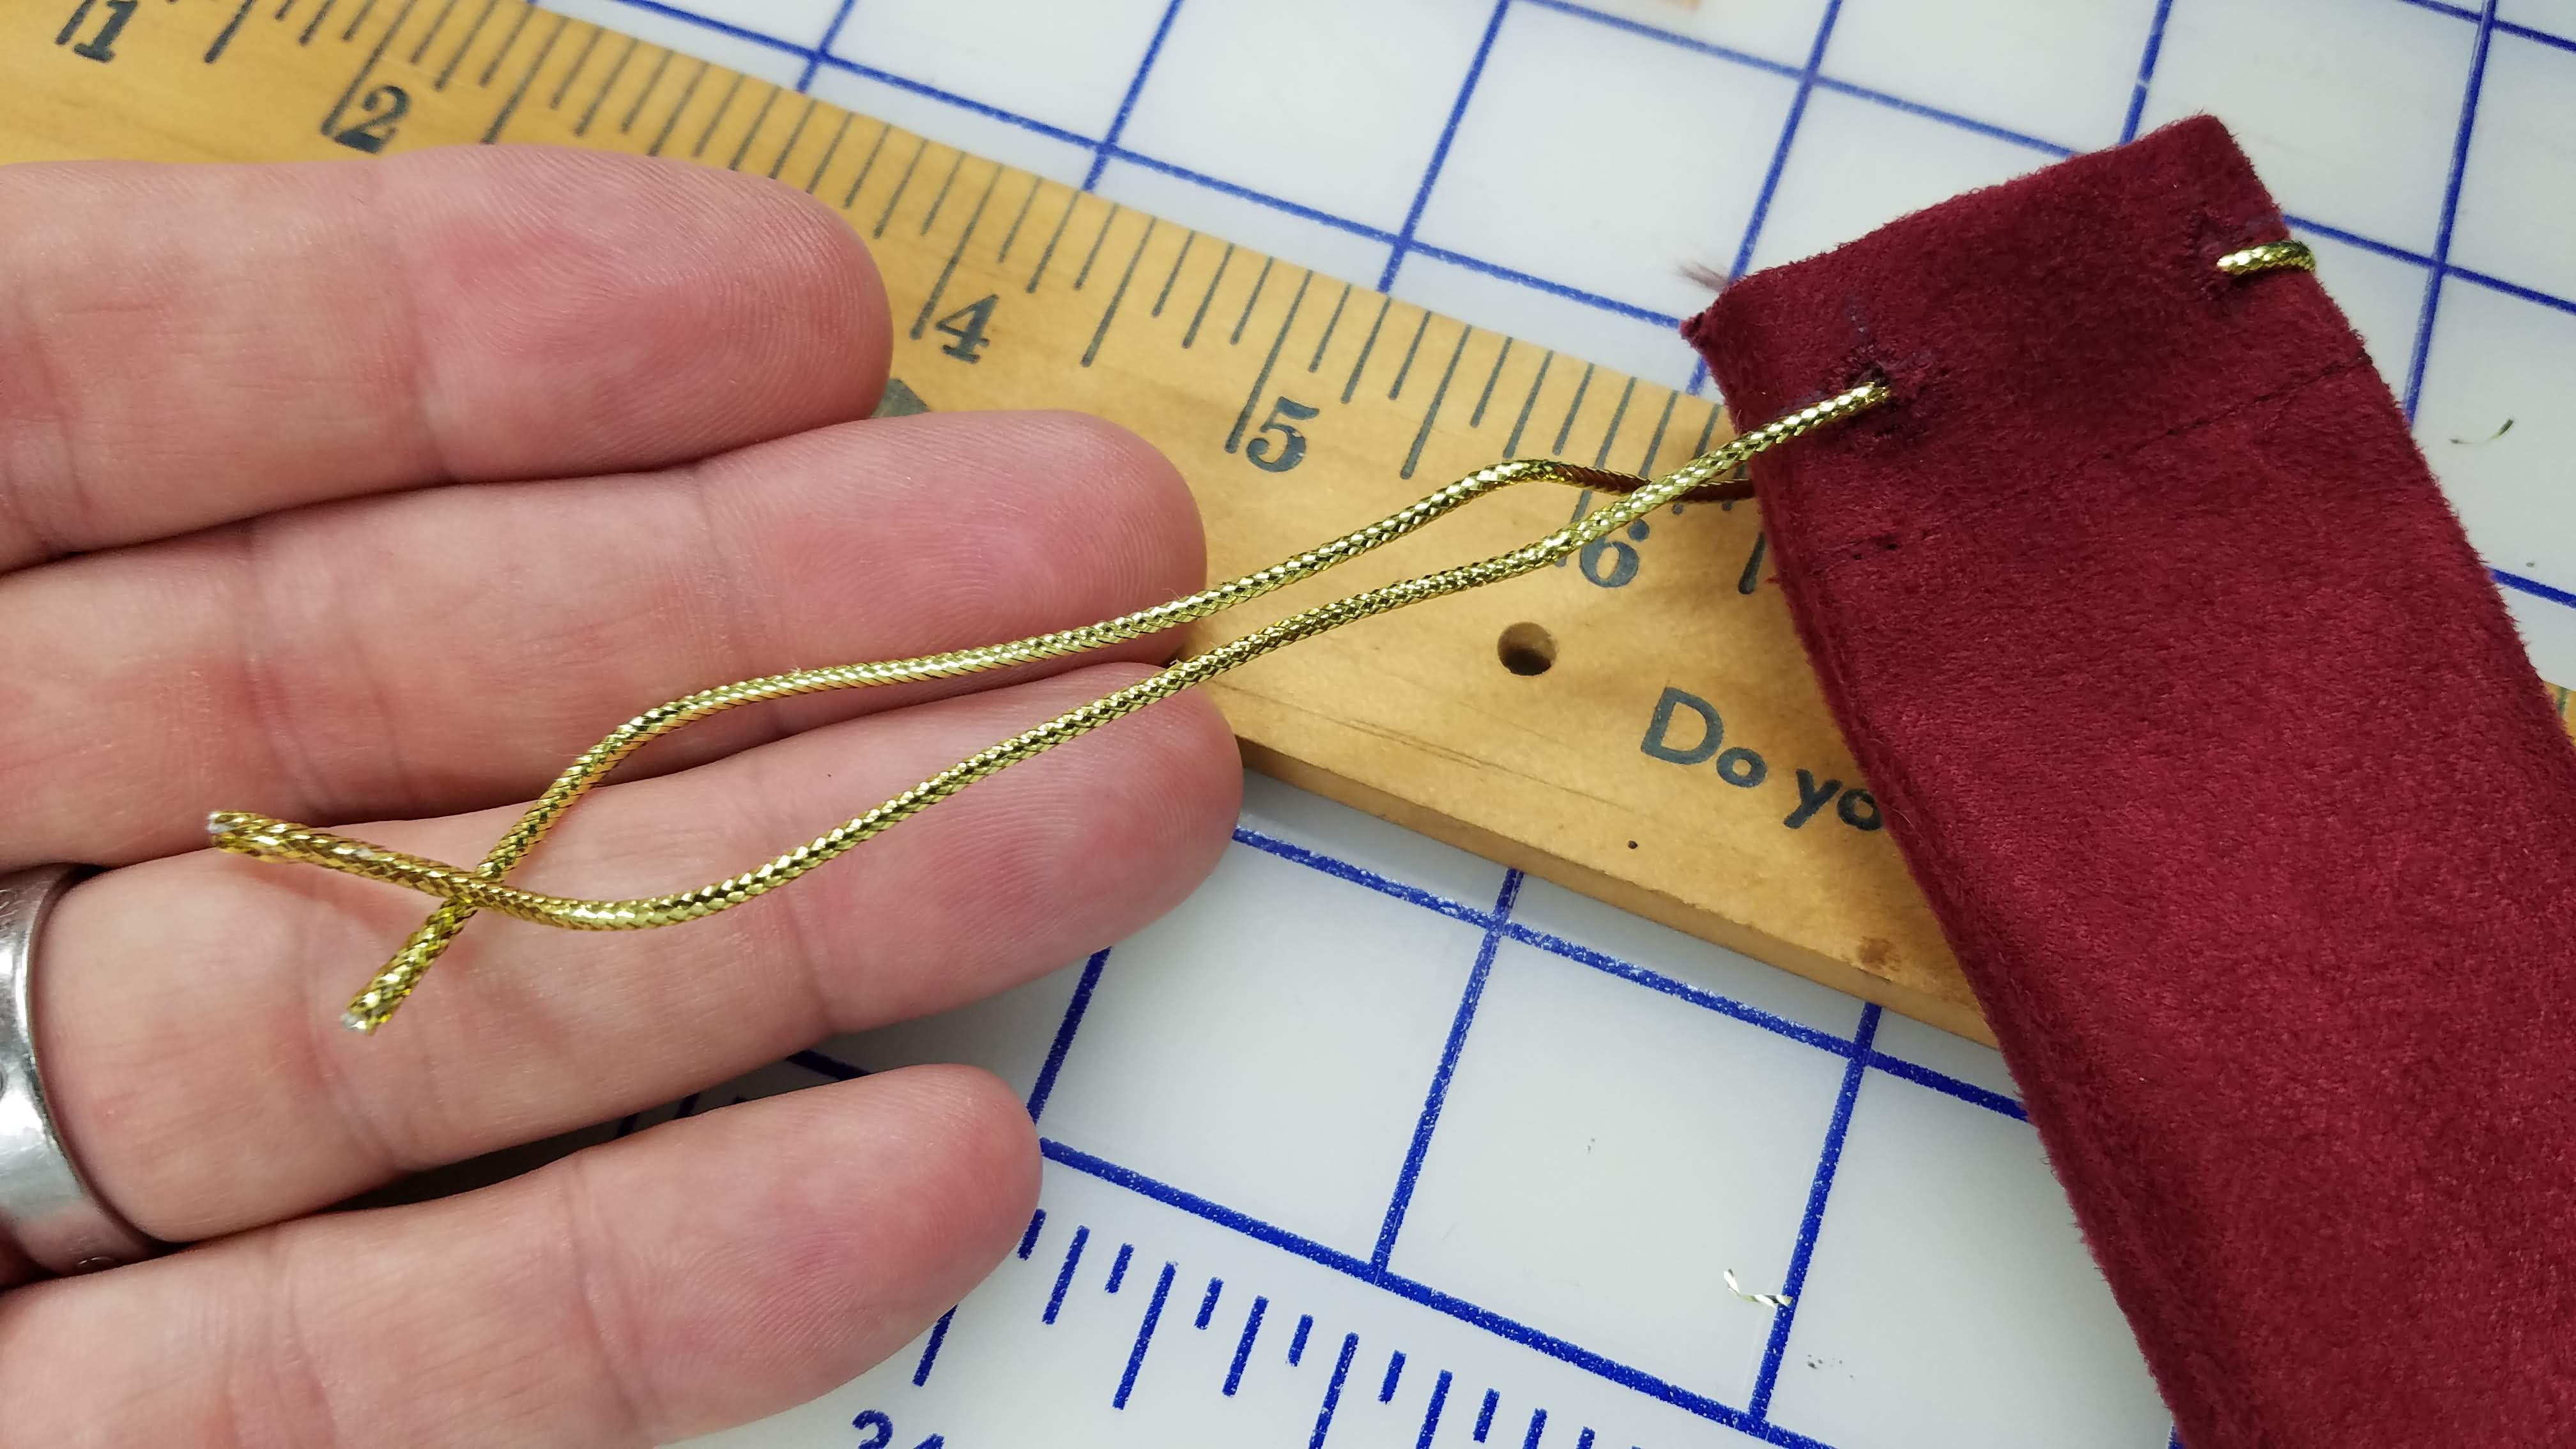
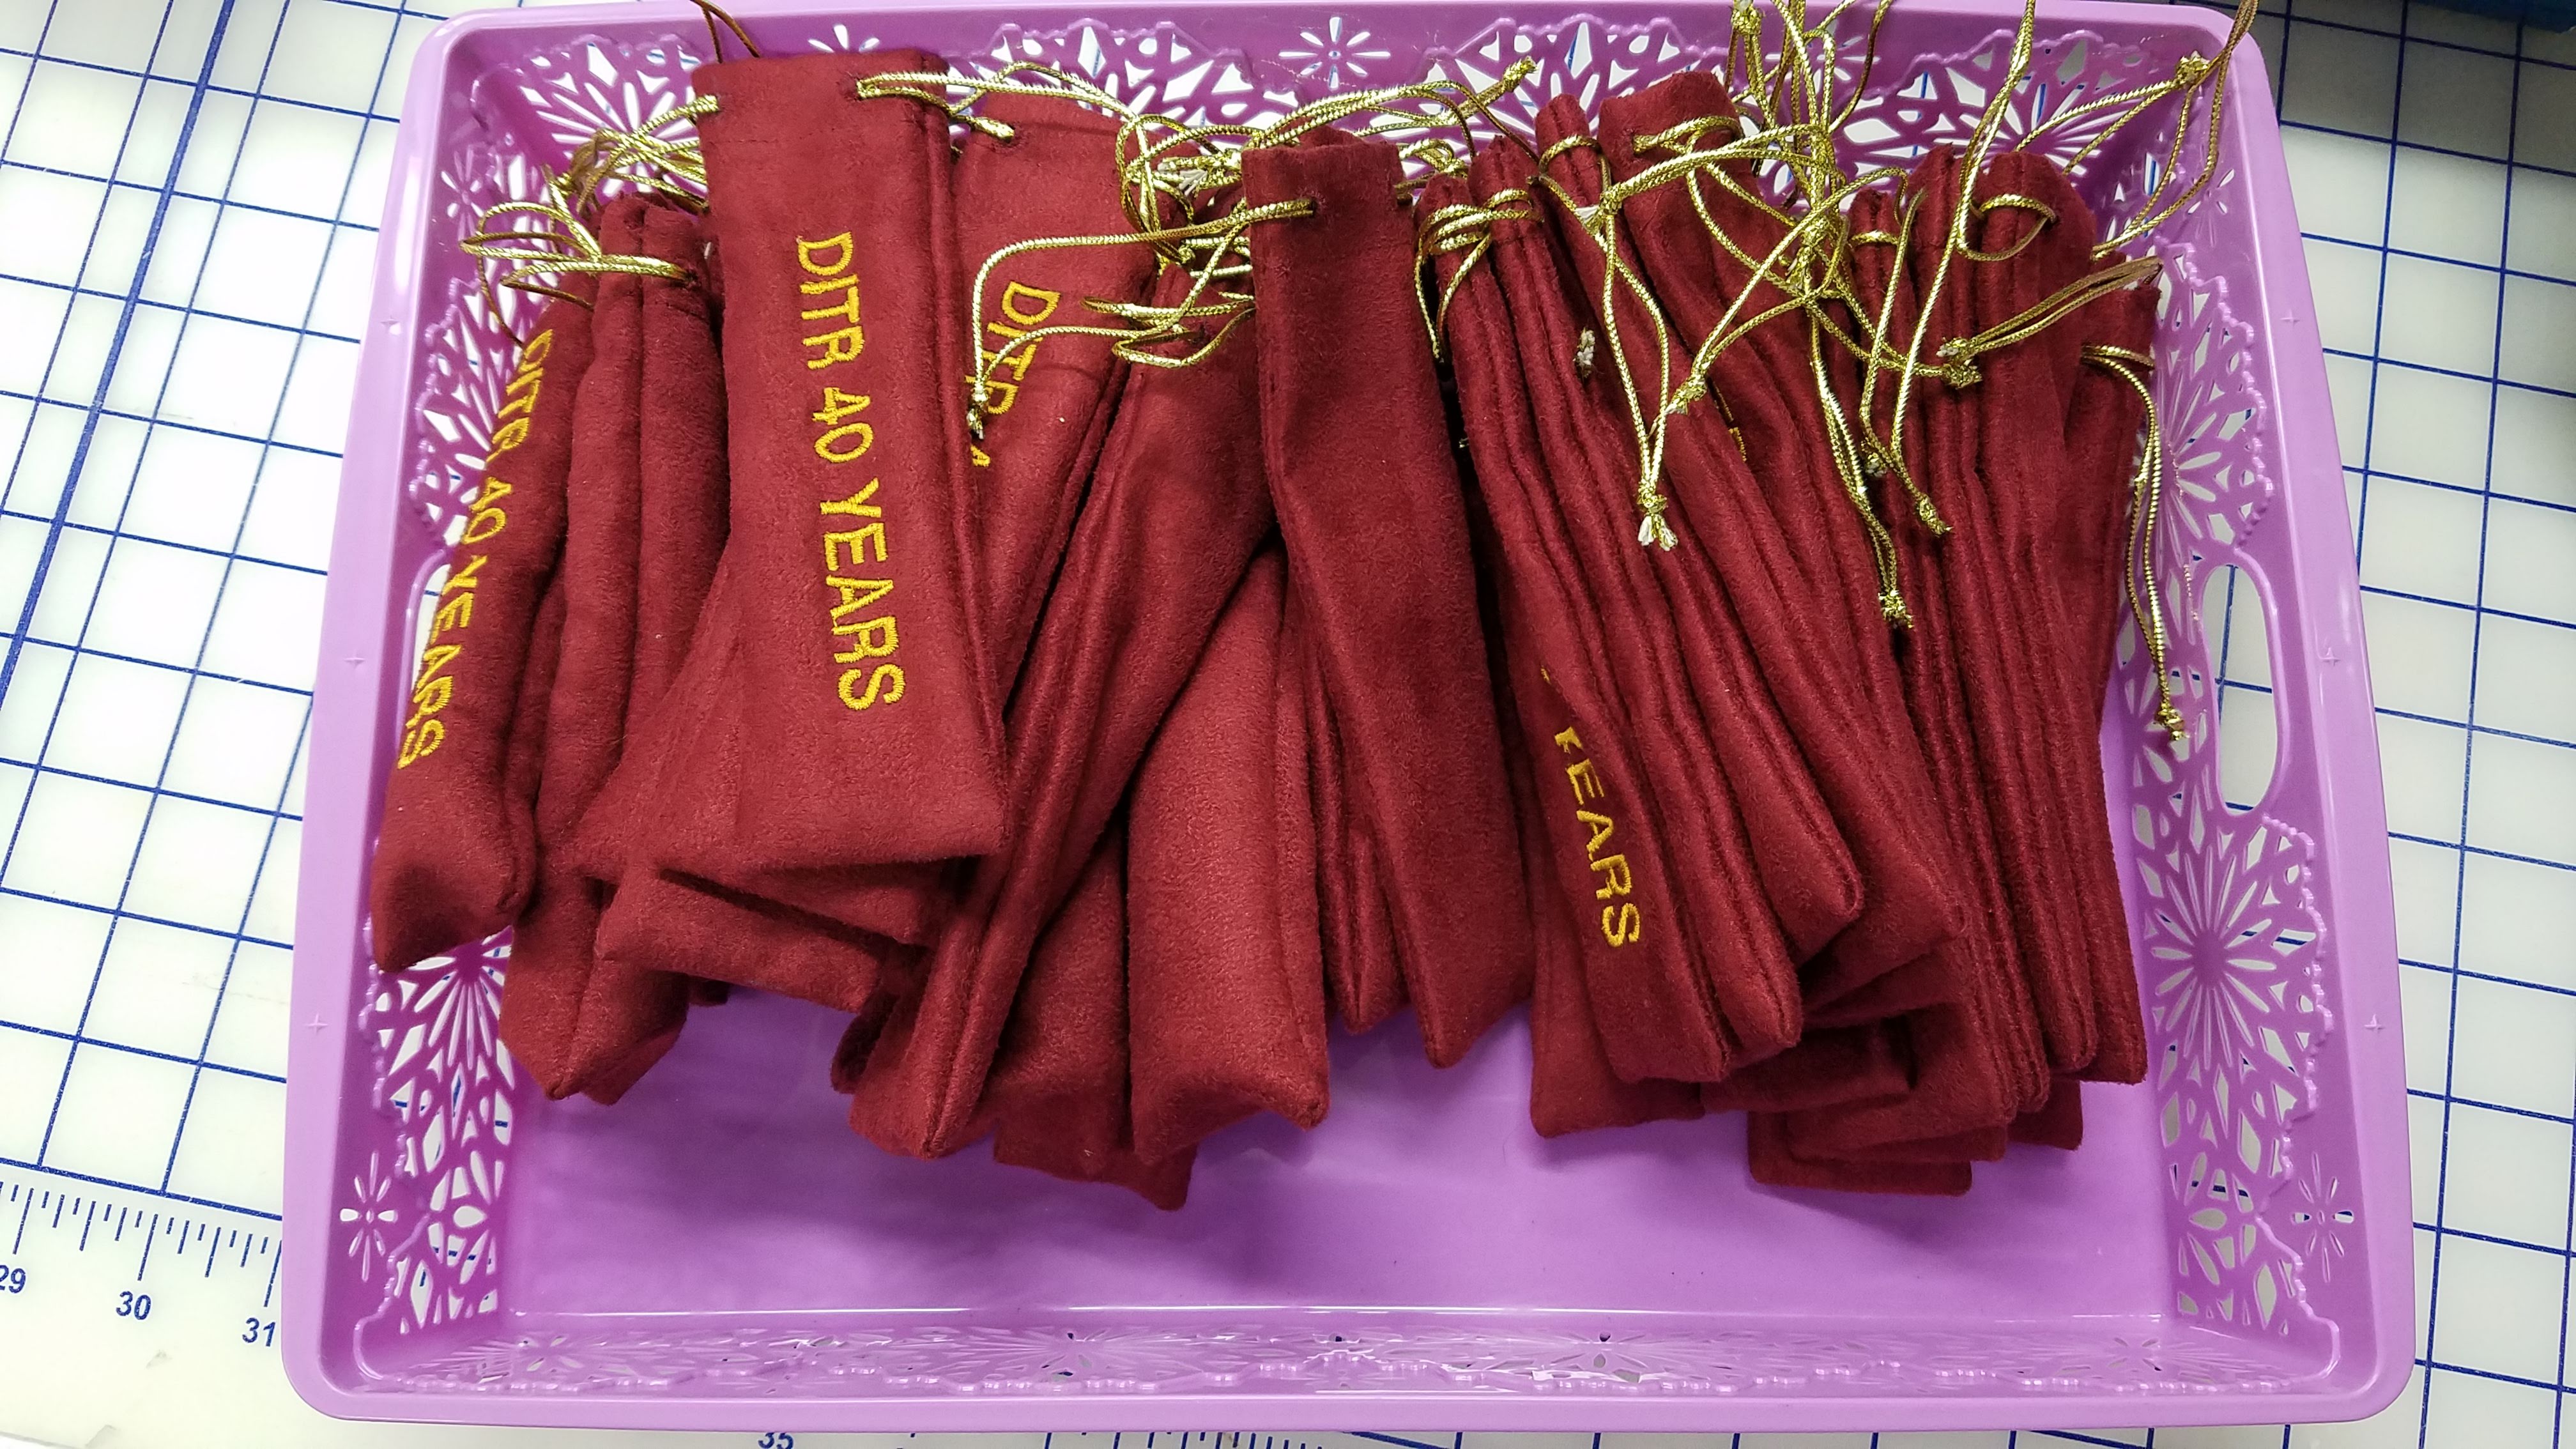
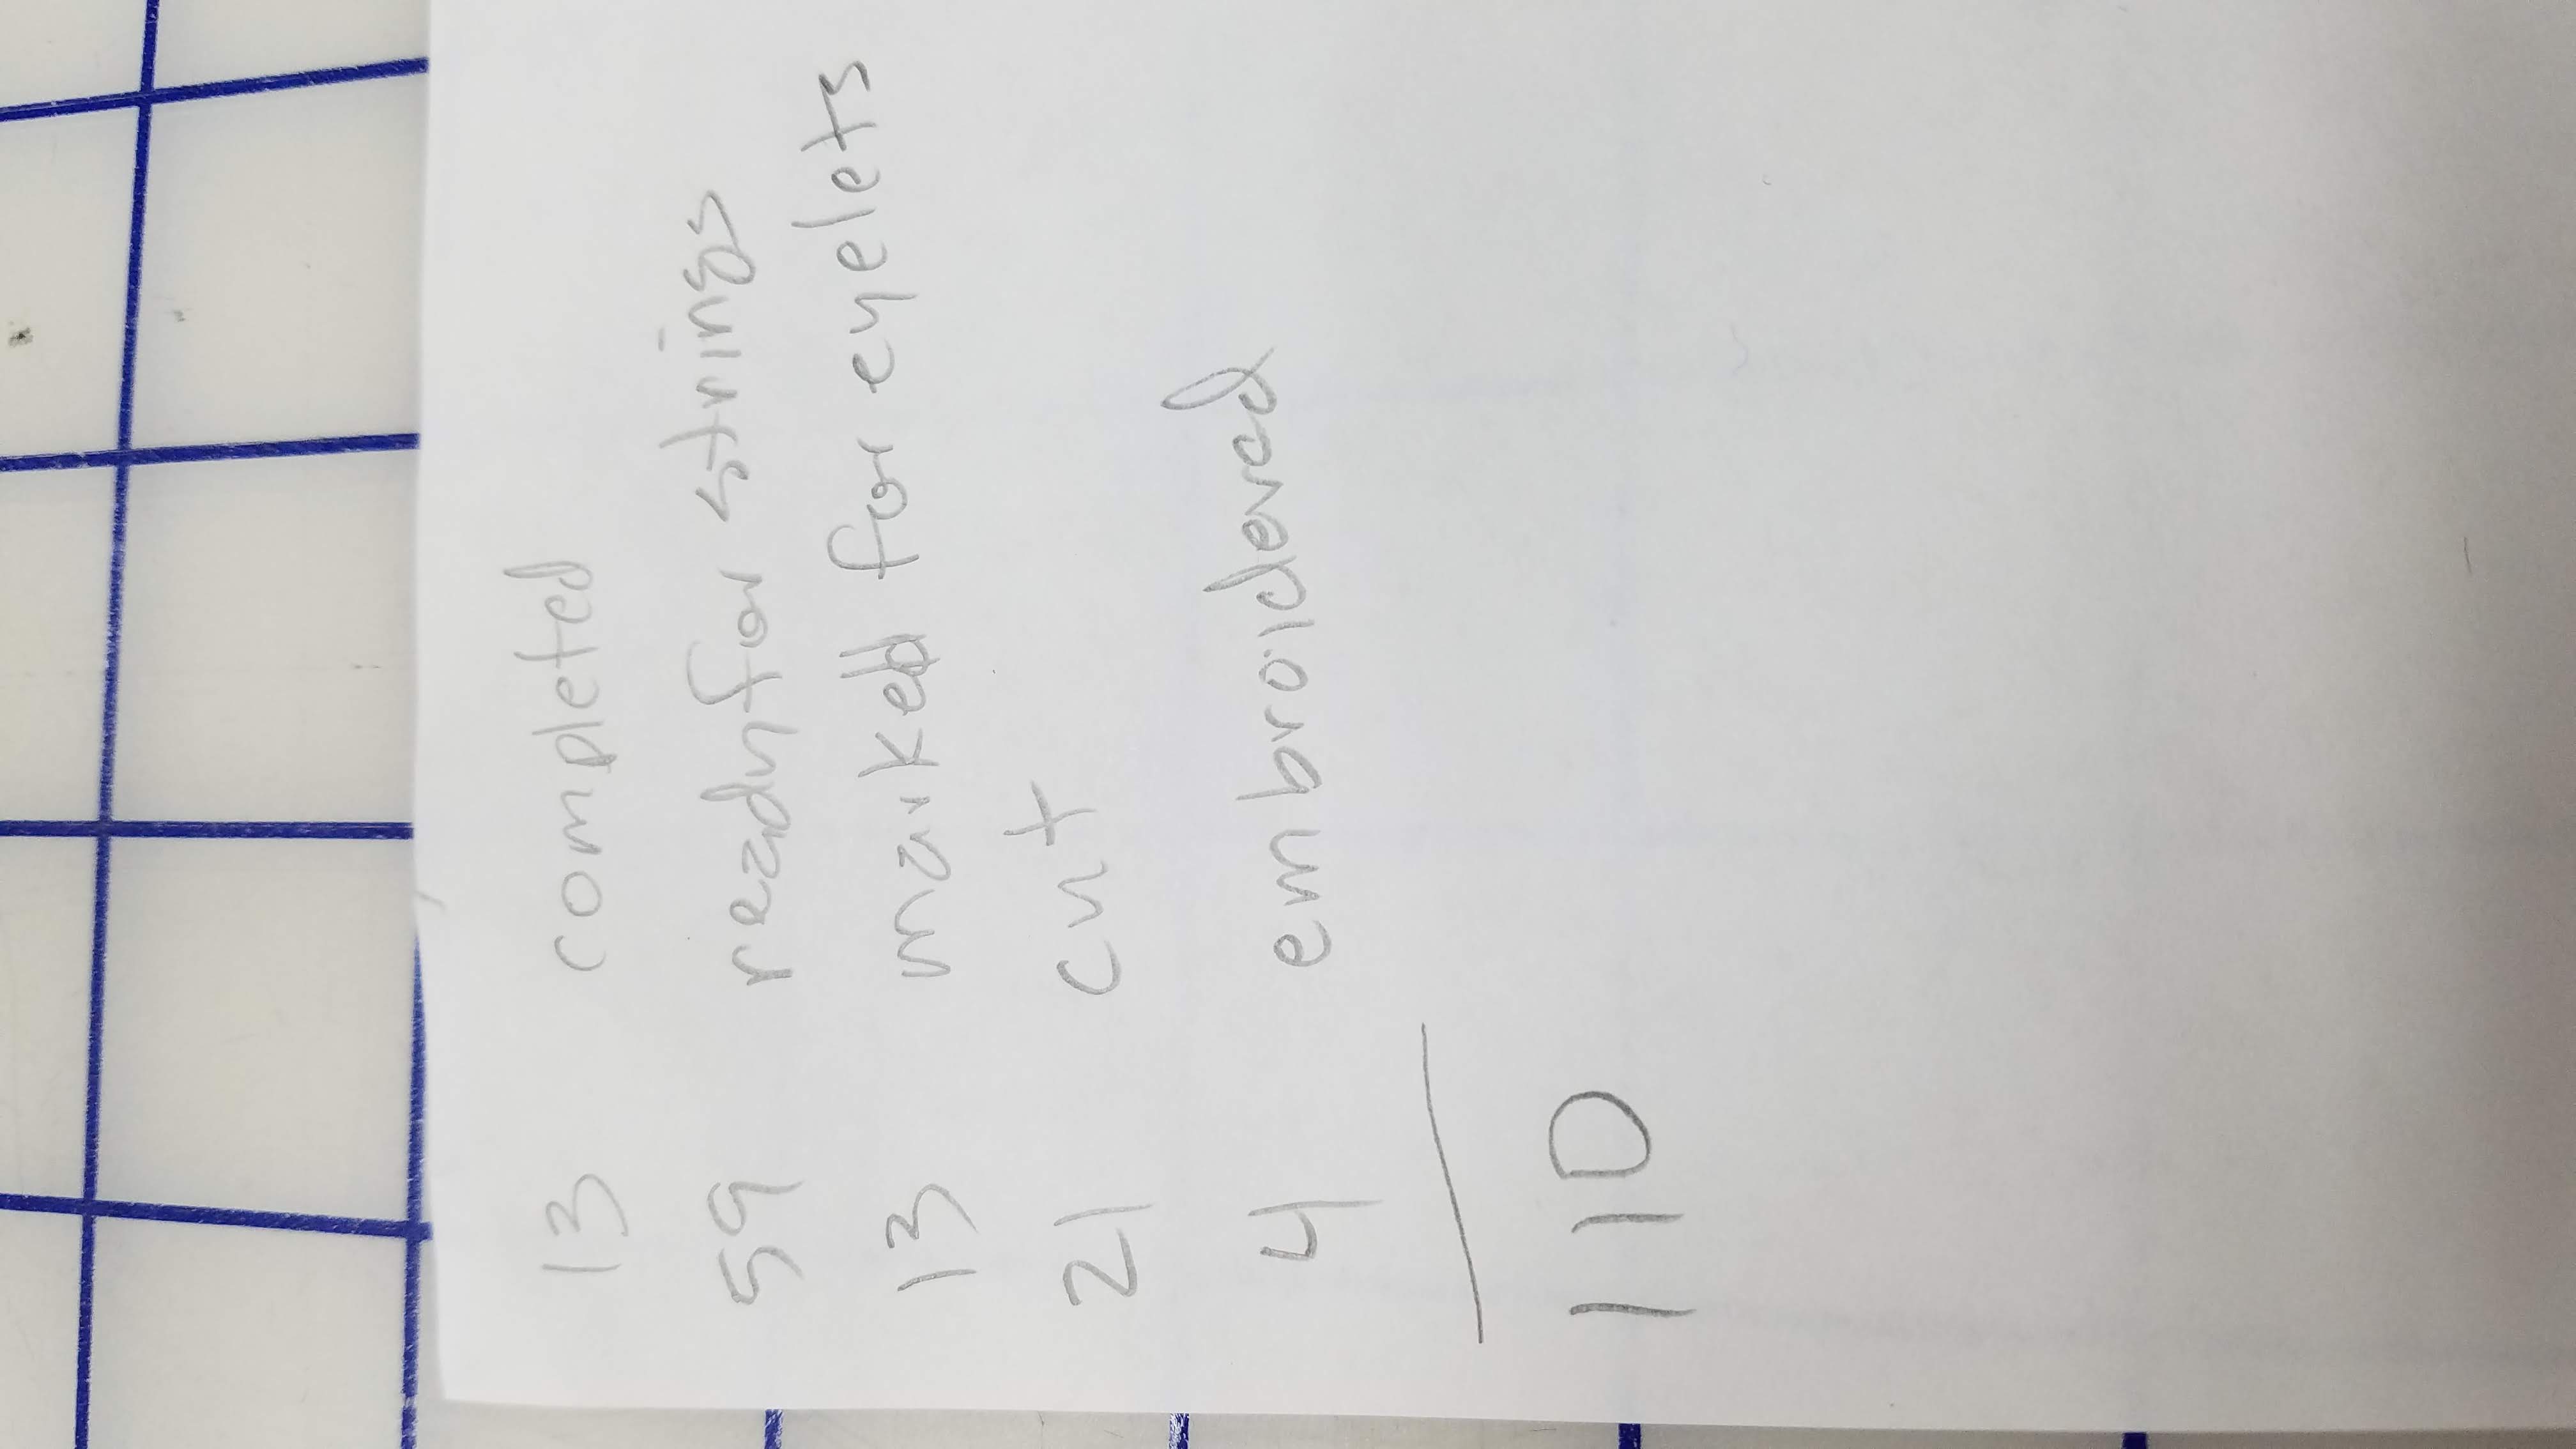
Finally, it came down to the last weekend to completed all the pens. I had the last batch of caps from the engraver. I assembled them and found that all kits appeared to be accounted for. We had decided to make custom embroidered drawstring bags for these pens, which deserve a blog posting of their own. On a Saturday morning I was taking out each pen, taking a picture of it, removing the number tag and putting the pen in a drawstring bag; final packaging you might say. In the box of completed pens, there was one bag, #95, that had an unassembled and unengraved mesquite pen. I set it aside and continued the work. Due to some time constraints, a few of the bags did not have drawstrings yet and Toni was going to take them with her to finish them and the last few pens to back up. I counted up those plus the bagged ones and came up with exactly 120.
Toni reported later that they were actually short by ONE pen. I presumed that I miscounted or added the counted numbers wrong. In any case, I had three options. Rush the pen #95 to the engraver on Monday, see if I could fix one of the pens with issues or surrender one of our special set-aside pens. I decided try fix the short pen.
My first solution, while extremely elegant, was absolutely *NOT* the correct solution.
Duh! The problem is that the barrel is too short already. Cutting the transmission shorter makes it WORSE.
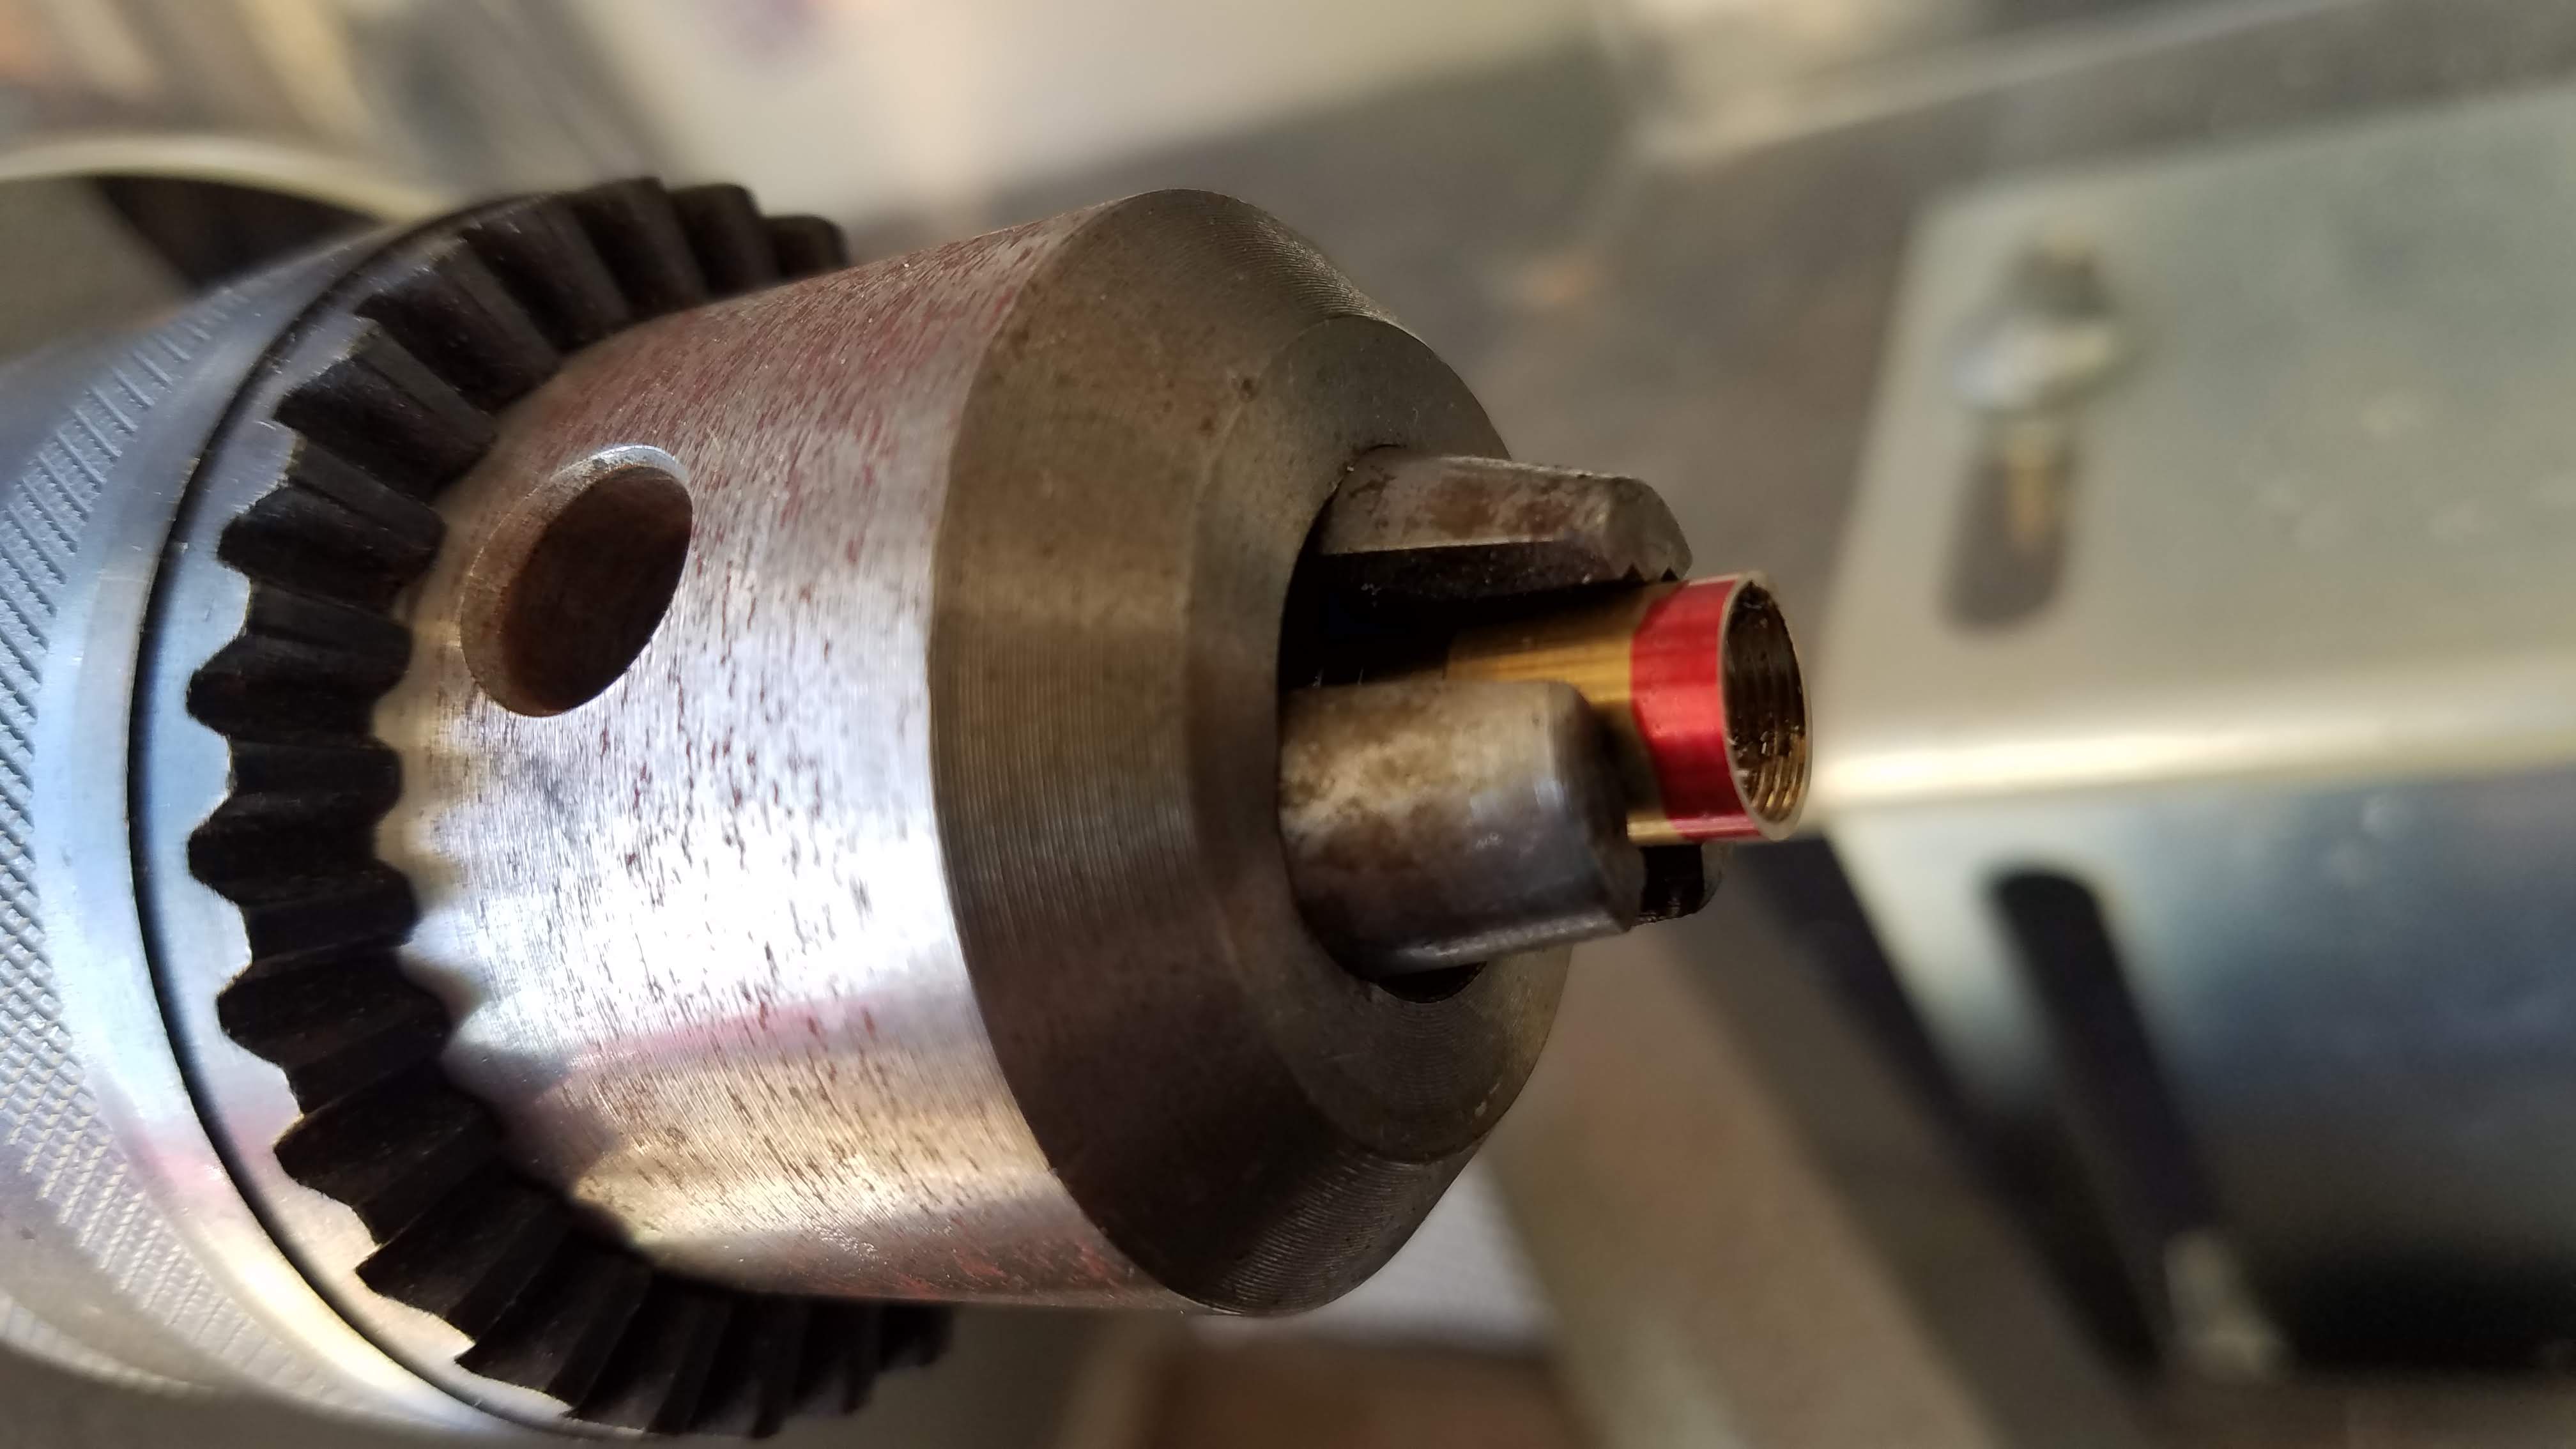
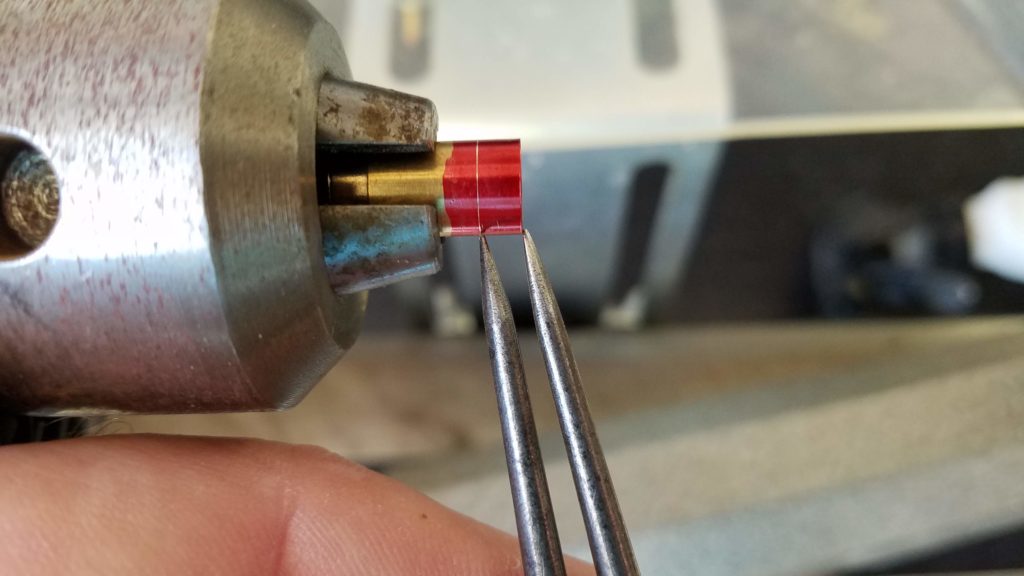
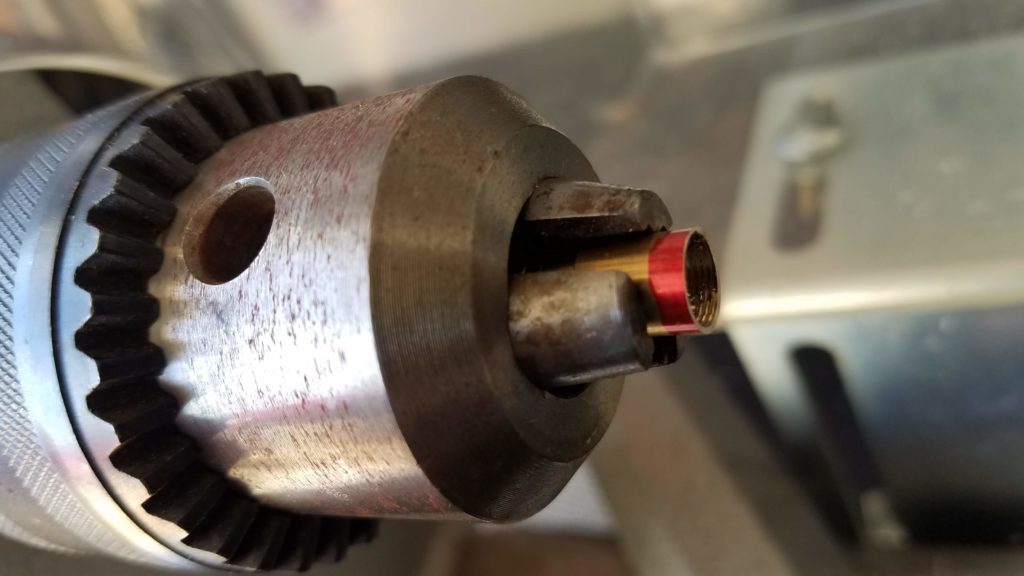
The much better solution is to trim the transmission plunger, effectively lengthening the space where the filler goes. I just used a drill bit, hand held.
The cap was too short as well, though not by quite as much.
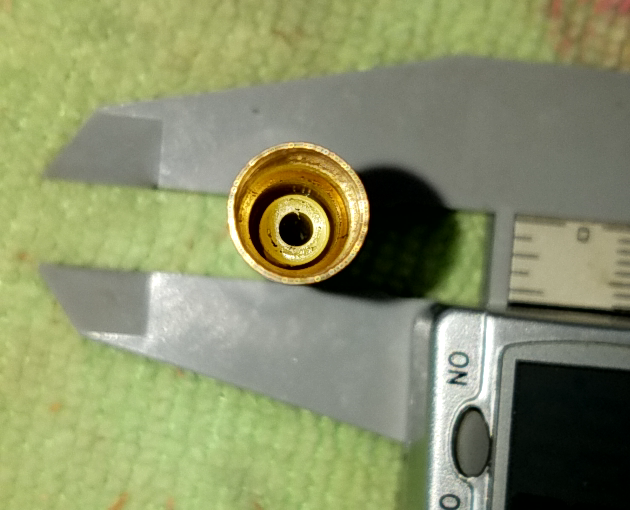
I failed to photograph the solution, but the top of the transmission has a friction fit to an insert in the main tube of the cap. There is also a threaded fitting that the top nut threads onto to retain the pocket clip. The very top of the transmission was bumping the bottom of that fitting. I tried to remove that fitting with a hammer and punch, but I don’t think I had enough retention on the part and the fitting wouldn’t budge.
I made a (fairly poor) cutting tool to remove material from the fitting from inside the part. It took a bit of force to cut (abrade, really) the piece to clear the top of the transmission, but the mission was a success!
Friends who have followed this project (often without necessarily *wanting* to follow this project), after hearing of the various delays and issues with blanks and simply the number of units to make, have asked if I would ever do another large order. The answer is definitely yes. I might try to dissuade the use of salvaged tree branches, but I enjoyed the actual pen making and I am certainly willing to do more of that.