Or, a case *for* the Chrony…
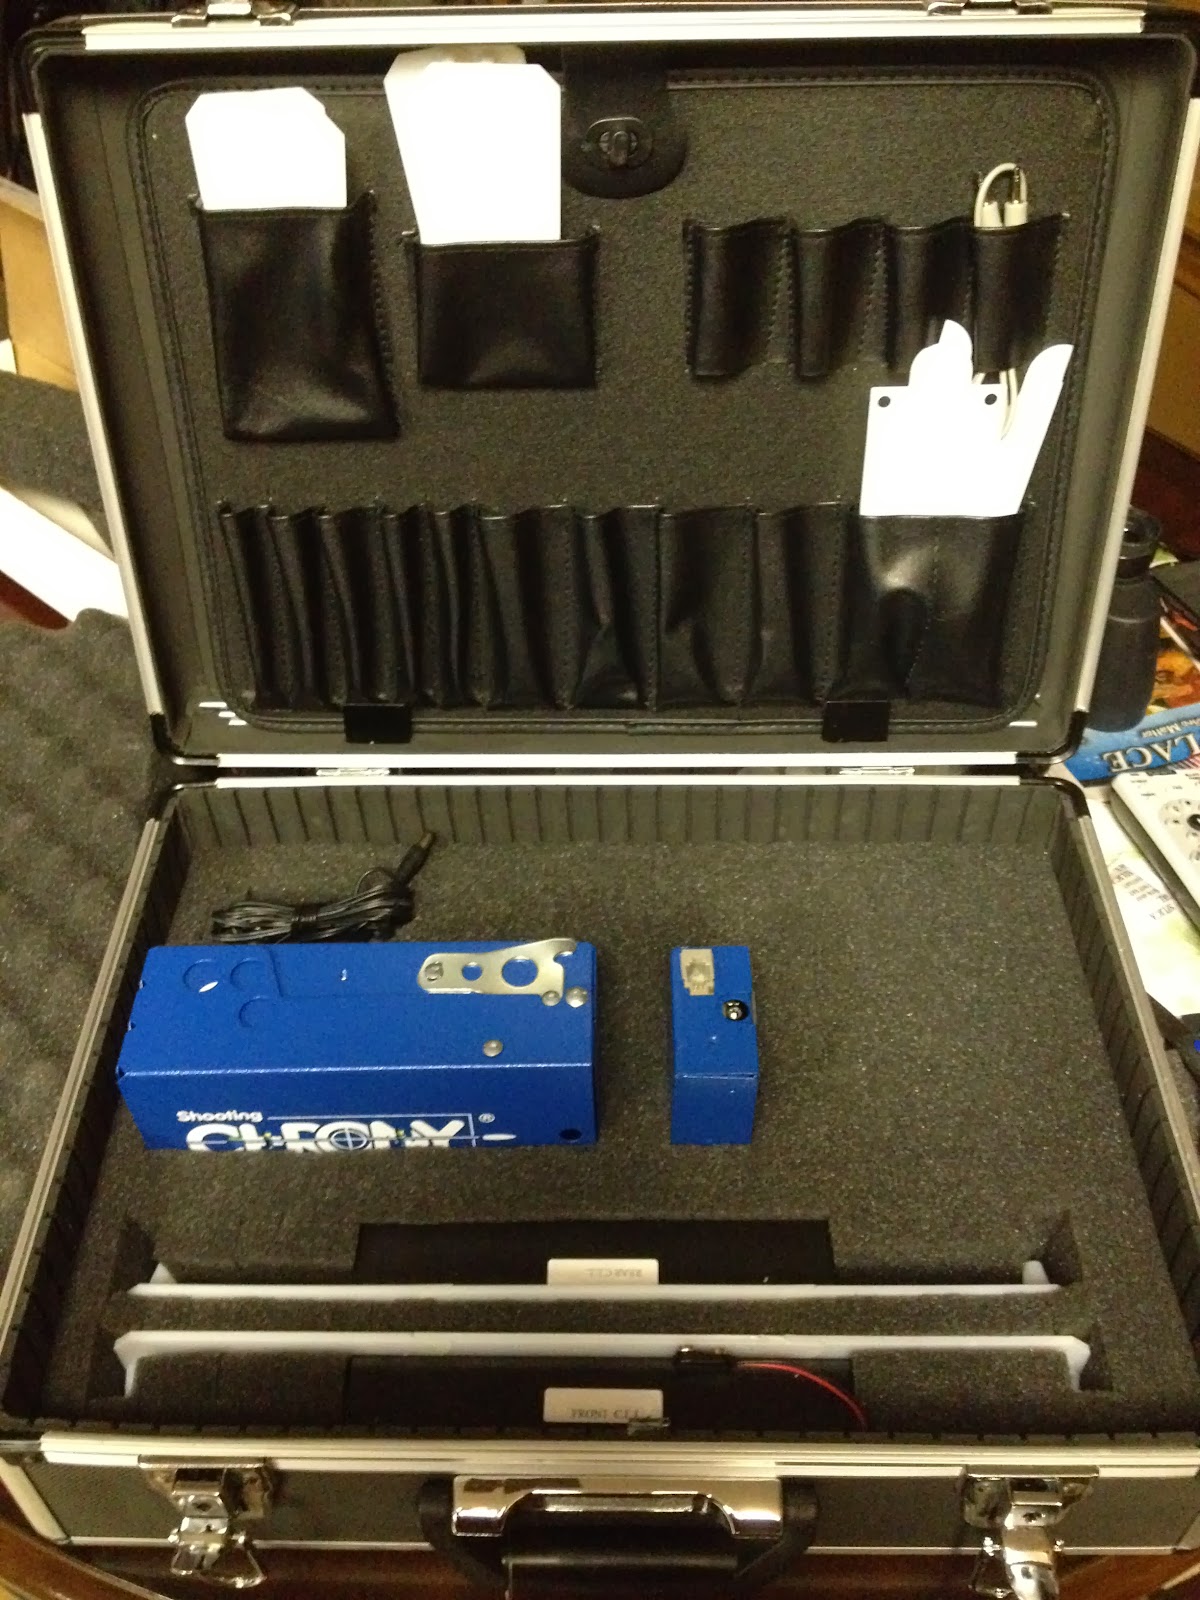
With some room to spare. I will be adding a battery for self-lighted hoods and my notebooks, of course…
Or, a case *for* the Chrony…
With some room to spare. I will be adding a battery for self-lighted hoods and my notebooks, of course…
Sadly, no luau…. no roasted pig… no pineapples. Lua is scripting language supported by Vera. Generally speaking, it’s how you do stuff they didn’t already build in.
I mentioned that I have my pool pump turning on or off by a schedule and I have managed to get it to turn on when the temperature sensor goes below 36 degrees. That temperature may be set lower at some point, but for now, I want a margin of safety.
What is not ideal is that the schedule can turn off the pump even if the temperature is below freezing. The next time the temperature is polled, that trigger will turn it back on but that is a bit inelegant and potentially dangers. What if something suddenly stops the temperature sensor from polling for long enough for the exposed filter hoses to begin to freeze?
There are several examples of Conditional Scene Execution and I have lifted the Lua code below and attached it to the scene that turns the pump off.
local dID = e3 — Device ID of temperature sensor
local tHigh = 37 — Highest temperature of range
local allow = true — true runs scene when in range
local tCurrent = tonumber((luup.variable_get(“urn:schemas-micasaverde-com:device:TemperatureSensor:1”, “CurrentTemperature”,dID)))
return ((tCurrent >= tHigh) == allow)
I lifted this snippet pretty much directly from the forum then edited to be appropriate in my environment. I don’t really have range of temperatures where I want to allow the pump to turn off. It’s pretty much the one temperature. Below that, don’t turn the pump off.
I looked at the “Settings” tab of the temperature sensor to get the device ID and the “Advanced” tab to get the urn: details. I chose 37 degrees as the set point because the trigger to turn the pump on is 35 degrees. Hopefully, this ensure some hysteresis to prevent the pump from cycling back on if the temperature is hovering at 36.
Once I’m sure this is working, I will add a trigger to turn the pump off above some fairly warm temperature, say 50, to prevent it from running all day just because it happened to be chilly at 6AM when the schedule went by.
I did indeed get the VeraLite and over the intervening two years, a few devices. Incidentally, MiCasaVerde is now “Vera”
Since I didn’t update this blog along the way, I kinda have a current snapshot of two years of intermittent development.
Vera’s two controllers, Vera3 and VeraLite are the same OS running in different hardware. Vera3 has more features, particularly WiFi and network routing features, whereas VeraLite does not. There may be some more connectors or lights on it; not sure. I have an established WiFi network already, so I didn’t see a reason to complicate things. VeraLite costs less as well.
Since they both run the same OS (called MiOS), they present the same web interface. The interface is reachable on the local network or through a (free) internet gateway run by Vera. VeraLite polls Vera’s website frequently using port 80, which allows you to remotely control your Vera device, usually without any special firewall configuration. This does introduce what is, to me anyway, a small but acceptable delay, especially since most of my remote operations are done with a smartphone app anyway.
The primary device that has been used consistently for almost the entire time is the 2Gig CT30 thermostat, which has since been discontinued and replaced with the CT100, which has since been discontinued and replaced with the GC-TBZ48. The CT30 and a couple of different smartphone apps has allowed us to lazily adjust the thermostat without leaving the couch or even the bed. I have played with it remotely, but mostly just because I could. I haven’t really needed it. Our schedules mean that there is not much time during the day that the house is unoccupied.
I have a couple of lamp modules and a couple of heavy duty appliance modules. I have experimented with using them in various functions around the house. The lamp modules haven’t proven to very practical. This is mostly because there needs to be a user friendly (meaning wife friendly) way to turn them on and off without going to another room or picking up the phone, etc. If she wants the lamp on the dresser on, she usually needs it *now*. Where the lamp module has shone is with the Christmas tree. I set up a schedule to turn on in the morning, off in the early afternoon, back on in the evening, and off at bedtime. In a few days, the tree will come down and i will find something else to light up.
One kinda fun application of a lamp module came when I couple of lights in the bedroom were still connected to it. My wife did not have a phone in the bedroom with her and I needed to call her, for a wakeup call if I remember correctly. When I couldn’t get her, it occurred to me to toggle that bedroom light on and off. Hopefully, she would call to find out why its going crazy. When she called (it worked!) she was laughing and seemed to appreciate my cleverness.
The Jasco outdoor control module is a heavy duty rain proof module designed for non-dimming outdoor lighting, but really it just switches power to anything that needs it. I originally purchased two of these to control heaters in our water well pump house and horse trough. That attempt taught me about an important limitation of Z-Wave: range. With a brick house and a metal pumphouse, even 20 feet is too far. I could not make it go. Since the power for both comes from the barn and I have network in the barn, I can at some point add a second bridged VeraLite in the barn and control the heaters (and lots else) from there.
For now, one of the outdoor modules is controlling the pump for our little above ground swimming pool. I currently just have it on a time schedule to run overnight since our Texas winter freezes overnight and thaws every day. I’d like to run the filter basically an hour on and two hours off, all day long, but also continuously any time temperatures outside approach freezing. I have a Homeseer HSM100 3 in 1 sensor (motion, light level and temperature) but I am having trouble getting it to work from outside. Maybe the metal garage door is an issue. I’ll try putting the sensor somewhere else, closer to the appliance module for Z-wave network reliability.
The light sensor in the 3 in 1 will hopefully be pushed into service to operate some outdoor lighting at some point. The motion detector, outside, will probably be useless, but I may try having it run the outdoor lighting, if its dark enough.
The final cool thing I have been playing with is video cameras. MiOS is smart enough to be able to grab images from many, maybe most, common IP cameras and can present them through the remote portal. I can monitor the doggies during the day and the horses in the barn at night, from home or away.
Another thing I want to be able to do is monitor our water system. Our well has a lot of sand, so it took a year or so to replumb enough filtering devices in line to keep it from clogging up a filter in the middle of a shower. Water comes from the well (420 feet or so deep) into the garage where the scary plumbing is.
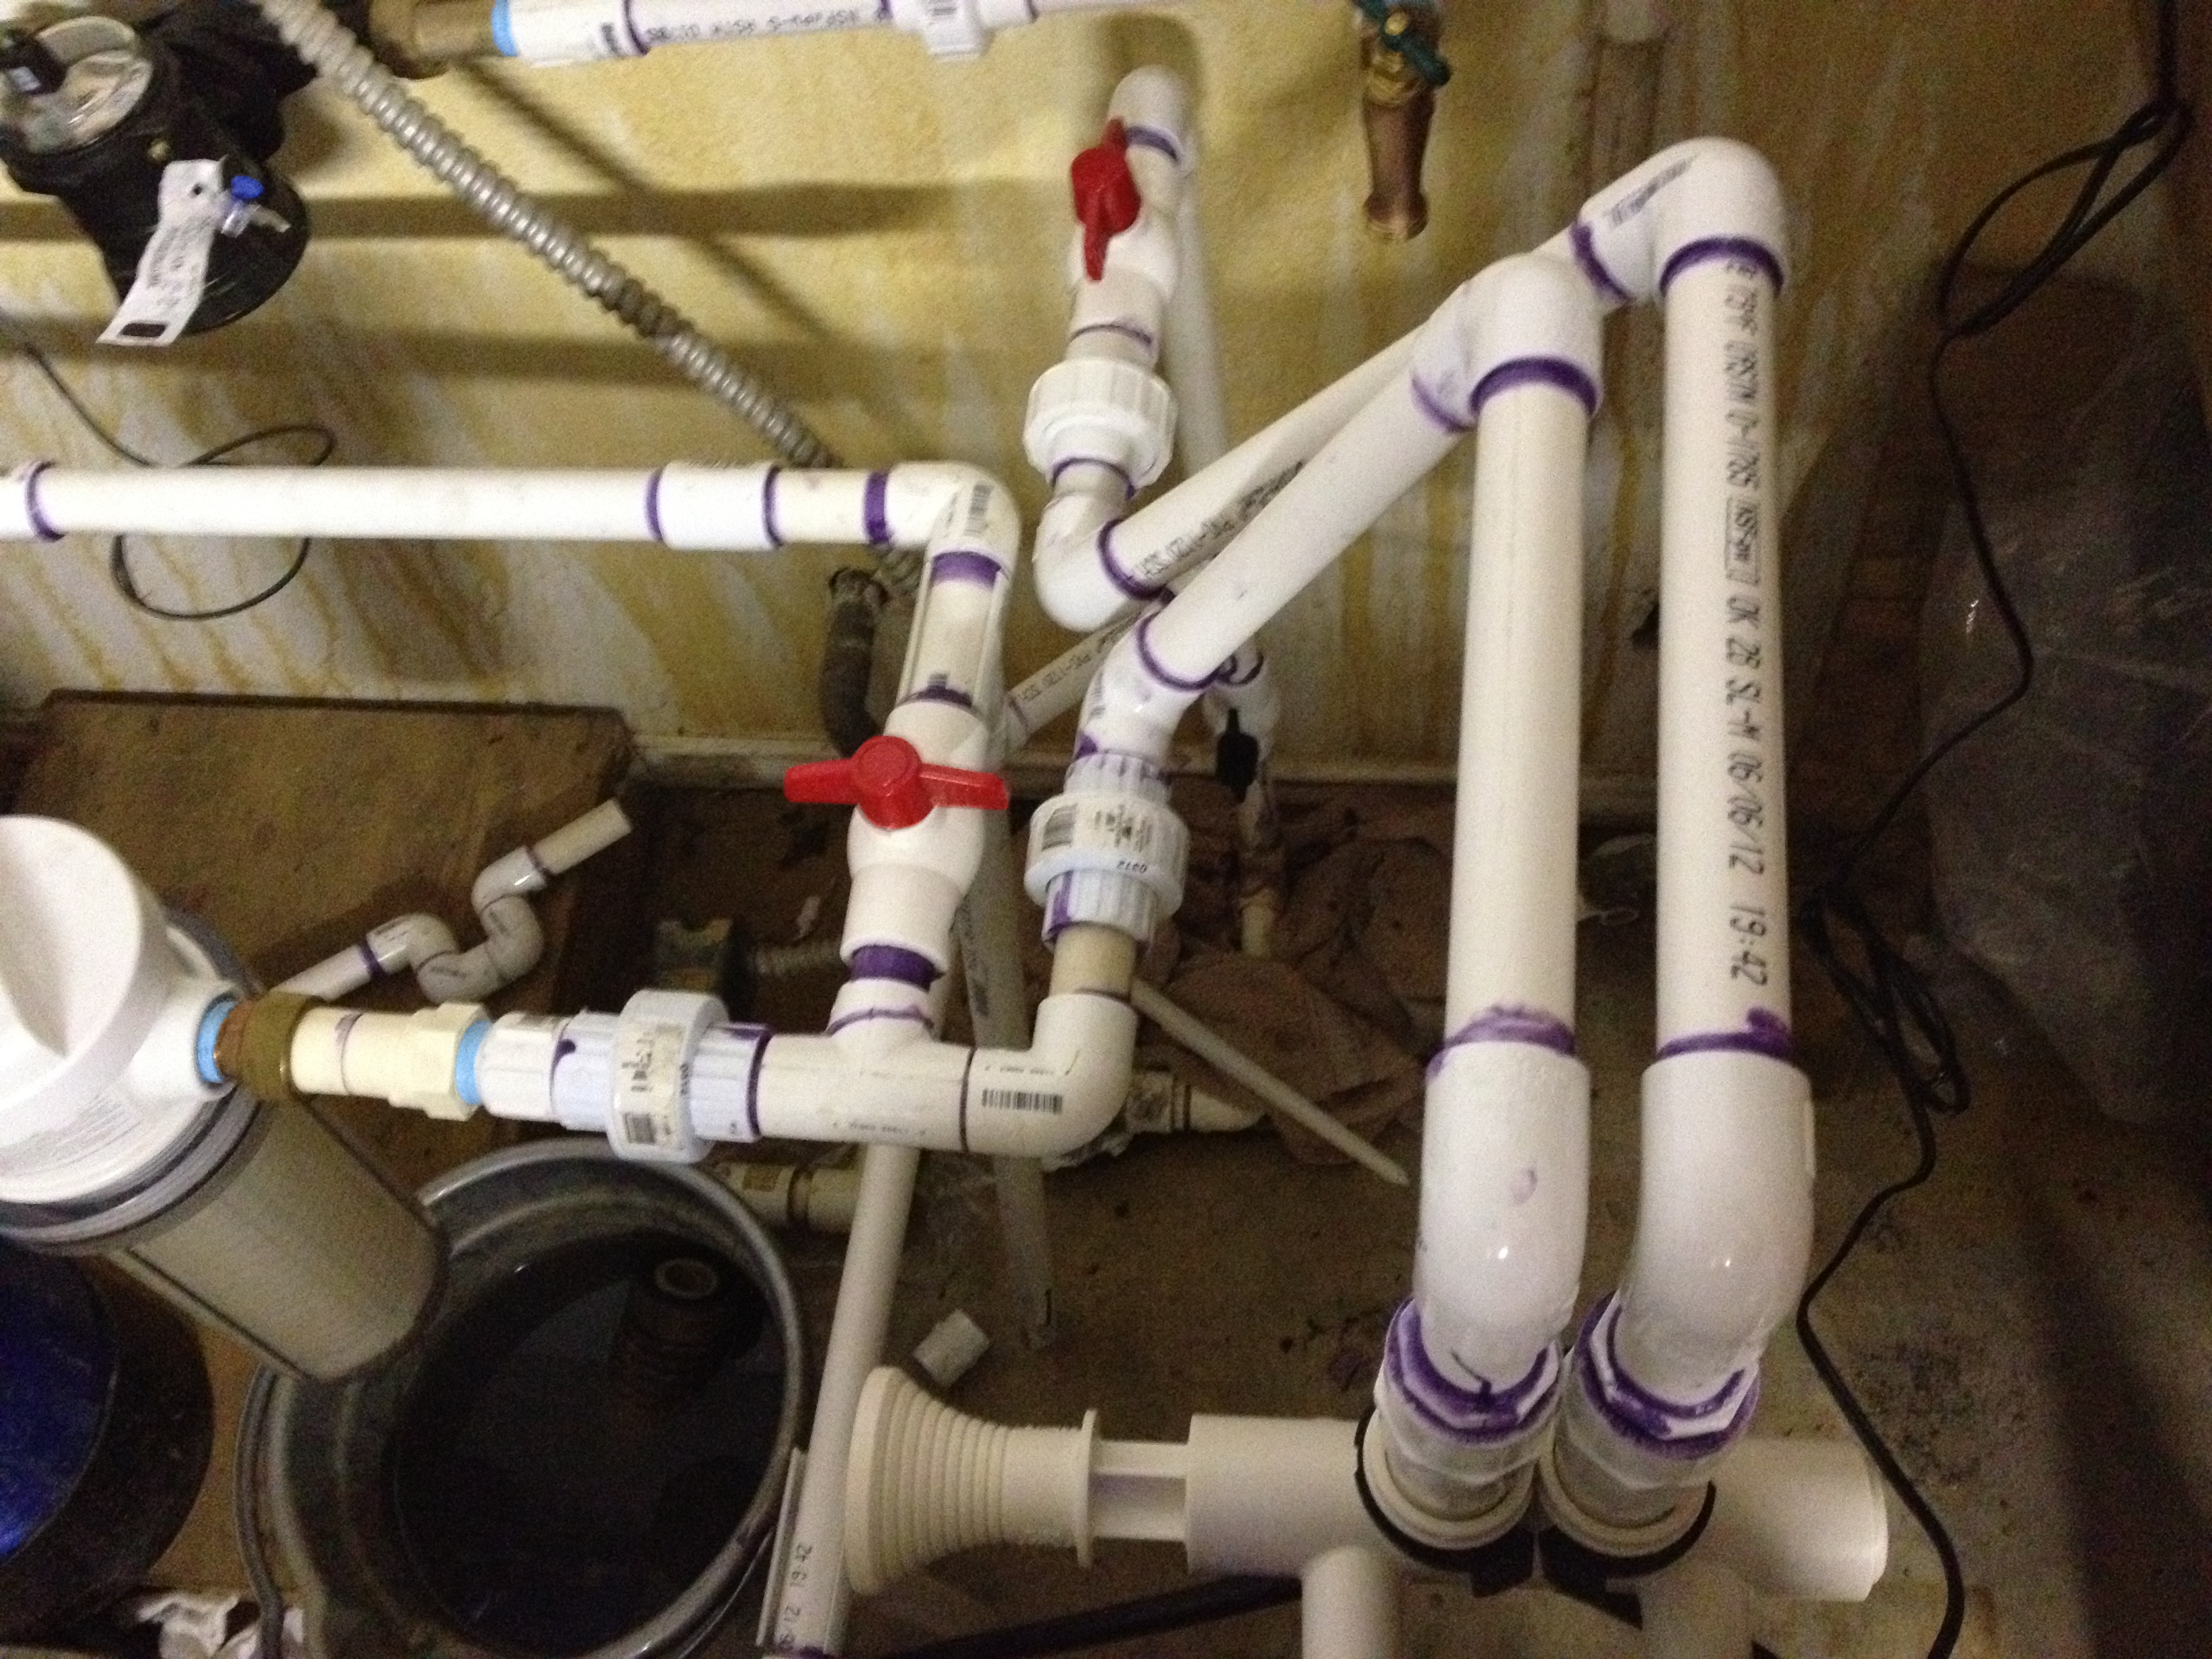
I got pretty good at PVC piping. Sadly, not until after the incident that painted the walls with that rusty orange wash.
Water comes into the garage and splits between the pressure tank and the inlet to the large filter on the right. This is a self-flushing sediment filter. It is programmed to flush at the next 1AM each time 1000 gallons has flowed through it. This is the most frequent interval possible. Sadly, our well produces enough sand that sometimes, this is not frequent enough. Next in line is a standard cartridge filter, which used to be the first filter in line. This gets the fine silty stuff that eludes the self-flushing filter. This cartridge has to be changed at random intervals, but monthly is not unusual and I can deal with that. Before adding the self-flushing filter, it rarely lasted more than a few days. Next in the chain (but not in the picture) is dual stage sediment/charcoal filter that was already here. Due to the previous lack of prefiltering, it probably needs to be replaced. Next is a water meter, just visible in the upper left. This is just so we can monitor our own water usage. It has a contact that closes once for each gallon, so I really would like to be able to log and report on the usage. There is a little more piping and valves to allow some or all of the filtering to be bypassed if needed and a pre-filter spigot where we can get essentially firehose flow and pressure. This spigot is before the filters, which means it is also before the meter, so I don’t get to monitor it. Adding another meter there would be easier and probably cheaper than replumbing. Again.
In any case, monitoring pressure differentials can indicate when a filter needs to changed or flushed and electronically monitoring water flow would reveal any leaks or other such issues.
Back on November 21, I shot in my first IDPA match. Weather, holidays and personal schedule issues colluded to prevent my attendance to any of the intervening matches, but last night, I was there!
I was pretty happy with the first three stages. Then my brain took a vacation on stage 4. Yikes… Completely missed the first target. I had two shots into hard cover. I could have made those up, but I made the (wrong) snap decision to move on. That one cost me 5 seconds for two misses and 5 seconds for a FTN. Then one of the two showing 6 down… one was a 1 down and a miss, 2.5 seconds. The other was two 3 downs, which got me 3 seconds plus another 5 second FTN.
All these were from a simple standing position and with Vickers count rules, I could have shot again to make up every one of these for in FAR less than the 21 or so seconds assessed in penalties just for those issues. The rest of the downs would have been fairly trivial and I could have finished in the middle of the pack instead of almost the bottom.

One member offered the advice that I was trying to go too fast. That makes sense to me and intellectually, I know better. Of course, this all means that I just need to practice more and shoot more matches so these kinds of silly things don’t happen.
In the good news side, the Lone Wolf 40S&W conversion barrel in my Glock 20C performed perfectly for 70+ rounds. I had one feed issue at load and make ready (on stage 4, interestingly) but I suspect that was my fault… I probably rode the slide forward a bit instead of cleanly releasing it to chamber that first round.
One issue that I have ordered a cheap part to address is that I had trouble finding the magazine release. Probably because I was in too big of a hurry, but still….
[this just in… there was a tiny arithmetic error in the score sheet on stage 4. All the penalties are still as is, but they add up to only 37.06 seconds. That moved me up one notch in the standings on the final scores, but changes nothing in the analysis. I still need practice practice practice.]
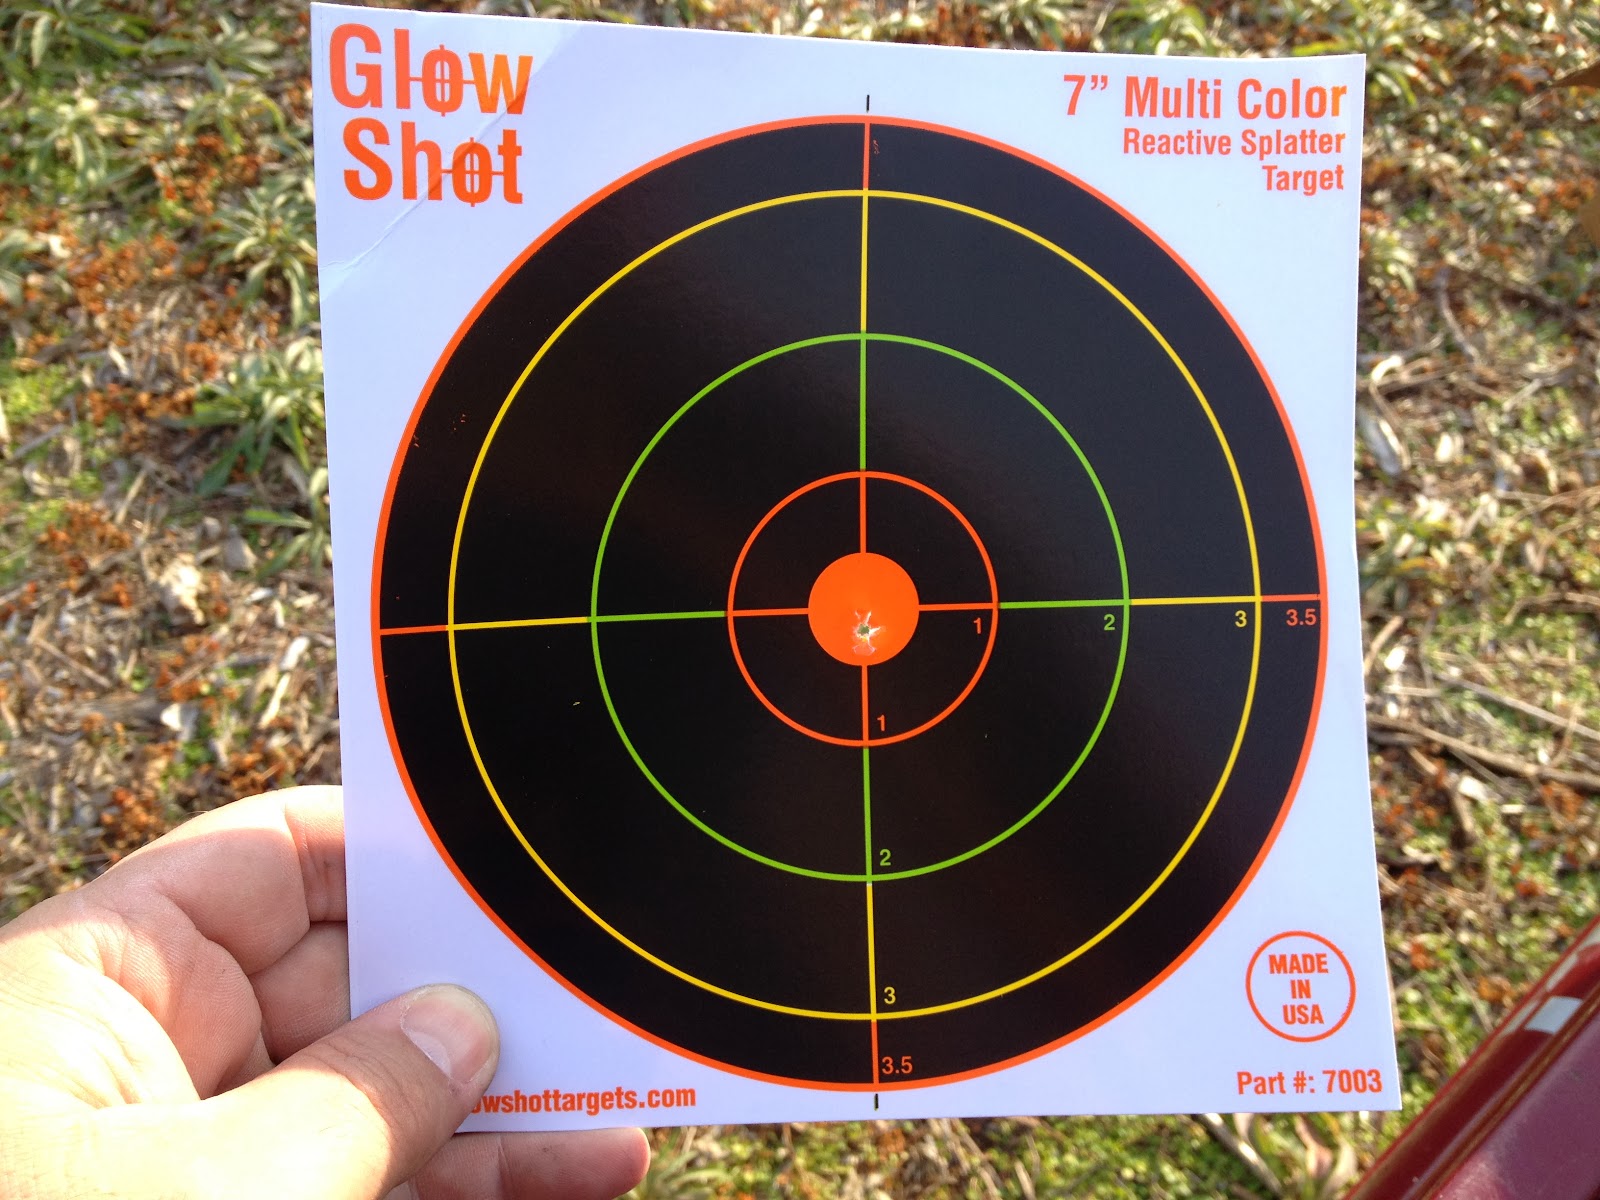
All the good things converged on the calendar, so Christmas Day afforded me a few hours of the magic combination of daylight, reasonable warmth and free time. I used that to do a little back yard shooting.
Besides just an opportunity to shoot, I had a few specific goals. Set up and learn the details of the chronograph, test the 1911 after the work I’ve done and test fire the Lone Wolf 40S&W conversion barrel in my Glock 20. Since I was shooting anyway, I also took my 10/22 to tweak the scope.
First, all the good news. The 10/22 was pretty close, but now it’s my own fault if I miss.
The 1911 seems to work flawlessly, at least 50 rounds worth.
I have a Chrony Beta Master. The user interface is not particularly friendly, but then it’s just a few digits of 7 segment LCD with three buttons for all functions. After using it a bit, I get it, mostly anyway. But a cheatsheet is in order because I had to refer back to the manual several times. I dont want velocity testing to get mired down in chronograph procedure, especially when shooting by the hour at the range.
The sun was heading for the horizon and once it got a kinda low, the chrono had difficulty catching every shot. It is well known that lighting is pretty critical. Afterall, it is trying to see a gumball flying by at 130 miles per hour. I have some lighted diffusers (a new product from Chrony), but yesterday’s goal was to just work with the unit a bit.
Which brings me to the bad news…
The Lone Wolf barrel seems to be fine, but I didn’t have any factory ammo to try it with. Turns out that my 40 S&W reloads had troubles feeding. Actually, they have trouble going into battery.
Glock pistols, especially early generations, are notoriously hard on 40S&W brass. For the relatively short wide cartridge to feed properly, the ramp on the barrel needs to be longer, which leaves some of the case head unsupported. This makes the brass bulge a little more. Some people are completely opposed to reusing 40 brass at all because of some fairly spectacular case failures. The issue, however, is largely addressed with newer generation barrels and with aftermarket barrels.
I have a Lee Pro1000 press, running with Lee full length resizing dies. Even so, the sizing die doesn’t seem to reach all the way down the case.
You can just see the “belt” they sizing die leaves:

However, I have a box of the ill fitting ammo with me today as I write this. I am using the LoneWolf barrel as a go-gauge and I have discovered that the issue look more likely to insufficient crimping.
In fact, in the picture above, you might be able to see a little of the expander bell on the case mouth.
So…. I have an gauge block on the way, which should make it easier to catch this kind of issue in the future. I really should have caught it on my own before I loaded up nearly 1800 rounds. My bad…
Also on the way is an undersize sizing die that I probably don’t actually need 🙂
The Lone Wolf barrel manually cycles Remington factory ammo just fine, so I am looking forward to my local action shooting club match. Tonight, we are having our 4th Thursday match, which is usually something fun. Tonight, “… stages will be fast and close. Front sights optional. Bring the pistol you most like to hose ’em with!”
Here’s to a jam free evening!
“A fool-proof method for sculpting an elephant: first, get a huge block of marble; then you chip away everything that doesn’t look like an elephant.” – Author Unknown
Ok, so maybe it didn’t take that much fitting, but it was a bit involved.
The slide release cleared the grips afterall. In my quick fit, I confused the lever’s failure to move downward with it’s being forced as far down as it would go. There is a tab that needed clearance from the back of the slide. In fact, this tab is what holds the slide release in when the slide is anywhere but at the magic take down notch.
The thumb safety took a little more work, though mostly because I wanted to sneak up on the proper relief and not risk over cutting and having to build it up again or discard it.
In the safe position, the safety must engage the sear with zero clearance. The sear and hammer engage with 0.020 inches or less. If the thumb safety allows the sear to move at all when it’s engaged, it can make the trigger extremely light or worse, make the pistol fire immediately when the safety is disengaged. There are several places online to see an extensive safety testing procedure.
Besides very carefully stoning the safety lug, I had to remove a bit of metal so it could swing past the spring plunger housing.
I found the machined edges of the lever to be uncomfortably sharp against my thumb. I spent a bit of time melting some of the edges. The thing could use a lot of surface sanding before it gets refinished.
In any case, I’m pretty pleased with the functionality of both pieces. Now it just needs a range test and a bath.

The new extended slide release and thumb safety for the 1911 lanquished untouched in my range bag for a whole week. One evening this week, I sat down to do a quick installation.
Now, I already expected that the quick fit I was doing would only verify that I needed to *actually* fit these parts and in that, I was not disappointed. 🙂
So far as I can tell, the slide release will only need some relief on the top of the left grip panel, which is fairly typical. I may even have some old grips somewhere that have already been cut away, though my cutting away skills have developed significantly since those old grips were done. I probably wont just hog it away with a bench grinder this time.
The thumb safety will require a little more work. It looks like the spring plunger engagement will need a tiny bit of filing. It looks like it will be a sharp snap and may benefit from a very small amount of rounding off. I don’t want it too easy to move, just not too hard.
The lug on the safety is, as typical, oversized. It will require substantial fitting work. At first blush, it will probably only need relief on the back of the lug to clear the opening in the frame. Usually, the rest of the lug is very close to the proper shape and position, but until it’s in there and everything else is out of the way, ya just can’t tell.
The fit between the sear and the lug on the safety when engaged must be zero. The sear must not move at all with the safety engaged, especially if hammer and sear work has been done to lighten trigger pull.