I’ve started restoring a 1982 Yamaha Seca Turbo and what with the fun of bloggin my VW trike projects, I thought I should start one on the Seca.
I wanted one of these bikes the first time I saw it, which was probably in Cycle Guide magazine, to which I was subscribed in and about 1981-82. All the factory turbo bikes were cool. Probably my absolute favorite in styling is the Honda, and having had a CX500 Custom from the era, I was slightly biased. The Kawasaki was arguably the fastest of the bunch, but really didn’t look all that different from the standard GPz. However, by most accounts, the Yamaha is the more stable and reliable of the three and it’s angular look is still appealing nearly 30 years later.
I found a Craigslist ad that originally listed it for $1500, which is about the retail price on kbb.com for a nice example. This one was described as low miles (5,600) but not running, though the pic seemed to indicate all was together. The price in the ad dropped and I honestly kept busy elsewhere until the guy called me with an offer I couldn’t avoid. He was moving and needed it gone.
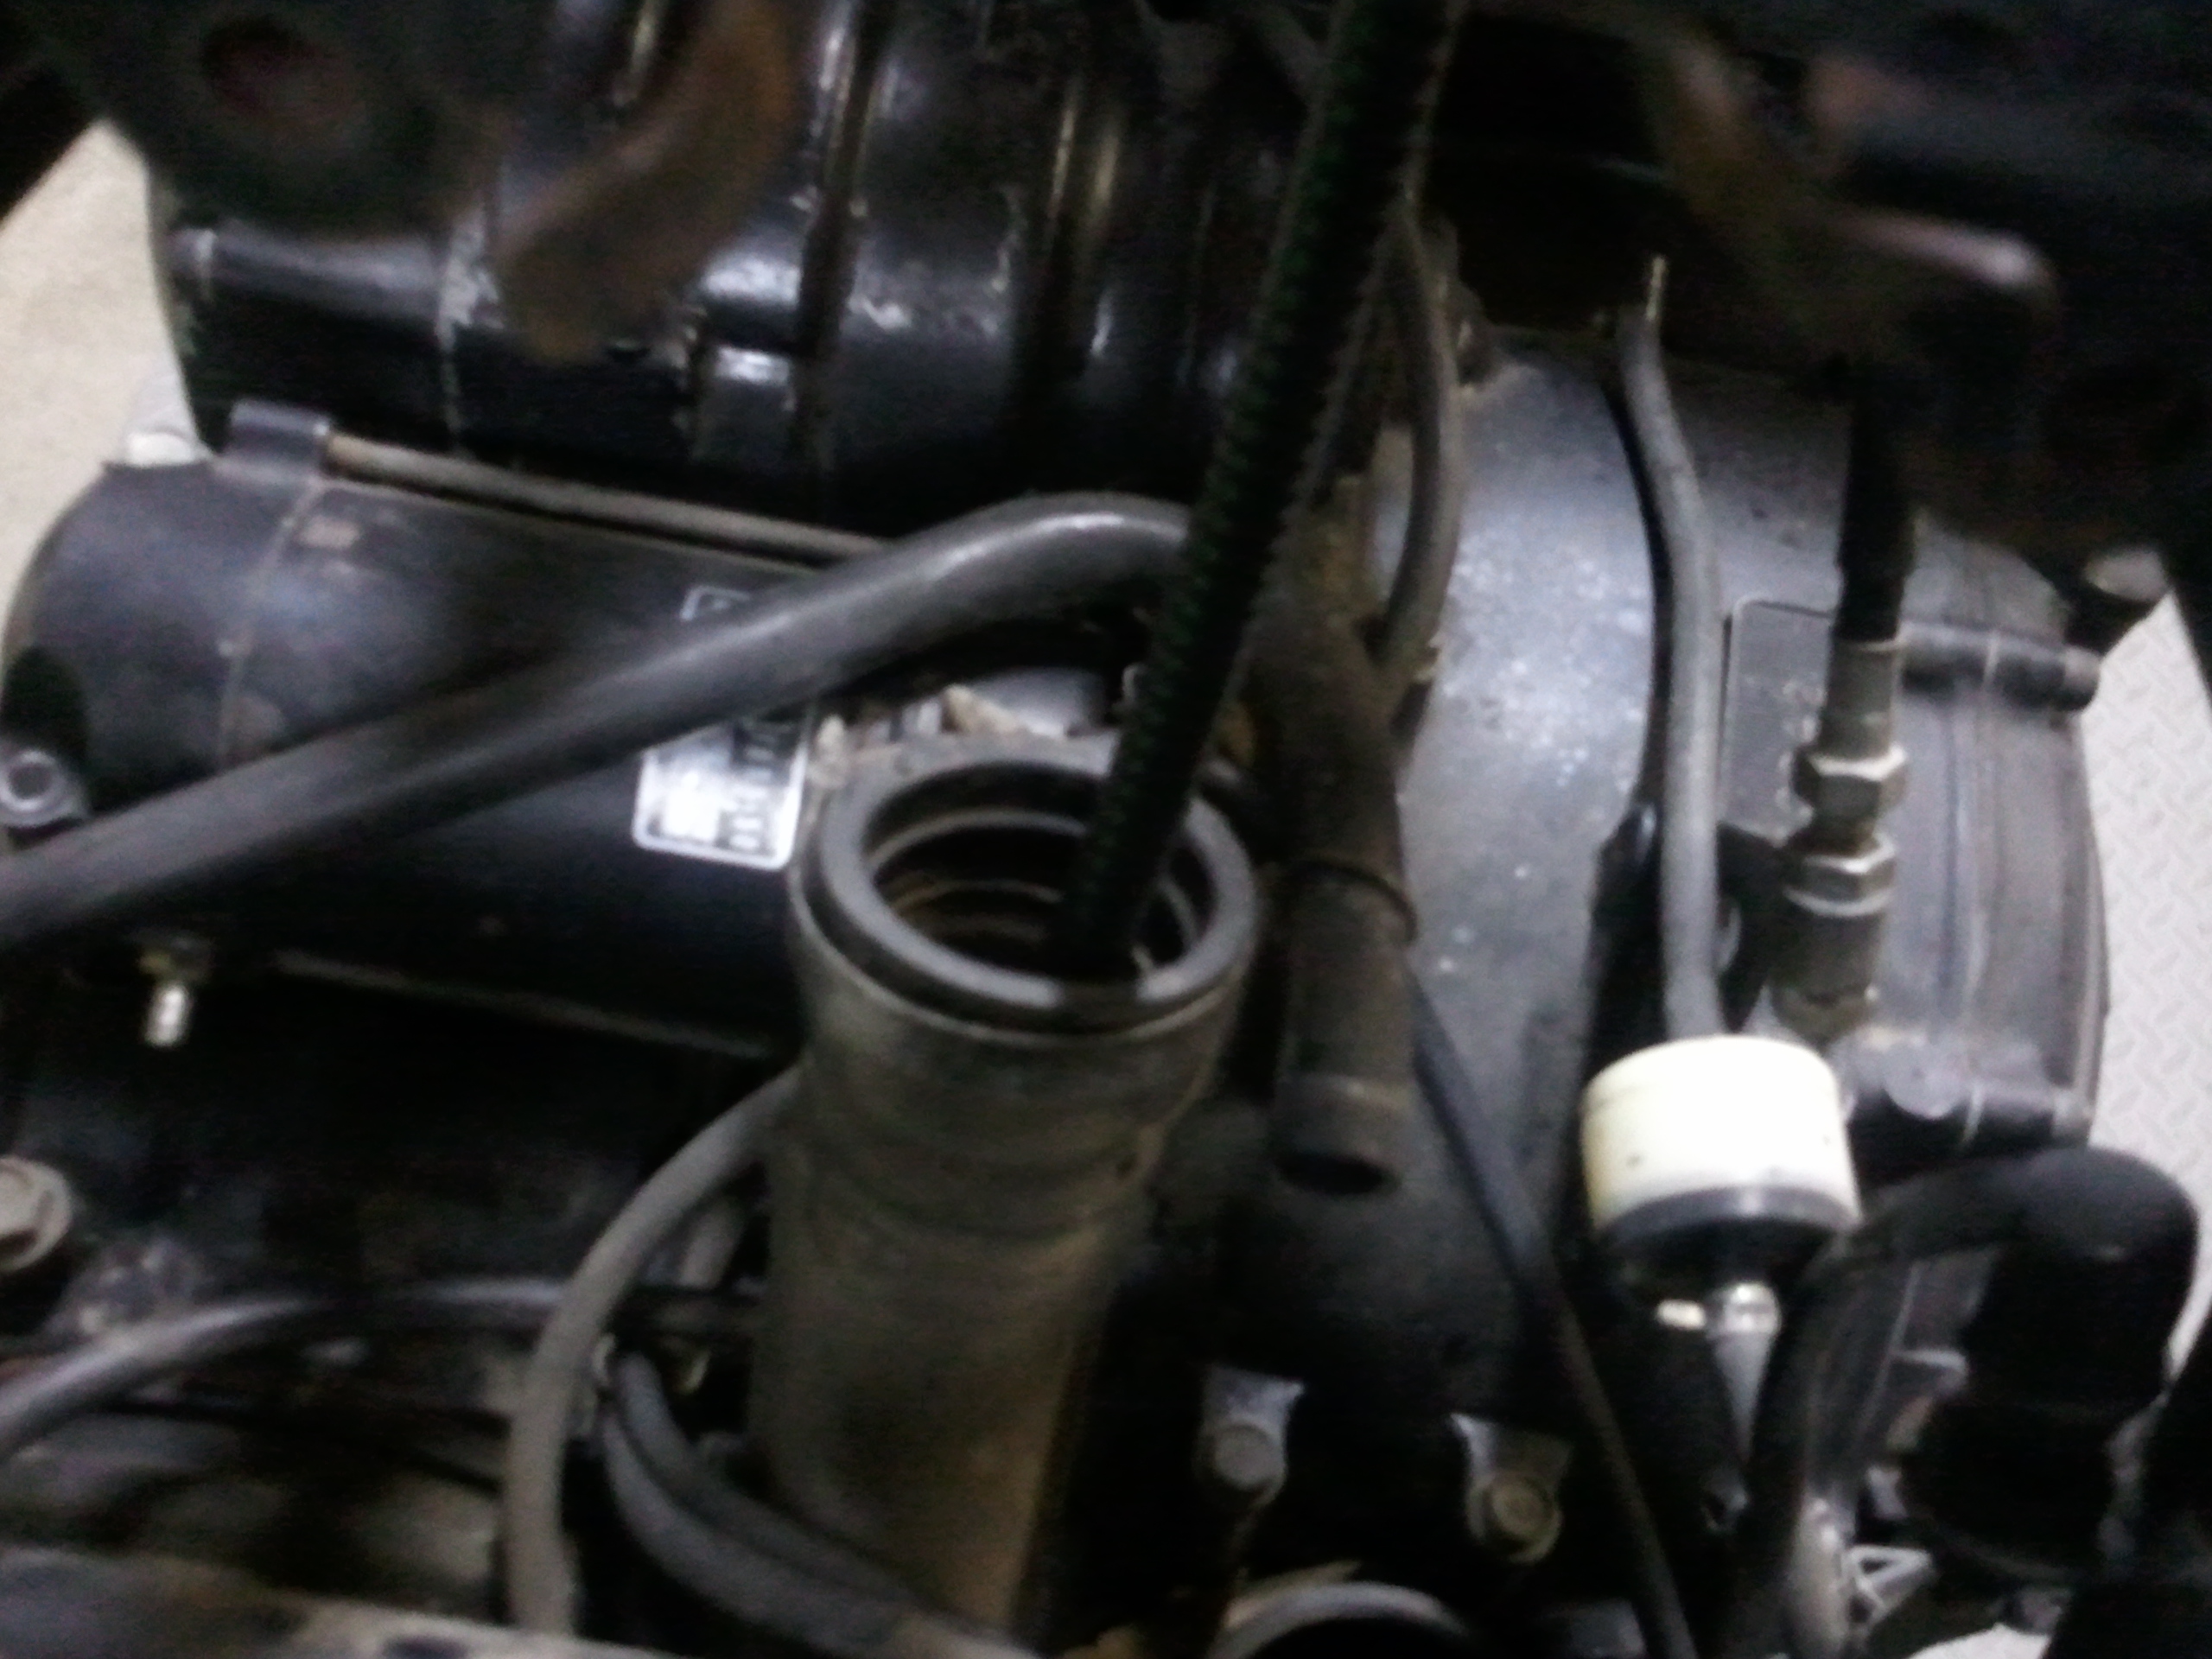
When I went to see it, I found it to be somewhat less assembled than the ad and our conversations seemed to indicate. The carb rack and pretty much everything else between the turbocharger and the engine was either in a box or sitting, unattached, in it’s approximate normal position on the bike. There were maybe two or three hand tight screws holding most of the body in place. My apparent reluctance, which I was not even trying to show, resulted in yet another price drop, so I happily loaded it on my trailer for $300.
As soon as I got home, I put my *other* XJ, Buzz, a 1982 Maxim 550 (with it’s own hopefully fascinating tale) on Craigslist to recover the cash outlay for the Turbo.
Had I done the degree of carburetor cleaning I have done to the Turbo’s carbs, I could probably have gotten more for Buzz than $500, and my wife has ceased pointing this out, but I think only because she doesn’t like to nag. However, the first person to actually come see Buzz bought him without quibbling over the price and I immediately had $200 in pocket for parts.
Sadly, the carburetor kits, at $42 apiece times four, ate through that pretty quickly, but look at the results:
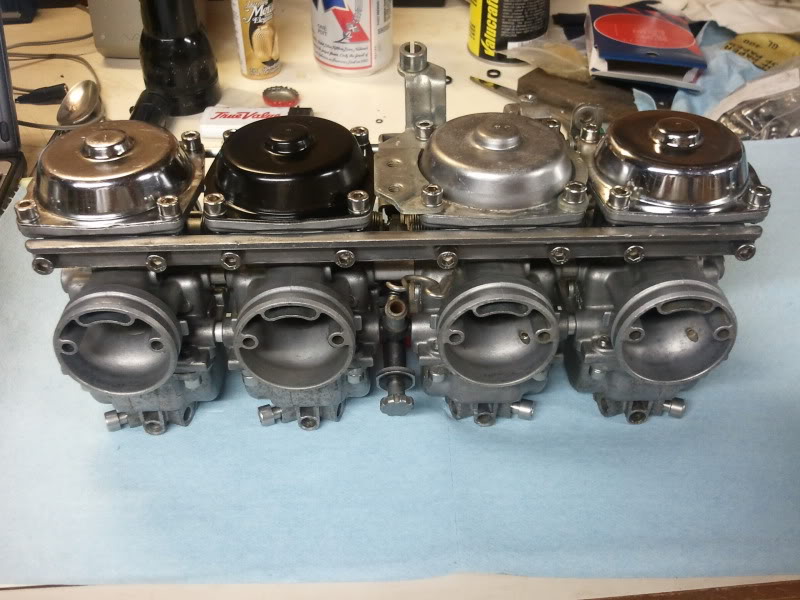
Pay no attention to the unpainted top on carb #3; that one was in the cleaner bucket the night I was painting and I didn’t want to wait for paint to dry when I was assembling #3 last night. It will get paint, probably black. If not black, I will paint them all some color that goes with whatever color the bike is eventually painted. I’m leaning towards the period Kenny Roberts color scheme.
There was plenty of evidence that some person or persons had started a carb rebuild job and abandoned it, perhaps multiple times. Considering the problems with carb #1 described below, I’m not entirely surprised. However, as I looked at more and more on the bike, I’m beginning to think that someone had a very minor spill, maybe even just dropped it in their driveway, and just parked the bike, probably without any storage procedures.
Little things like a float in the bowl with pin in place, but not through the float hinge. Note the lovely verdigris on the brass parts. Nice for antiques, but not particularly nice for antique carburetors.
Likewise, see the emulsion tubes. This one came out of a carburetor that had been soaking in the parts dip for 6 days. That’s how much crud was *left*.
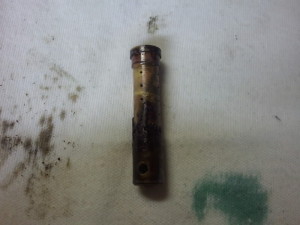
This is an emulsion tube on a carb that had not been soaked…

Once removed from the carb body and soaked directly in parts dip, the emulsion tubes came serviceably clean, and if not abused in removal, most all the brass parts can be reused. However, the carburetor kits came with almost all new brass stuff, so there was no need to preserve them.
The two biggest hiccups were the idle mixture screw on carb #1 and the bowl drain screw on carb #3.
The simpler of the two, the bowl drain screw on #3, had been chewed up long enough ago to have seriously rusted since the damage was done…
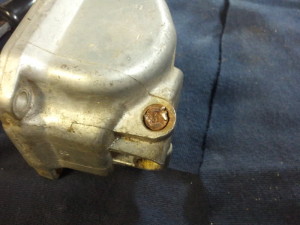
After attempting all the usual techniques with penetrating oil and my impact driver, I decided it was going to take some cutting. I did not have a handy Dremel-like tool, so I used a flat needle file and cut a deep slot into the screw. The motion required cutting a notch in the surround, but the new screws don’t fit the same way, so there will be no penalty for the notch.
As I had put this step off until just last night, I was in enough of a hurry to forget to photograph it, but the new slot and the impact driver was the magic combo.
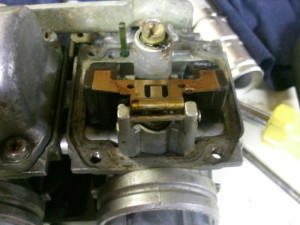
The #1 idle mixture screw was a bigger issue.
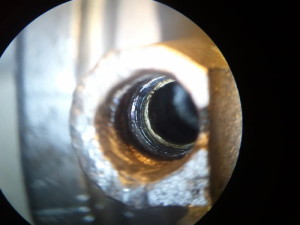
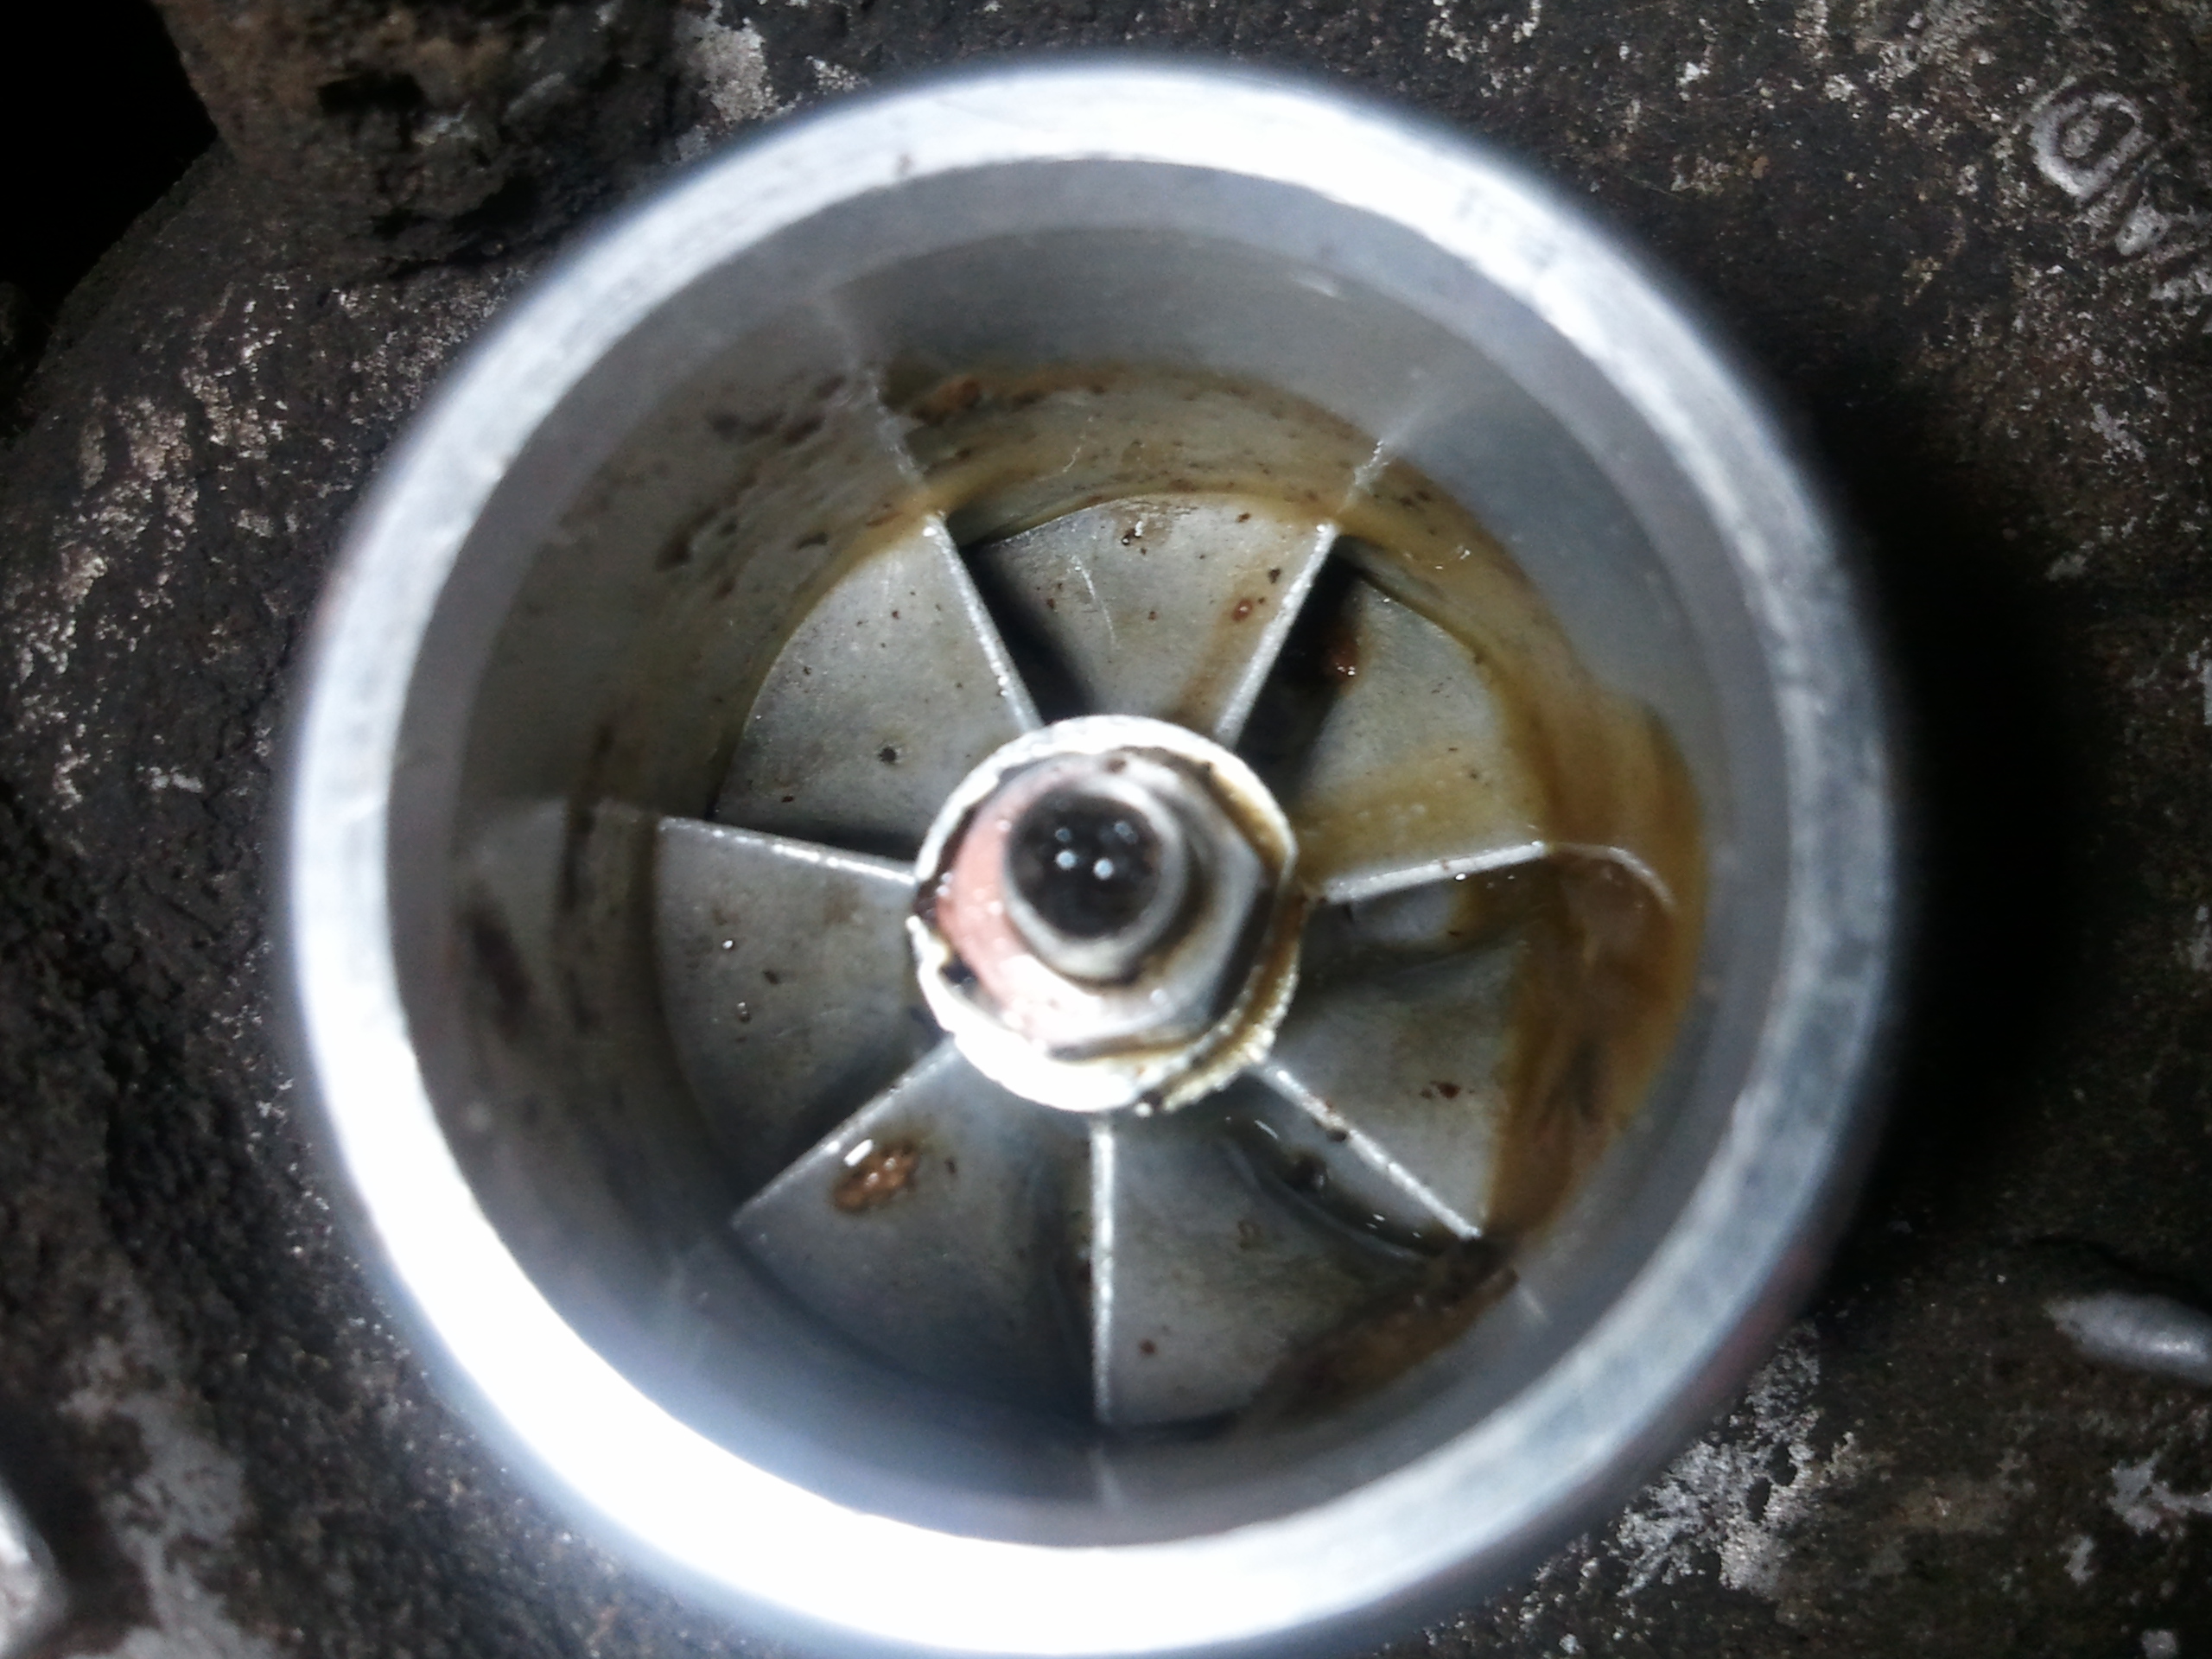
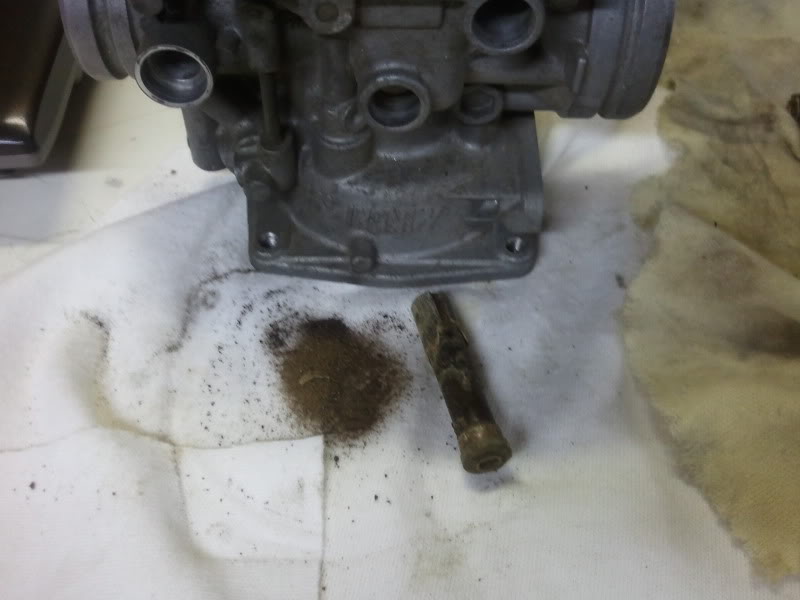
One of the recommended steps in refurbing such carburetors is to use the proper sized tap and chase the threads for the idle mixture screw. These threads are almost universally corroded and cleaning them up will make assembly much easier and extend the life of the carb. I was having trouble getting the tap to go and, long story short (too late) I found that the old screw had been so severely seized that someone had drilled it out. The remains of the screw can be seen here as the brass “sleeve” lining the hole:
The hole is too larger for a screw extractor to work without damaging the threads and the hole would need to be reamed out a little for the tap to fit. If it were tapped that way and the new threads didn’t follow the old threads pretty exactly, it would be equally useless.
After much consideration, I thought it would be wise to shop for a replacement before I started, just in case I destroyed it. Found a #3, New-Old Stock, on eBay for $250. Ouch. A #3 has the fuel and vent passages drilled on both sides, whereas a #1 only has them drilled on one, so using a #3 would mean plugging the outside holes.
I found an incredibly dirty full rack for $170, which is definitely better, but might mean the inheritance of the same problem, perhaps times four.
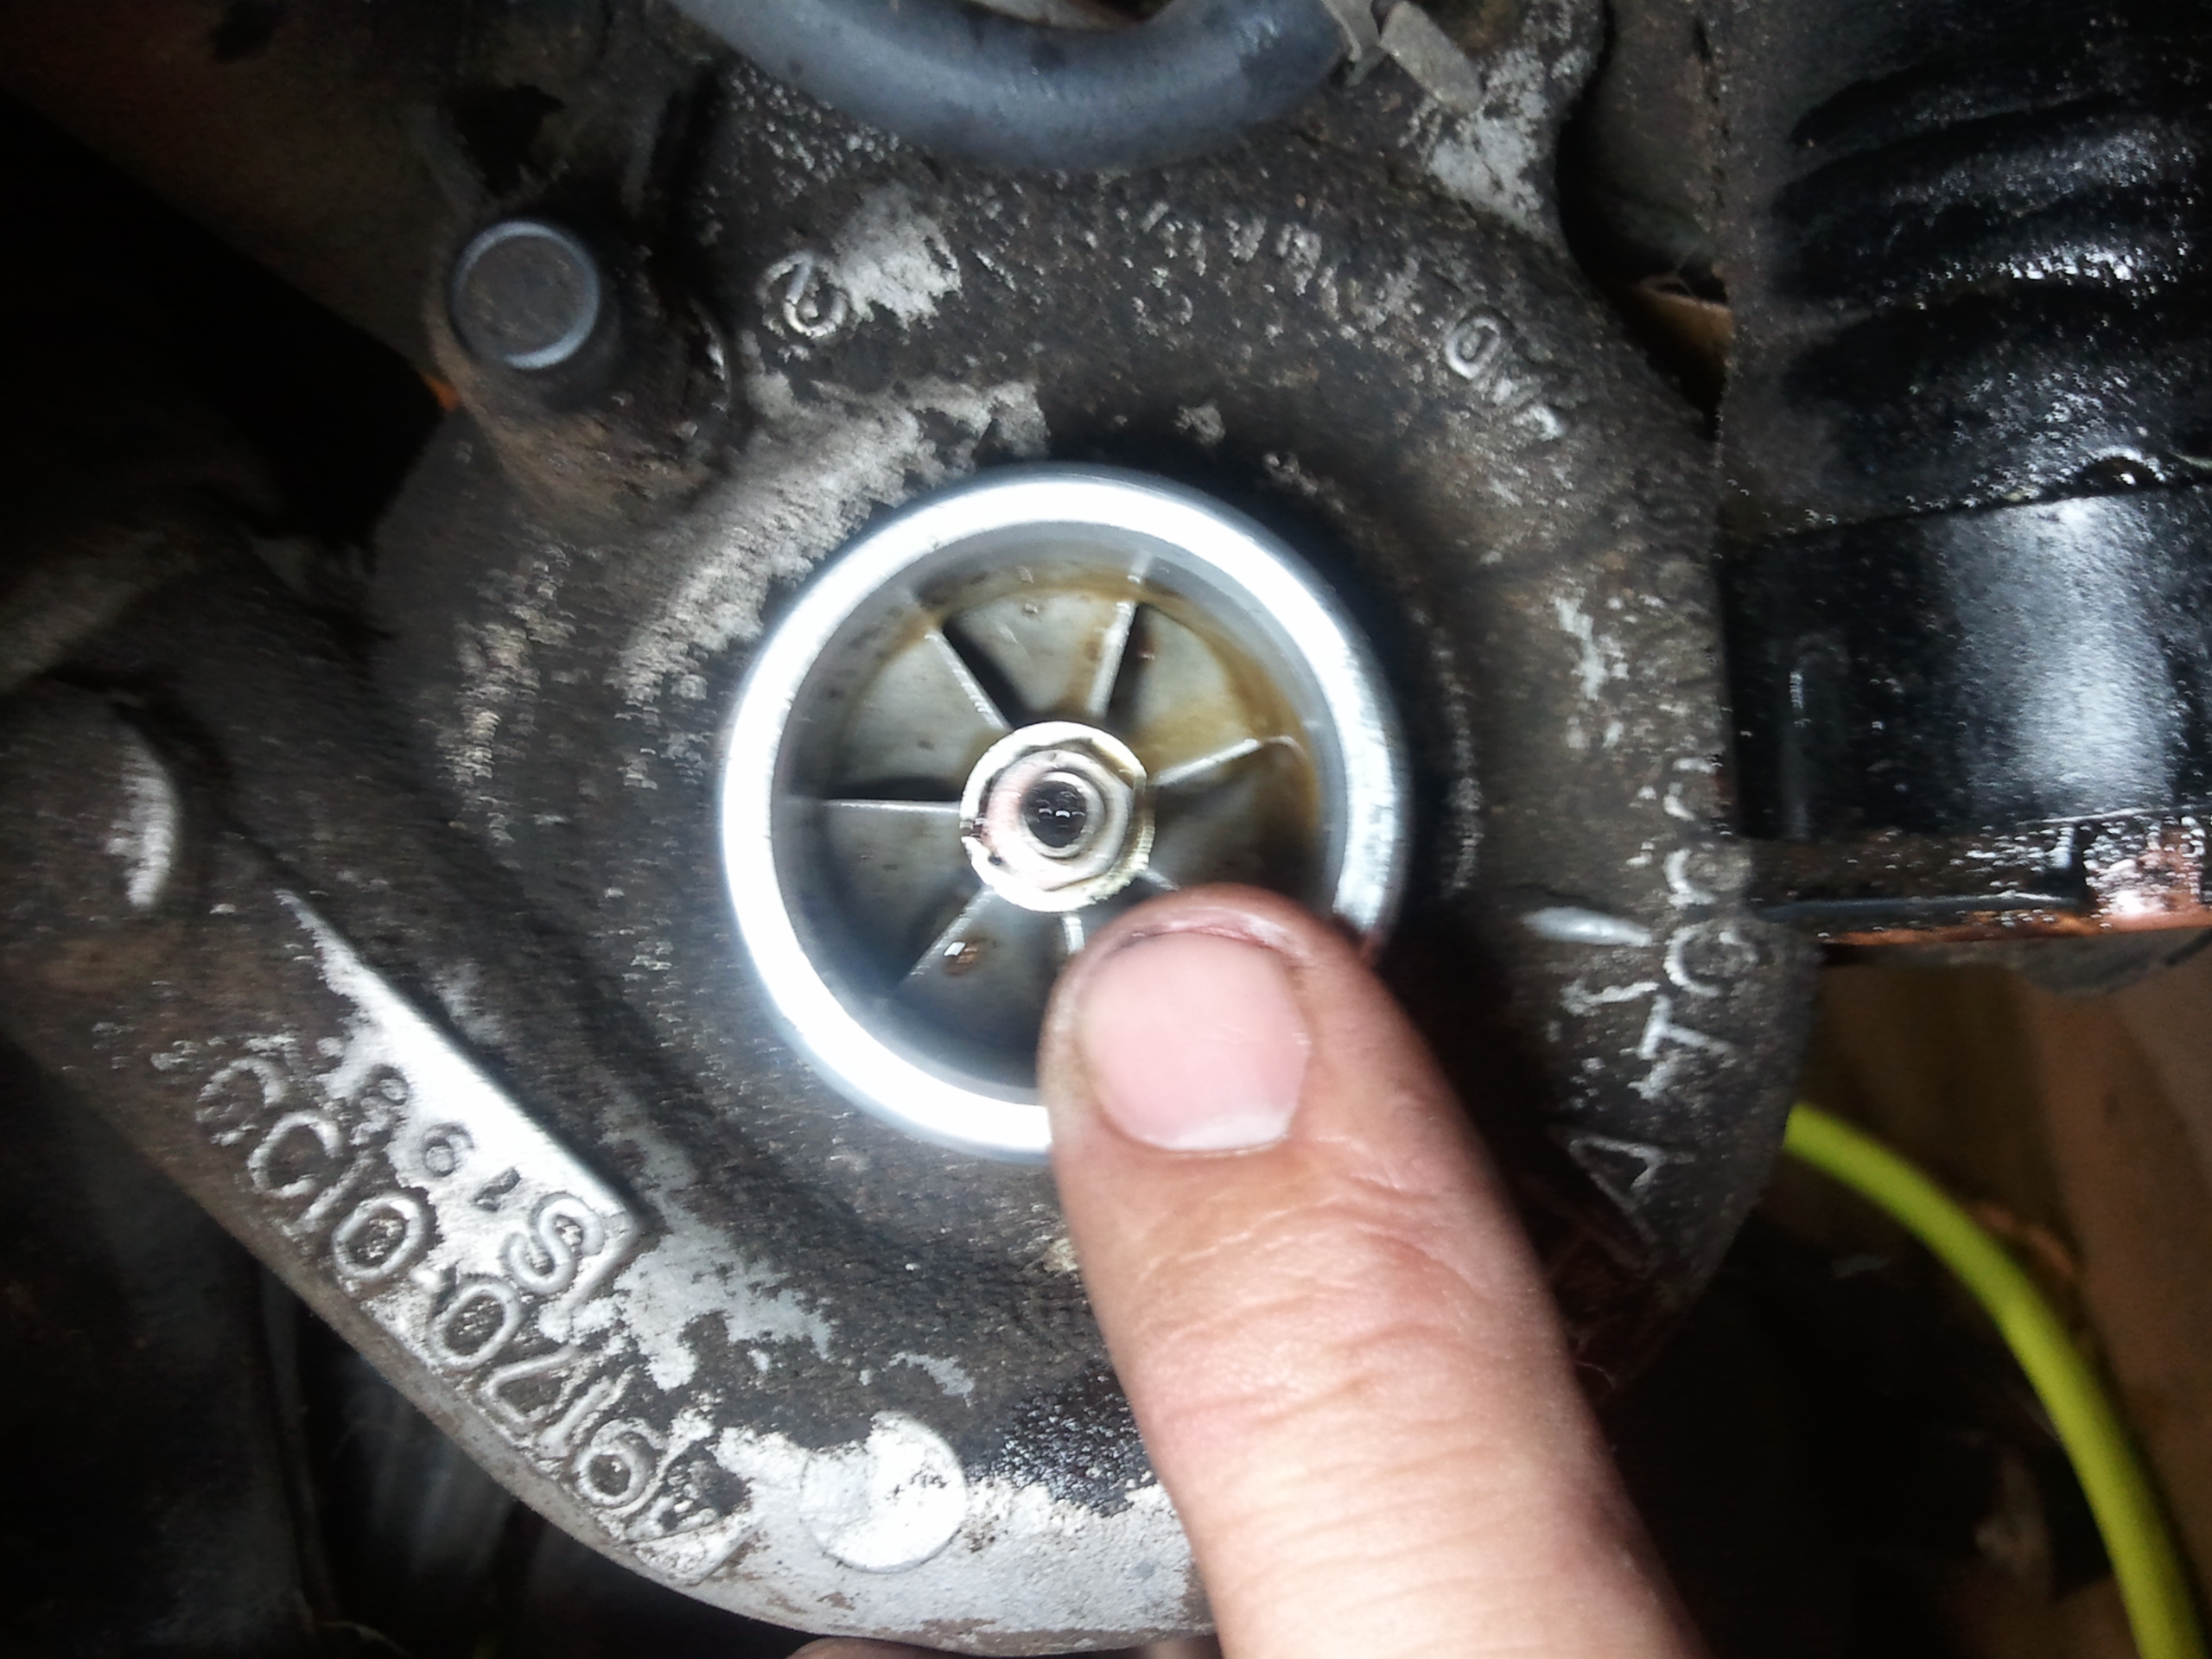
Finally, I asked Len Chacal at XJ4Ever and sure enough, he had a couple in stock. The bare carb body with no other parts was $69. I was happy enough with that to just order it and not bother (at this time) with my old #1. It arrived in need of cleaning (as described) but in much better condition than mine, or perhaps any of mine.
So, with #1 and #3 left to finish assembling last night, I tore into the project and finished about 1:15AM.
I still need to align the carbs with a plate, check/set the float levels and bench synchronize them, but they are essentially finished.


