Urban Dictionary seems to summarize it well for me:
“a smart-sounding word for realizing you’ve been practically retarded for quite some time”
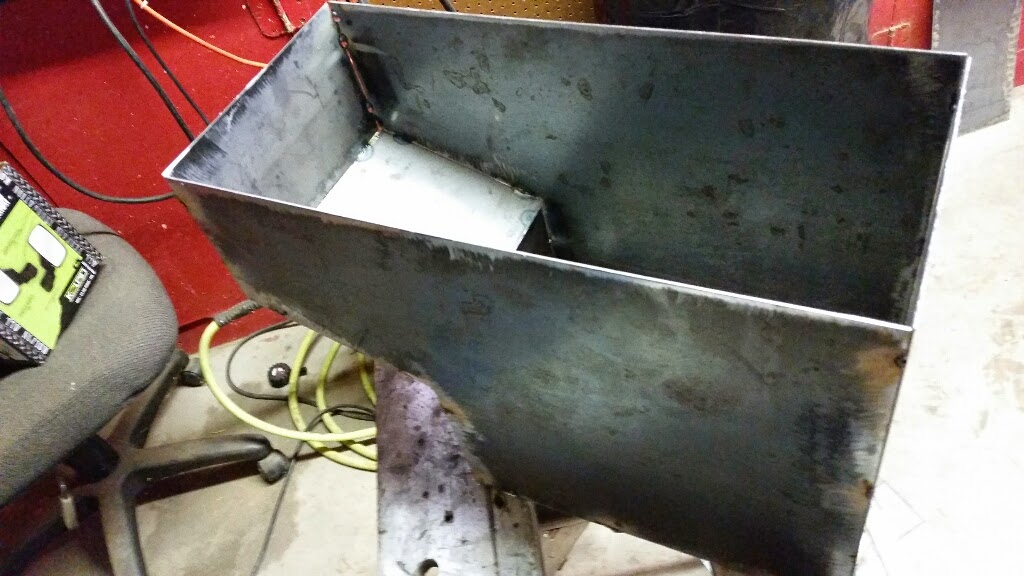
Maybe that’s a little harsh, but it’s certainly how I felt when I finally realized that I had about 40 hours into building this fuel tank and it’s still far from done.
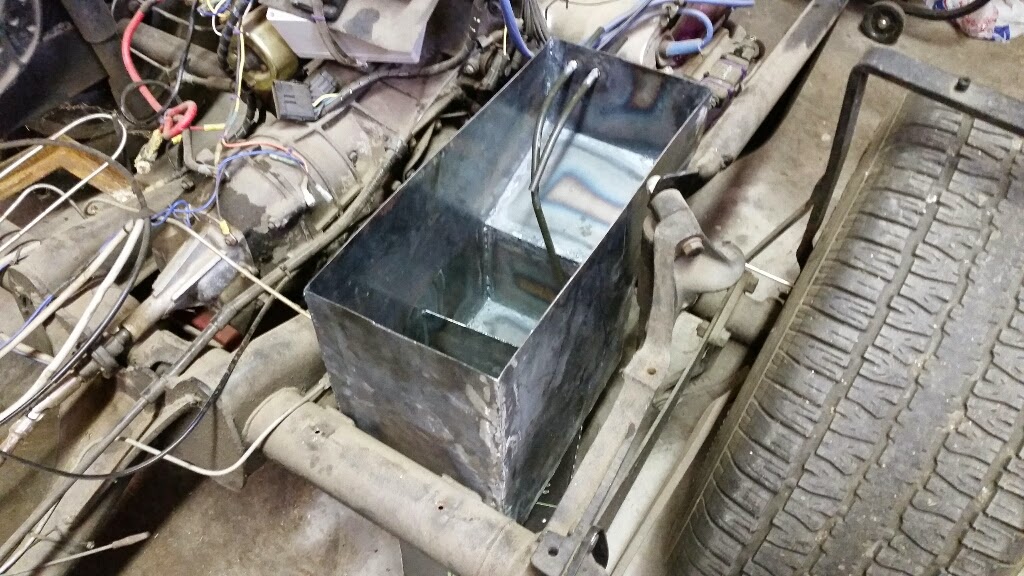
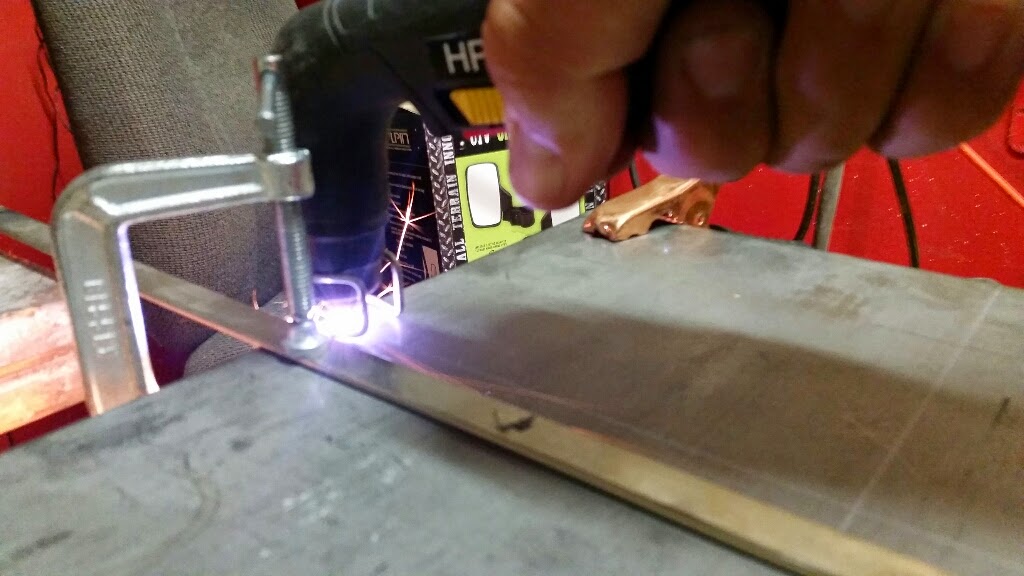
Last night, I brazed studs in the top plate for the filler neck. I had some difficulty getting one of them to completely wet. Funny what a little bit of unidentified trash can do to ya. After that was finally done, I hammered the now warped piece back into shape and prepared to do what I really really hoped was the last couple of steps before welding the top on, namely putting the pickup and return tubes in. I have decided for simplicity to pick up from the bottom rear edge of the tank and return to the top rear edge.
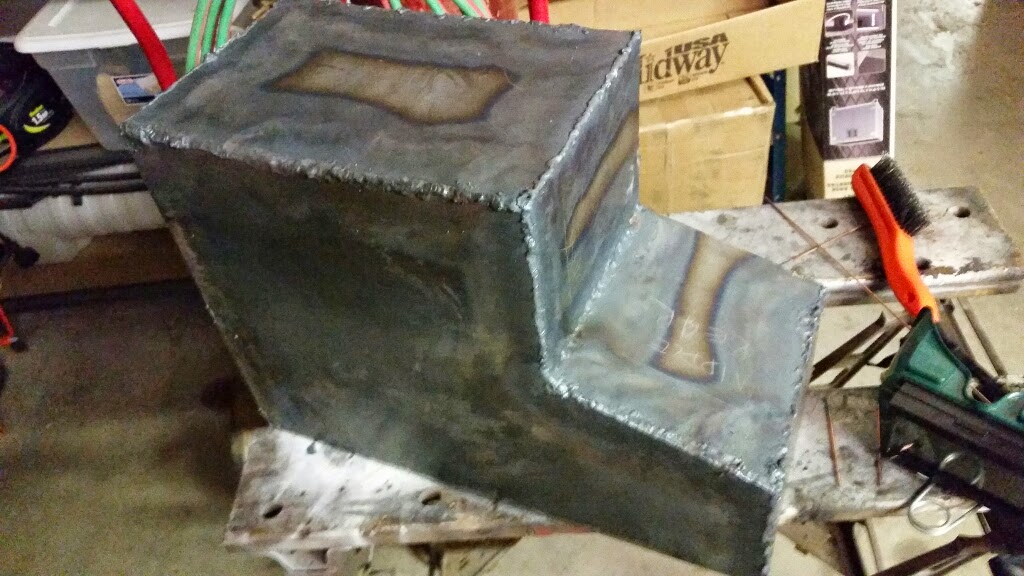
So, I picked up the tank and as I set it on the workbench, I noticed a flash of light inside that was not expected. Ugh. Essentially the entire length of a recently added seam had cracked open. Easy enough to address, and apparently, I hadn’t done a good job of it already.
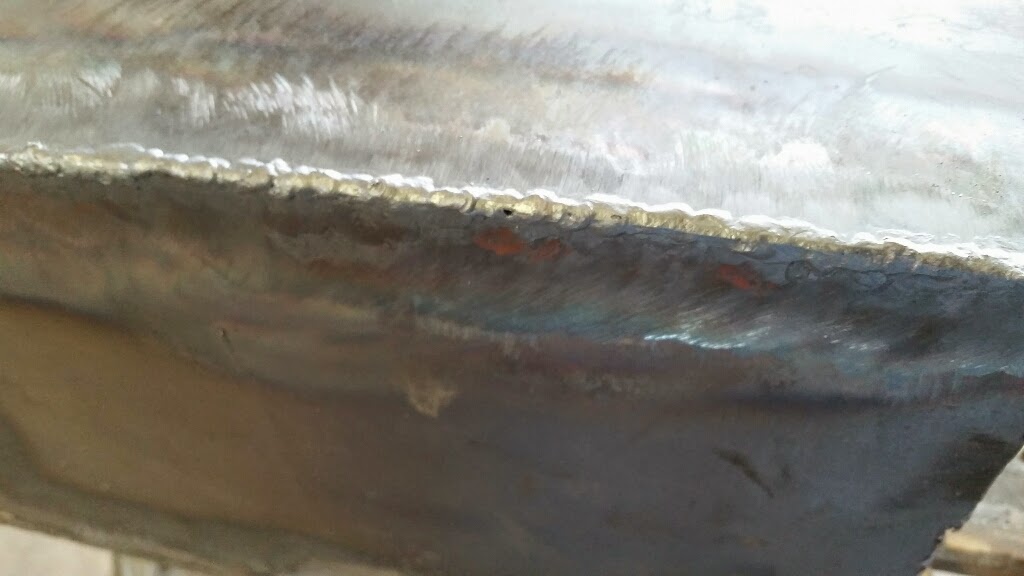
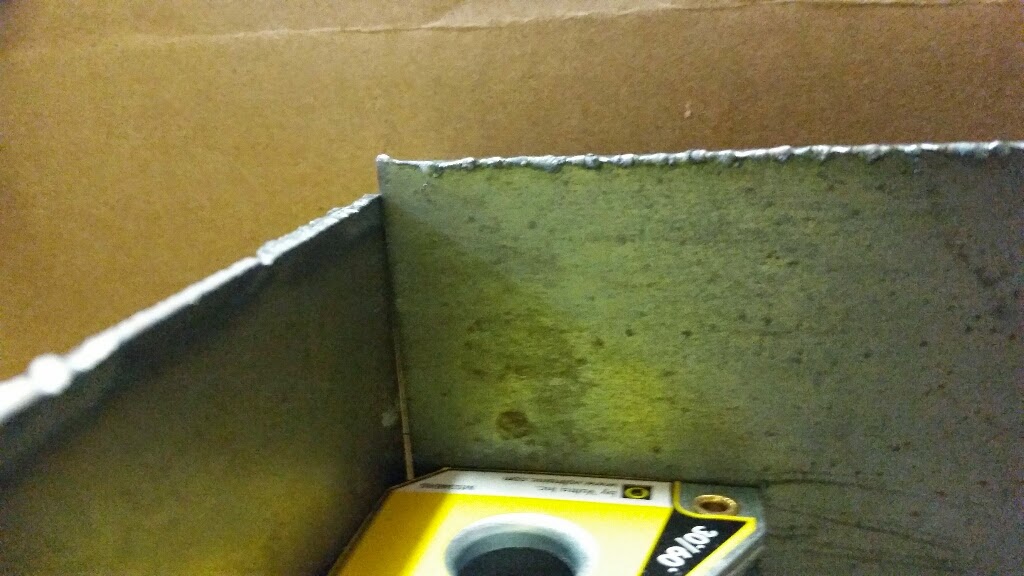
Once the tubes were in, I thought it wise to do a quick leak check. I simply poured some water in the bottom of the tank and watched the seams for leaks as I rolled the water around inside. Found a couple. Fired up the torch and reworked each of them. I let the tank cool to handling temperature and did it again.
Hmmm How did I miss that leak. Repeat fix/cool/test.
More new leaks. More fixes. More new leaks.
So, I decided to stop the madness.
It seems that either my materials, my tools, my skills or some combination therein is not up to the task. I vote skills. I suspect that my welds are marginal and when working on one fix, metal expansion stresses out new cracks. Maybe the torch is too rich and adding carbon to the weld, making them brittle. Maybe I’m overanalyzing it 🙂
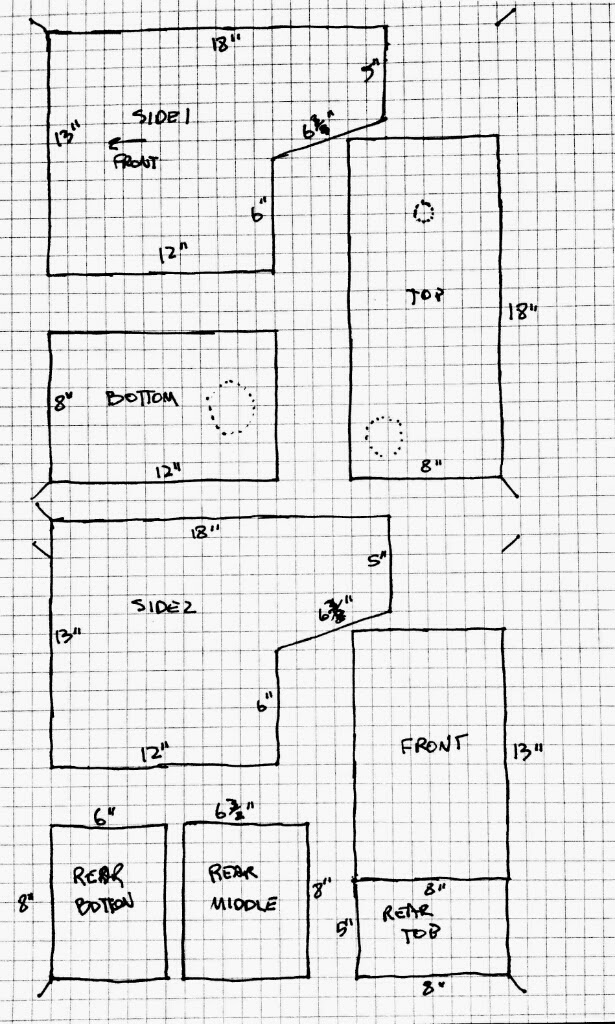
In any case, there is at least one manufacturer that has an off the shelf tank that would be serviceable, and they take custom requests. I have submitted a request for a quote. Since it’s custom anyway, I want to make it as close to ideal as possible, so I have asked for two AN-6 fittings for pickup and return, a marine flange for the fuel level sender, an angled filler neck with vented cap and mounting tabs ready to bolt in place. I might add another mounting tab to mount the fuel pump to; depends on some fitting considerations that I will have to experiment with.
With some luck, I will have a first blush quote soon enough to determine whether the custom tank is even worth considering, which will center around whatever the cost is.