For a couple of months, High Point Scientific had my new tripod on backorder. It is apparently quite popular, being solid yet inexpensive. I was pretty excited to get the notice that it was shipping.
As it is winter and Orion is quite prominent in the night sky, I thought it would be nice to capture the Orion nebula. Because of it’s location, basically formed around Orion’s dagger, it should be easy to find, at least compared to many, maybe most, deep sky objects.
For my first try, I had my CLS filter in place. We have a big sodium light that is basically in the same direction as Orion when I am set up in what is arguably a very handy place, in my driveway, just outside the garage. This filter, however, is pretty dark and it made it more difficult to find anything. At some point, I decided that maybe I was pointed the right direction and that I just couldn’t see the nebulosity in my test shots, so I set the thing loose taking 180 x 30 second subs. I spent some of the capture time in the house doing things that needed doing and some of it waiting in the car with the heater on, which was kinda novel.
I had started a little later than planned, plus all that attempting to find a nebula push my capture kind late. The exact place I had set up was inadvertently planned for my capture plan. This was where the camera was pointed at the end of 180 frames.
I captured a really pretty field of stars and I had only missed the nebula by this much:
As luck would have it, a couple nights later was clear and a Friday, so I set up again. This time I removed the CLS filter, hoping it would make it easier to find the nebula. I am not sure whether or not it made a real difference, but I did find it!

It was very exciting not only to see the nebula show up on the viewscreen, but also to be able to frame it so perfectly.
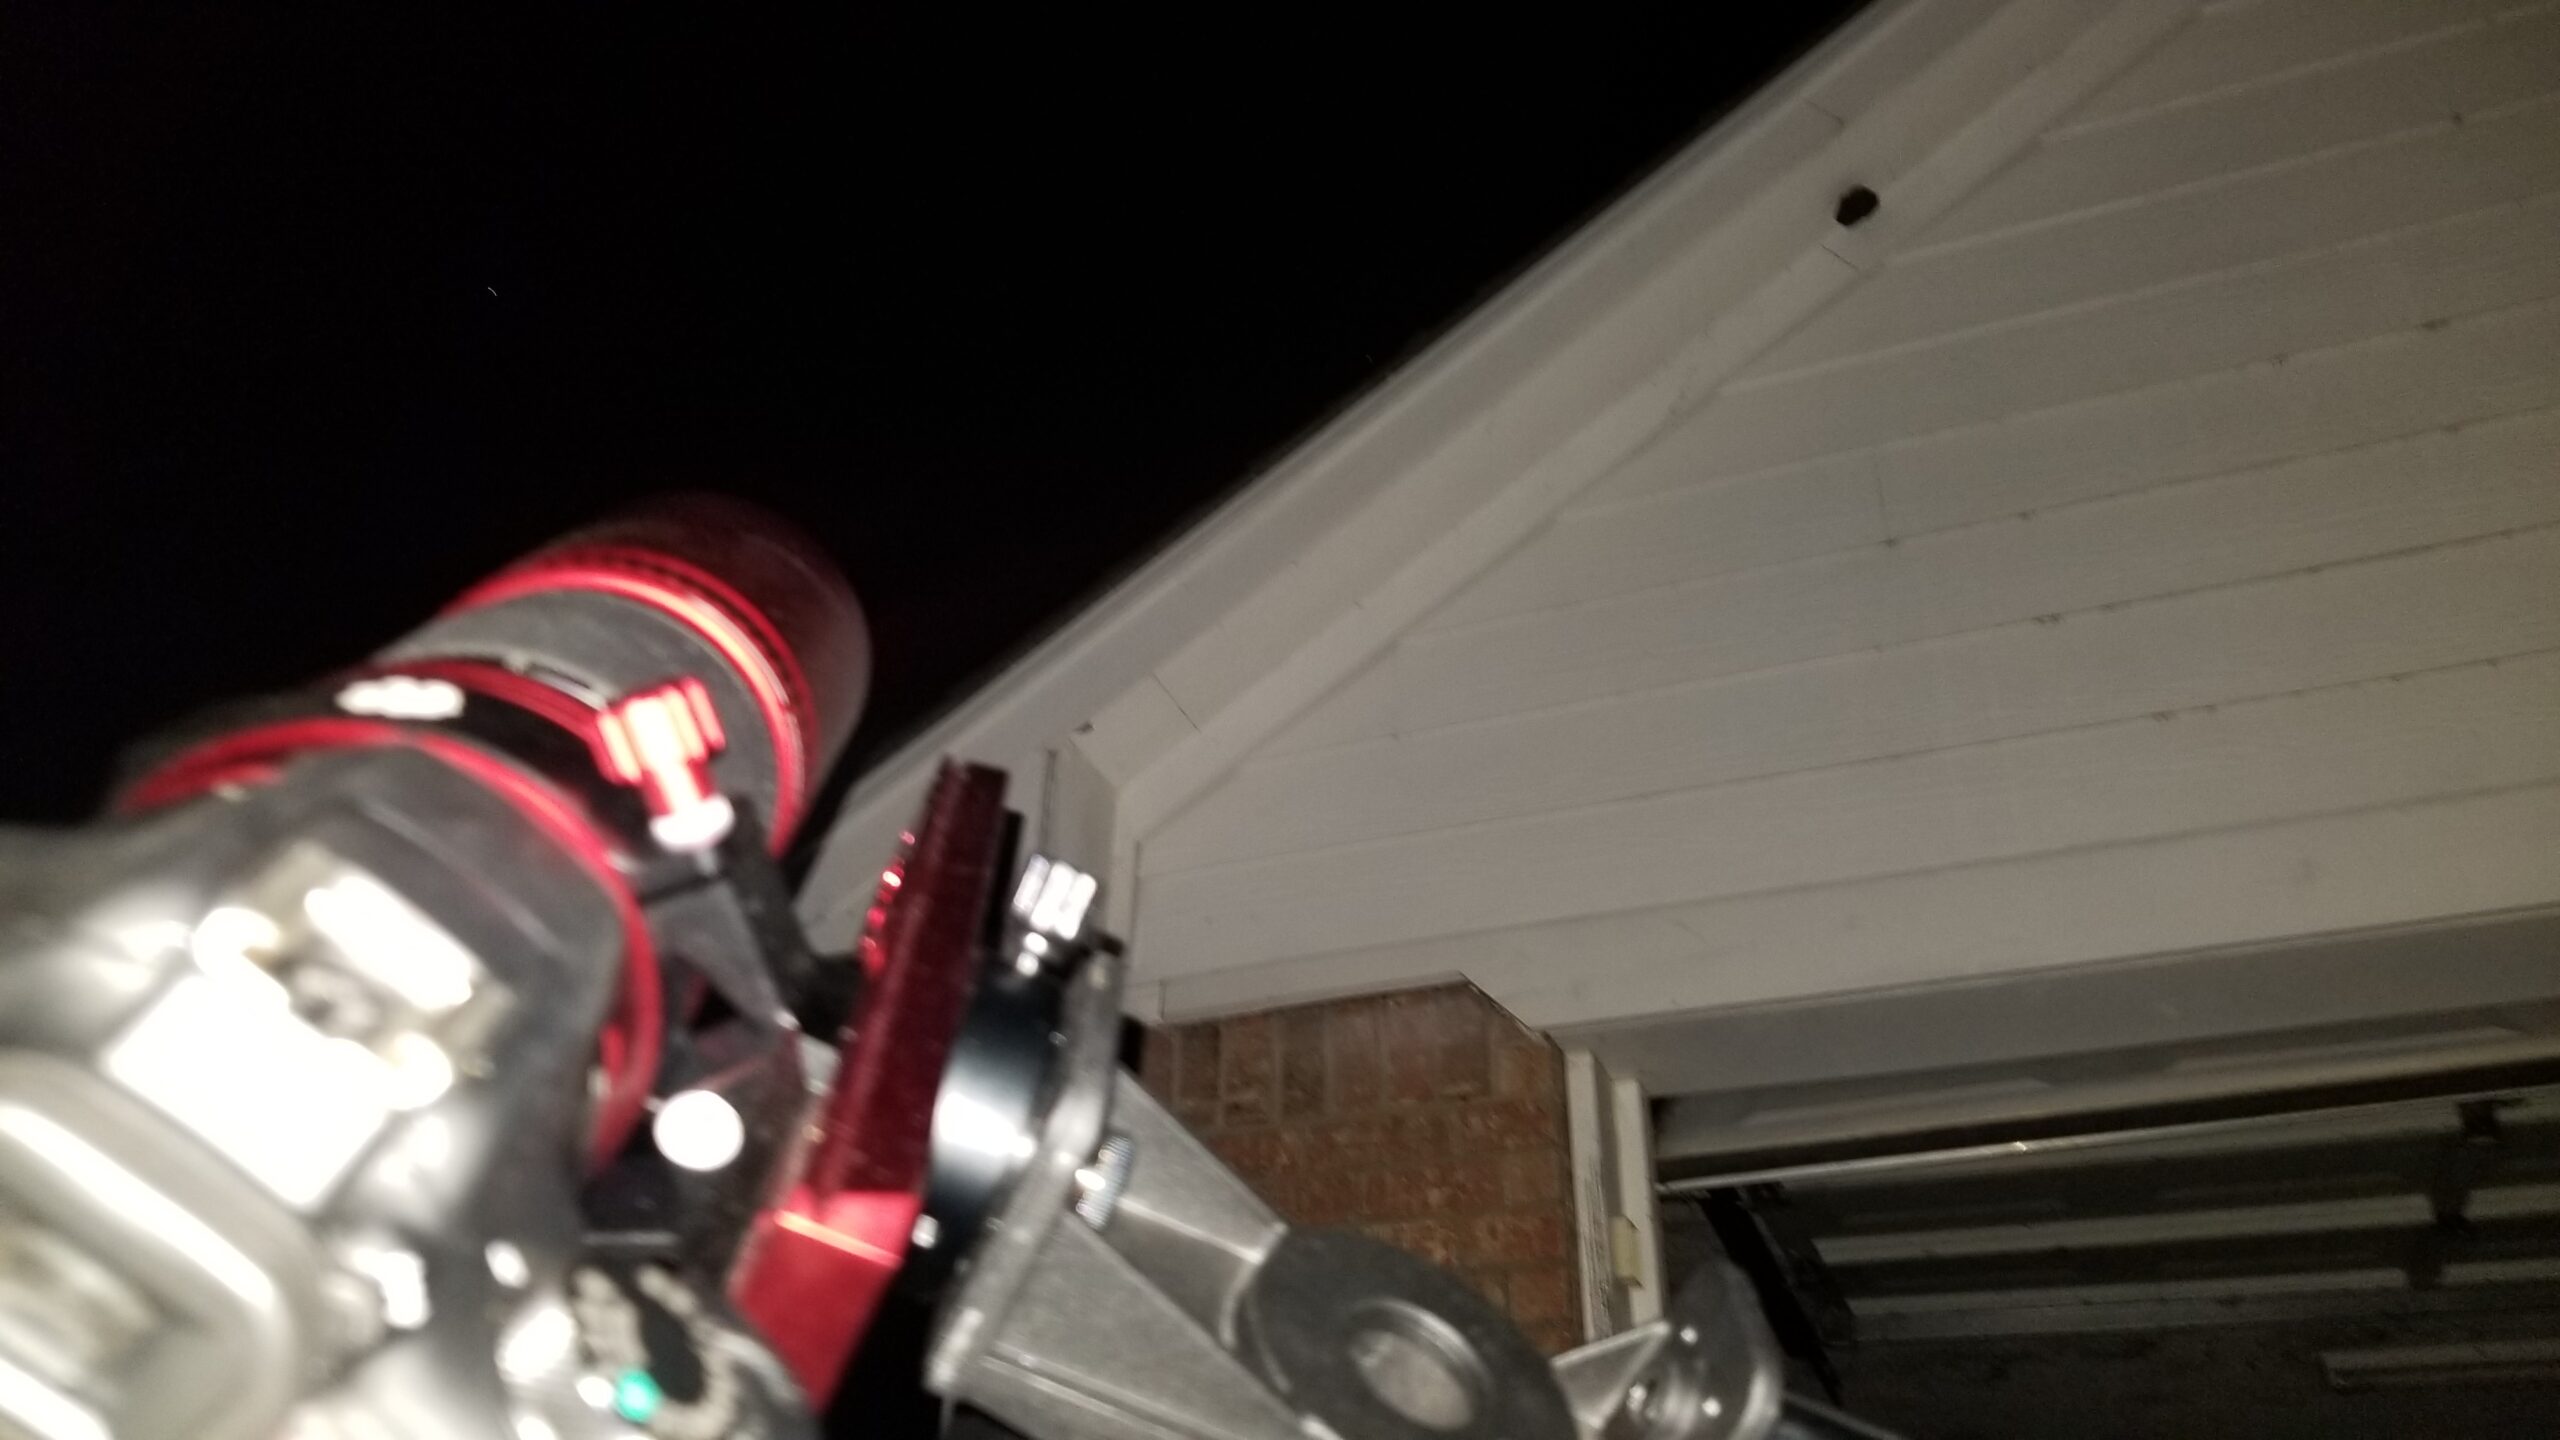
I captured another set of 180 x 30 second subs, about 30 darks, flats and bias. I set up a little bit out in the yard to keep from catching the house if capture went long. I also set up a heater and for the most part, sat with the equipment for most of the capture time.
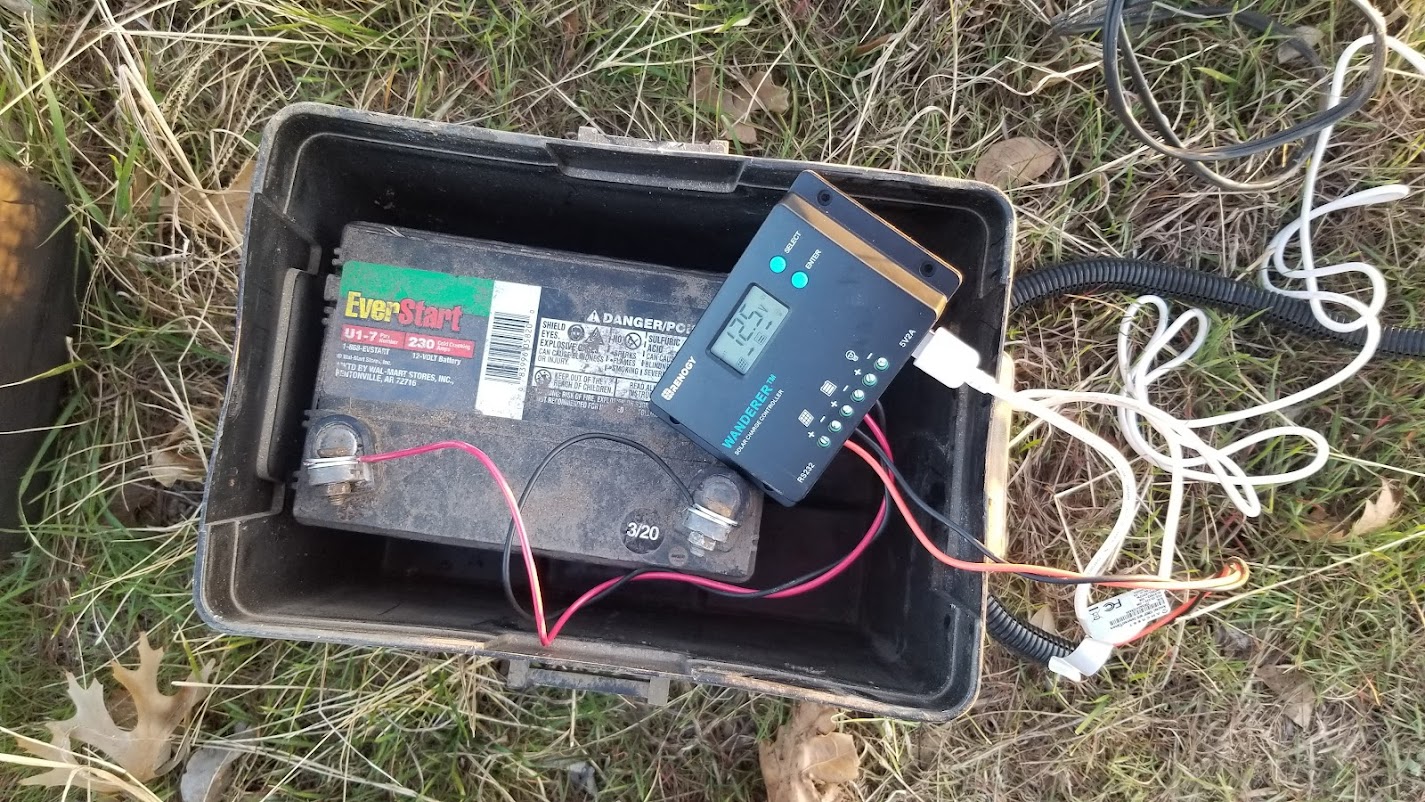
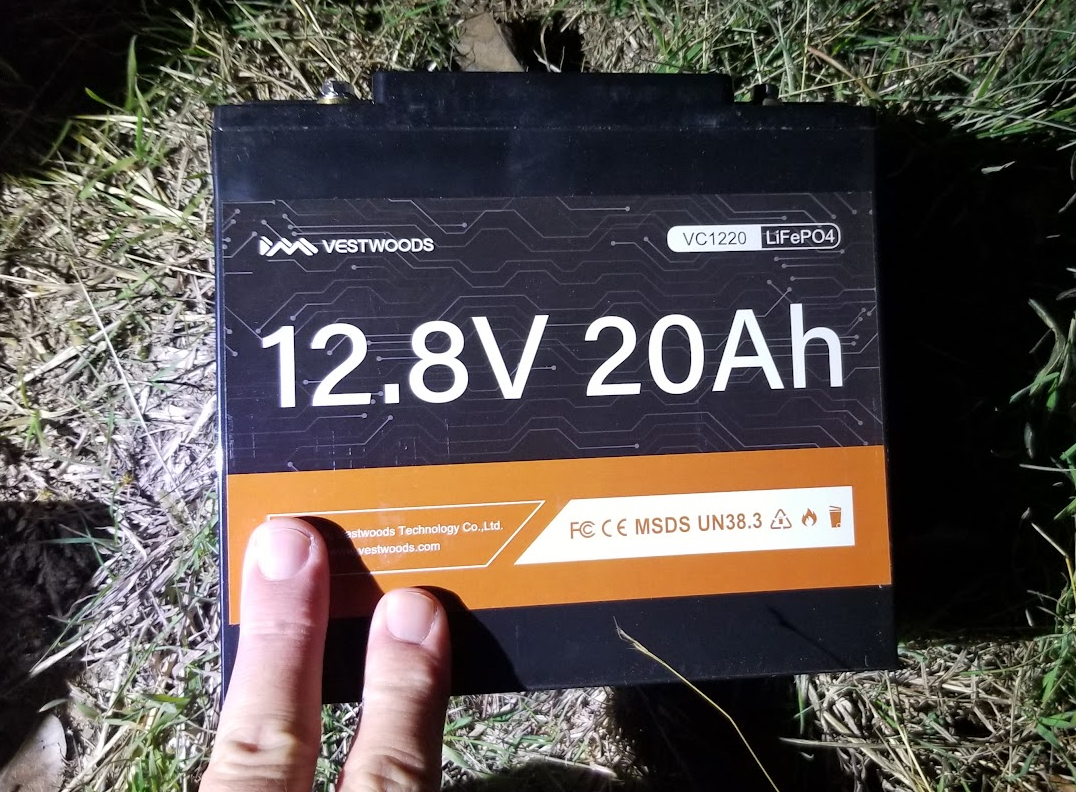
I also ran a small test of two other bits of equipment, a dew heater for the astrograph and my Bluetti power station. While the power station was not purchased specifically for astrophotography (power loss during winter was the big thing), using it for possible dark site travel was a consideration.
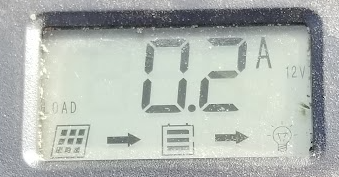
This was the first time I had even powered up the dew heater. According to the Bluetti display, on high, it draws 6 watts. I could hardly even tell it was warm against the aluminum dew sheild of the Redcat. I suppose that all it has to do is keep it just warm enough to discourage condensation. Shrug. Whether or not it was succesful would come up soon enough.
We had plans for early Saturday afternoon, so I decided to stay up and do at least a preliminary stack of the capture. I scrolled fairly quickly through the subs and discovered a couple of where I presume I had bumped the tripod and excluded those subs. The final stack came out… ummm… odd.
This is after a bit of stretching in GIMP. There are two anomalies about this image. The most obvious to me is that the bottom 1/3 or so seems blurred, out of focus. I had run through checking the subs pretty quickly, but certainly none were way out of focus. It also strikes me as odd to only be out of focus on the bottom of the image. The top and middle seem to in sharp focus.
The other thing, and this was harder to notice because of the blurring, but there is a definite linear gradient from top to bottom.
It was too late and I was too tired to do much about it just then, so I hit it again the next morning. One of my more careful trips through the subs, I noticed that several towards the end of the capture seemed to have soft focus, so I excluded them and it was essentially unchanged. I reviewed my flats and noticed that they had a linear gradient to them and thought, oh, that makes sense, so I restacked again without flats: no change. It occurred to me later that I may have unchecked all the flat captures, but maybe not the flat master that the previous stack process created.
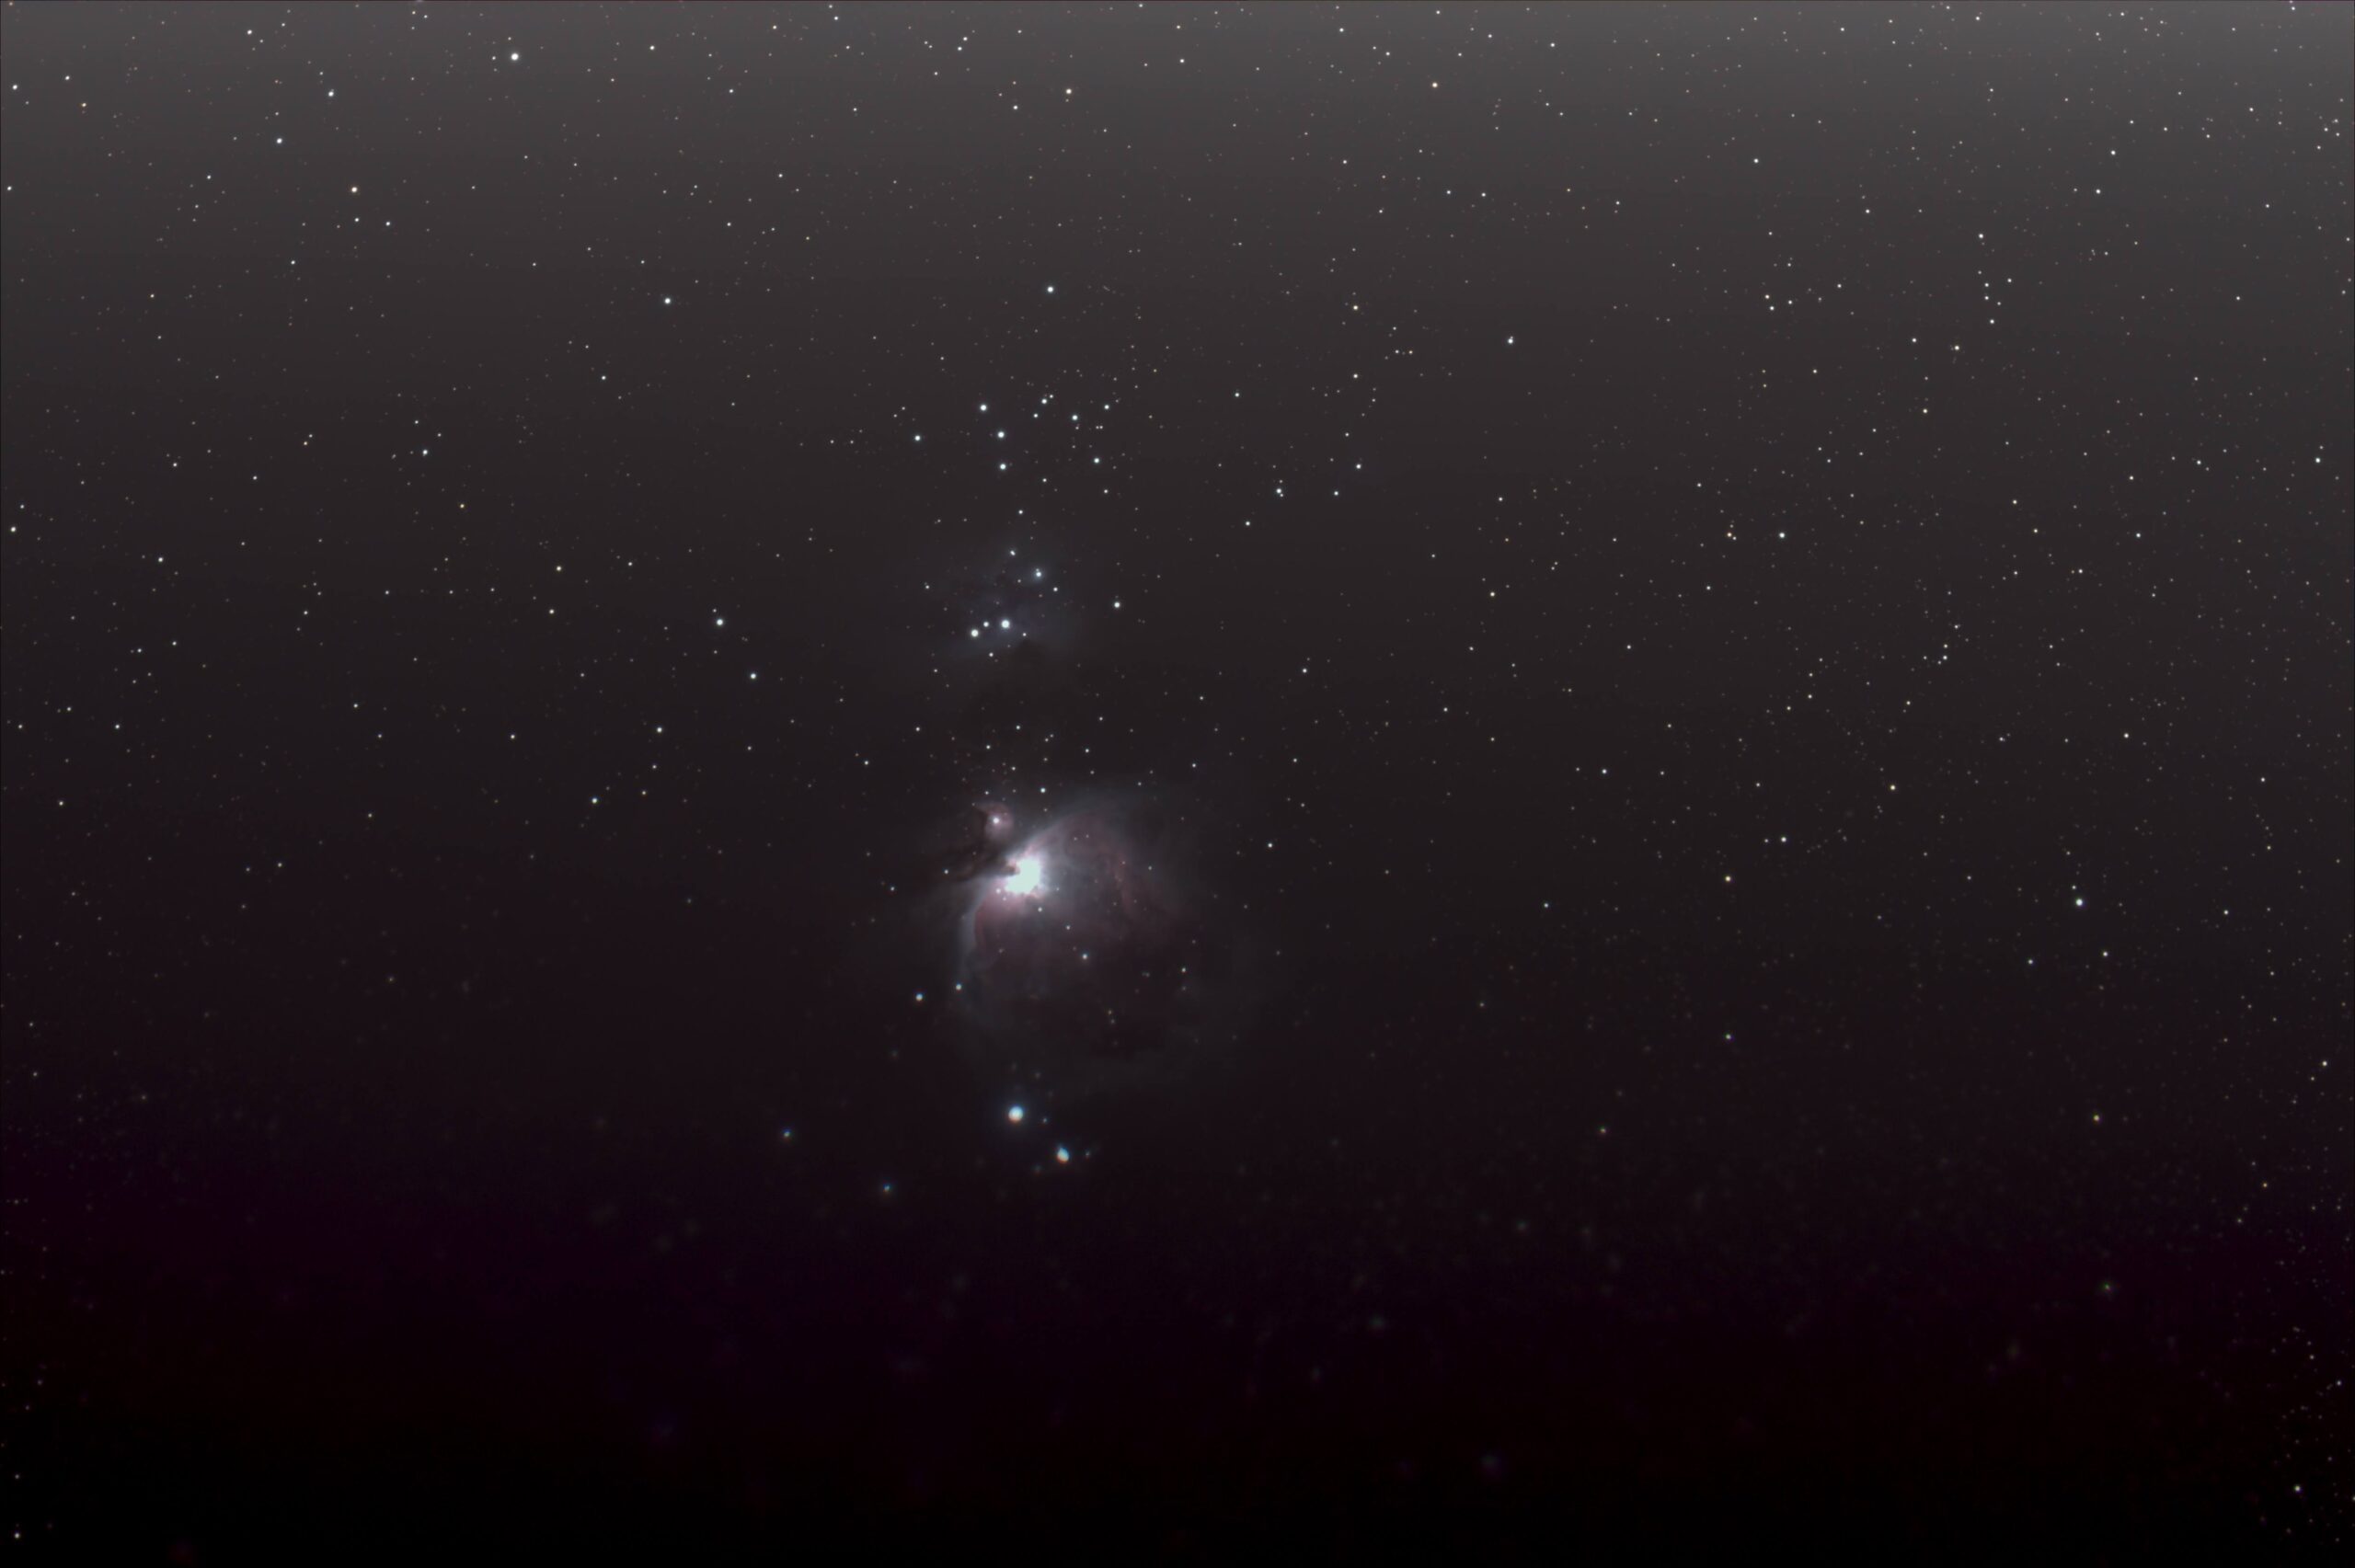
I posted a png of the stretched blurry image on the Nebula Photos Patreon community page, with some details about the capture. Nico took an interest and a few private emails later, I had much more carefully tried stacking without the flats. I cleaned all of the .info files out of the lights folder, moved the exclude lights to another folder, as well as moving the master flat to another folder. When I stacked this time, it was 131 lights, zero flats and the presumably good dark master and bias master. The image came out great and with a couple of stretches and a crop:
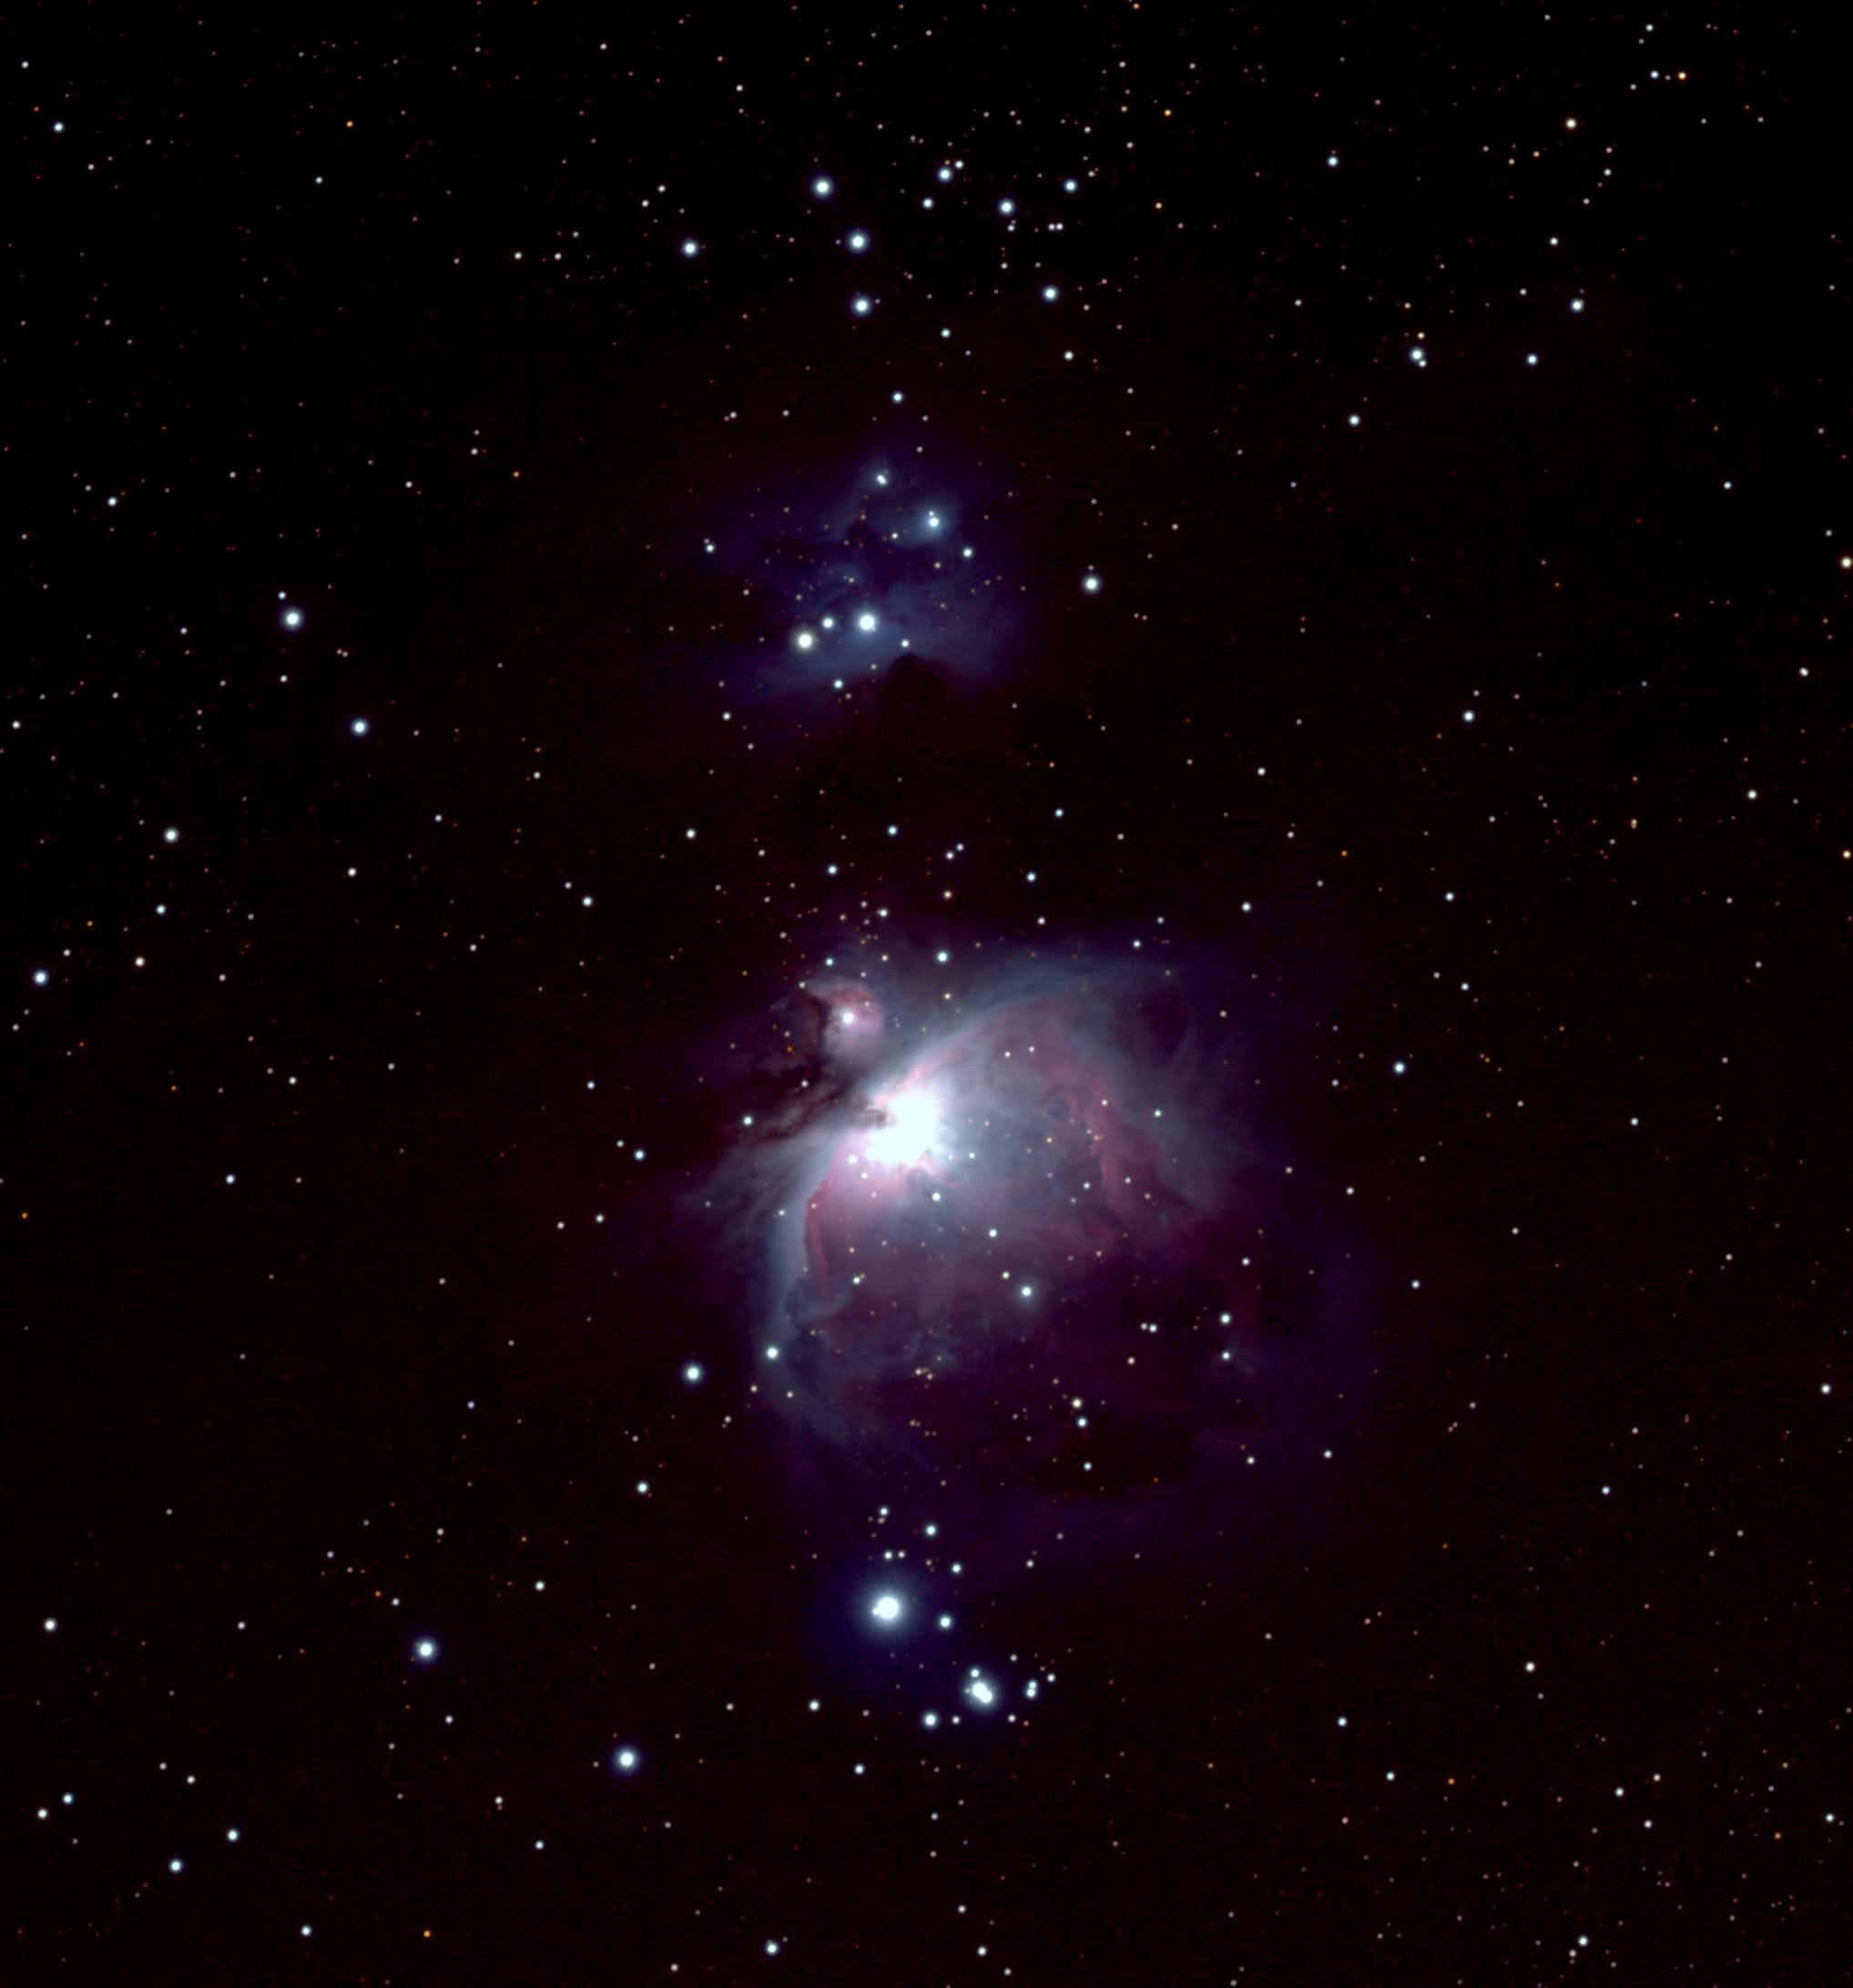
My favorite astro image thus far!
To further verify that the flats were the issue, I kept all the rest of the conditons the same and added back the flats and I got this different image. It may seem to be ok, but upon closer examination, it is still very wrong.

It is hard to tell at full size, but the bottom half of the picture, getting worse as it goes lower, the stars split into three divergent images of red, green and blue.
I will be the first to admit that I do not understand the inner workings of Deep Space Stacker and how it uses the calibration files, but it now seems obvious that if there is an issue with those files, it can damage your final image in probably unpredictable ways.
Some of the discussion with Nico was about my flat capture process and I am going to rework how I am doing that. For this session, flats were captured by holding a USB tracing pad up to the end of the dew shield and adjusting exposure until it was just a little underexposed, which turned out to be 1/2500″. This is probably way too fast and catching a pattern of sensor noise as well as PWM flicker and shutter artifacts from the brightness control of the panel itself.
There are several ways to address this and I will report on what works well for me.