The weather guessers were off, but to my favor, for it has been a very pretty weekend, with occasional showers widely spread. Had about a 5 minute shower about 8AM but it’s sunny now.
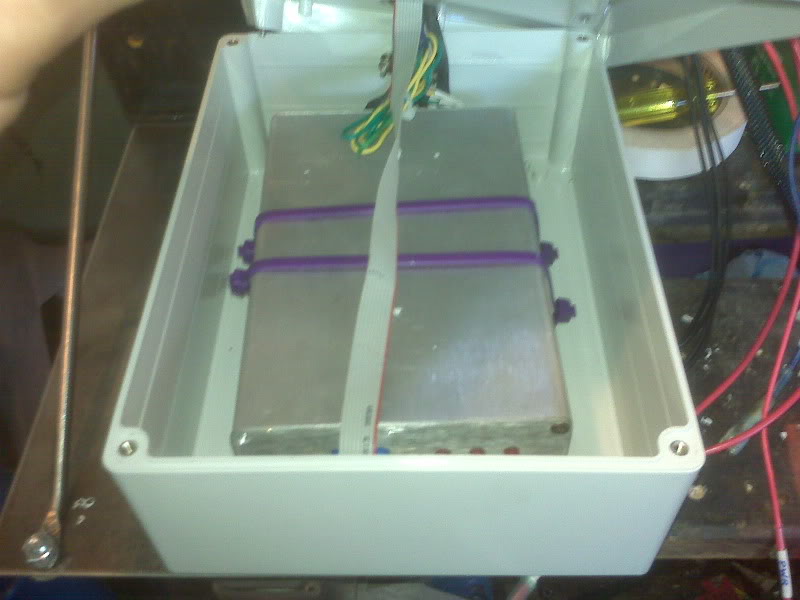
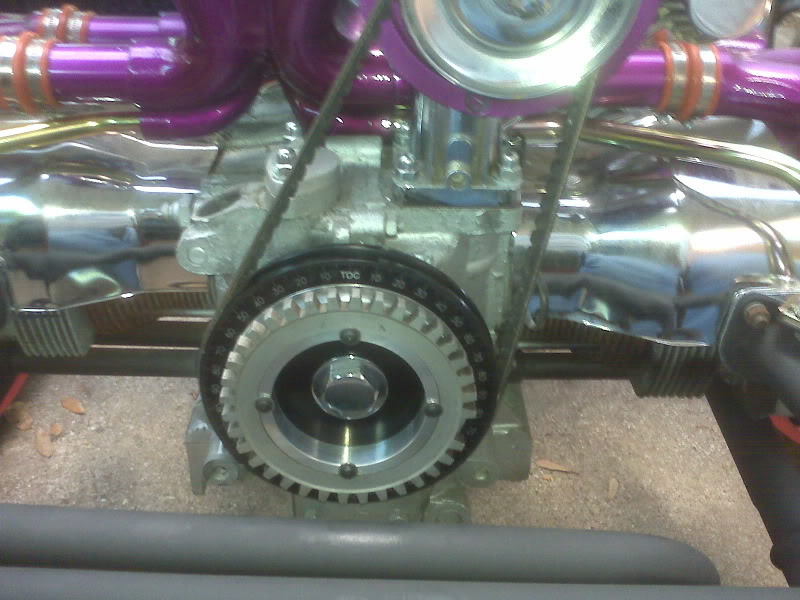
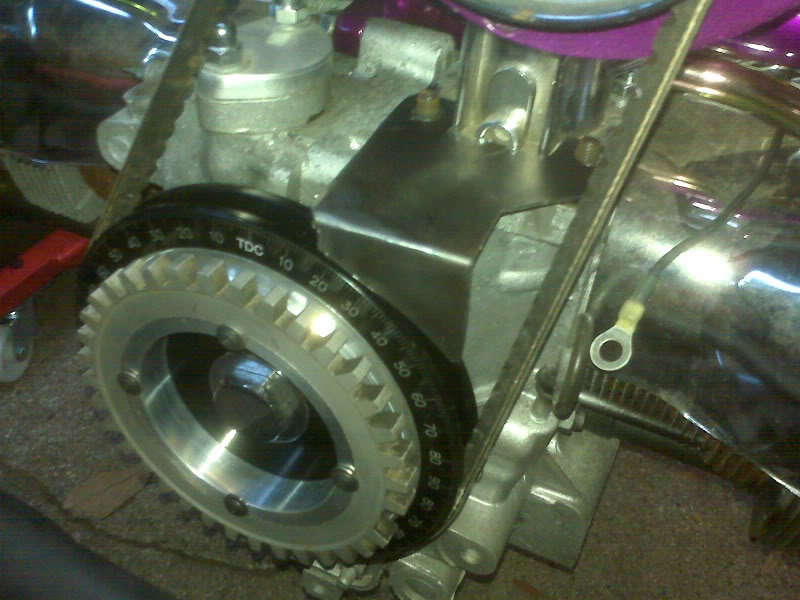
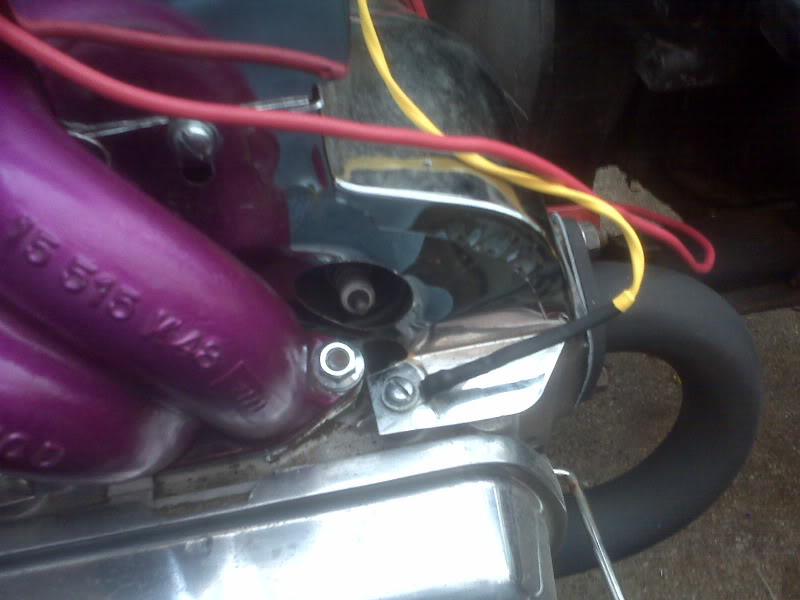
Friday evening, I made a replacement CLT sensor. I started it a couple weeks ago by chopping the thermistor out of a standard GM IAT sensor and soldering longer leads to it. I epoxied it inside a 10ga ring connector that had heat shrinkable sealing and protected it further with more heatshrink. The finished sensor is secured under a screw for the cooling tins by cylinder 1. It seems to work really well, giving quite believable readings.

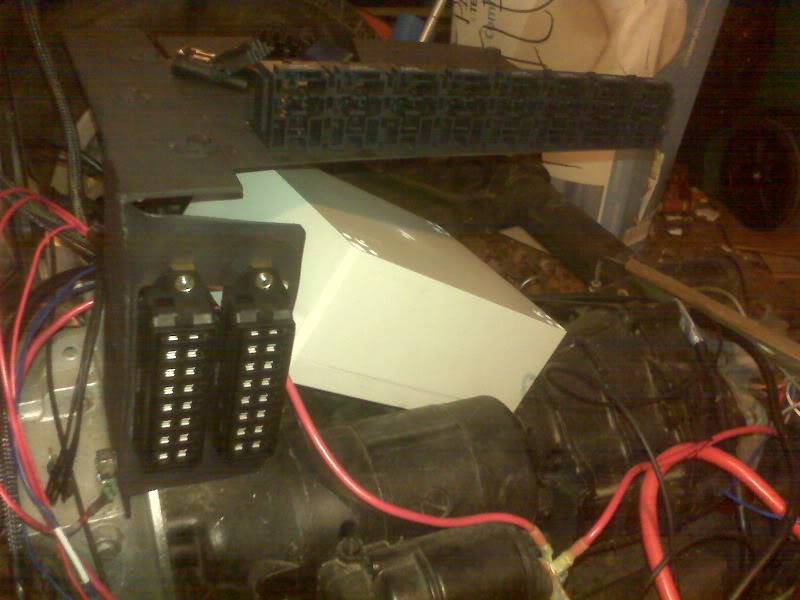
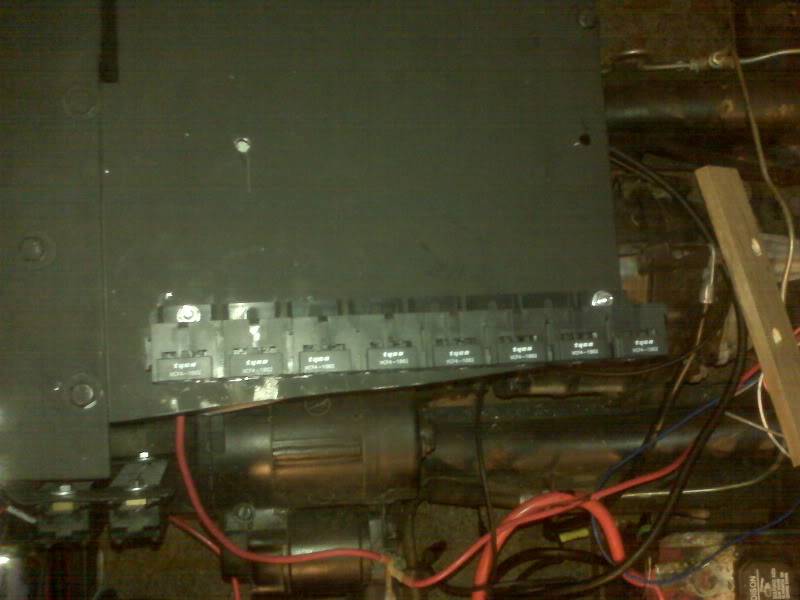
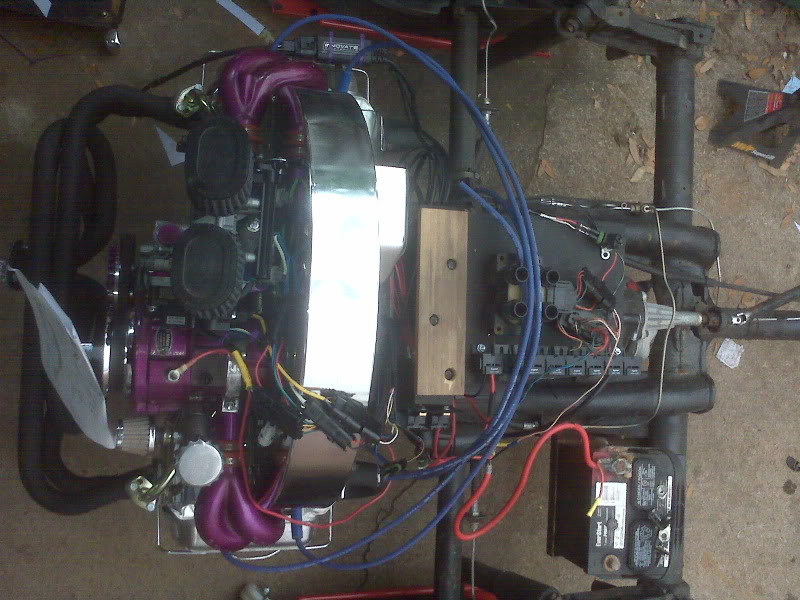
I spent all day Saturday finishing the wiring, minus a couple of necessary interruptions (lunch, AutoZone, etc) and had the engine ready for first crank late Saturday night. In the couple of years it’s been sitting around and very rarely used, the battery on the trike appears to have, completely understandably, weakened. It will crank the engine about 4 rotations, all at about 9V. I decided to reach a stopping point and resume efforts on Sunday morning.
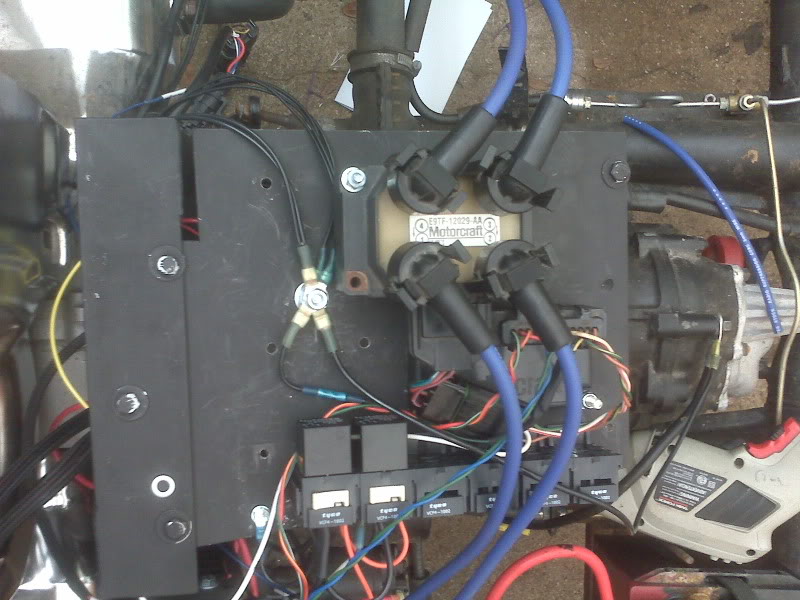
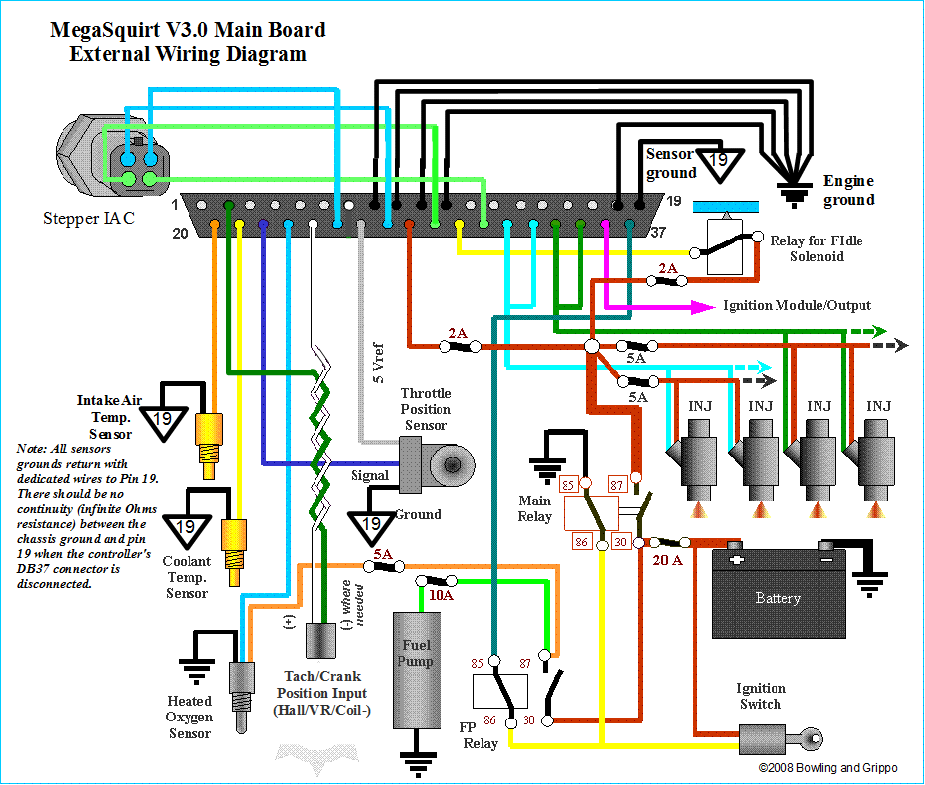
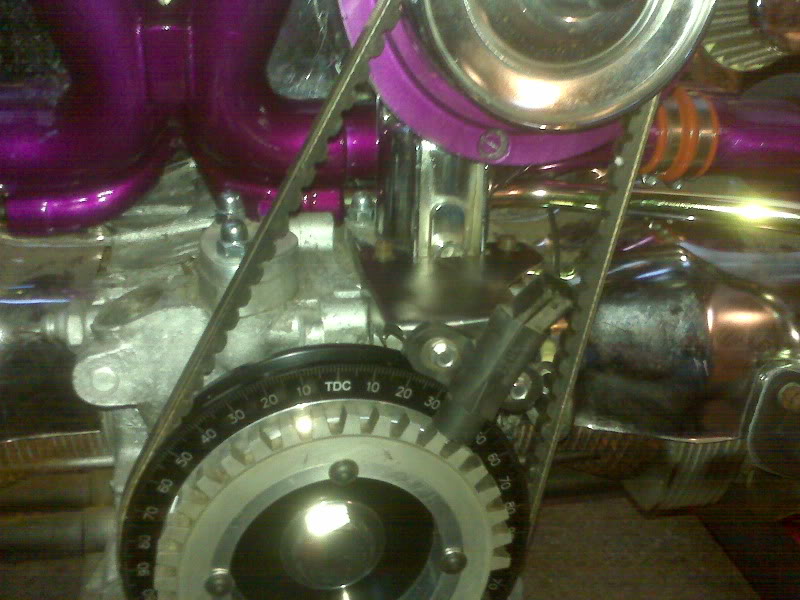
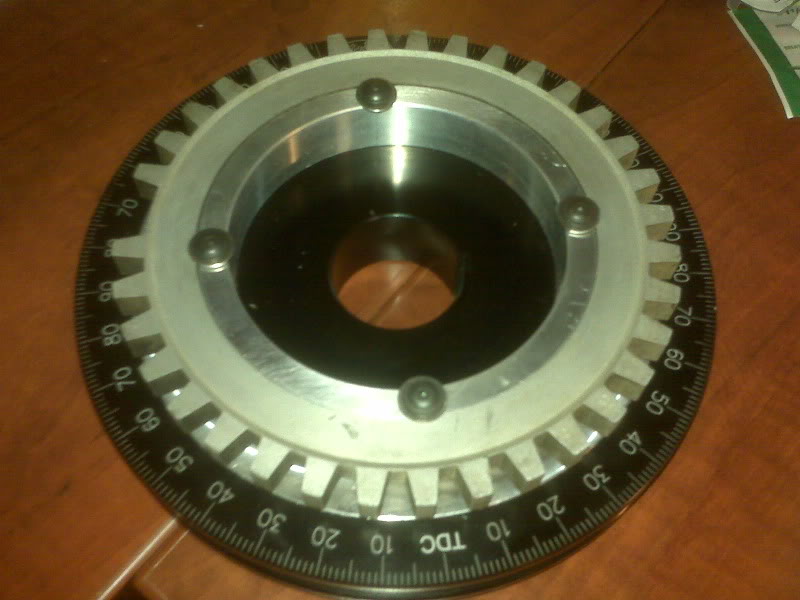
As of 11:45 Sunday morning, with a battery borrowed from the other trike, I have managed to get it to crank enough to putt-putt twice and backfire a few times. Amongst the little things found wrong along the way are the SAW and PIP signals to the EDIS swapped, the trigger wheel was off by one tooth and the plugs wired to what appears to be the wrong terminals. Against the advice of the MegaManual, I did indeed confuse the coil terminal numbers with the firing order. They are not necessarily related.
It’s nearly lunchtime and I’m letting the battery charge a bit between tries. It will only crank two or three times then I need to put the charger back on it. Considering how well the yellow trike cranks and how quickly the same battery runs down on this trike leads me to wonder if my starter is going bad. The yellow trike had similar symptoms and a new starter helped greatly!