It’s not so much attention deficit disorder as it is lots of little things needed attention and several related issues all had updates today.
The bumper arrived. I didn’t realize that it would arrive without a box, though perhaps obviously, it would have been a monstrous box.
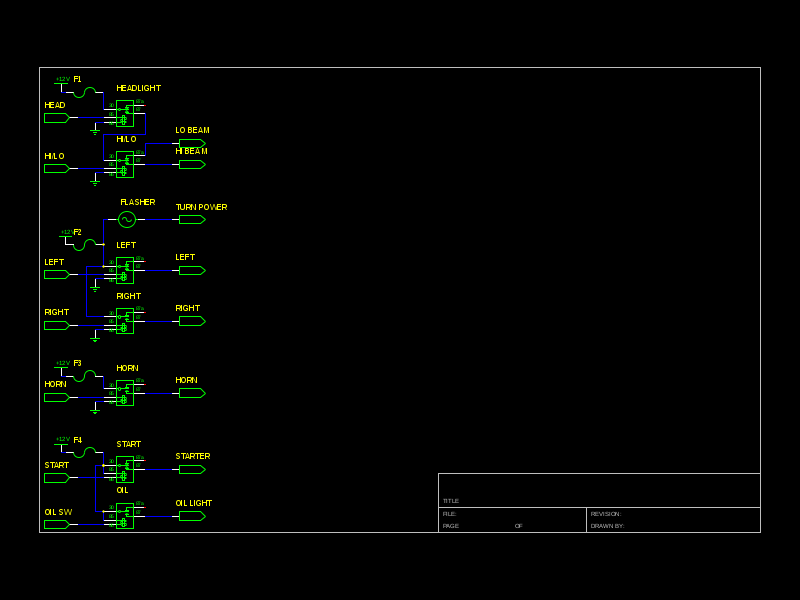
In some bits of spare time here and there, I have been working on the wiring diagram. Love open source software. This is about the third start of the diagram, but I have my head on straighter this time. ![]() The parts library did not have a Bosch relay, but I copied a similar relay and relabeled the pin numbers.
The parts library did not have a Bosch relay, but I copied a similar relay and relabeled the pin numbers.
The exhaust system should be shotblasted bare by now, except for the muffler. The operators were concerned that the relatively lightweight metal on the muffler might not survive the Wheelabrator machine’s aggressive cleaning, so I will need to remove the paint on it another way, probably chemically.
I started the application of the POR-15 fuel tank repair product to seal and refurbish the fuel tank. This is basically a three step chemical process.
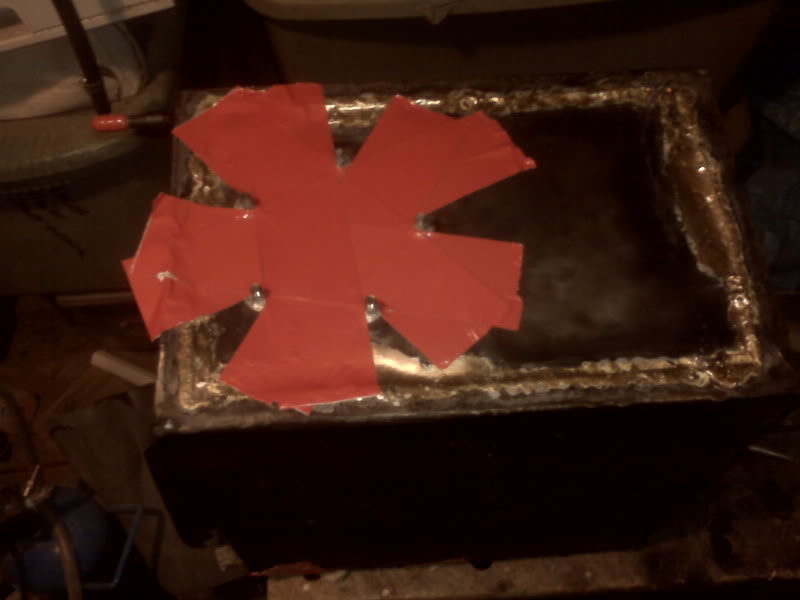
First, the inside of the tank is cleaned of fuel, grease, varnish with a powerful non-petroleum degreaser they call Marine Clean. That is mixed 1:1 with hot water and poured into the tank. The directions suggest sealing the holes in the tank with duct tape, which I did, in red because that’s what was nearby. The cleaner is sloshed around thoroughly; I turned the tank on each side and agitated for 5 minutes, probably overkill. The Marine Clean is then rinsed out very thoroughly with water. I propped the tank up off the ground, stuck a sprayer hose in the top of the tank and let the water run for 5 minutes, flipped the tank over and let the water run another 5 minutes from that side.
Next, the insides are treated with Metal Ready, a phosphoric acid etchant that will make the final coat stick extremely well. Each side needs to soak in it for 20 minutes, so I basically set the tank on one side, poured in enough to comfortably cover that side and set my phone alarm for 10 minutes.
I again sealed the openings with duct tape. When the alarm would go off, I would agitate it and hit snooze. You can reset the snooze apparently indefinitely, which is handy. When the snooze expired, hit snooze again, agitate and turn it to the next unsoaked side. I kept alternating between agitate and turn until all 6 sides had been soaked. I drained the Metal Ready into a plastic bucket then did the same 10 minute rinse as I had for the cleaner.
For the next step, the inside of the tank needs to be completely and absolutely dry. I don’t have a handy blow dryer to leave running in the thing, but I did set up my shop fan blowing through it and am leaving that overnight. If that doesn’t do it, I will set it in front of the big heater for a while tomorrow.
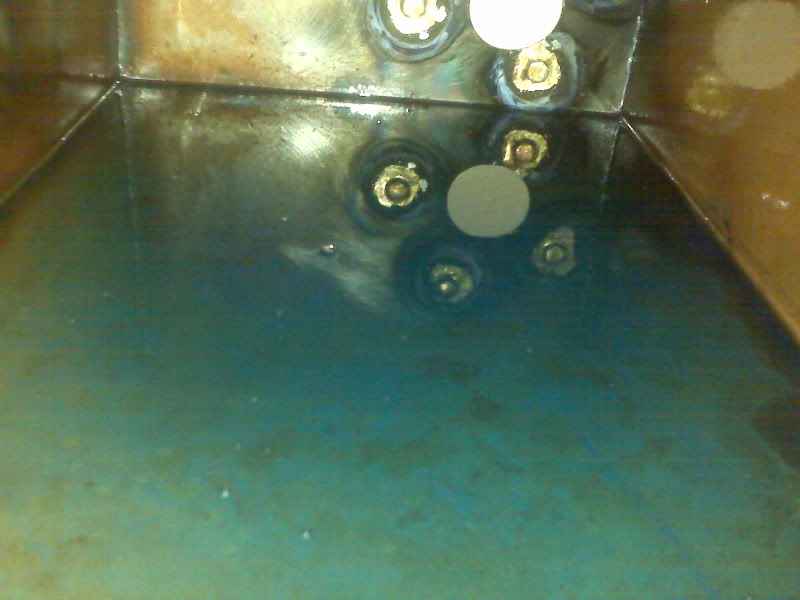
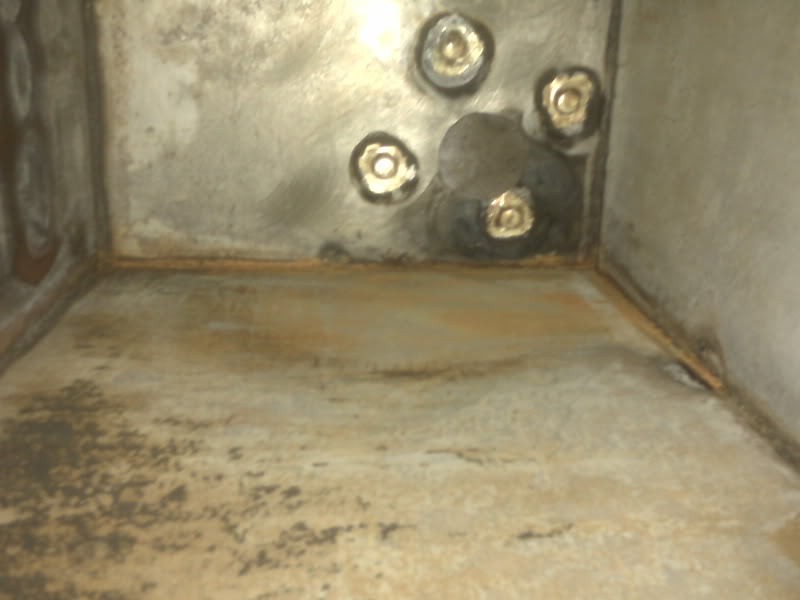
[update from Friday: The fan running overnight seems to have dried the tank just fine. Take a look at the inside!]

Once it’s dry, seal up one opening, pour in a gob of Tank Sealer, seal up the other opening and basically slosh the stuff around until you’re good and tired of it and let it drain for 30 minutes to ensure it’s not puddled. It then needs to cure for 96 hours (that’s 4 days, kids) before fuel is put in it. The waiting is the hardest part ![]()
During the 20 minute soaks above, I was not idle.
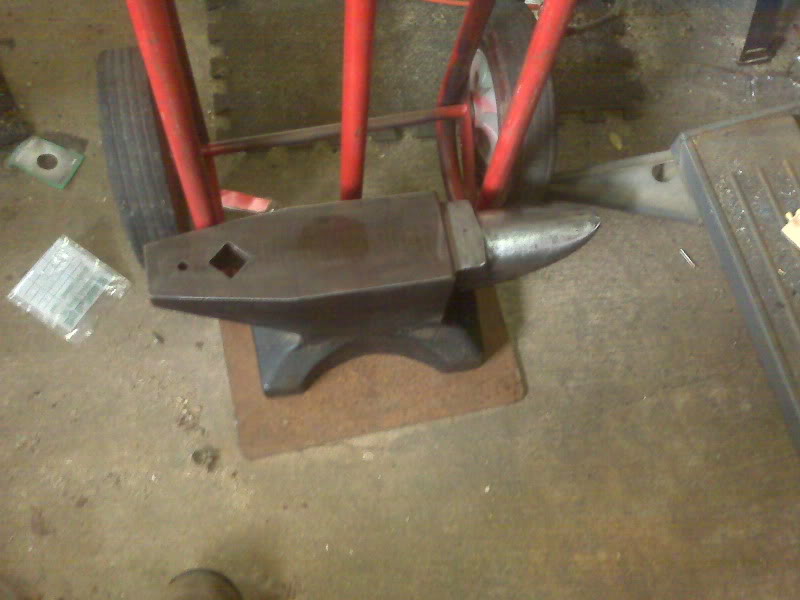
A friend with plans to demonstrate metalworking at a Boy Scout function needed to come to borrow my anvil, which is about 1/3 the weight of his and is thus MUCH more portable. Before he arrived, I cleaned up the anvil and got it ready to load.
While I was waiting for Bill, I partly refurbished the original headlight for the trike. It will be serviceable.
Speaking of headlights, I ordered a cheap HID conversion for an H4 headlight. I need to find a suitable reflector that will fit this trike. In doing the headlight refurb above, I neglected to measure the sealed beam, but if it is a standard 7″, securing a suitable reflector will be easy.
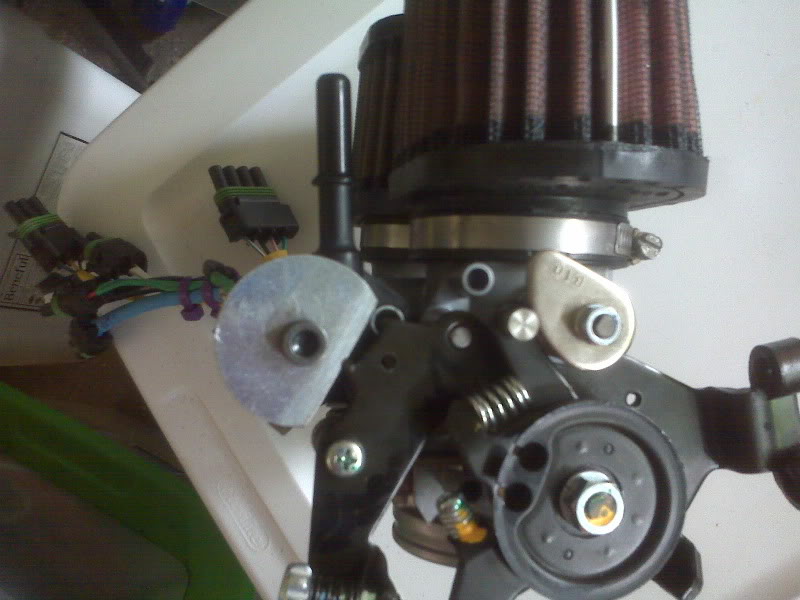
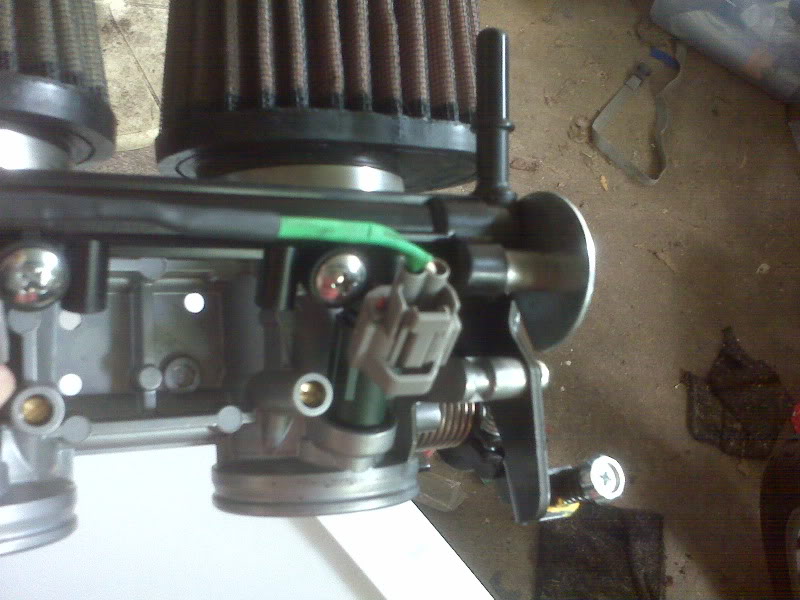
I also did the little mod needed for the fuel rail.
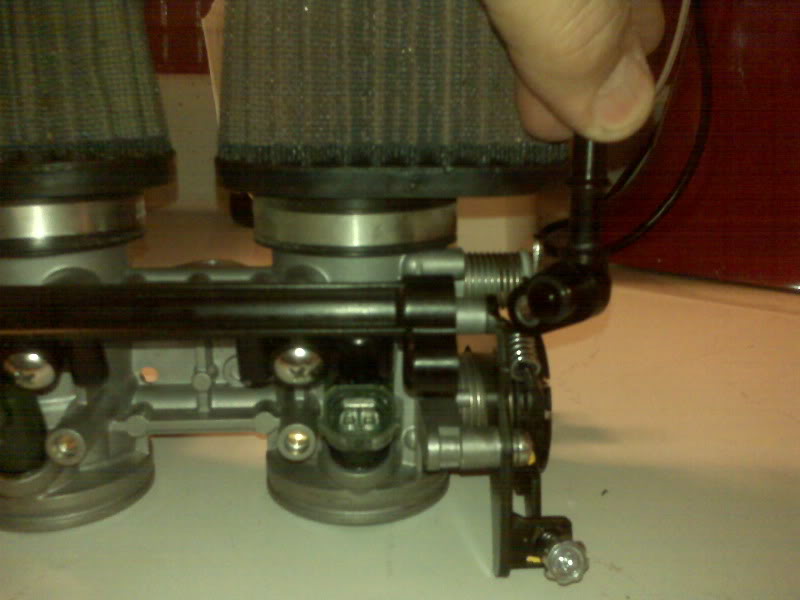
Basically, I had to shorten a spacer and cut a bit off the side of a fender washer so the parts would fit and now the washer retains the fuel rail fitting, which is now pointed in a useful direction.
As I was finishing that project up and monitoring the fuel tank etching, Bill arrived. We visited and I showed off the trikes and bikes that he hadn’t seen. We loaded up the anvil and stand and he headed off to procure more demo equipment.
After Bill left, I dug out the handlebars to determine how best to put on a bracket for the speedometer. I had forgotten that the handlebar is slightly bent. I spent more time trying to figure out how best to straighten it. I think I will need to borrow a rosebud to heat a large enough area of one bar to impart a slight twist to the metal, followed by another heating elsewhere for a slight bend, or straightening a slight bend, depending on your point of view. I will need to put the bars on the trike to really determine where to put the speedo bracket. I hope to do that tomorrow so I can get the bracket done and get the bars out for powder coating. I’d rather chrome them, and I may chrome them in the future, but for now, powder coating in much more cost effective for me.
Once the Metal Ready was out of the tank and it was rinsed and had the fan on it, I gathered up relays, sockets and connectors with the intent to go inside and start making the local relay interconnections that will be needed for the chassis wiring. After having a few chores to do, I decided to sit down and do this update instead of tearing into the relay wiring.