It was an eventful day, tuning wise.
First, I found that the serial cable extender had come loose regardless of the almost heroic efforts to prevent it.
Then, I found that in at the least the last of the dozen or so cycles of removing and reinstalling the engine whilst working on the clutch, I swapped the IAT and CLT sensor plugs. So, it would have been adjusting for 150 degree air on an engine that just never would warm up…
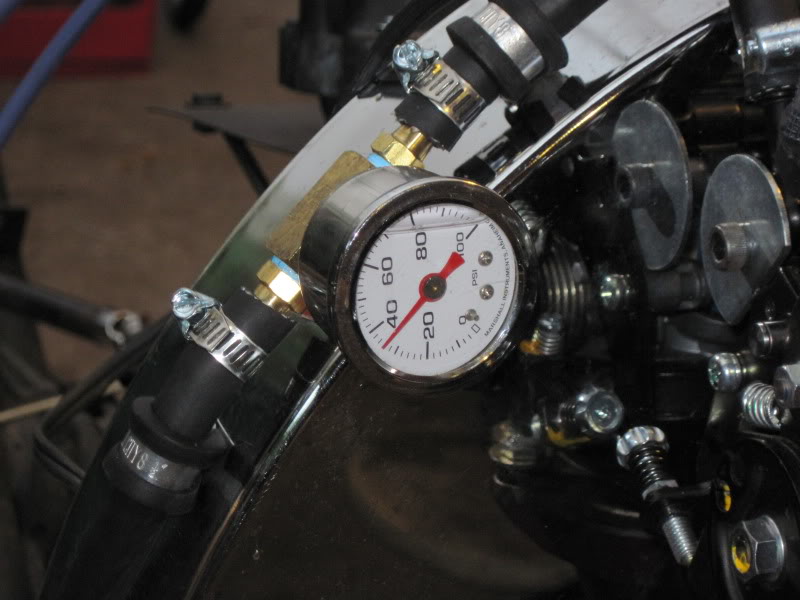
After that, I found that I was getting no usable signal from the LC-1. A bit of quick troubleshooting showed that the controller itself appeared to be working. I connected (semi-permanently) the LC-1 LED output to an LED on the speedometer/dash. It indicated error code 2, which is a bad heater circuit. I was able to locate a sensor at a nearby O’Reilly Autoparts (O’Reilly part number 17014, in case somebody needs that) for $52. It’s working correctly now.
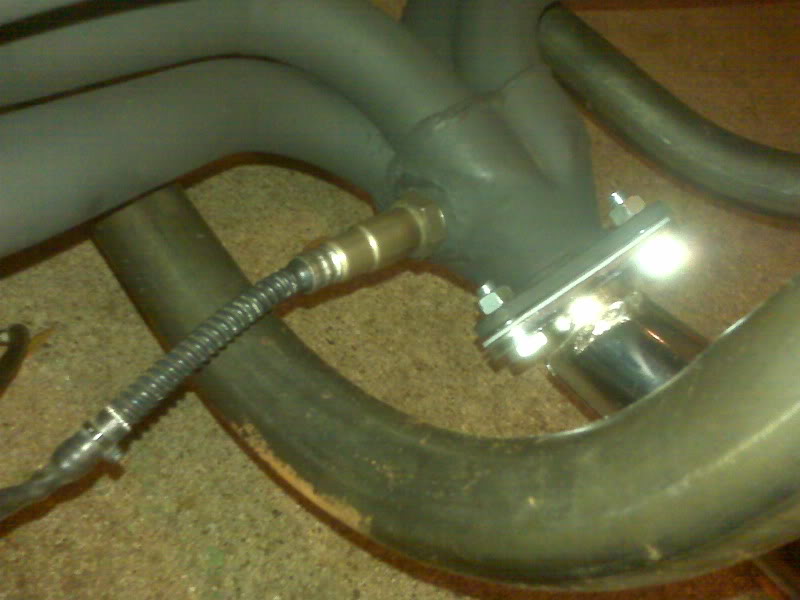
On the way to the parts store, I suddenly remembered that I wanted to verify the actual Bosch part number against the information I had looked up. It is indeed the Bosch sensor part ending “7057”. Perhaps more importantly, though, I discovered physical damage to the sensor that I had not noticed when I removed it. Upon further investigation, the baja bumper has not yet been pinned to it’s lower mounts after all the clutch work. I think when I was towing the trike around, the bumper hit the ground and was pushed upward where it struck the sensor. So, gotta pin that bumper down so it won’t cost me $52 every time I have to tow it somewhere.
So, with the EGO sensor working, I was able to get a little observable EGO correction to take place. I’m sure I need to tweak some parameters. It seems to react slowly, which is probably not a bad thing overall, but it also doesn’t seem able to dial in the target AFR. It gets pretty close, just not there. I presume there is some other enrichment factors in force and will need to find them.
I spent the most time trying to dial in some usable acceleration enrichment. While the trike has been drivable and throttle response while under way is decent, it stumbles pretty badly right off idle. It’s kind of like the infamous dead spot these engines experience when equipped with the ubiquitous Bosch 009 distributor, a unit with centrifugal advance. There are a few of people running these distributors that are very happy with them. For racing applications, the engine is either idling or running WOT, so the stumble isn’t a big deal. For the street, these distributors can be tuned with the appropriate springs so that the advance is full on at a fairly low RPM, which largely eliminates the flat spot, but it’s always at least somewhat there, ranging from minor annoyance to killing you when you try to pull out onto a busy street.
Armed with this background knowledge, I spent a couple hours today trying to tune in the spark advance table. First, I verified that the trigger offset of zero is appropriate for my EDIS ignition system with a timing light. Dead on. Then I tried scaling the table because the values in it seemed low across the board. With the 009 distributor, for example, one sets the idle timing to be about 7 degrees BTDC and by the time the engine is spinning, it’s running 28-30 degrees. So, I scaled my spark advance table to correspond with that.
Well, the first minor thing is that the nature of the EDIS module is that 10 degrees BTDC is the least advance it will allow. By having a lower number in the table, it made the *displayed* advance dither around in the 7-9 territory without affecting the actual timing at all. I manually moved all the lowest values up to 10 degrees.
After than, it seemed to be adjusting ignition timing pretty much as I would expect it to need, but the stumble was still full on, so I started looking at fuel.
Armed with a working EGO gauge, I was able to tell almost immediately that it went just about dead lean on acceleration, sometimes as high 22.
I tweaked on the acceleration wizard and was able to get a pretty nice rev out of it. I was not able to make much progress on MAP based acceleration. Seems whenever I had any percentage of control as MAP, I could not satisfy whatever basic settings it wanted and I couldn’t keep it running. So, with all TPS based numbers, I was able to rev the engine nicely, so long as I wasn’t extremely gentle.
Then I started playing with EGO correction again and somehow lost the rev. As it sits now, Accel Enrichment is pegged at 100% and never responds to TPS input. I am reading a lot….

