In the post about making a lot of pens, I mentioned that making the custom drawstring bags for those pens deserved its own post.
I started by deconstructing a commercially available velvet pen bag to develop a pattern. These are pretty simple bags, made from a single piece of fabric about 3 x 7 inches, with strategically placed slits cut into one edge. The top edge is turned and stitched down, leaving a tube for the drawstrings, and then the fabric is folded right sides together and stitched down one side and across the bottom. The resulting bag is turned right side out, the drawstrings threaded in through the slits and tied, and you have a bag.
We decided on an arguably easier way for us to stitch them, though it did require stitching both sides.
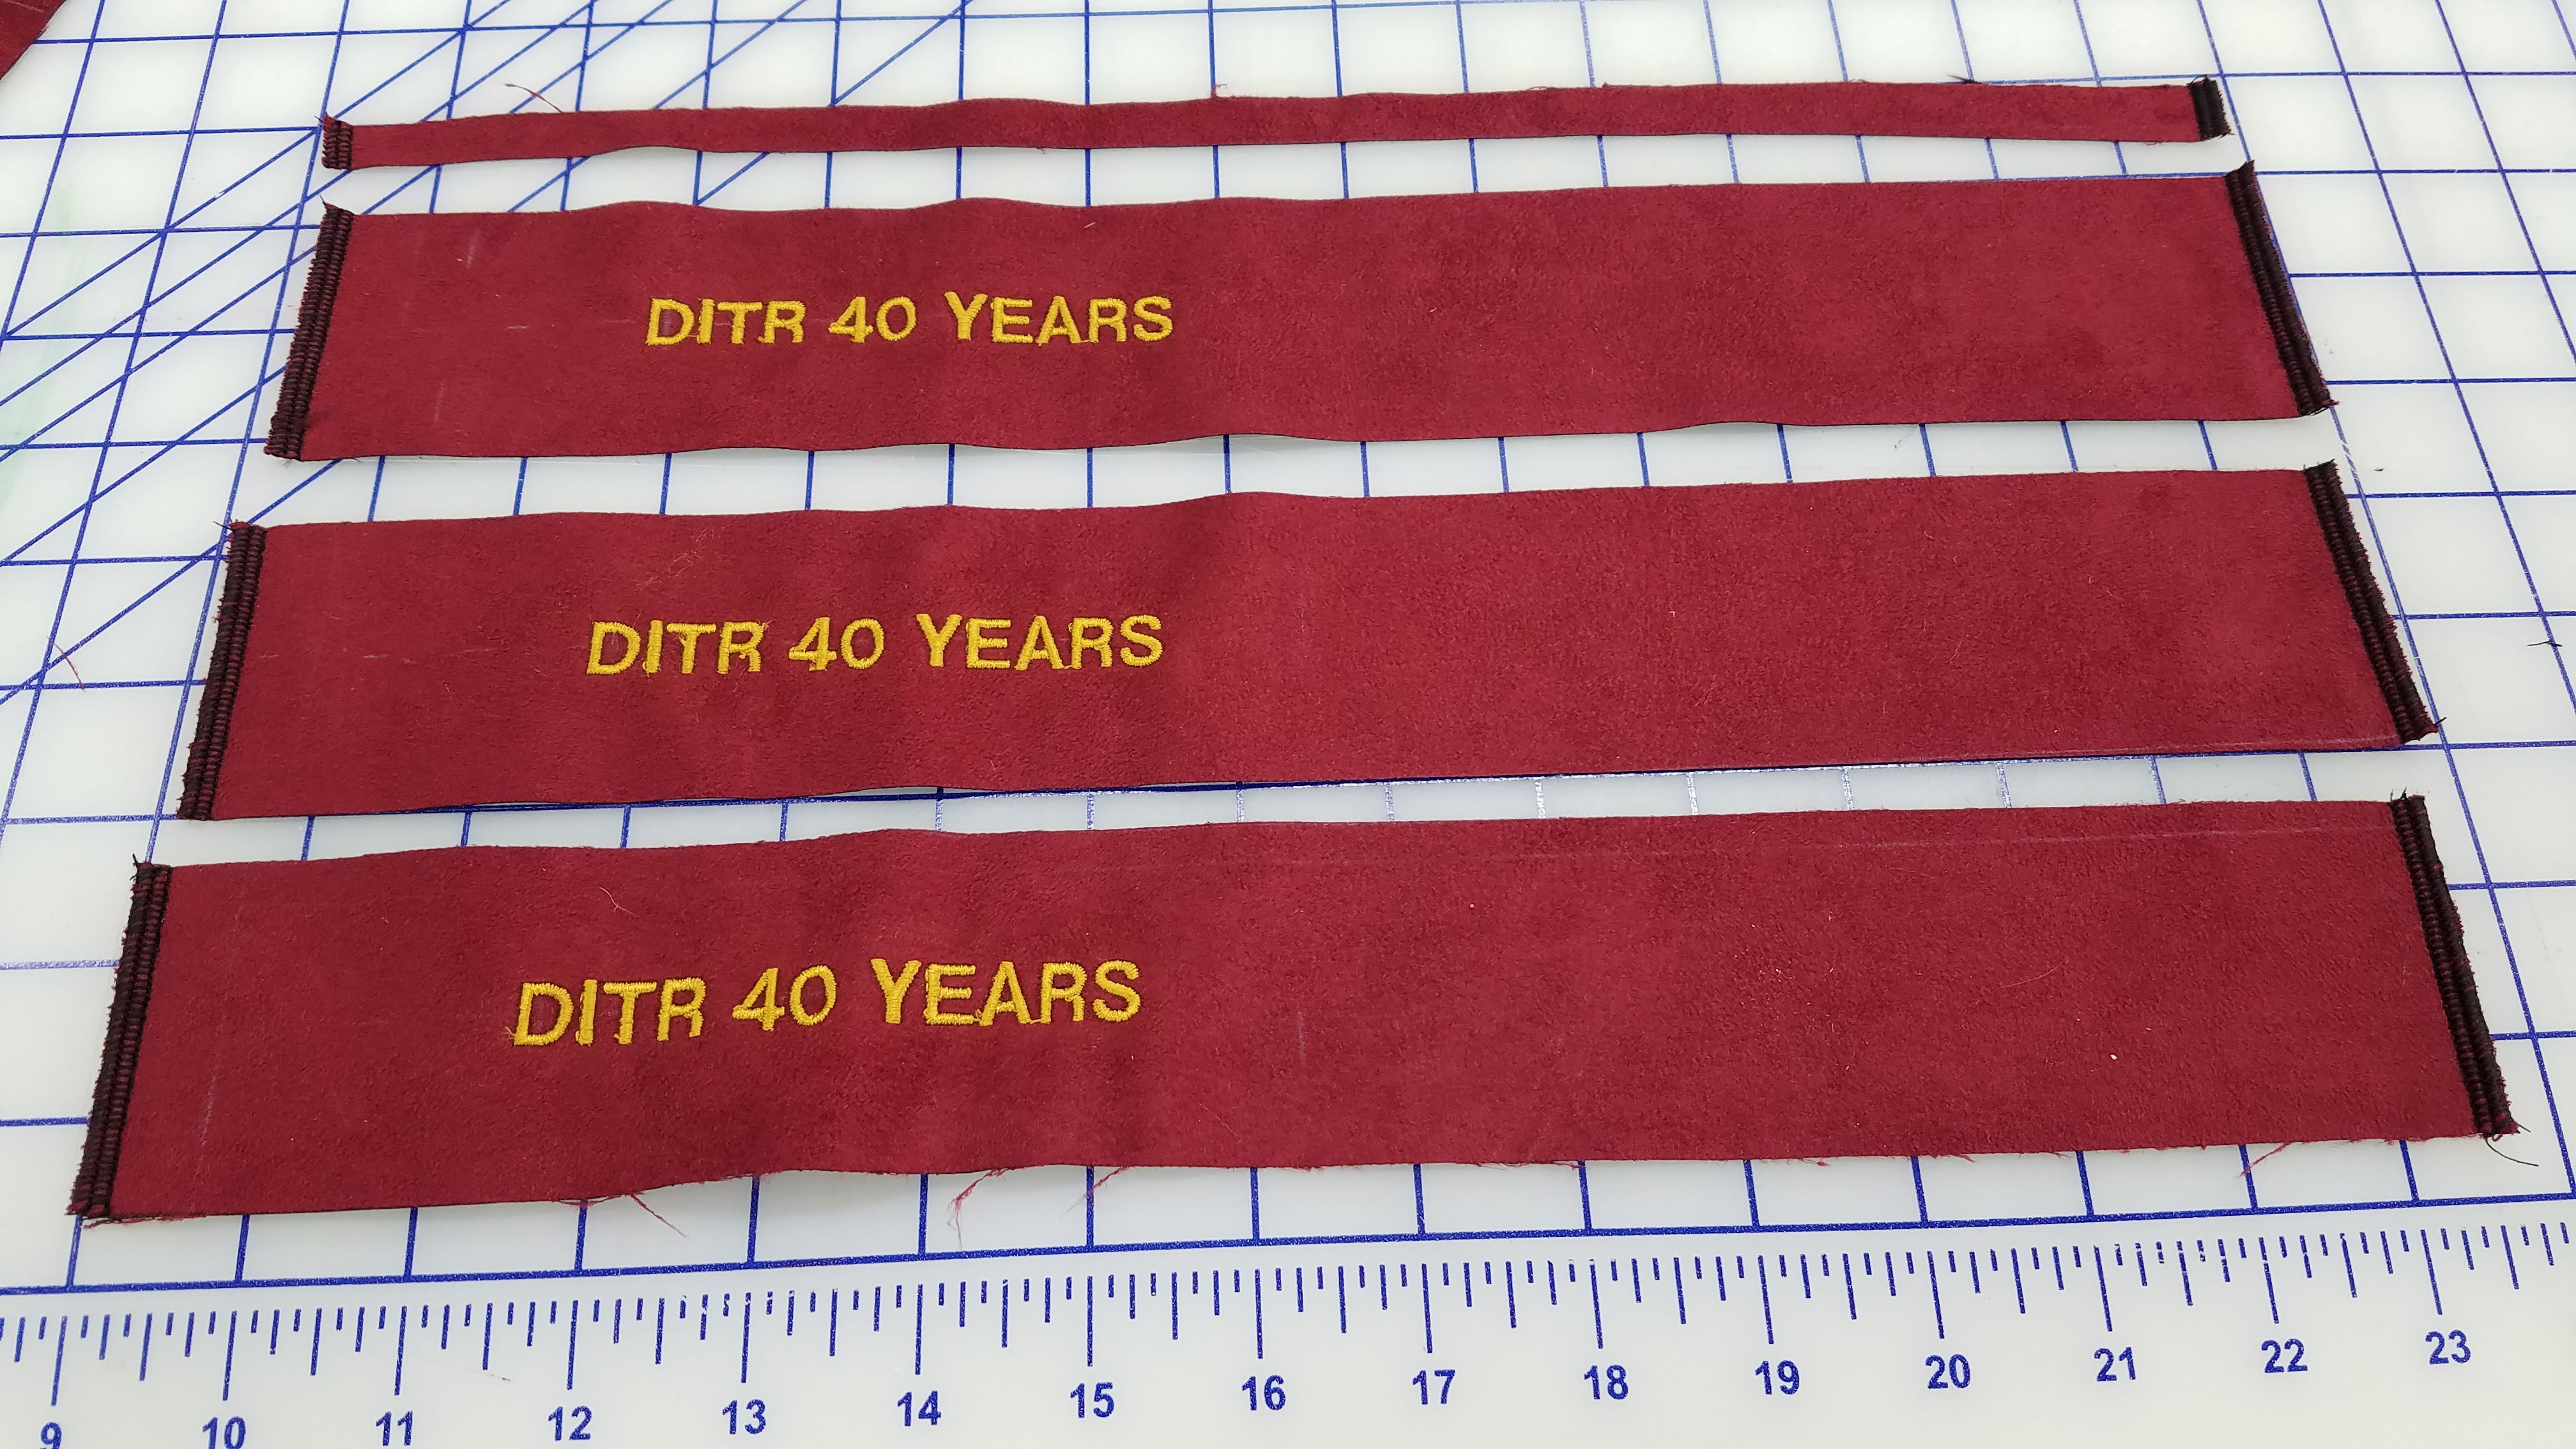
We made a couple of prototypes to nail down the dimensions. The final dimensions to cut for one bag was 2-1/4 x 15 inches. I determined where to mark the fabric to simplify embroidering the logo onto the fabric, it was best to hoop one 6-3/4 x 15 panel, enough fabric for 3 bags.
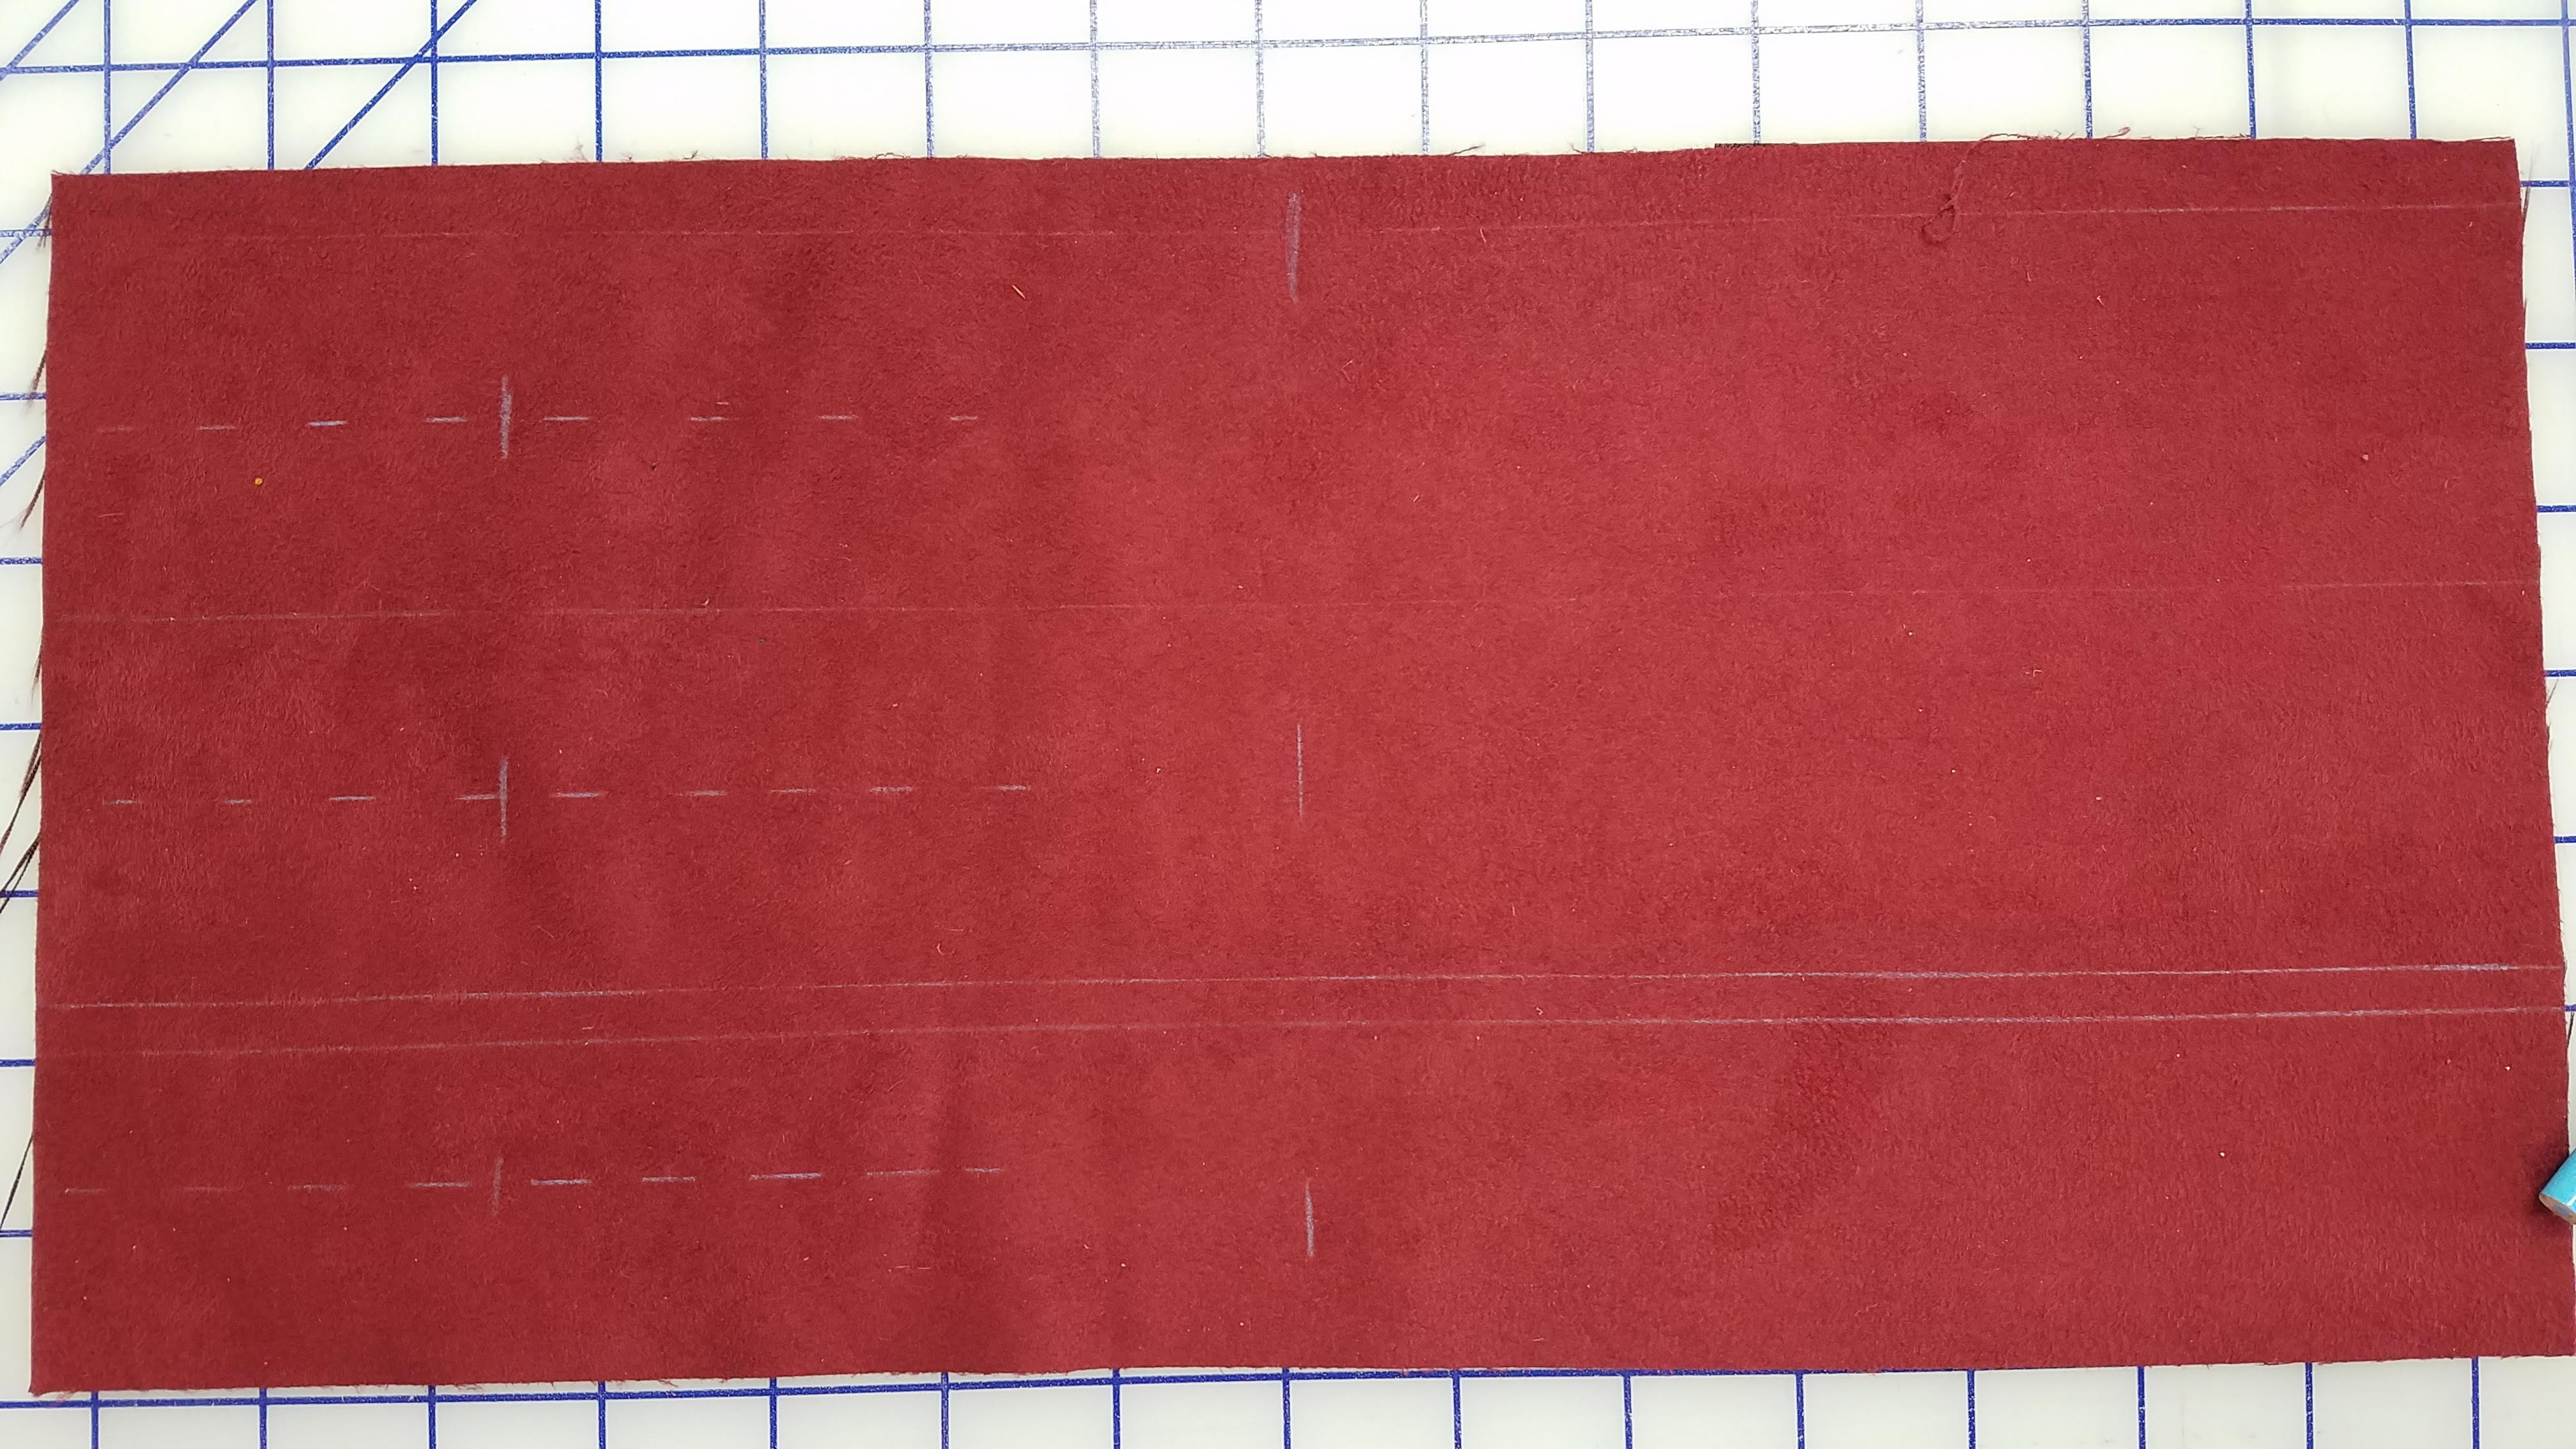
I f you look closely, you can see my fabric marker lines. The solid lines are the 2-1/4″ marks to line up for later cutting the strips apart. There is a center fold line at 7-1/2″, which I never actually used for folding. The dashed line is the center of the strip and together with a crossing line 5″ from the center, was used to line up the embroidery.
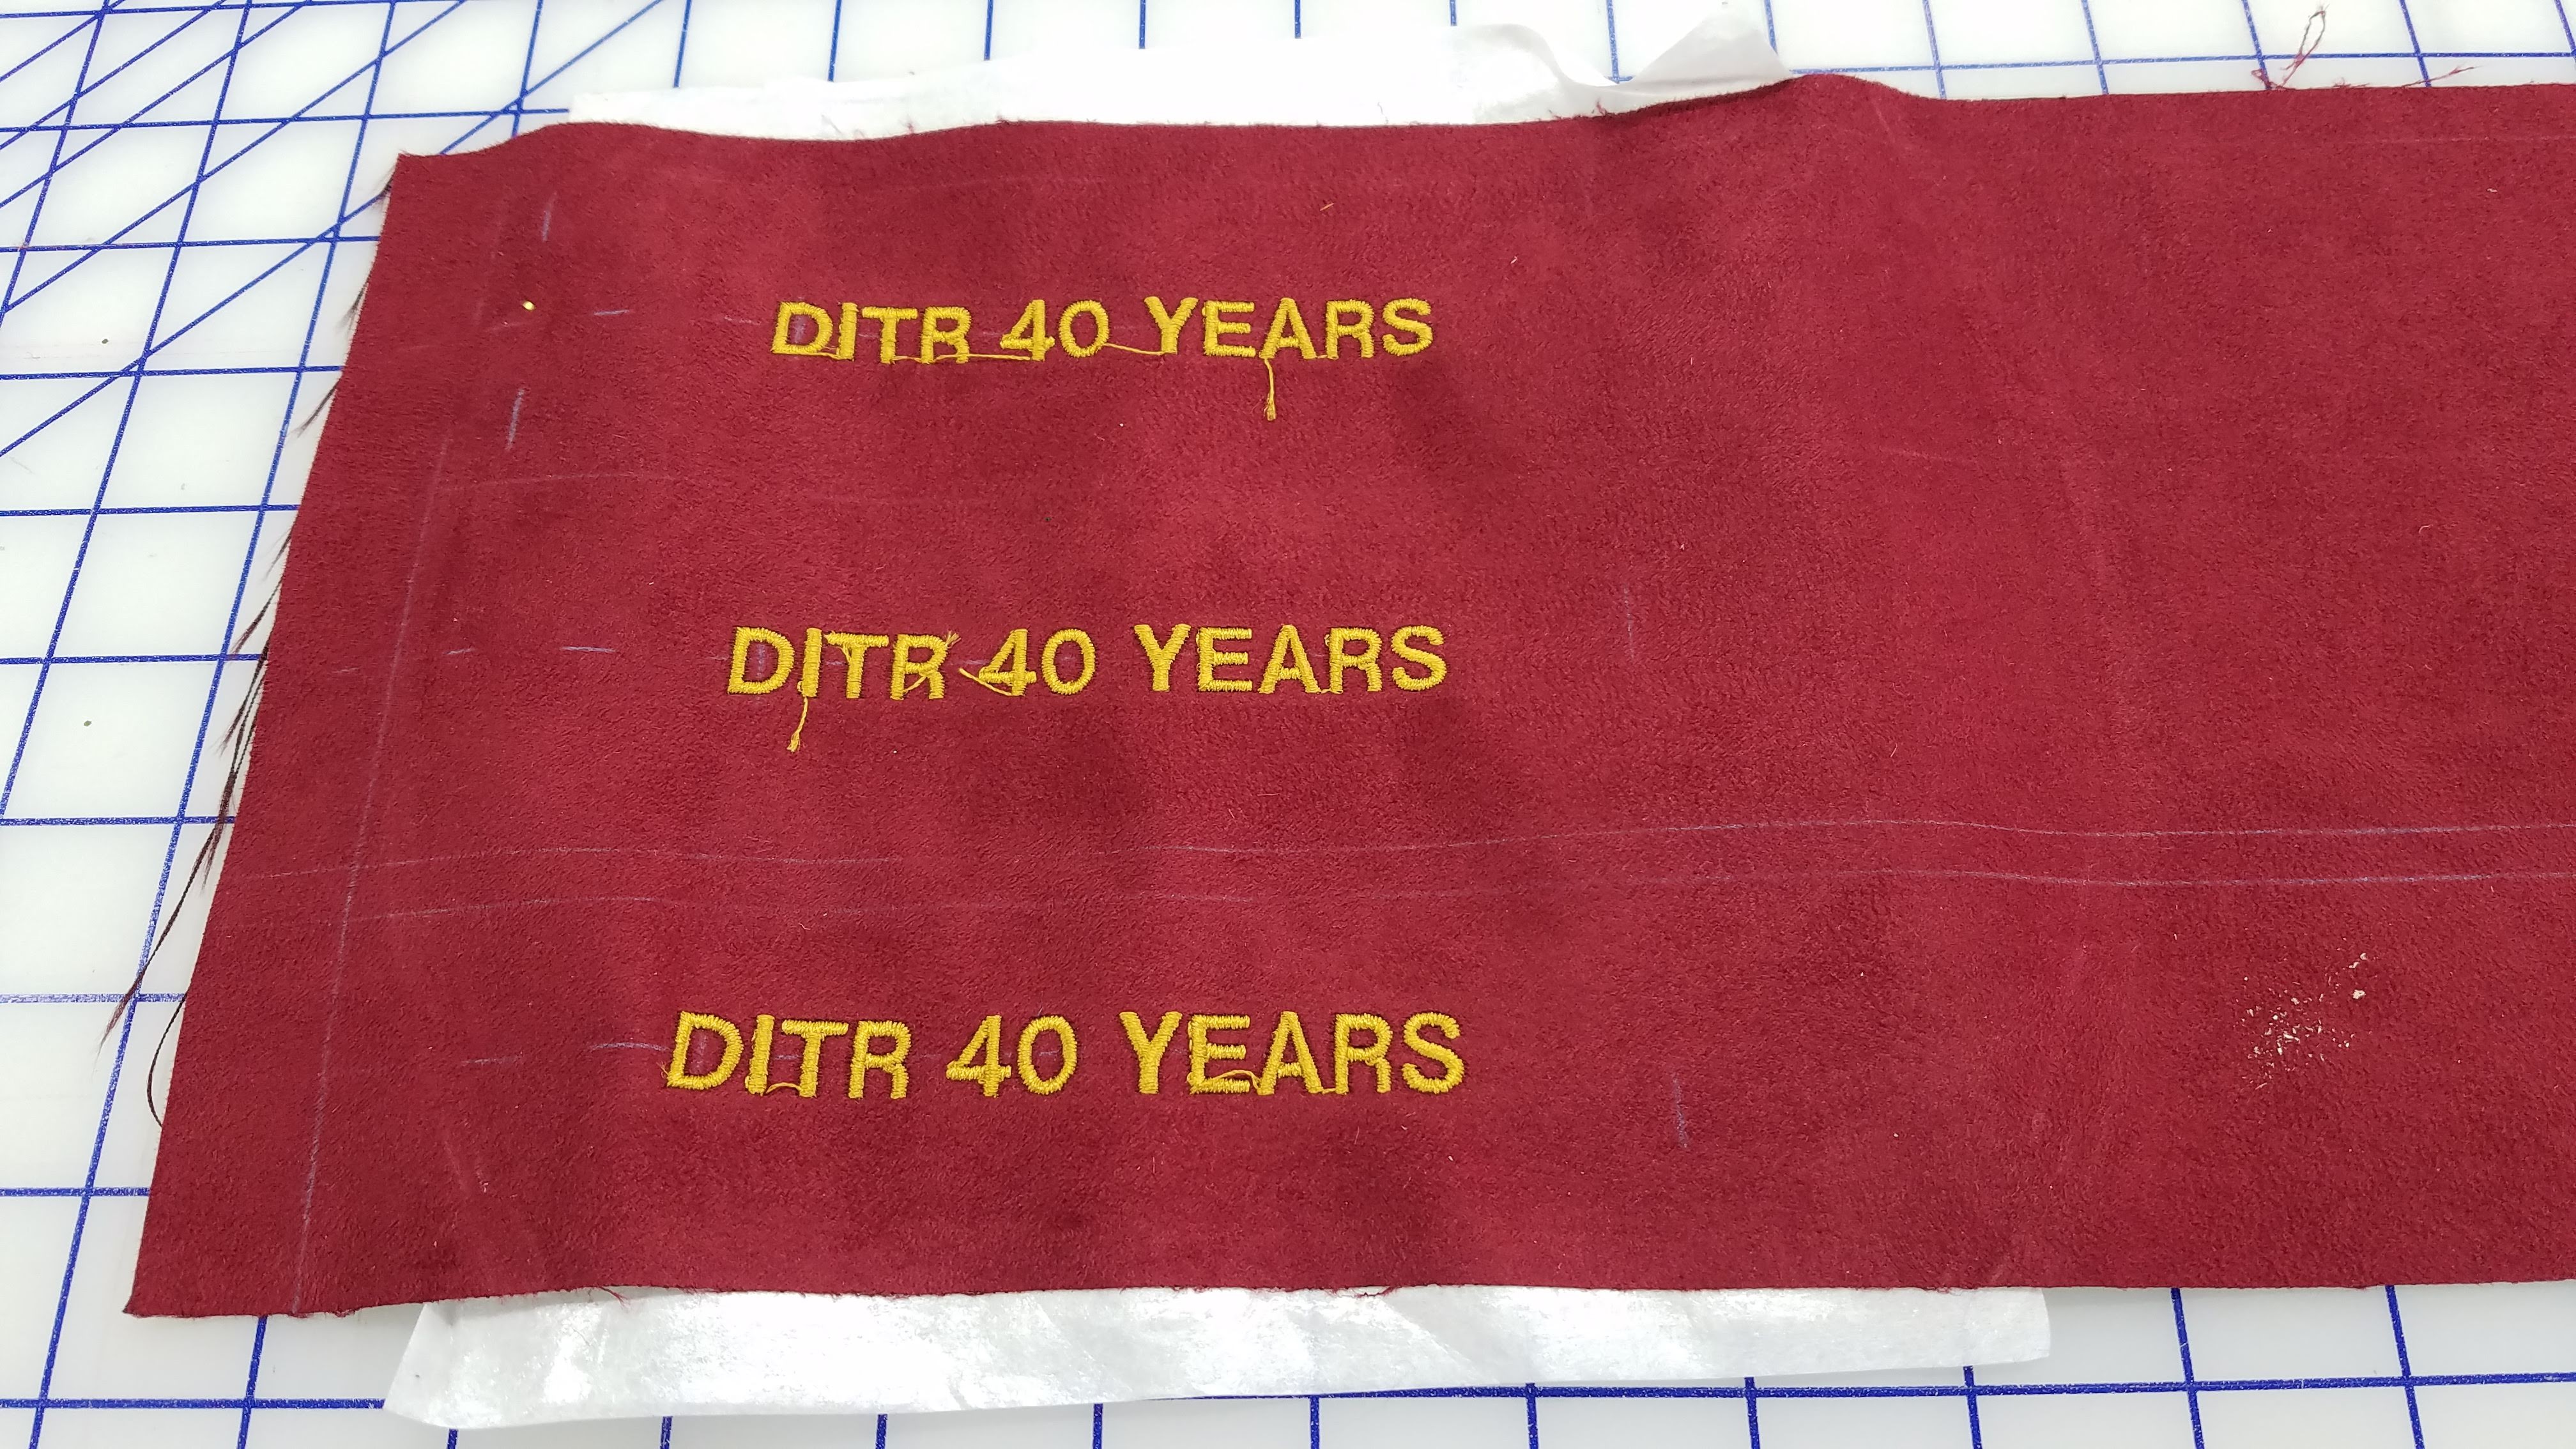
After removing the stabilizer, trimming the threads, and serge stitching the short edges, the panel is ready to cut into strips. I fine tuned the dimensions so that I didn’t have any waste strips like this one had.
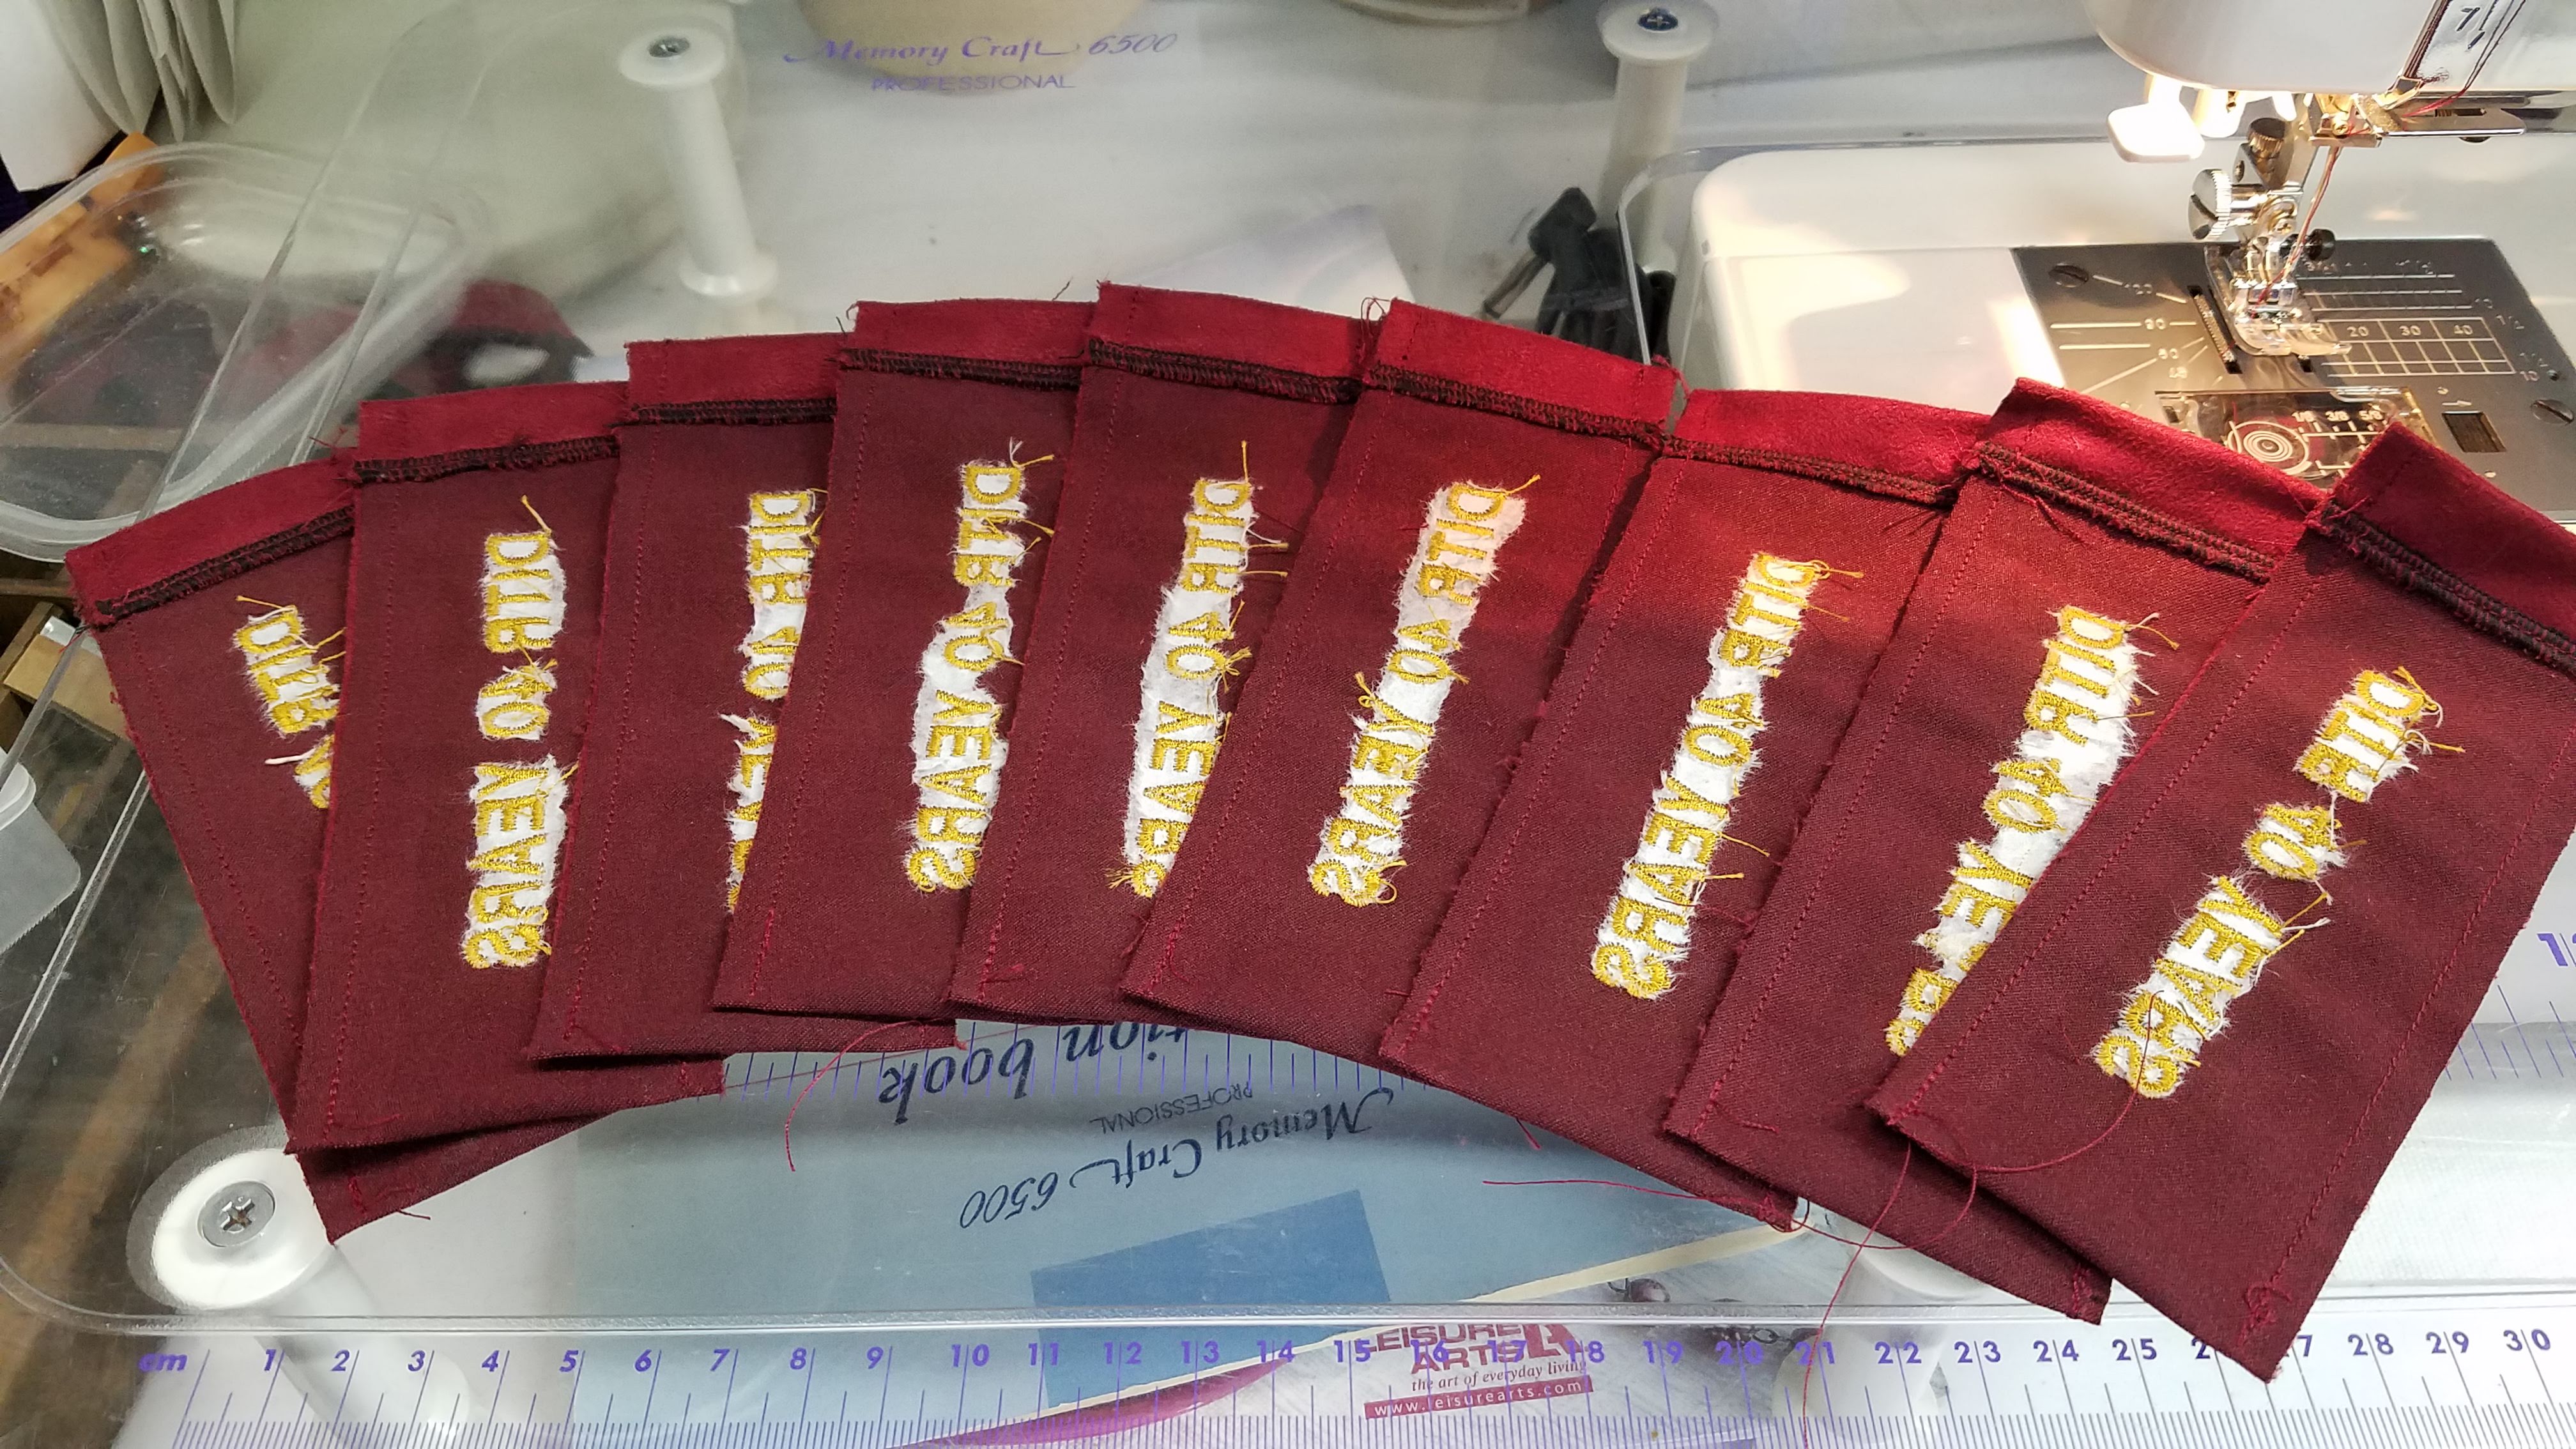
Now comes marking the ends. Experimentally, I arrived at dimensions that were just easier to measure off with a metric scale.

At 20mm from the end is the fold line. 30mm from the end and 15mm from each side are intersecting lines that mark where an eyelet will be sewn and cut.

I then folded the two ends wrong sides together using the 20mm fold lines and stitched it along the serging. Finally, I folded the whole thing right sides together and stitched the two long sides.
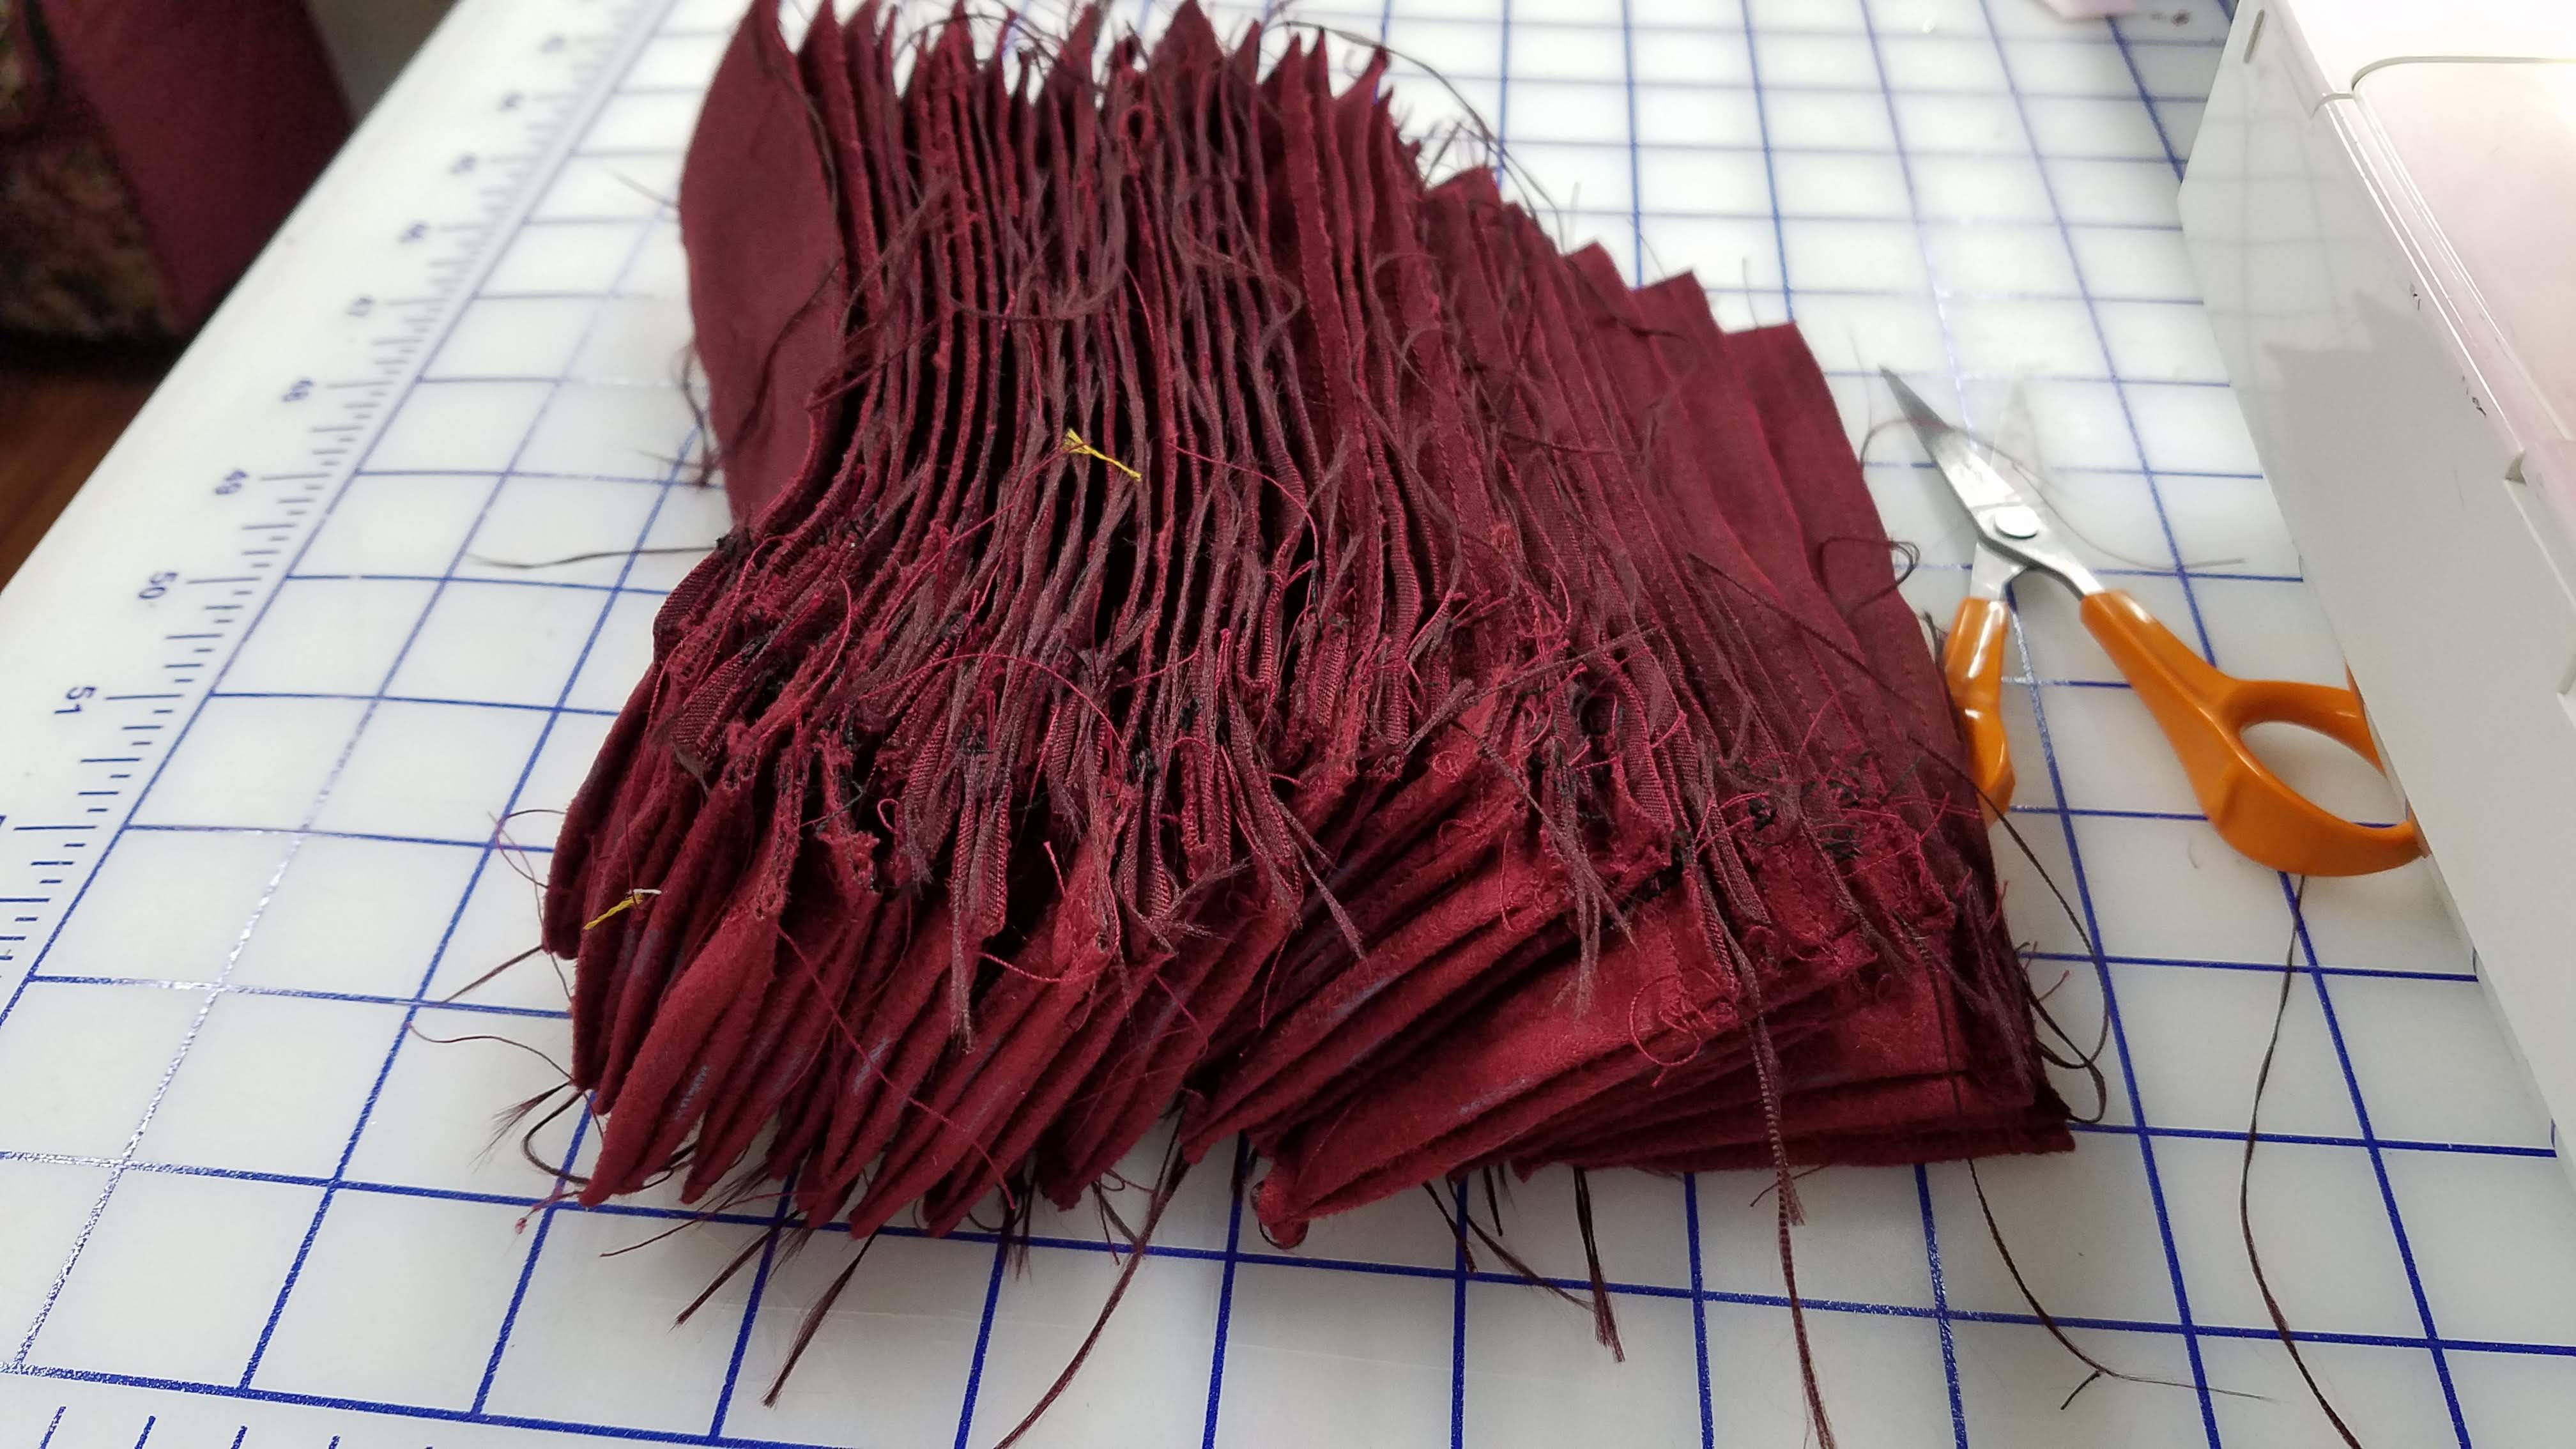
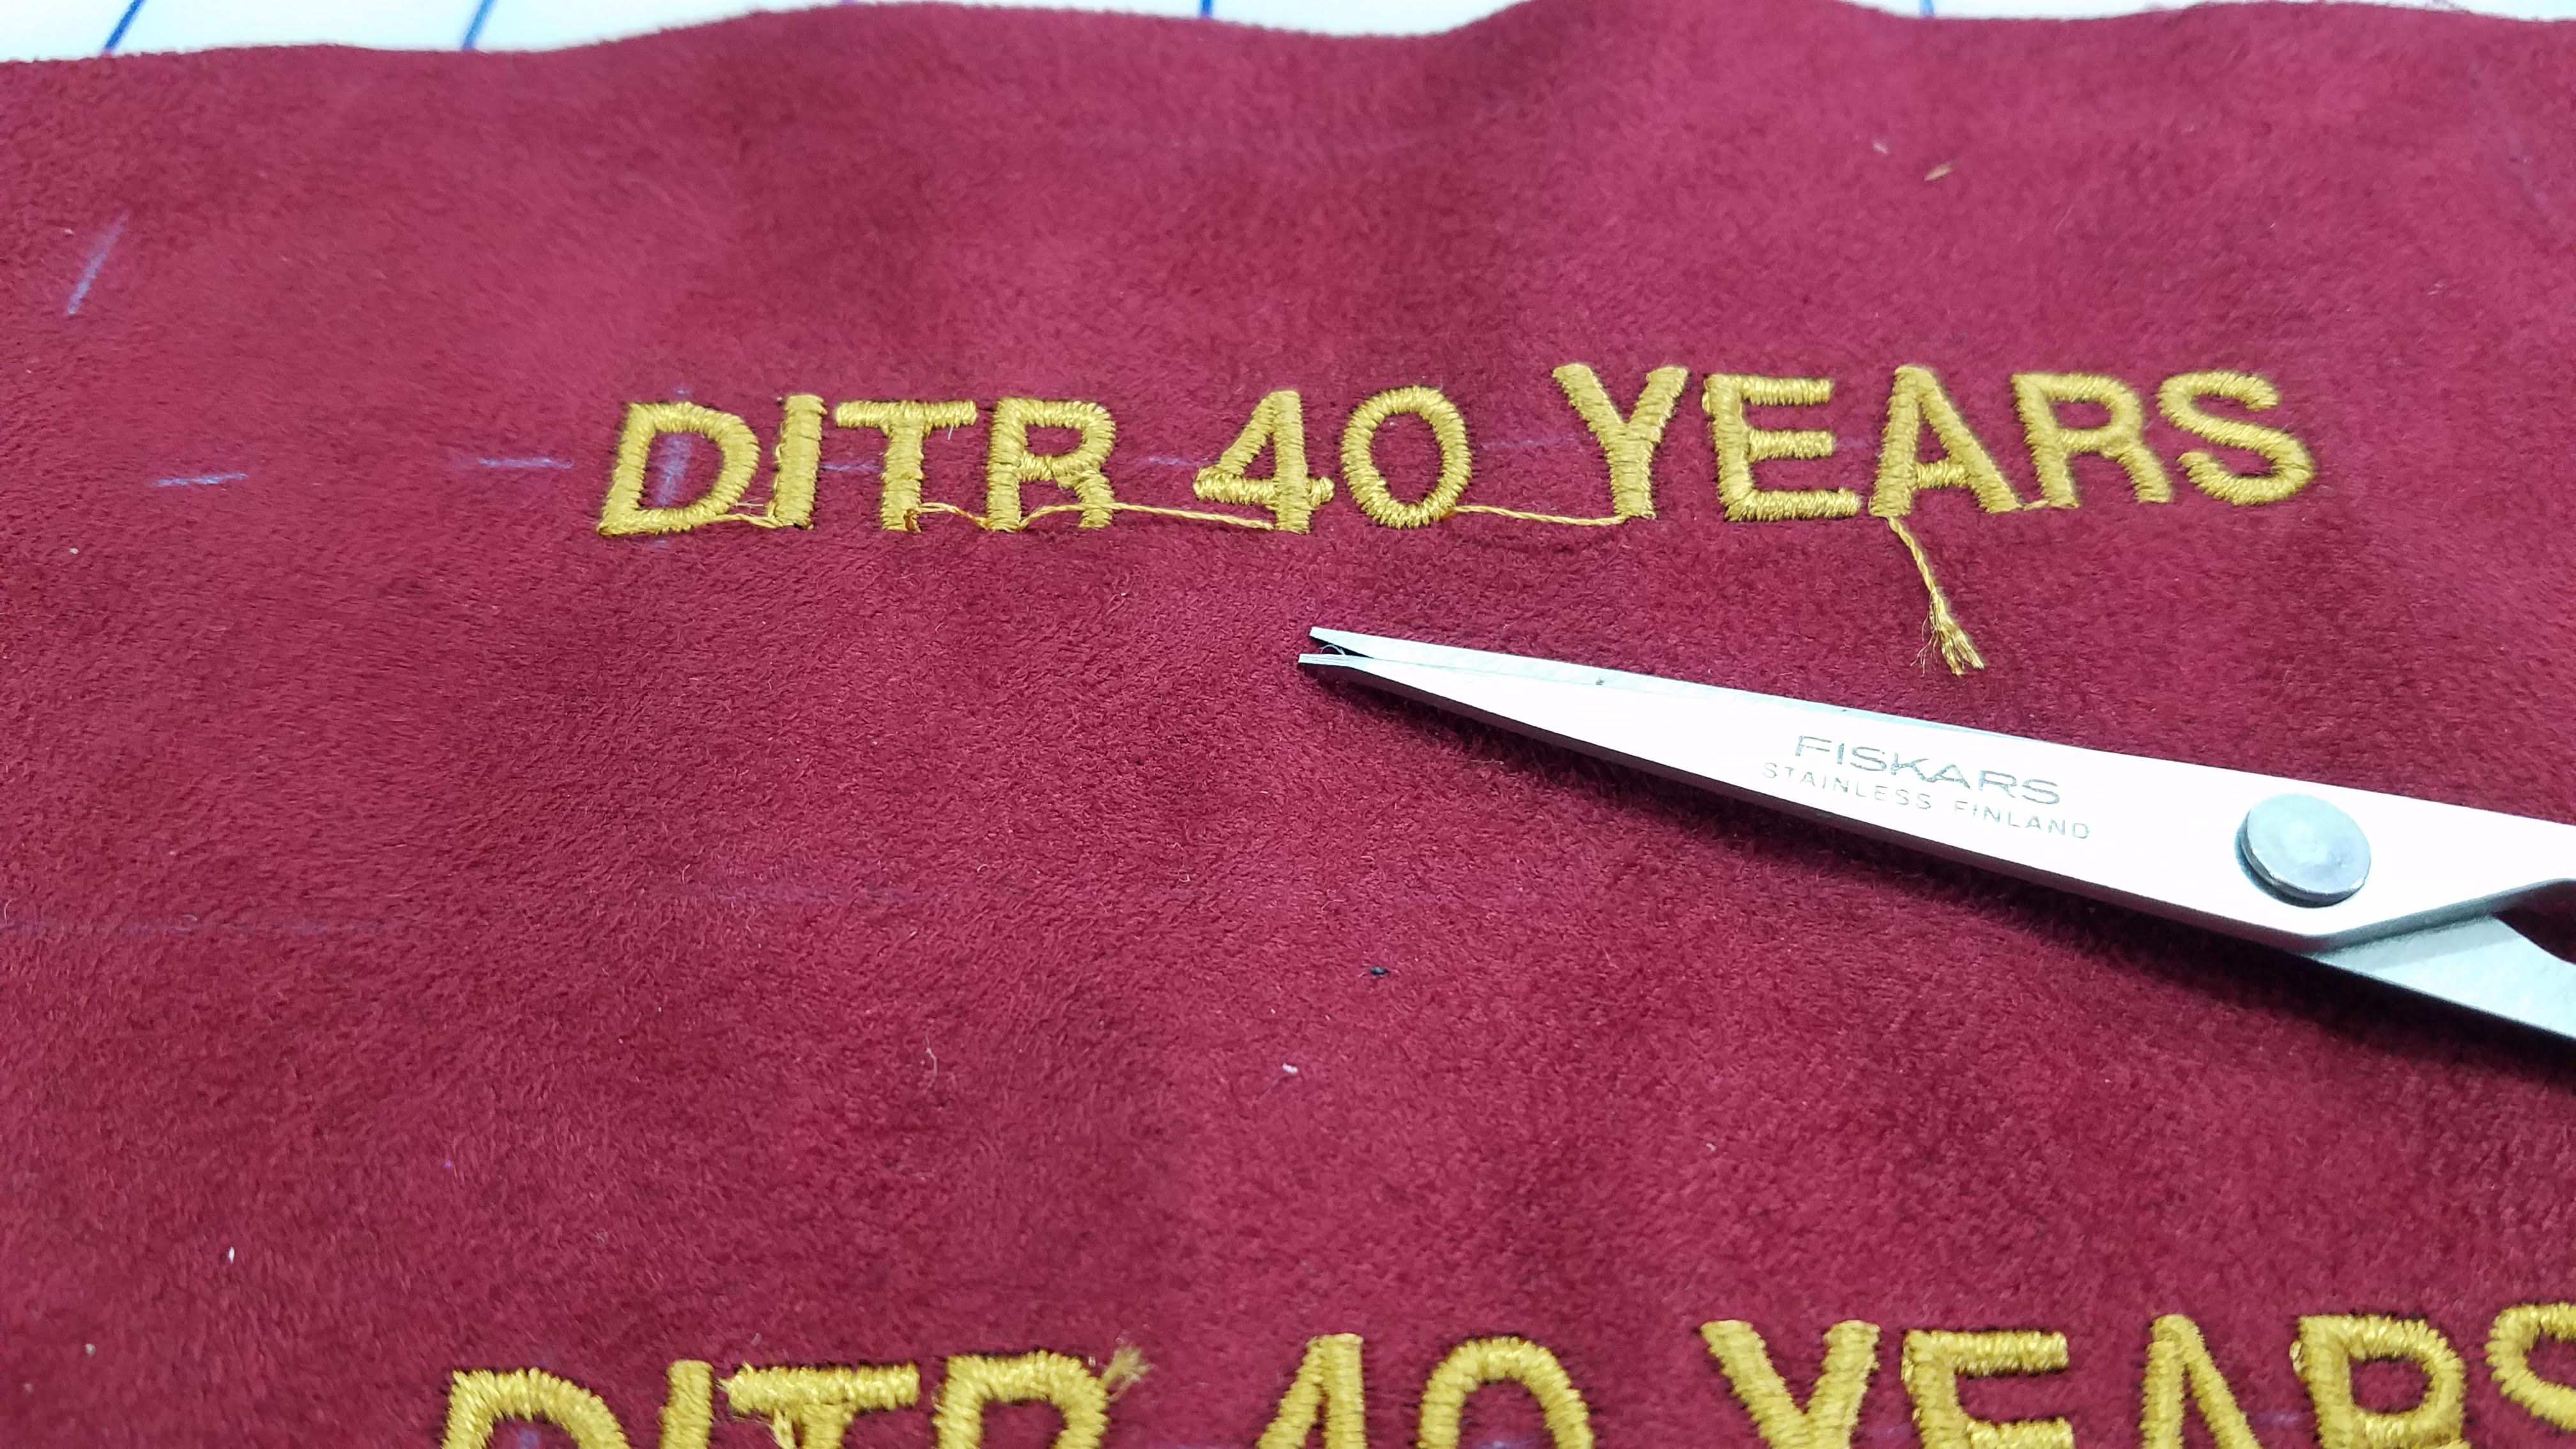
I trimmed the fray, and any sewing thread ends, and turned the bags right side out.
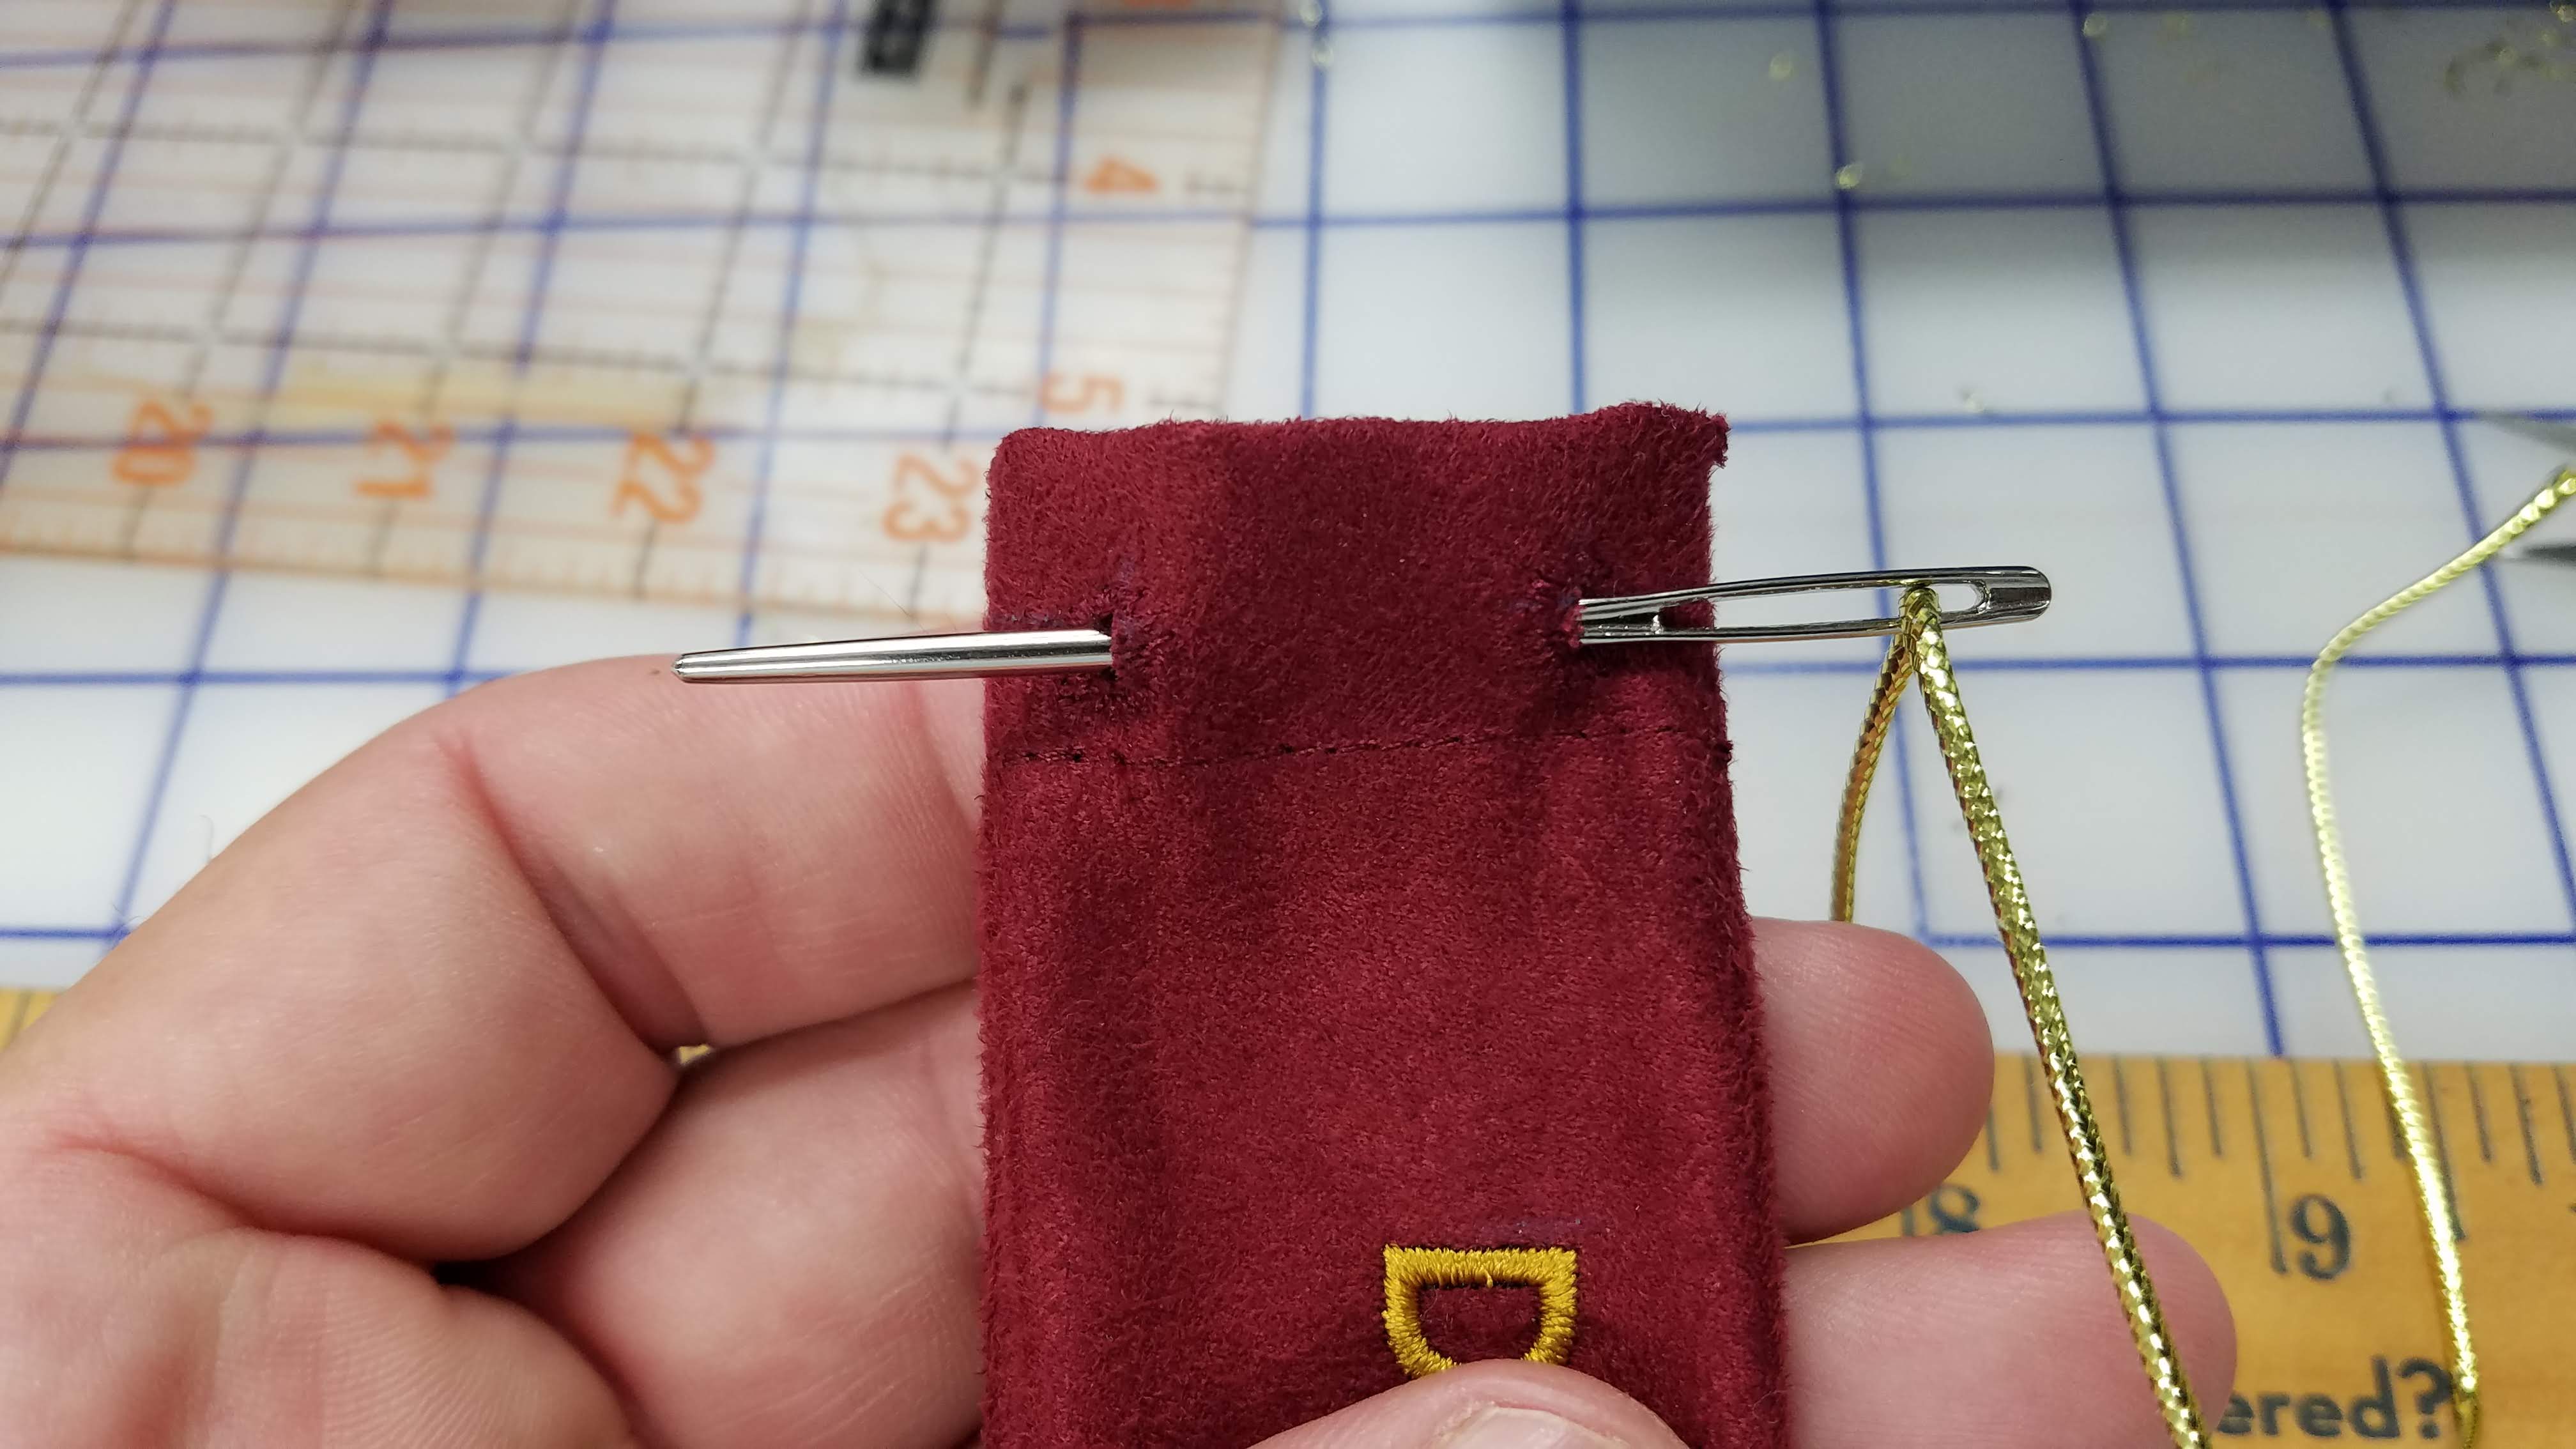
Lastly, I threaded the drawstrings through the eyelets, one from each side of the bag.
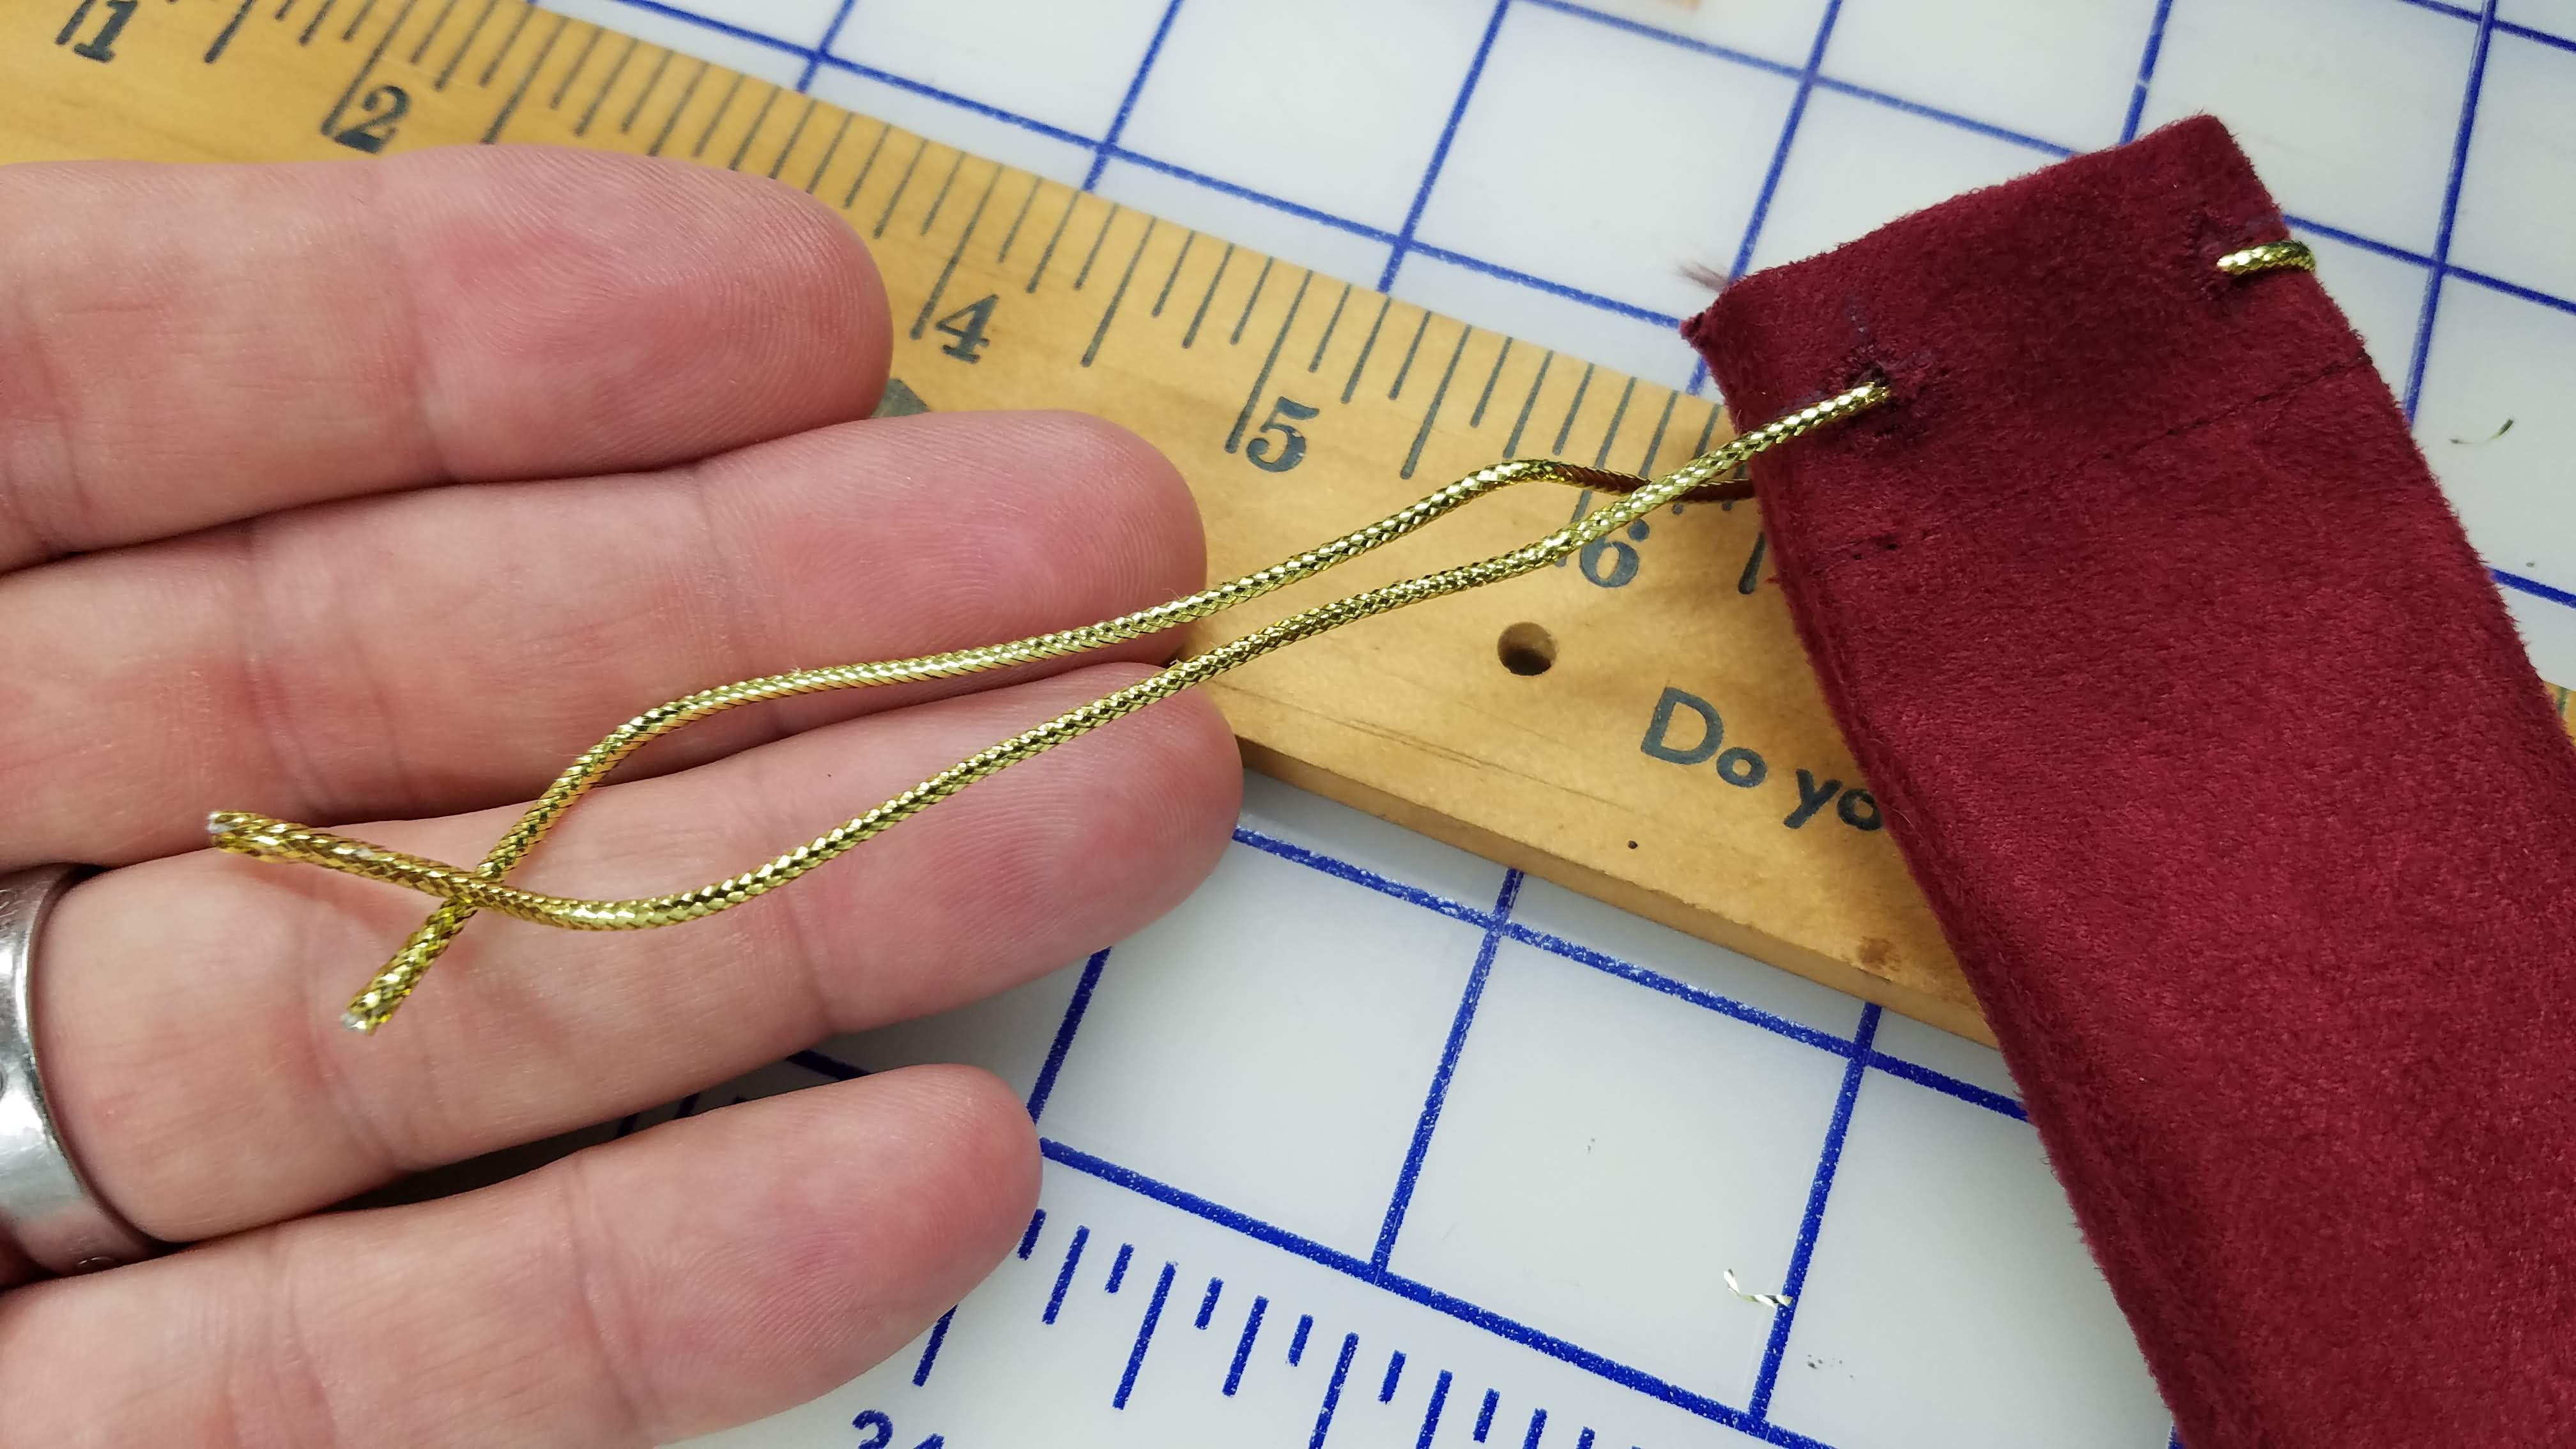
The finished bags look pretty good, if I say so myself.
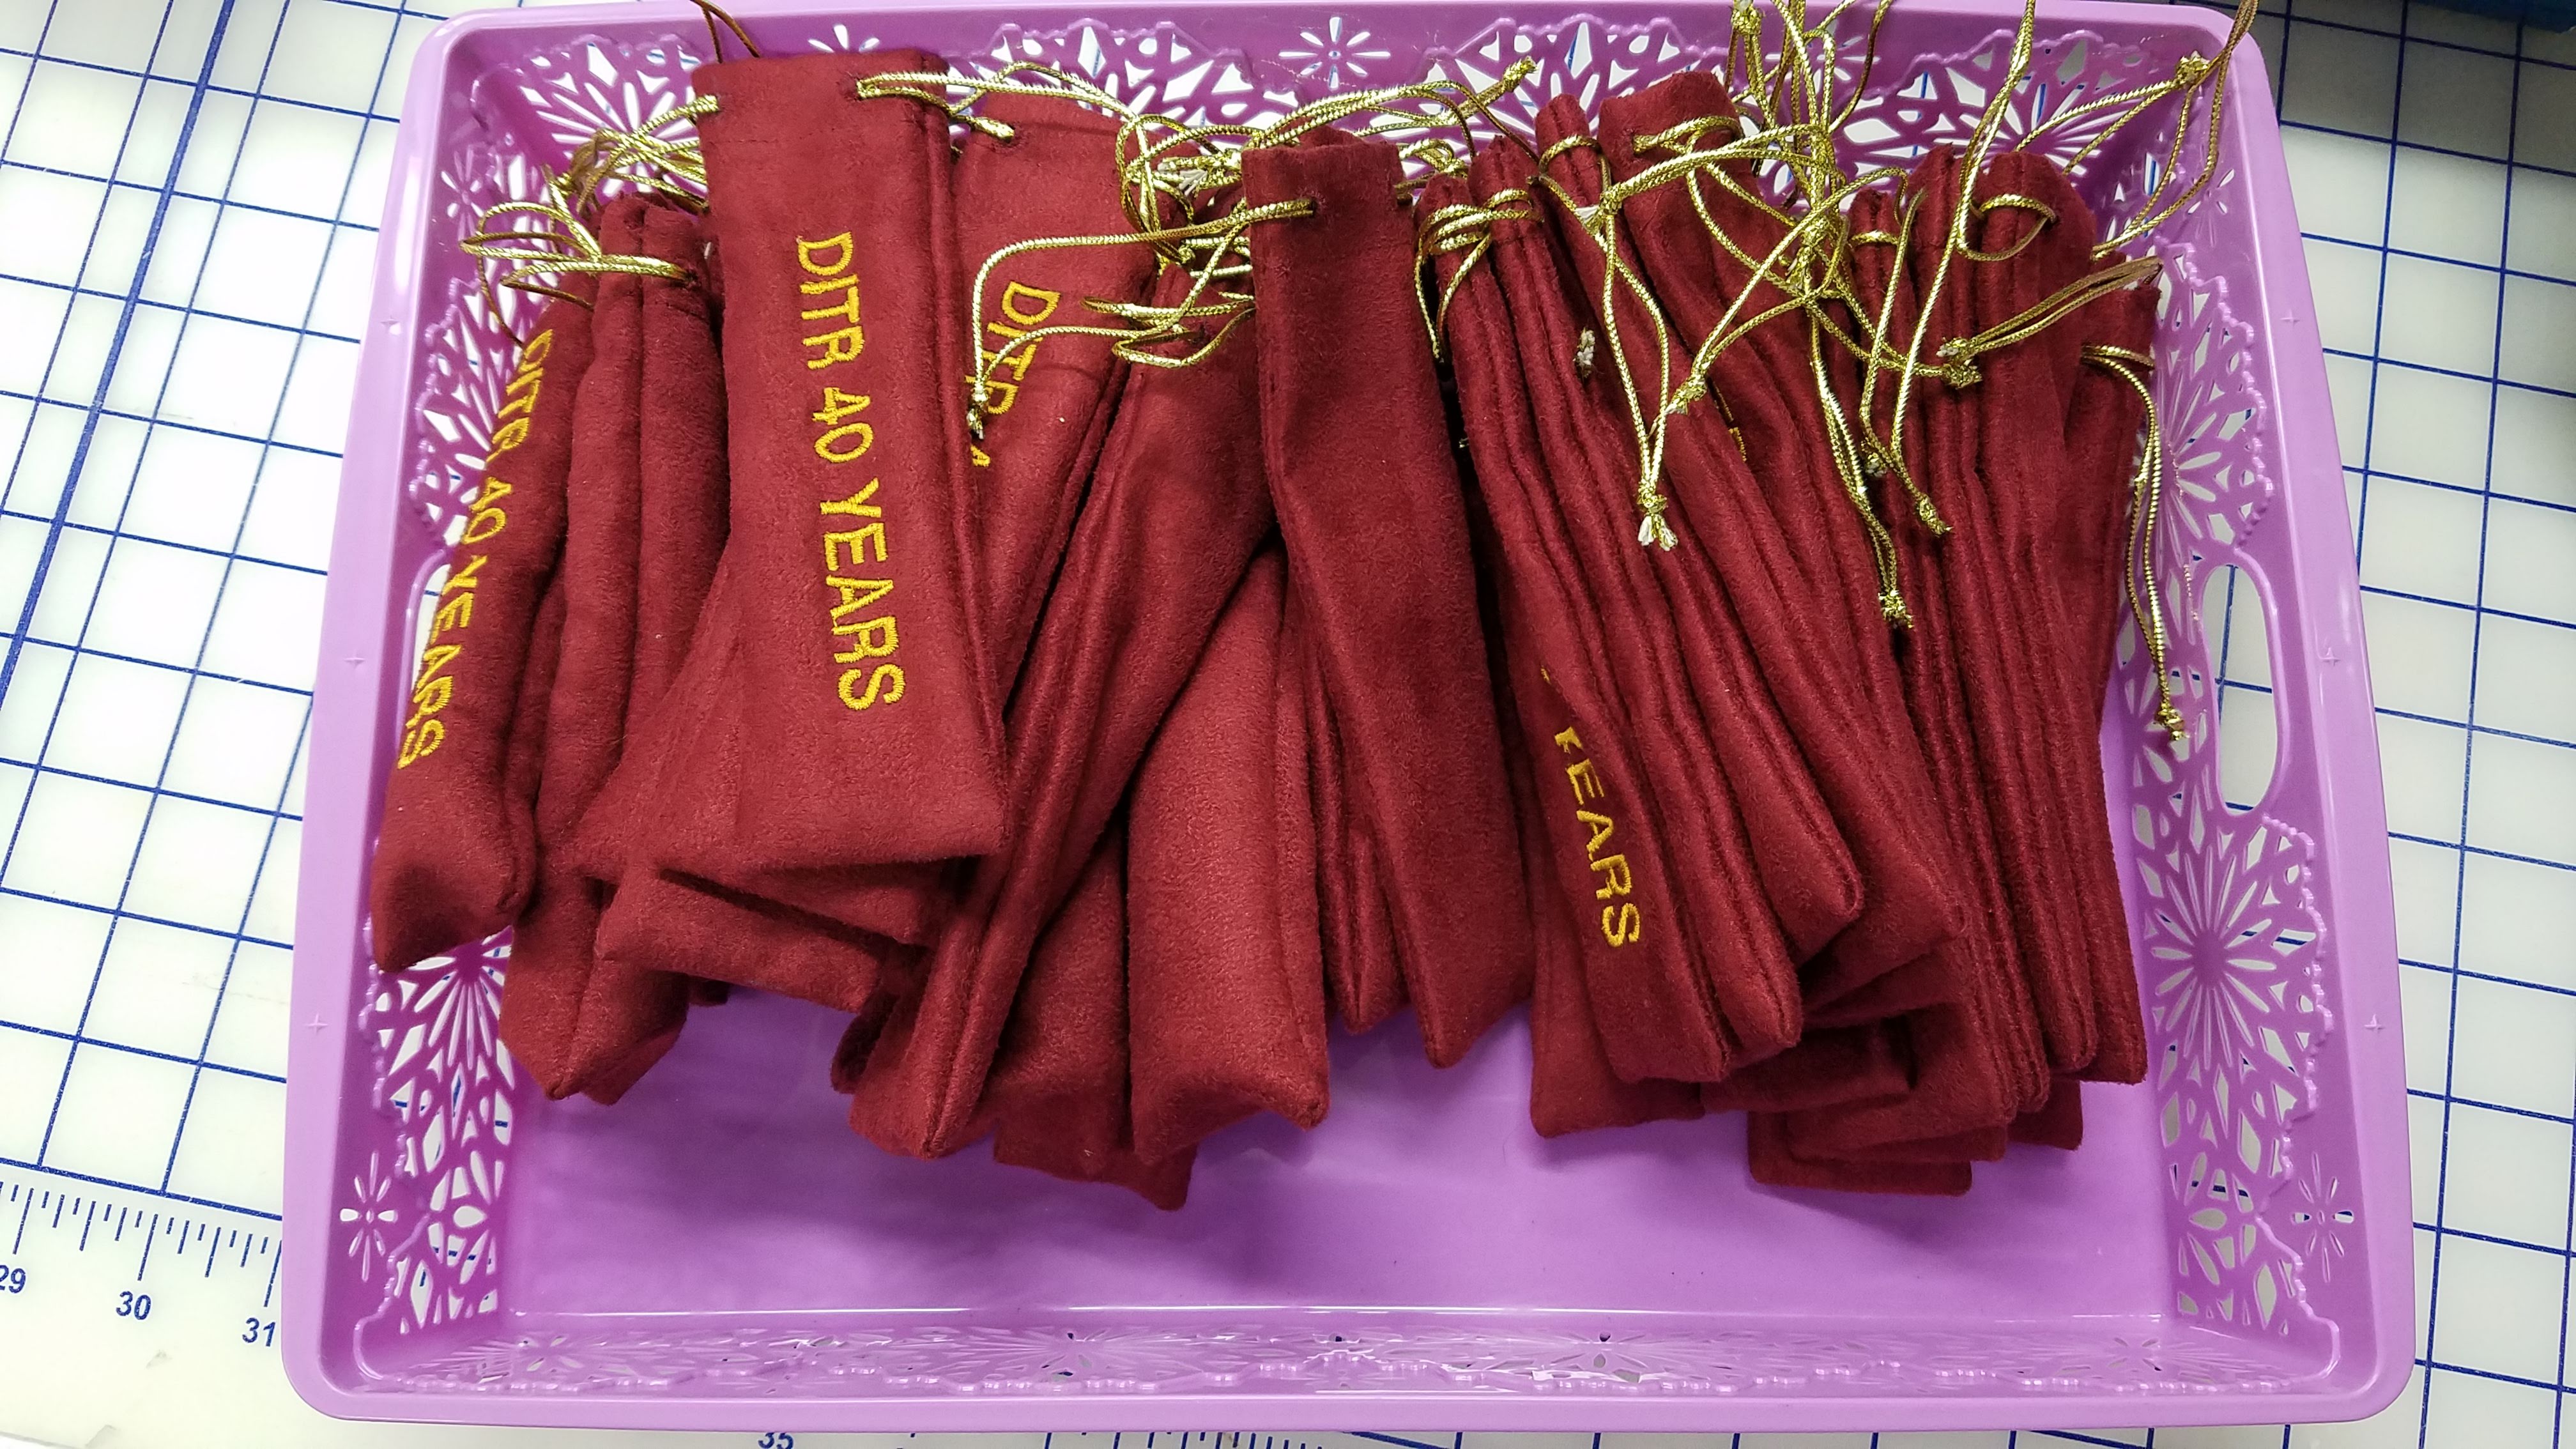
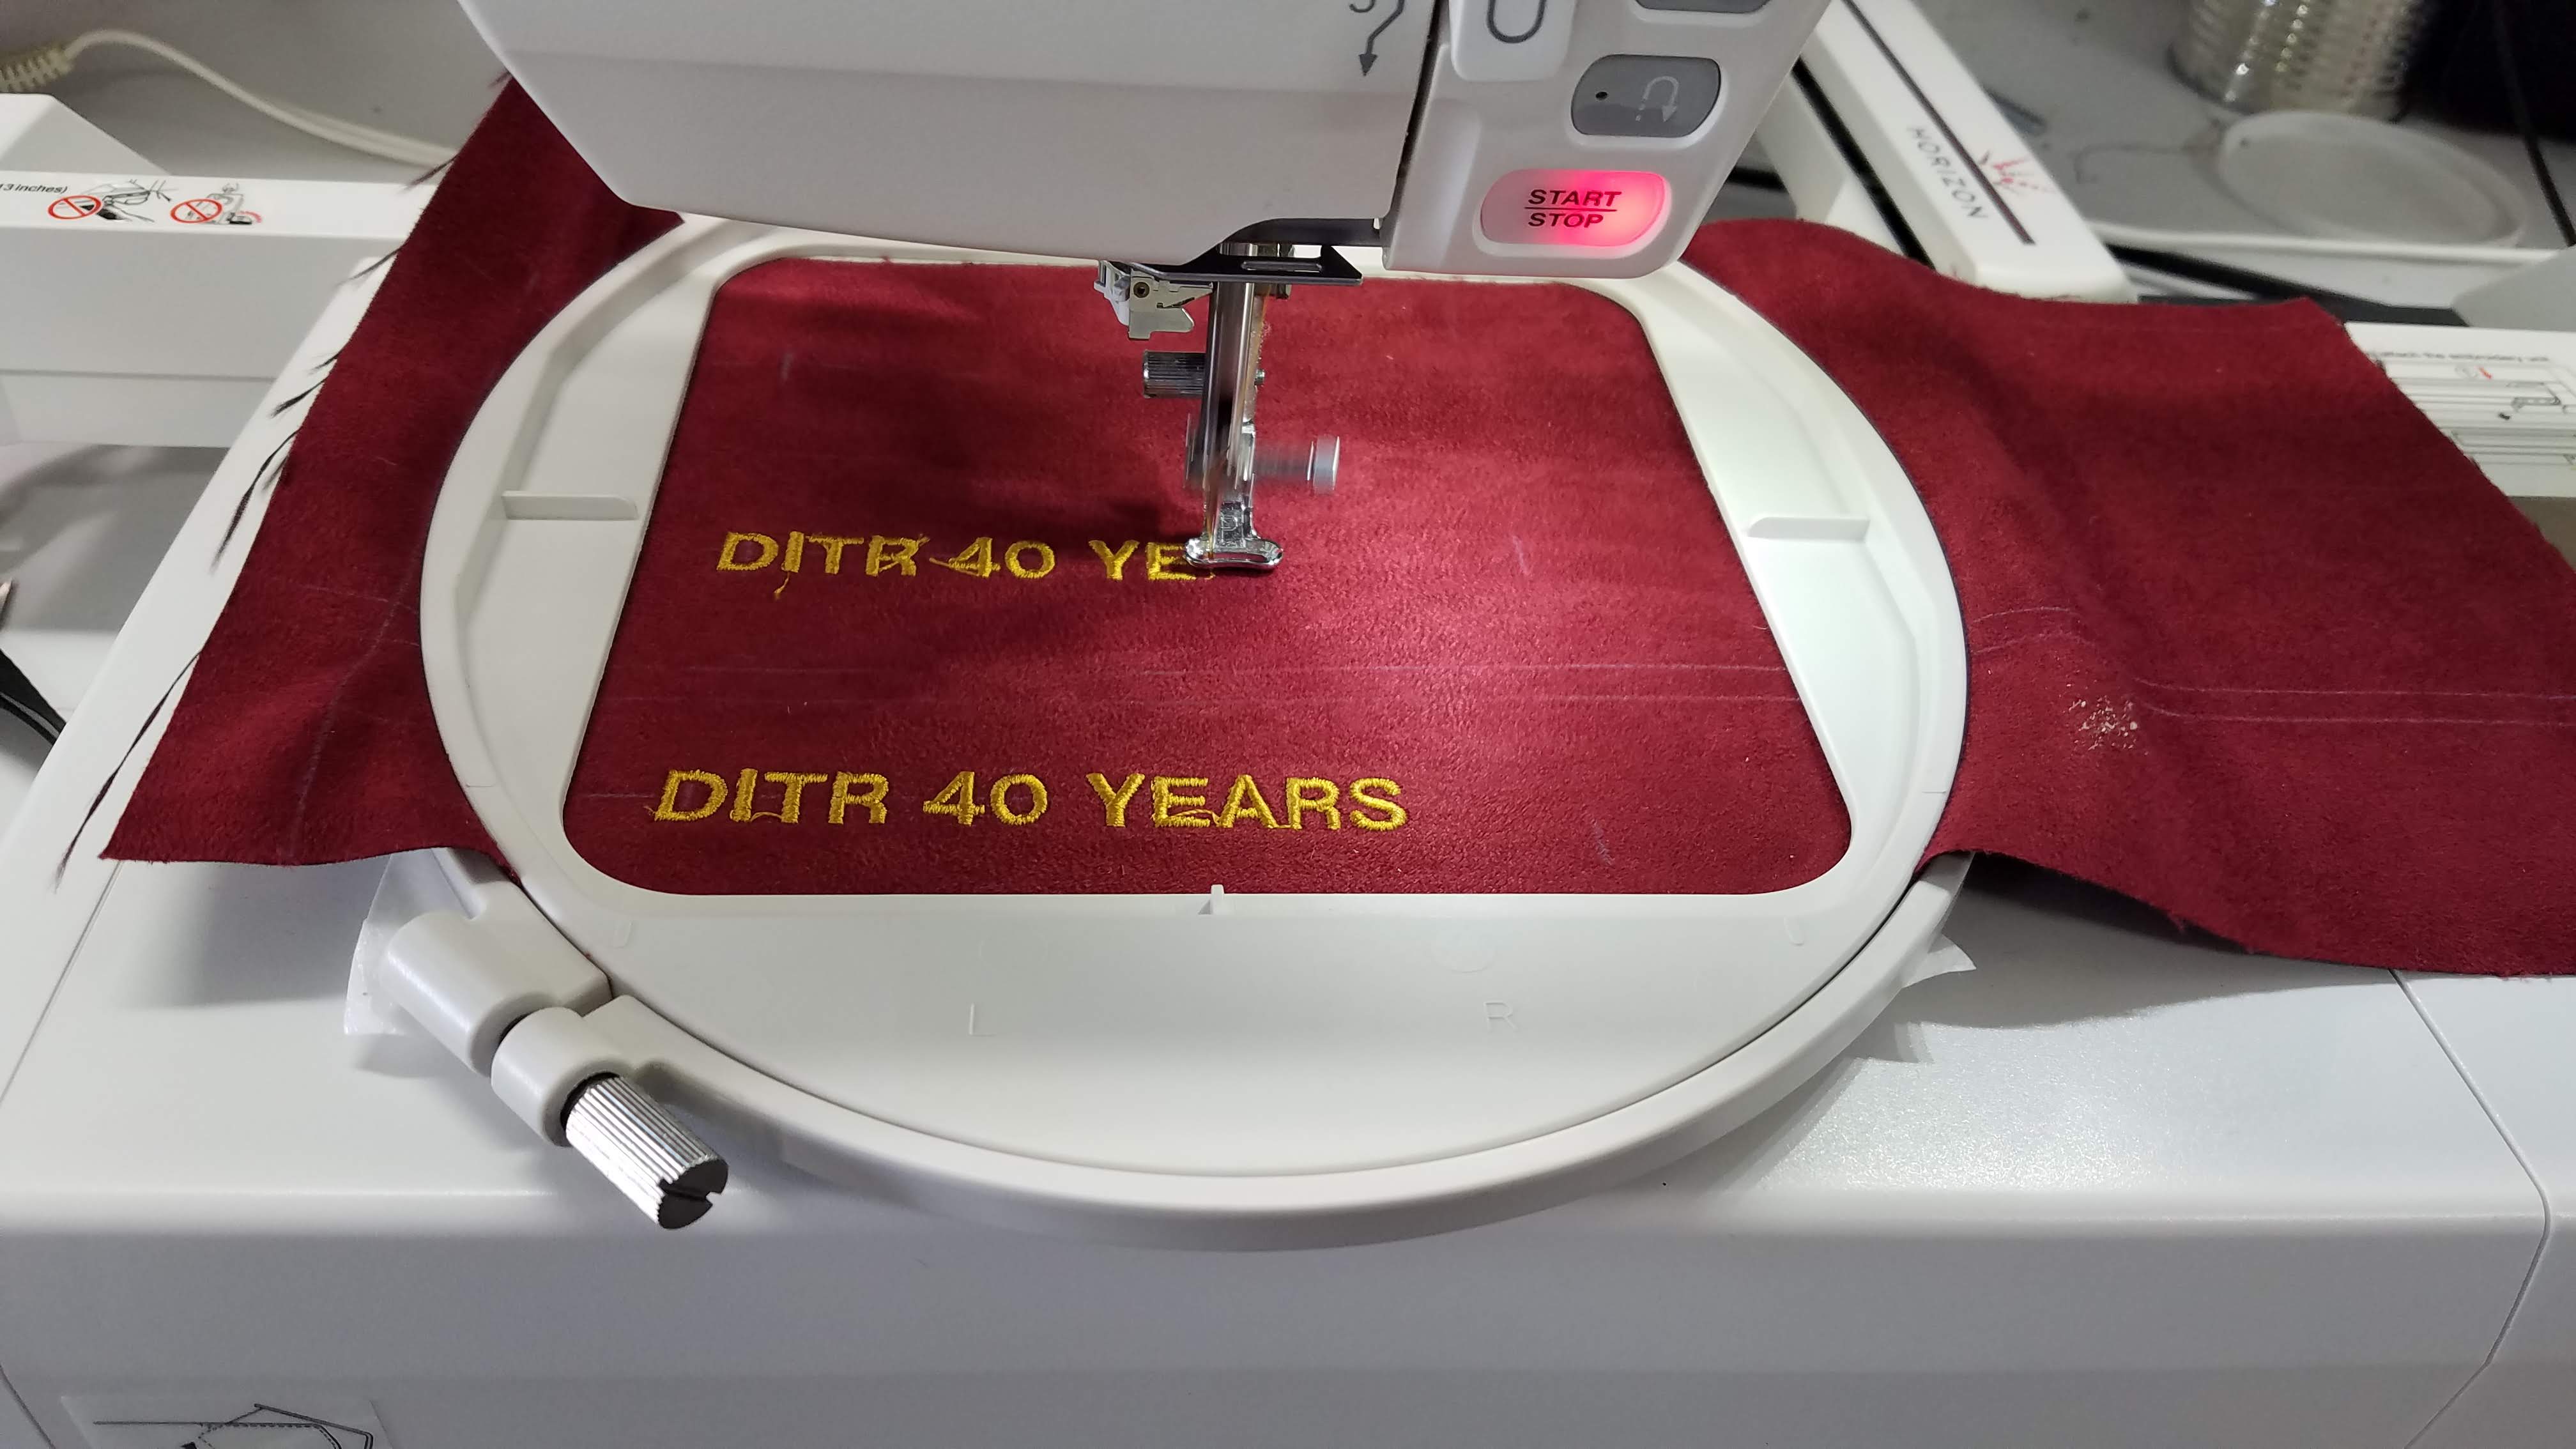
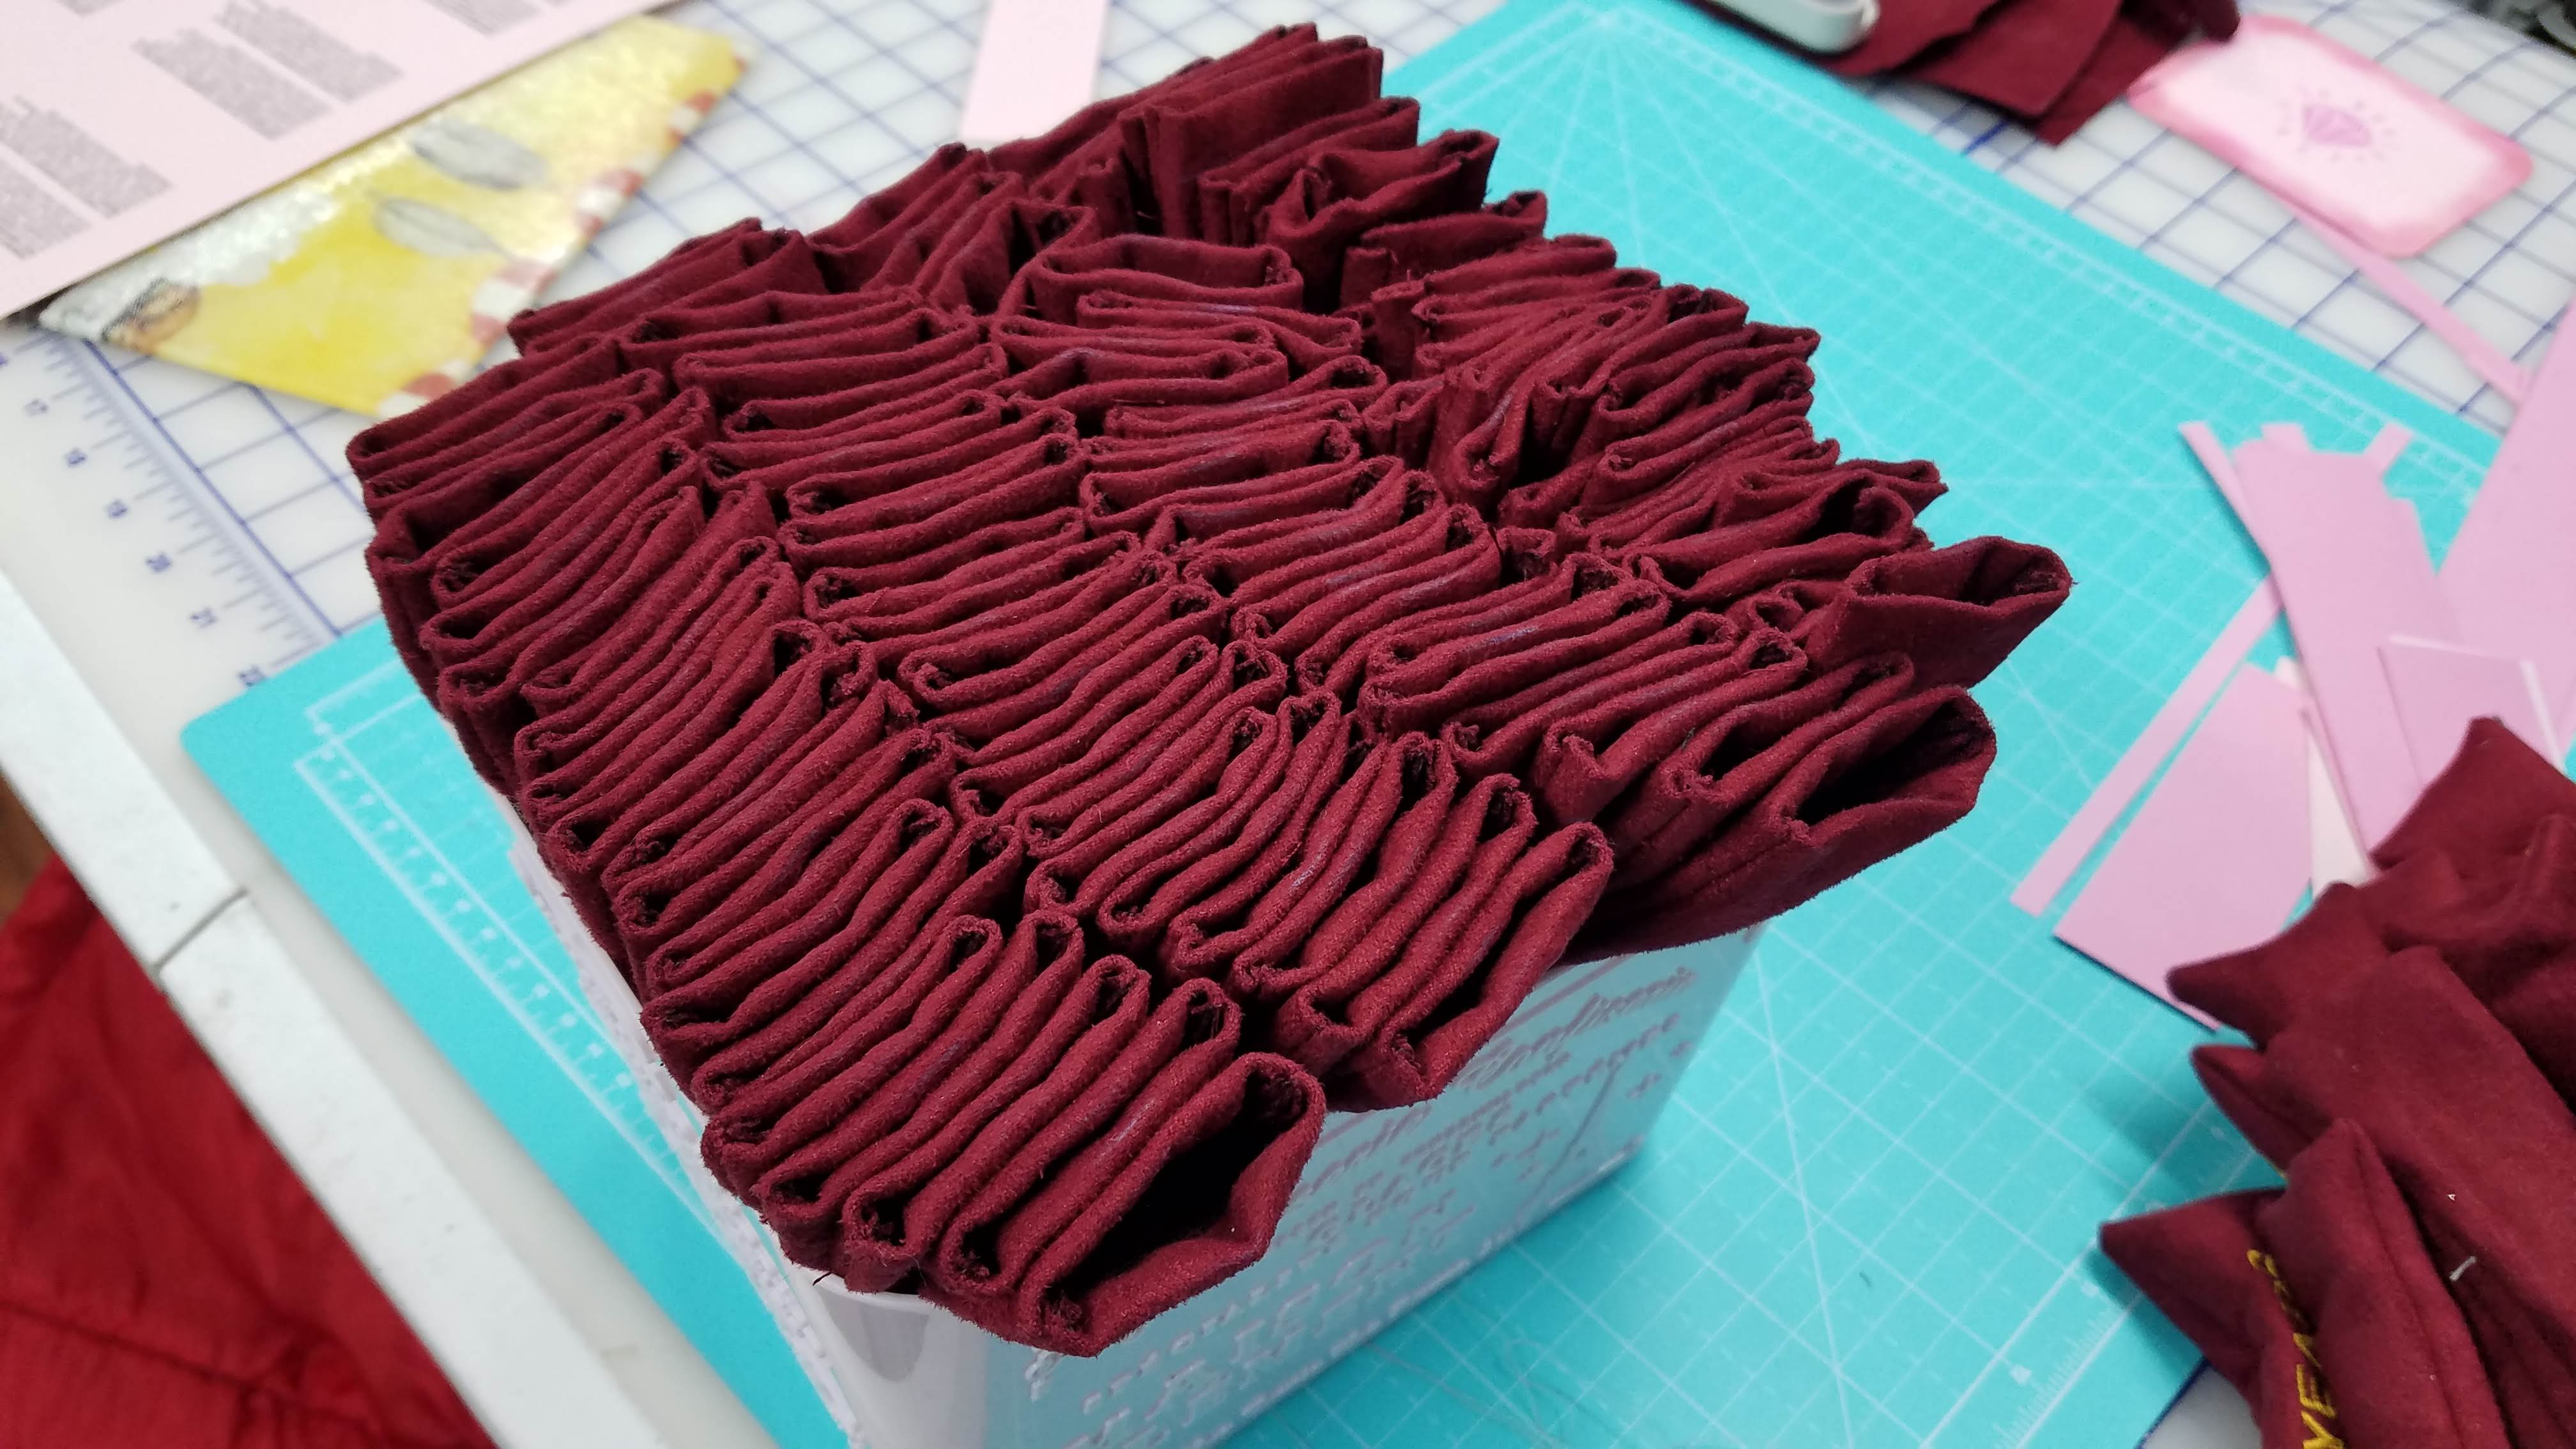
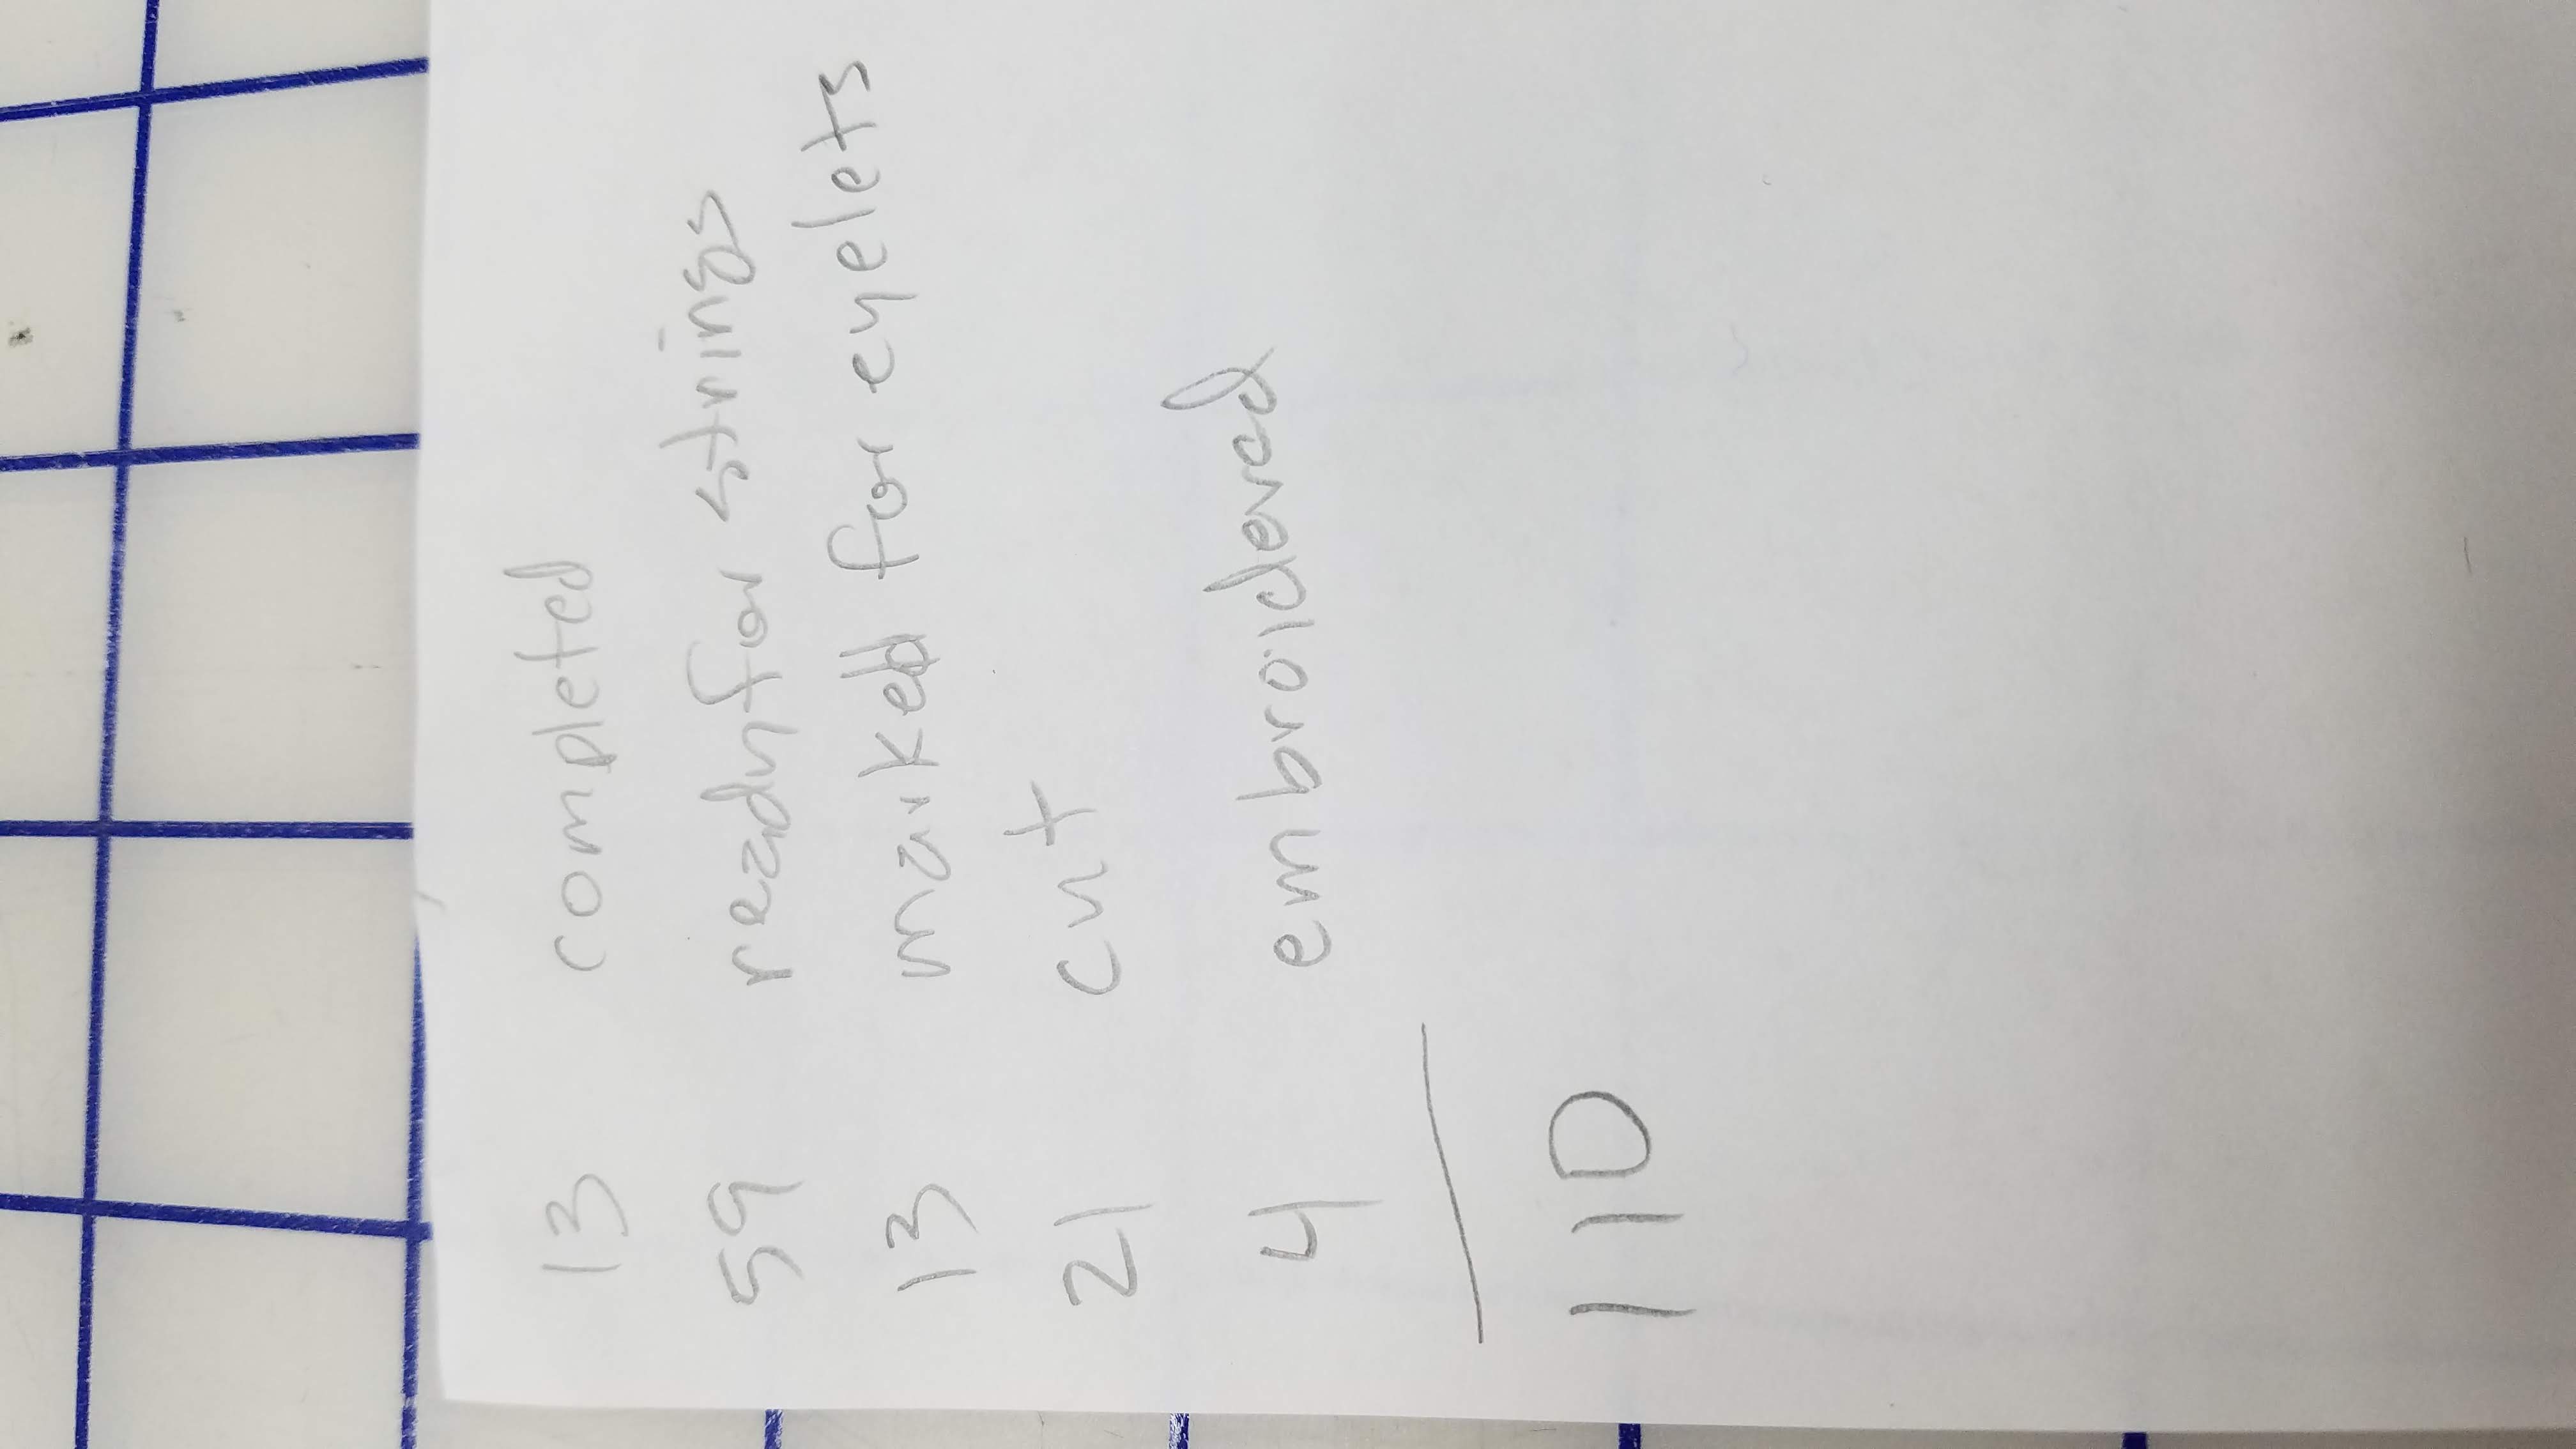
Logistically, I cut all the fabric I had and was a little short for 120 bags. Since it took 6 minutes for the embroidery machine to do each logo, I used that time to do all the other steps as far as I could until time to change the panel out for another in the machine. I thus stayed busy very nearly 100% of the time while I was in the sewing room and I made pretty good time. At first I had a dozen completed bags, then I had various other numbers of pieces in varying stages of completion. I would inventory as I finished each night.
For the last dozen, once I had more fabric in hand, I made them in much the same way. I couldn’t get quite as far ahead of the embroidery machine, though.
On the morning of delivery, I had a few bags left that still needed drawstrings, but Toni and the LGA crew finished those few as they distributed the pens into the swag bags with the rest of the goodies.

Here they are in the car, about to head to the club. I was happy to see them go!
