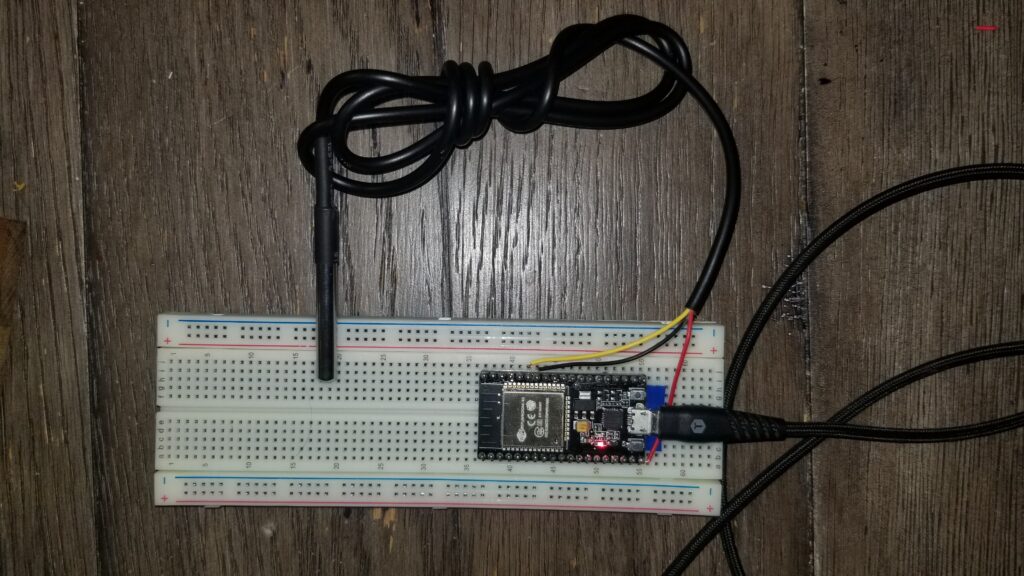
One of the many tasks the ESP boards can easily do is read the Dallas Semiconductor (now owned by Maxim) 1-wire devices, particularly the temperature sensors. A popular choice is a unit embedded in a stainless steel probe at the end of a waterproof cable a meter or so long.
The Dallas 1-wire protocol is fascinating and clever, but most importantly (if someone else takes care of the fussy bits) it is really easy to use. In the case of ESPHome and the temperature probe above, it is dead simple to connect and read a temperture, but even cooler, several such devices can share a single pin on the device.
For experimental purposes, I used my ESP32 dev board, which has solderless breadboard friendly pins installed, making it even easier to throw together a test system.
Not shown in the picture is the data bus pullup resistor. Because of the distance it needed to reach, from the 6th pin from the left on the top row to the far right pin on the bottom row, I could better fit the resistor under the MCU board with no jumpers.
After a couple of false starts because the IDE for ESPHome is really sensitive to indentation, I was able to identify the unique ID for this temperature sensor then start bringing in data from it.
dallas:
  pin: 21
  update_interval: 10s

sensor:
  - platform: dallas
    address: 0x693ca0e381b17528
    name: "Testboard Temperature"
    accuracy_decimals: 2
    filters:
      lambda: return x * (9.0/5.0) + 32.0;
    unit_of_measurement: "°F"
At the time I am writing this, I don’t know if pin 21 is special, but it was the pin used in the example I followed, so I kept it.
The first thing you do is install the block with only the ‘dallas’ directive and the pin number. The logs will show the address of any devices it identifies. Then you can add the rest of the configuration, complete with the actual addresses of any and all individual devices. Apparently, one can do a ‘default’ device read, but it will understandably fail if there is more than one device.
I played with the update_interval. For my testing purposes, the shorter to better. One thing I will use this board for is testing communication limits, specifically whether I can expect reliable WiFi connectivity in certain outdoor locations from these boards. Rapid updates of the data will help determine that.
The most interesting new skill learned was the lambda directive. This is a special calculation ‘filter’ of sorts. The hardware device reports in degrees C and lambda is used in this case to convert degrees Celsius to degrees Fahrenheit.
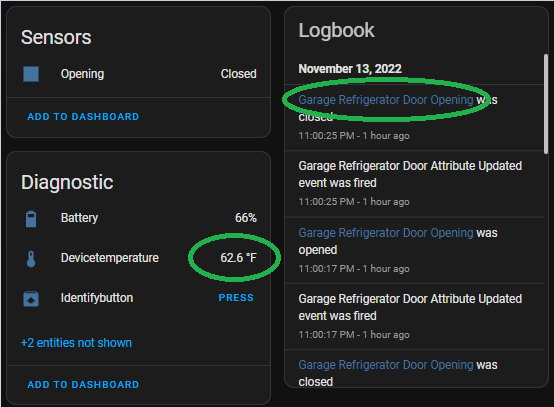
One of the practical uses I see for this type of sensor would be to use these probes for each of our non-kitchen refrigerators, one for the freezer, one for the refrigerator and maybe one for the ambient, if some other sensor doesn’t already provide an ambient temperature. I have found the door switches I like also provide a temperature.
Another could be to put various temperature probes into the HVAC system in the attic, return air temp, duct temp, attic ambient, evaporator coil, etc.
I may add one to the hot water meter to monitor the water tank temperature.


