
It may seem that forging is a new hobby for me, but it’s not, really. I just haven’t had enough activity to justify it’s own blog.
A million years ago, I started a dagger using a friend’s well equipped shop. Somewhere I have some pictures of that happening. Somewhere, I have that partly completed blade.
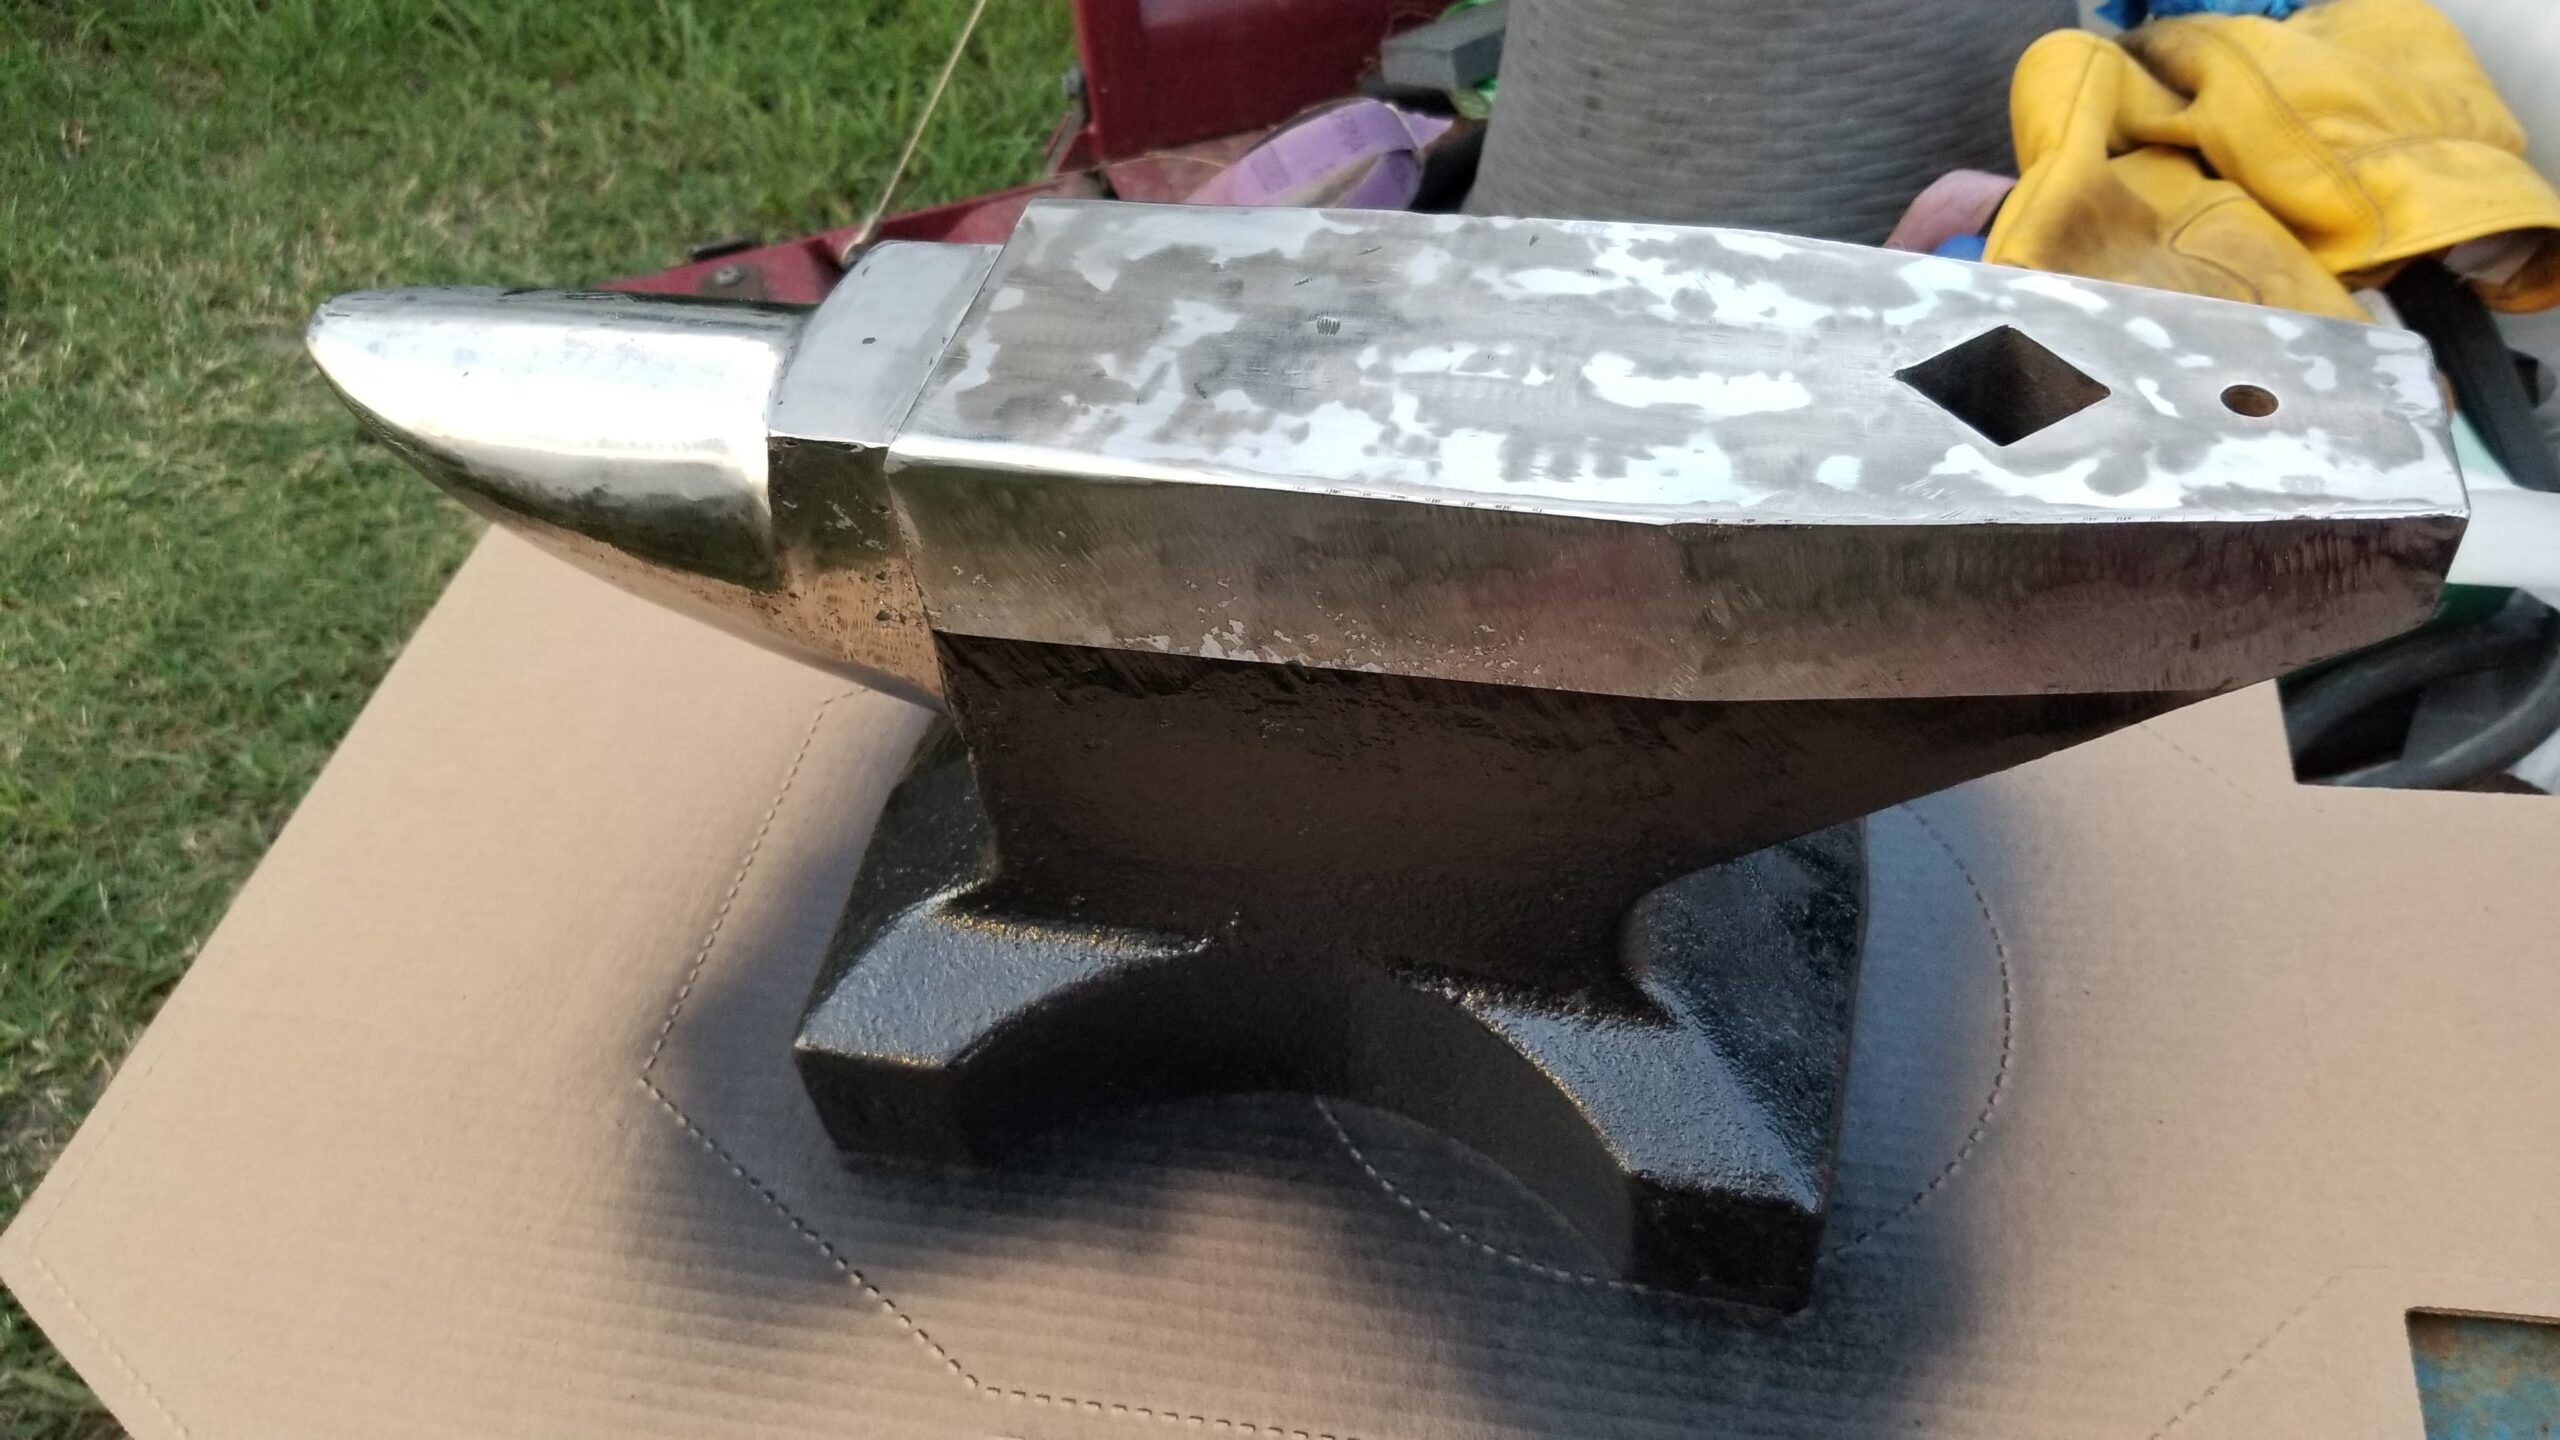
Quite a few years ago, my wife gifted me with a Harbor Freight anvil. For a brief period, they carried a Russian made 110 pound (50 kg, really) anvil that is really decent steel, not the usual anvil shaped objects that are largely much softer cast iron generally available from the Usual Suspects. It rings. Maybe an amount of ring that needs addressing hehehe.
This anvil has been used for all kinds of almost-but-not-quite forging operations over the years. One always needs a heavy chunk of steel for straightening the support rod on your chronograph when it gets shot.
But it had not done proper forging.
In March 2019, I ordered a Majestic Knifemaker propane forge, but it would be mid June 2020 before it would finally be lit.

Leading up to the fire, the anvil had suffered some degree of use and abuse, even serving briefly as extra weight on the front of our tractor when we had to unload some extra heavy round bales.

Even before serving emergency ballast duty, it needed some TLC.
Using mostly flap discs in the angle grinder and a flat stone that was WAY more effort that it seems to have been worth, the light coat of rust and the rough machine marks yielded. I followed up with some masking tape, black paint and finally a coat of CorrosionX.
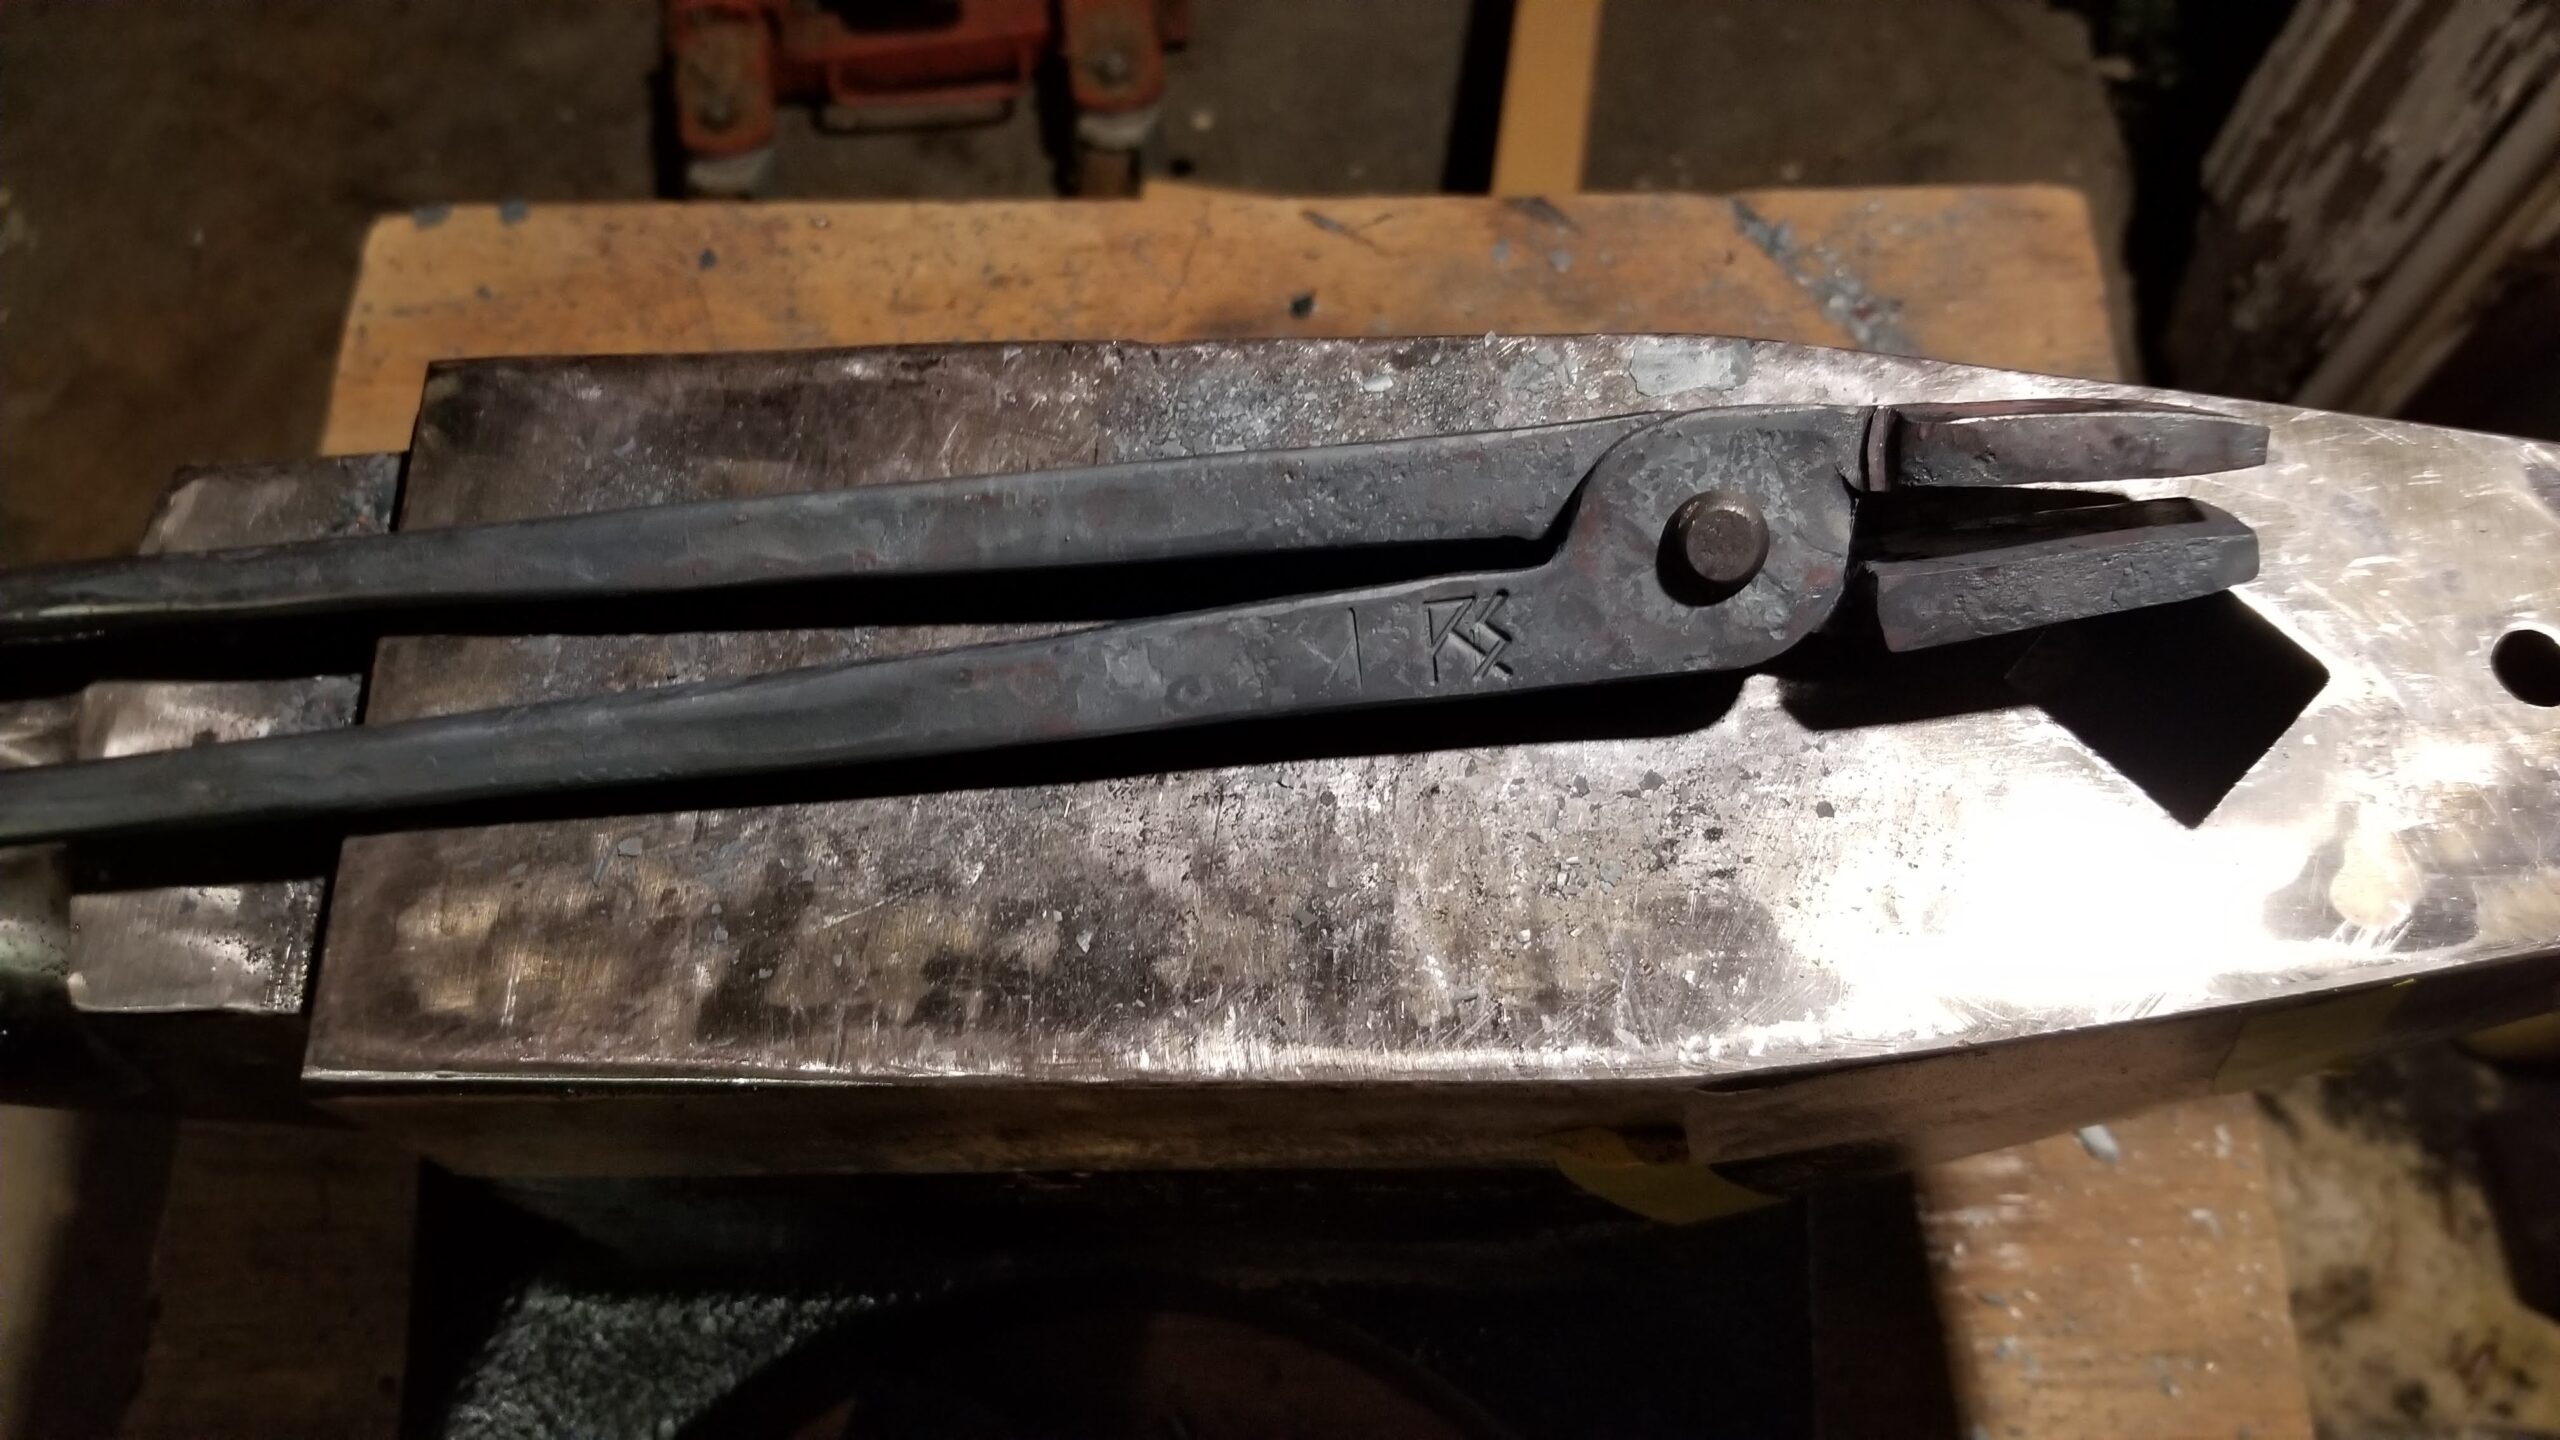
As is often the case, the first thing to make was tongs. My farrier loaned me a couple pair of tongs for the purpose of making tongs, as well as gifting me with a decent stack of discarded rasps.
I chose to start with the Rapid Flat Jaw Tongs from Ken’s Custom Iron, available as an affordable bundle of five pairs. These tongs were among several reviewed and recommended by John at Black Bear Forge.
These start as CNC plasma cut blanks of 5/16 plate steel. You draw out the reins first.
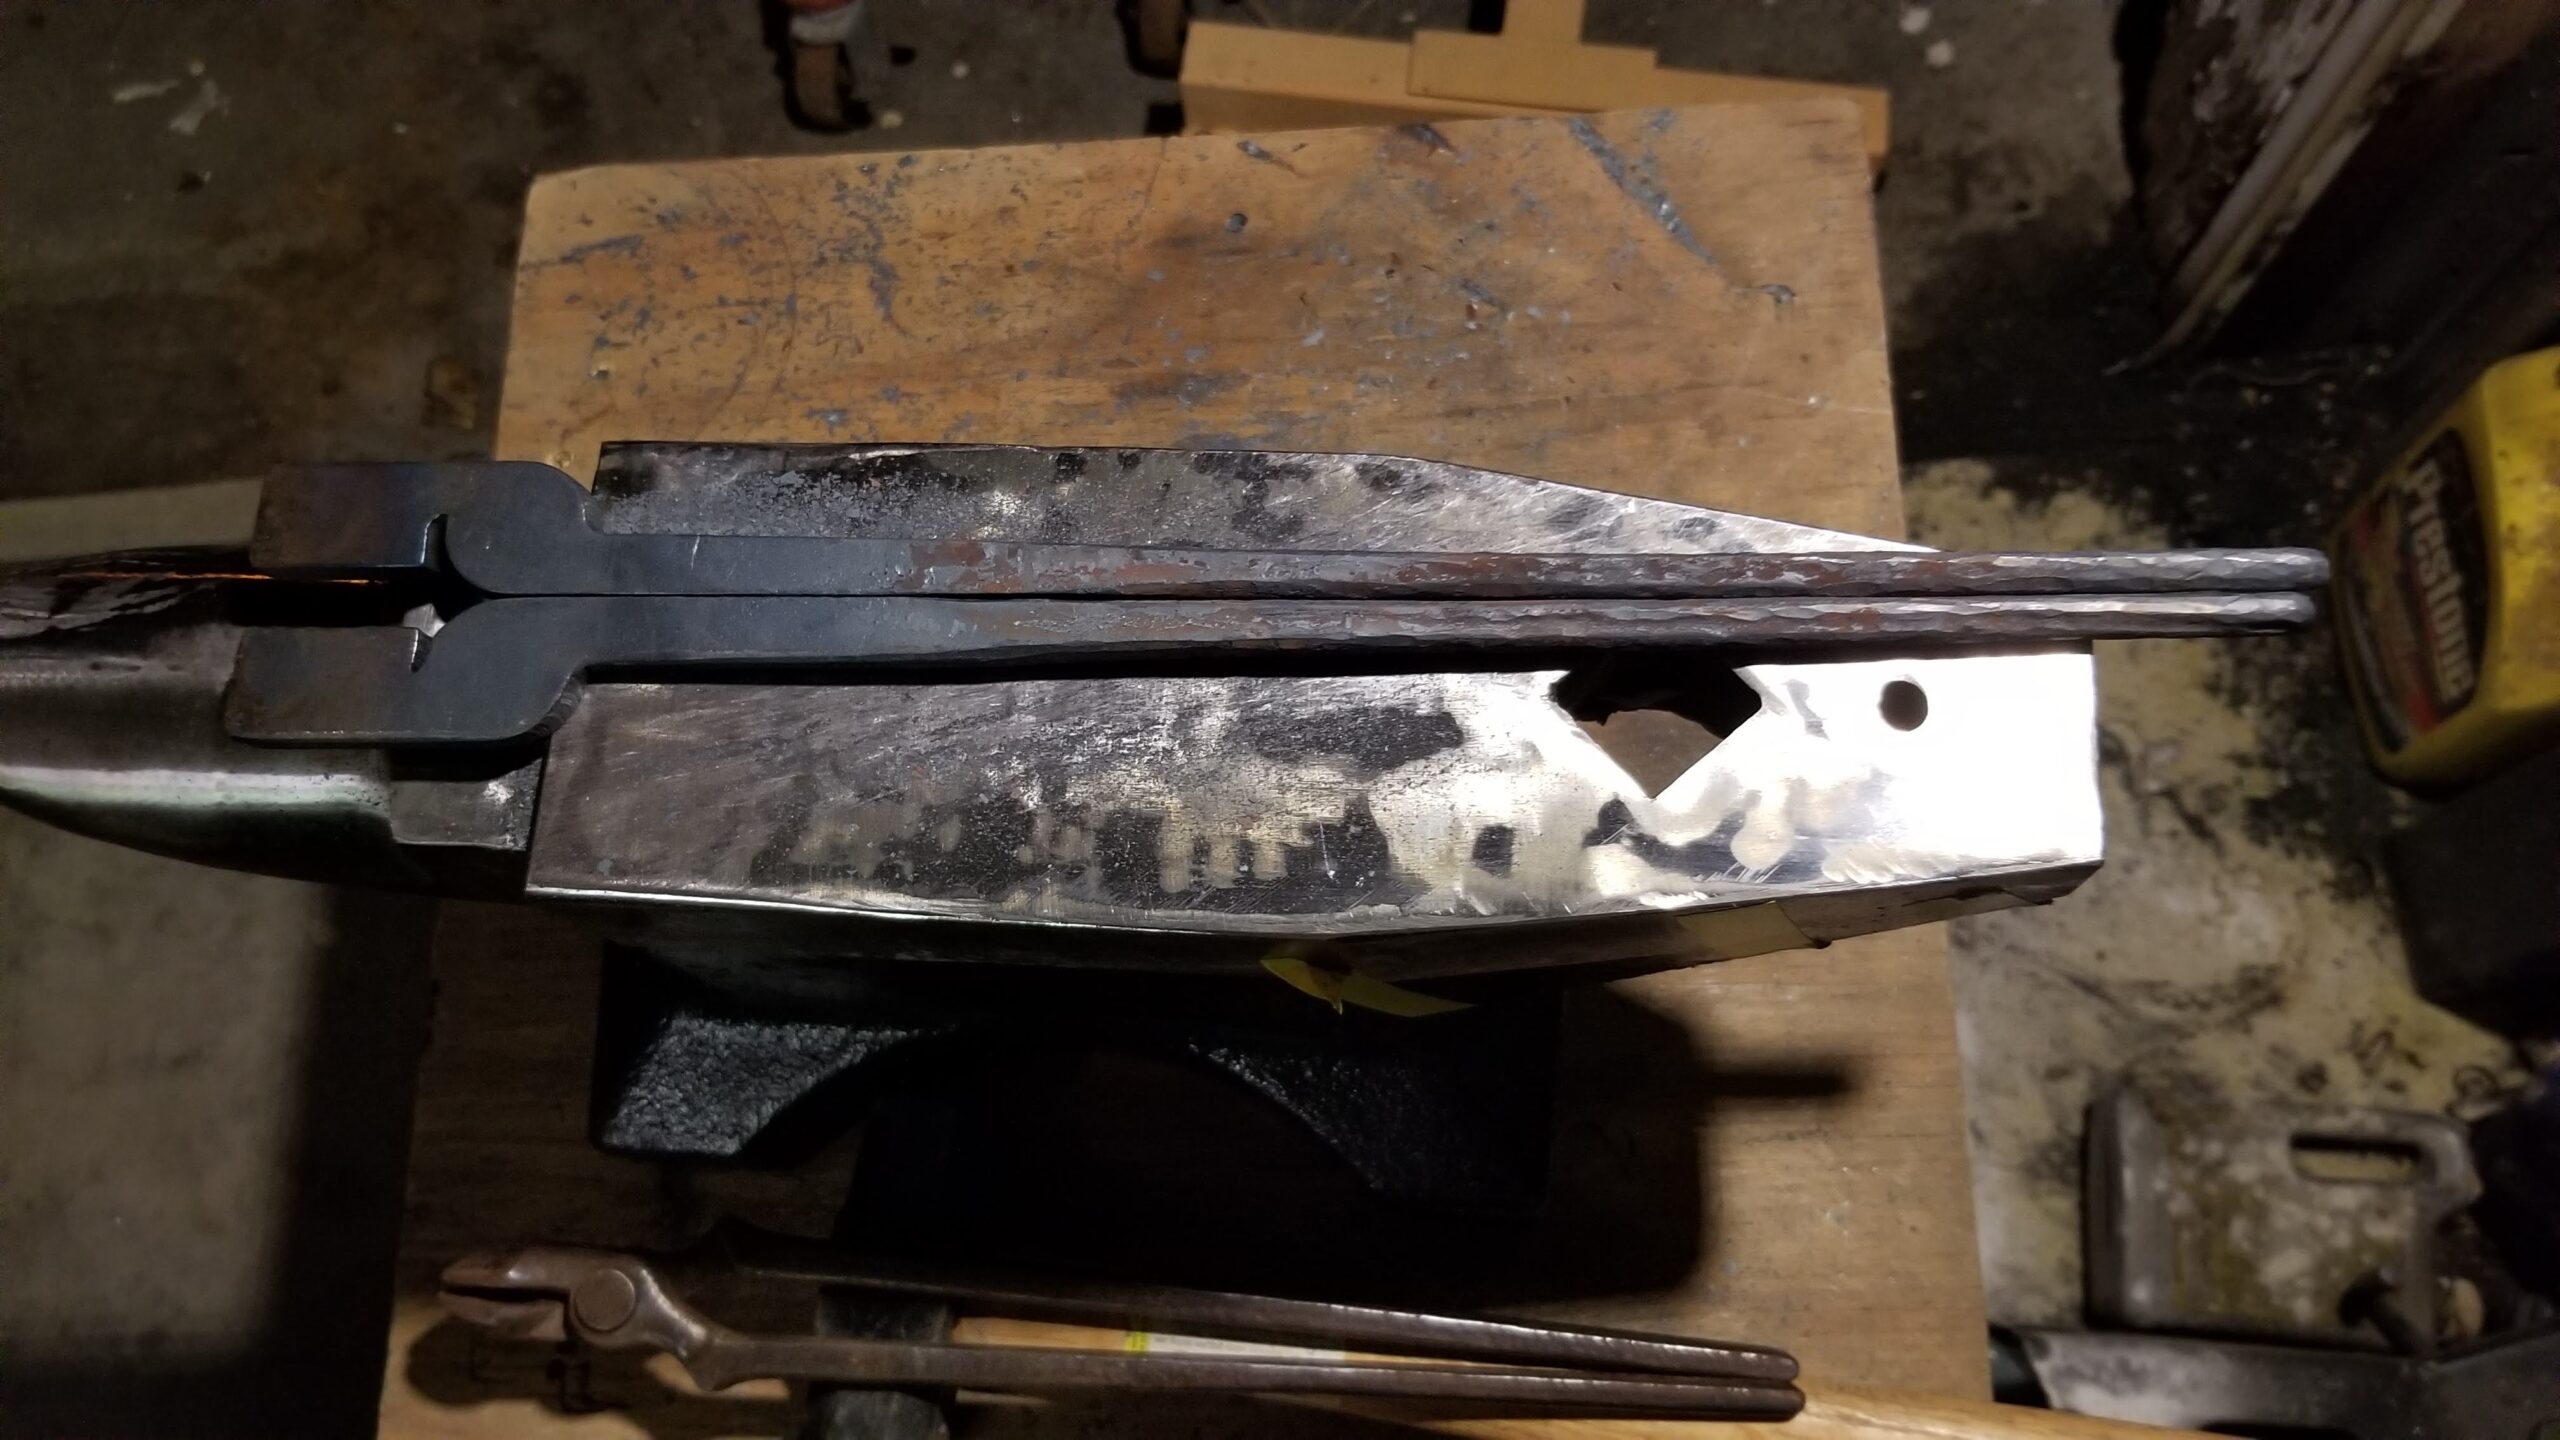
Then turn and shape the jaws

Drill, rivet and fine tune. Somewhere in there, I applied my touchmark. I’m pretty happy with how they turned out.
The next major tool needed/wanted was a 2×72 belt grinder. Like almost everything else, there are two basic ways to do these, build or buy. Building is obviously the cheapest. Buying is the fastest. The trick is deciding what your time is worth, how much is too much to pay for someone else to build it for you.
I knew that my welding skills are good *enough* to build one if it comes in a kit form. I’m not really comfortable enough with my fabrication skills to build one straight from scratch. By the time I gather all the right parts, cut, weld, grind, etc., it would have to be really cheap to offset the advantages of unboxing it, plugging it in and turning it on.
I shopped quite a lot. For the most part, bare bones grinders tend to start, in 2020 at least, at about $1800 and generally, that is without a motor, speed control, etc. So, when I found Origin Blade Maker and a package that had a turnkey ready to grind package for $1800, it got my attention. This package has the grinder frame, a 2 horsepower motor with VFD, platen with idler wheels, 10 inch contact wheel and set of small wheels with small wheel holder. Many of the grinders I found are $1800 for just the grinder frame and platen and everything else is extra.
I ordered that package and a few accessories so that in total, I have all that plus 4 inch and 2 inch contact wheels, three tool rests and enough tooling arms for all of them to be quick change.
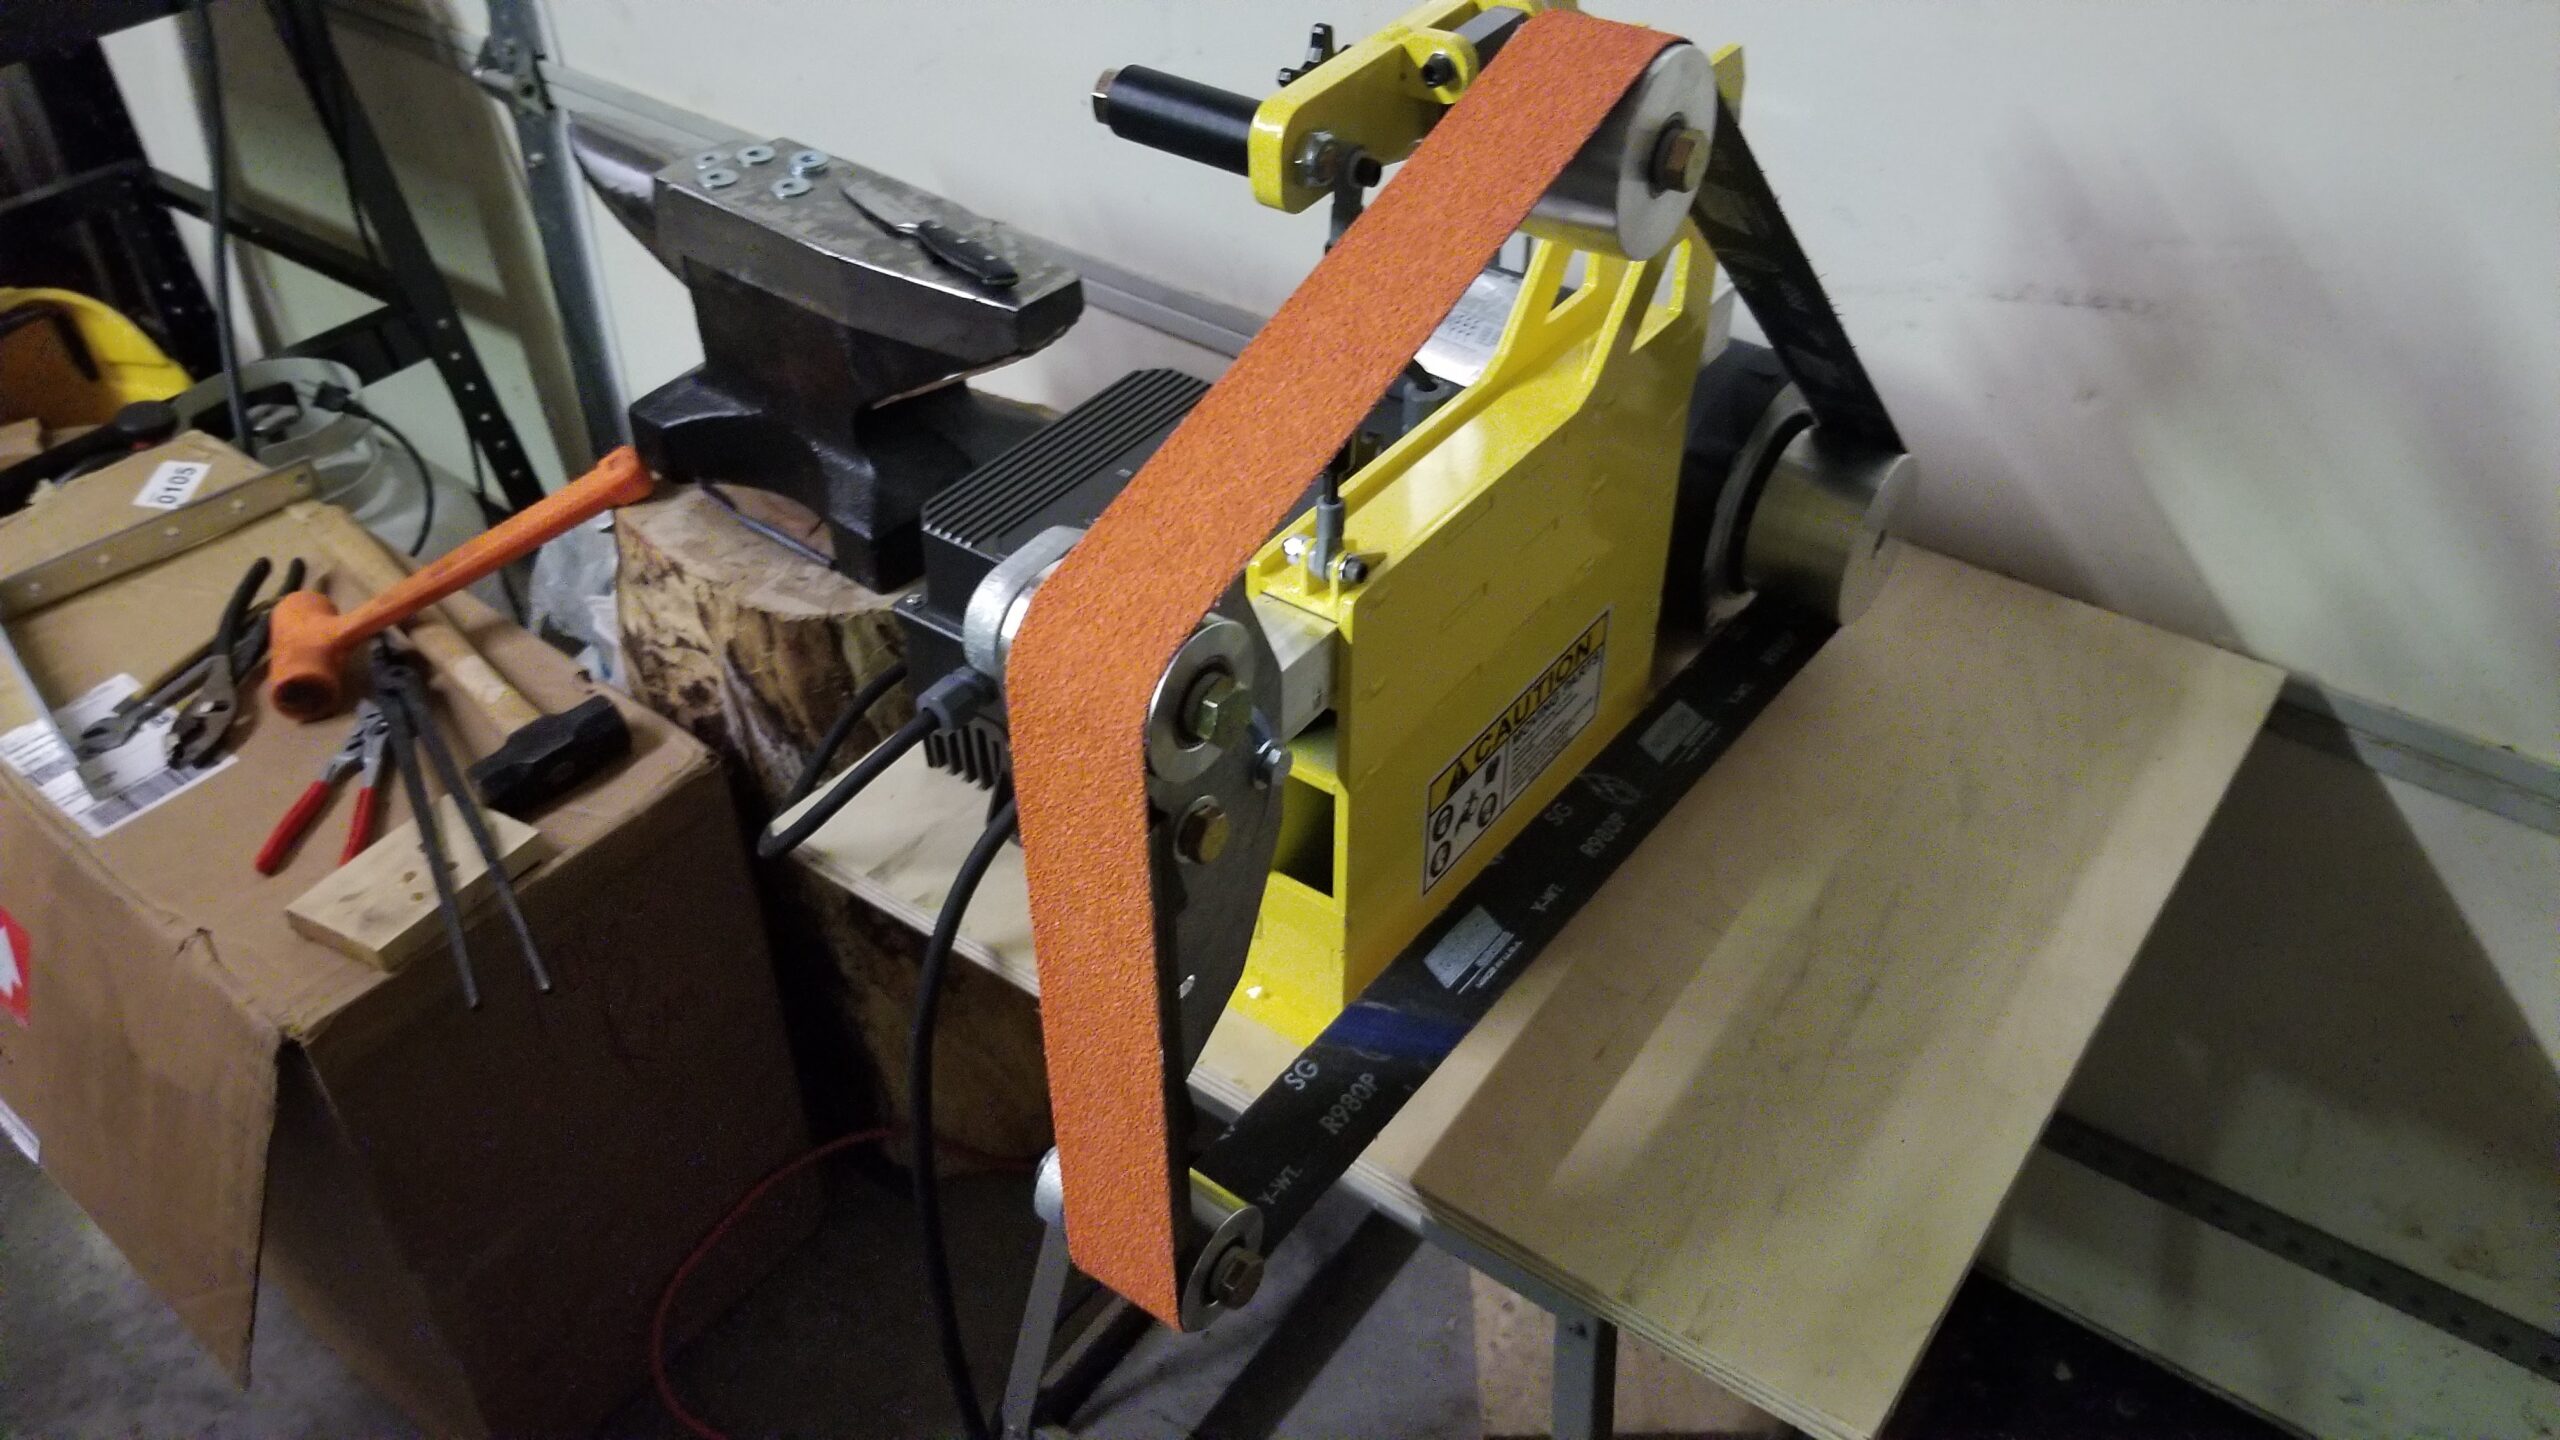
I mounted it on a dedicated table and mounted ubolts on the edges of the table to hold the tooling arms.
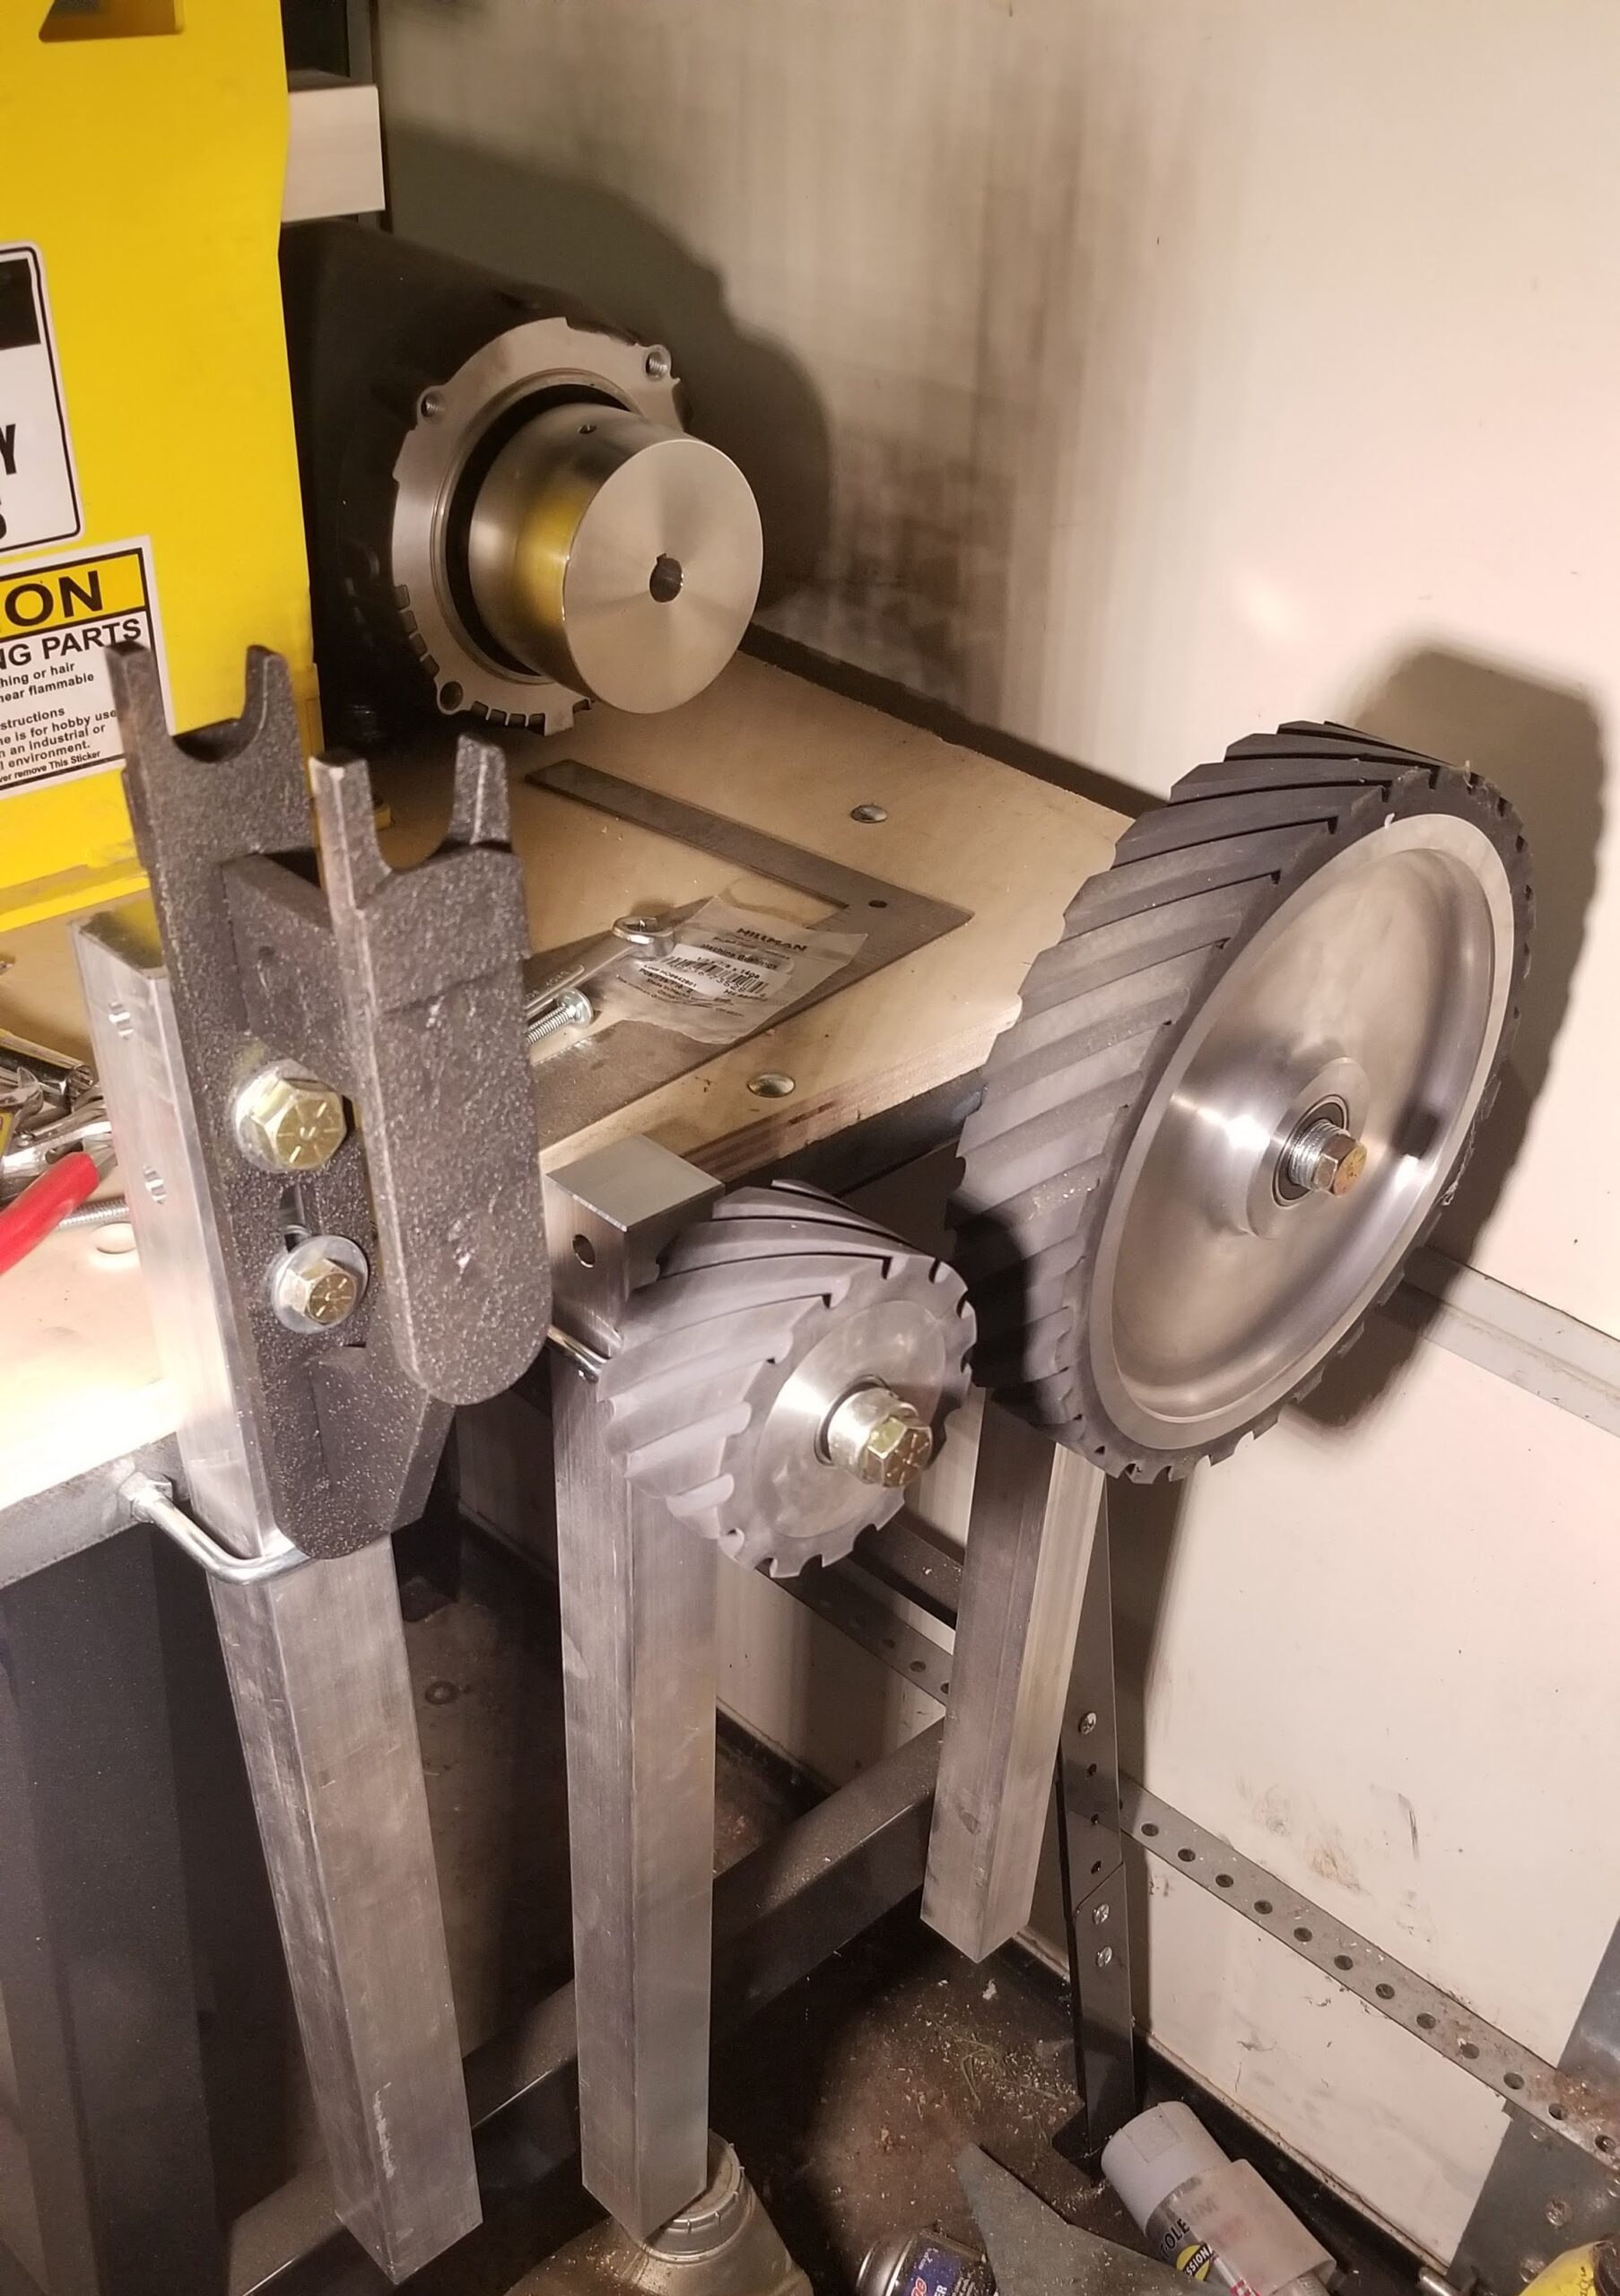
There are similar rings on the other side of the table as well.
I’ve mentioned this elsewhere, but it bears detailing here as well. In mid November, I slipped and fell HARD on my left side, breaking my shoulder. Specifically, “comminuted fracture of the humeral head and a fracture of the humeral neck” which basically means that not only was the ball joint broken off, but it was split in half as well. I saw an orthopedic surgeon the following week. The surgeon didn’t even need his own imagery; the ER xrays were good enough for him to say, “we’re replacing that.”
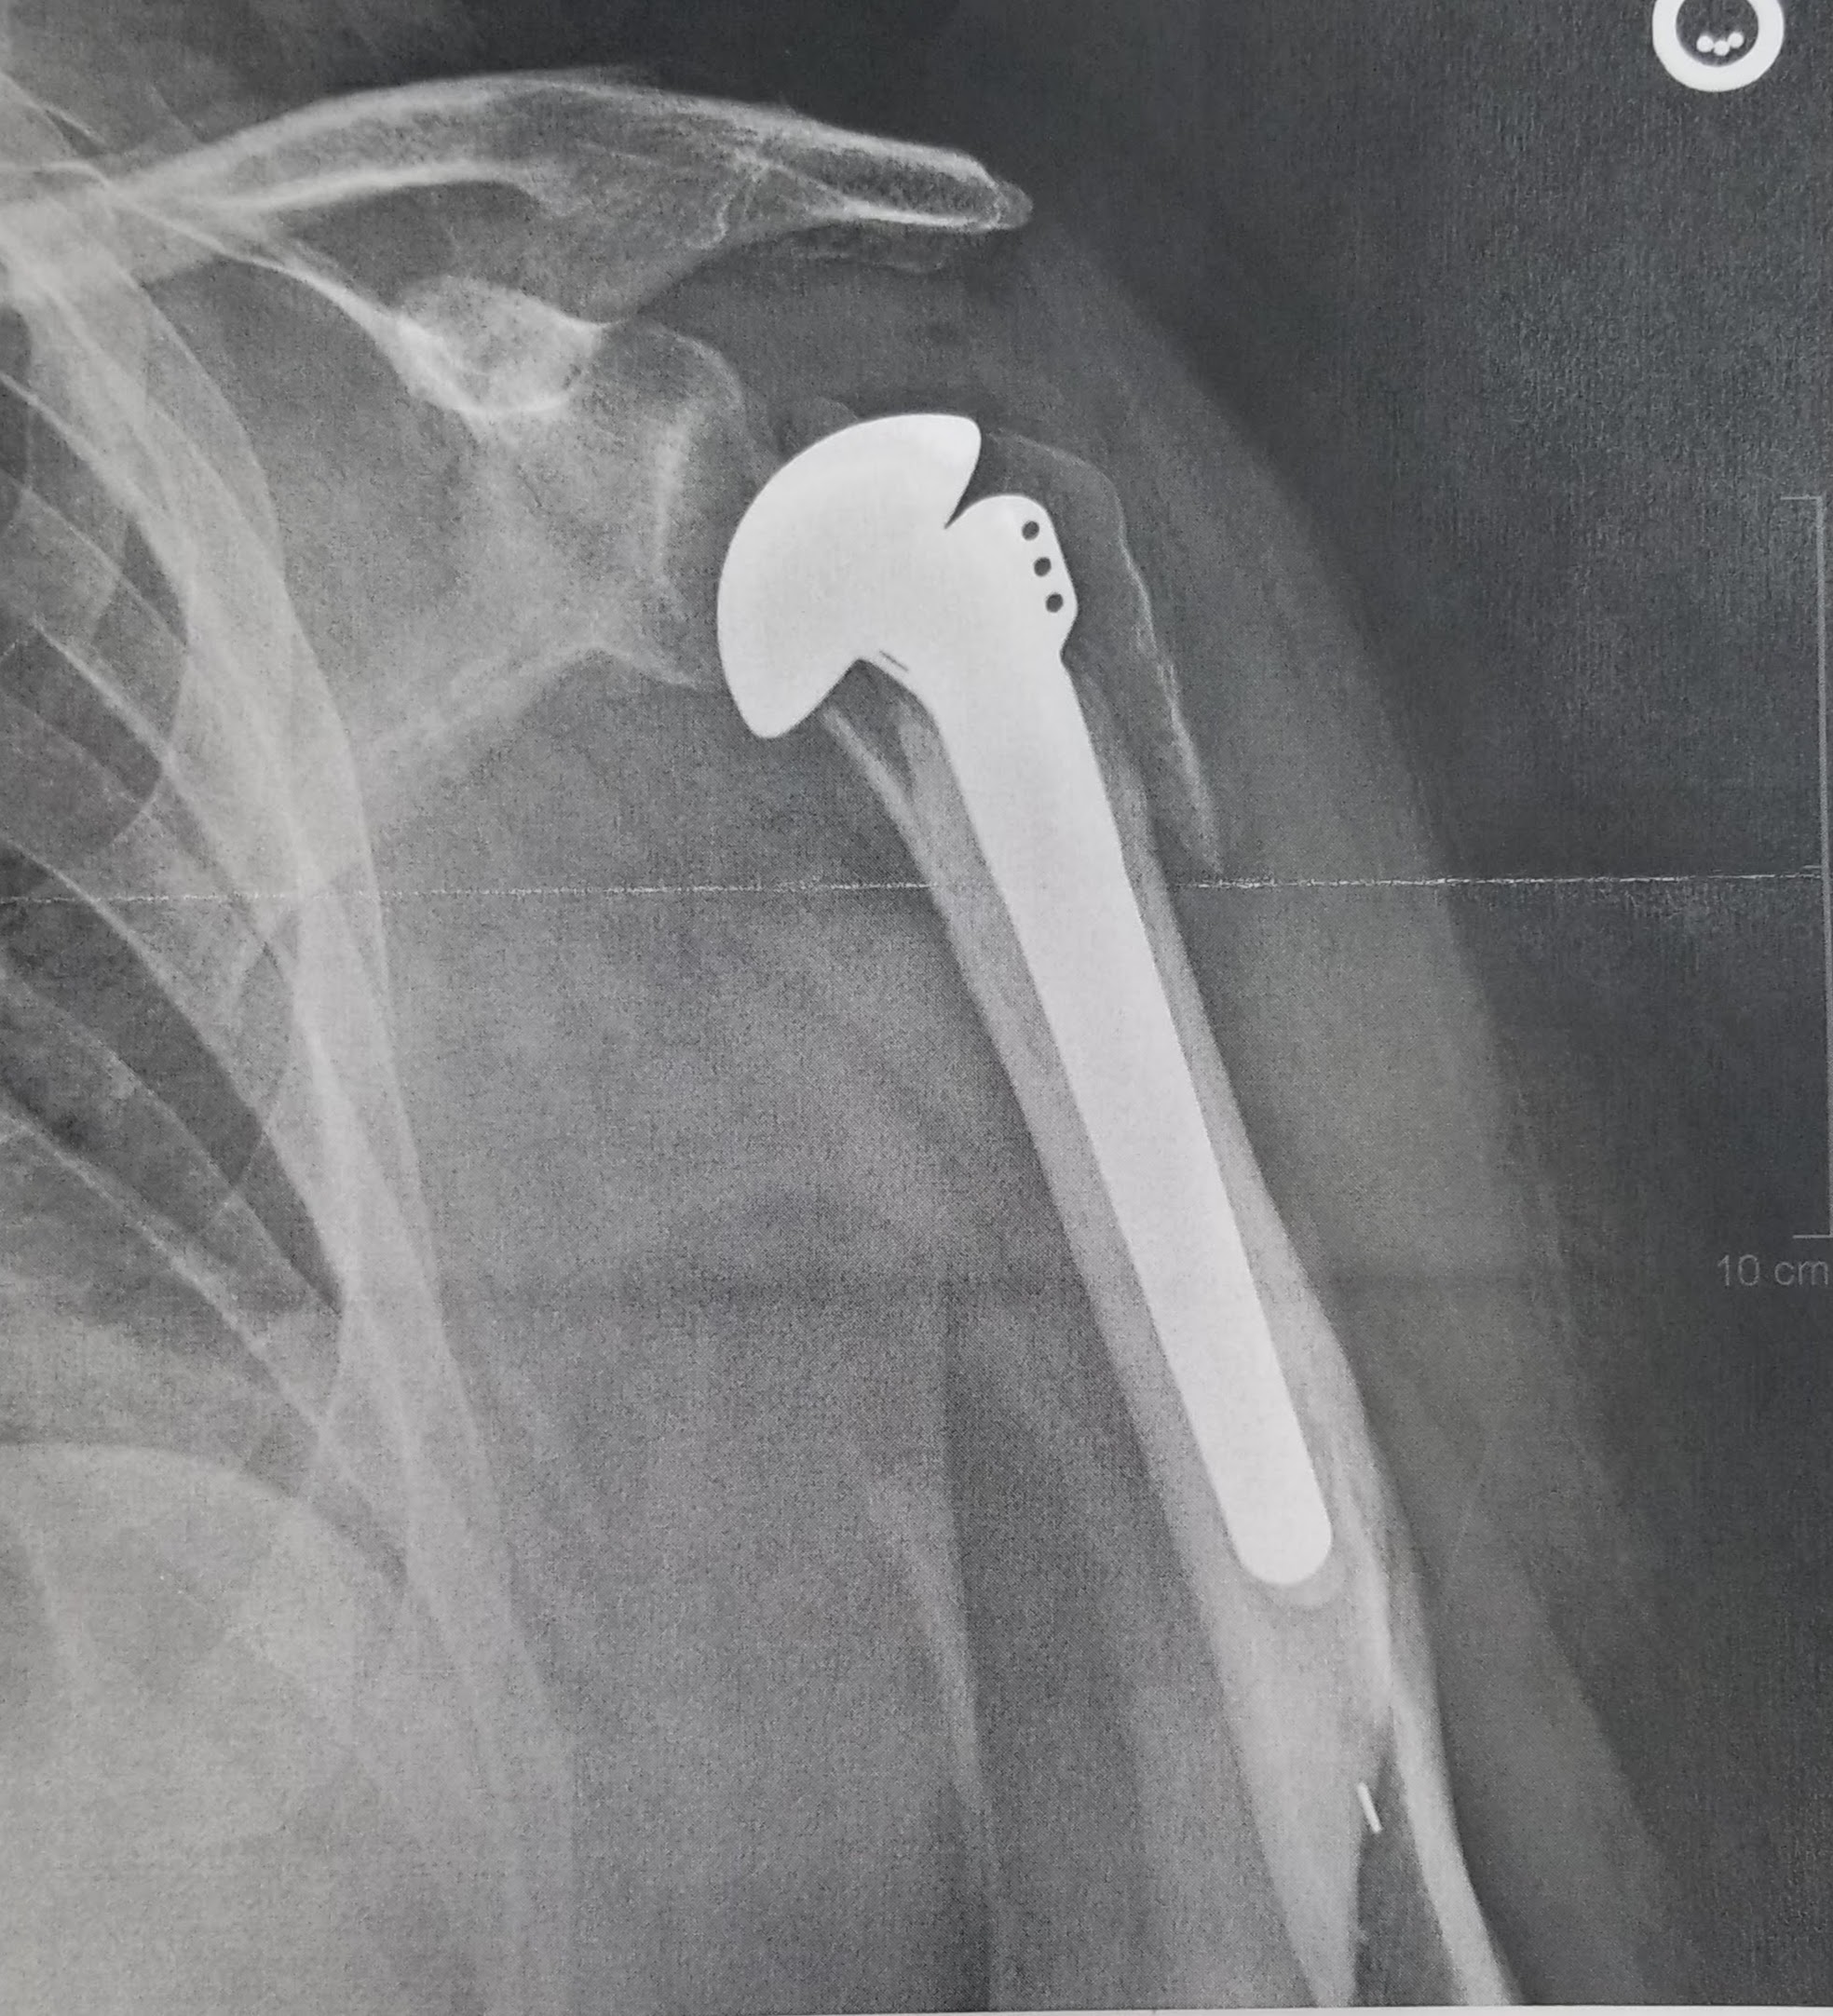
This is my left arm, so at least its not my hammering arm, but even so, no forging was going on through the end of 2020. My recovery is marching ahead nicely and I hope to be back at it soon.
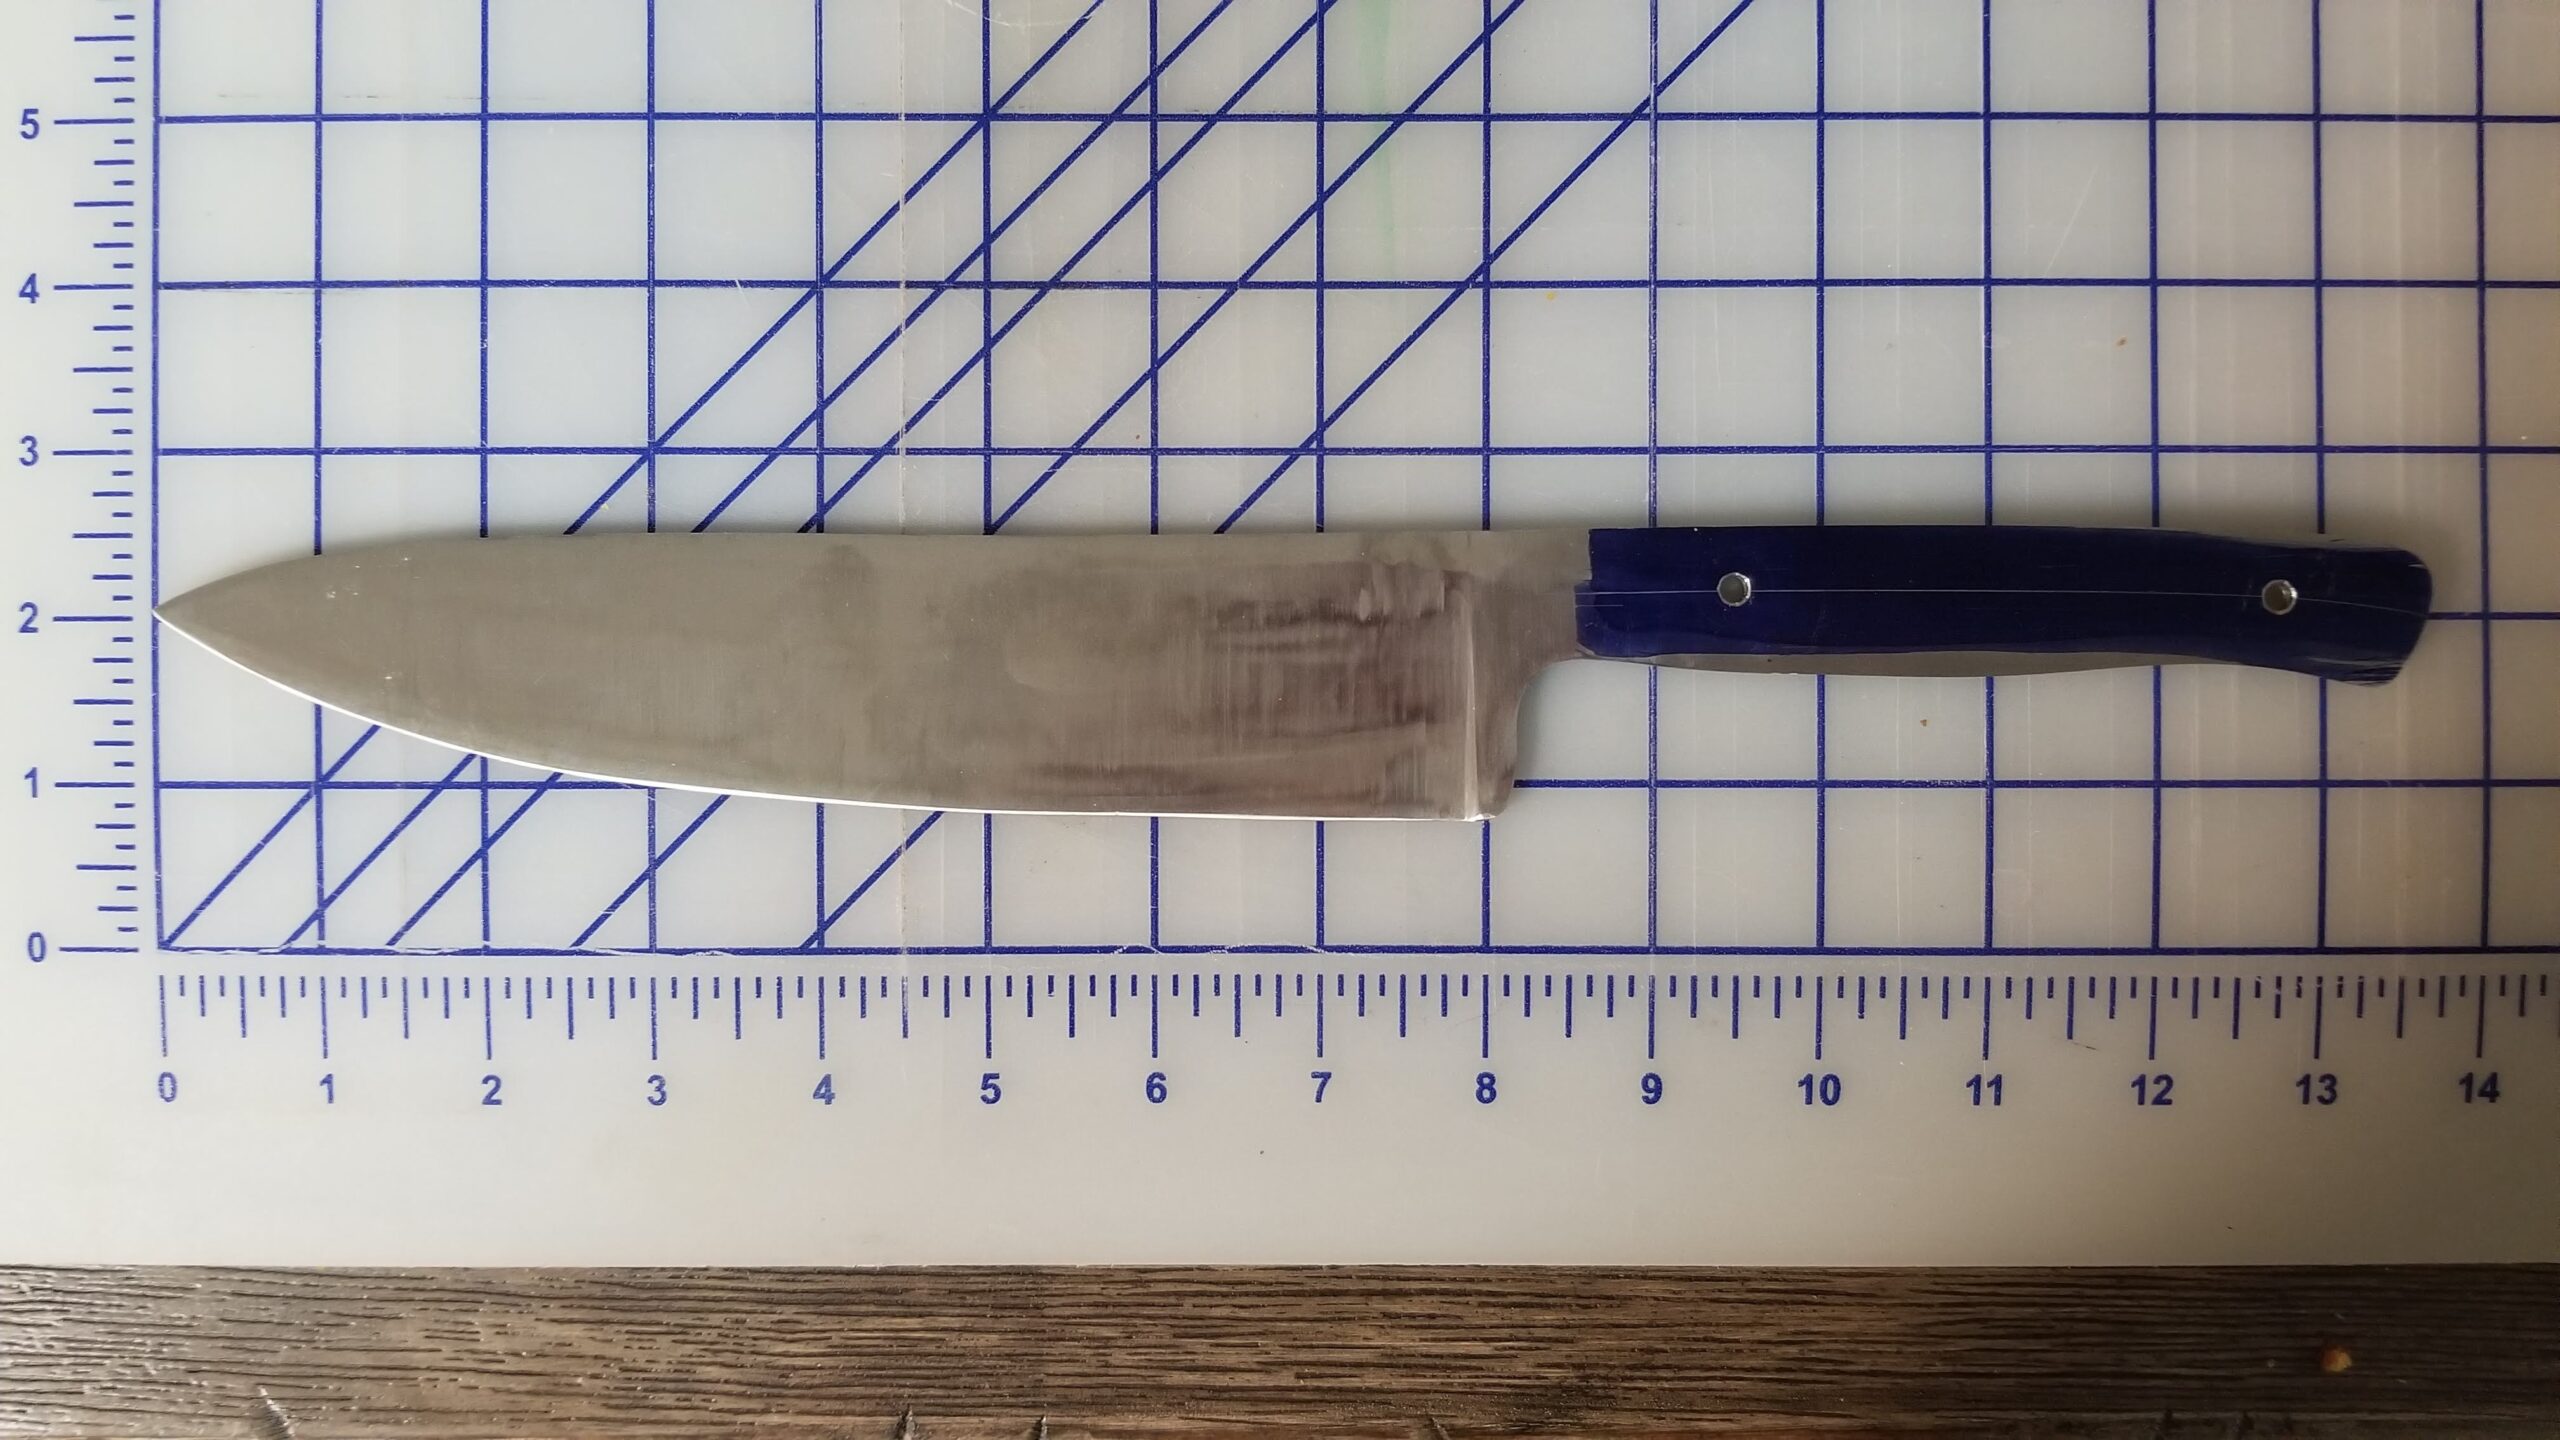
Meanwhile, I have not let it completely stop me and I chose to make a material removal chef’s knife, based on an existing knife we have. Obviously, the grinder figures heavily in that.
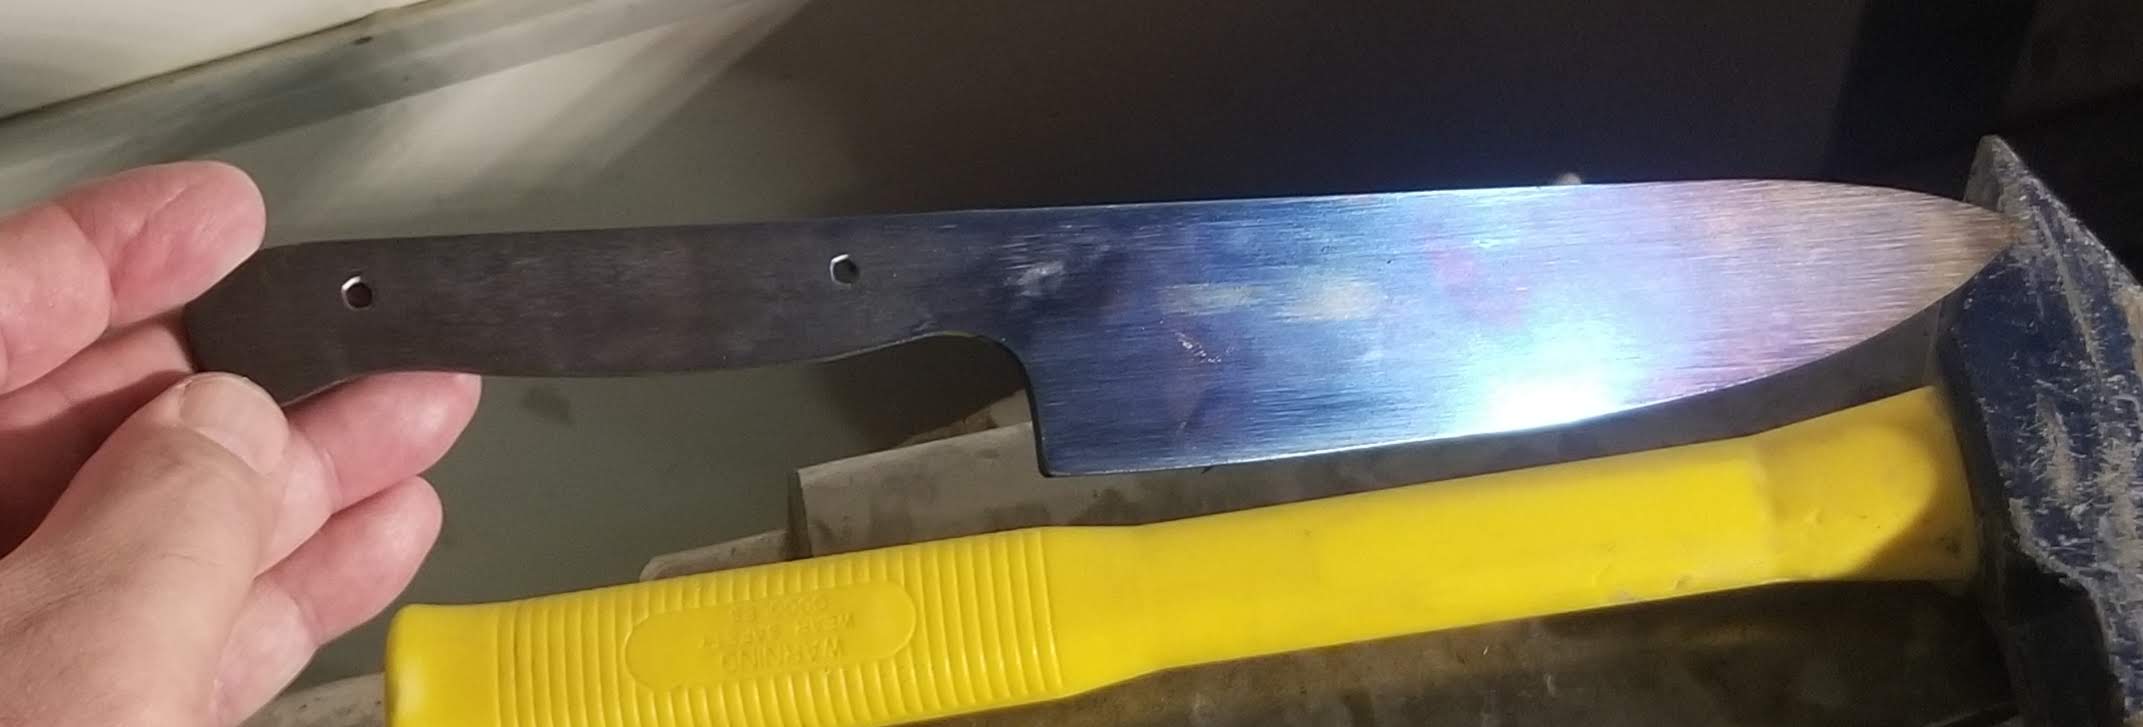
I cut a blank out of 1/8″ 80CRV2.
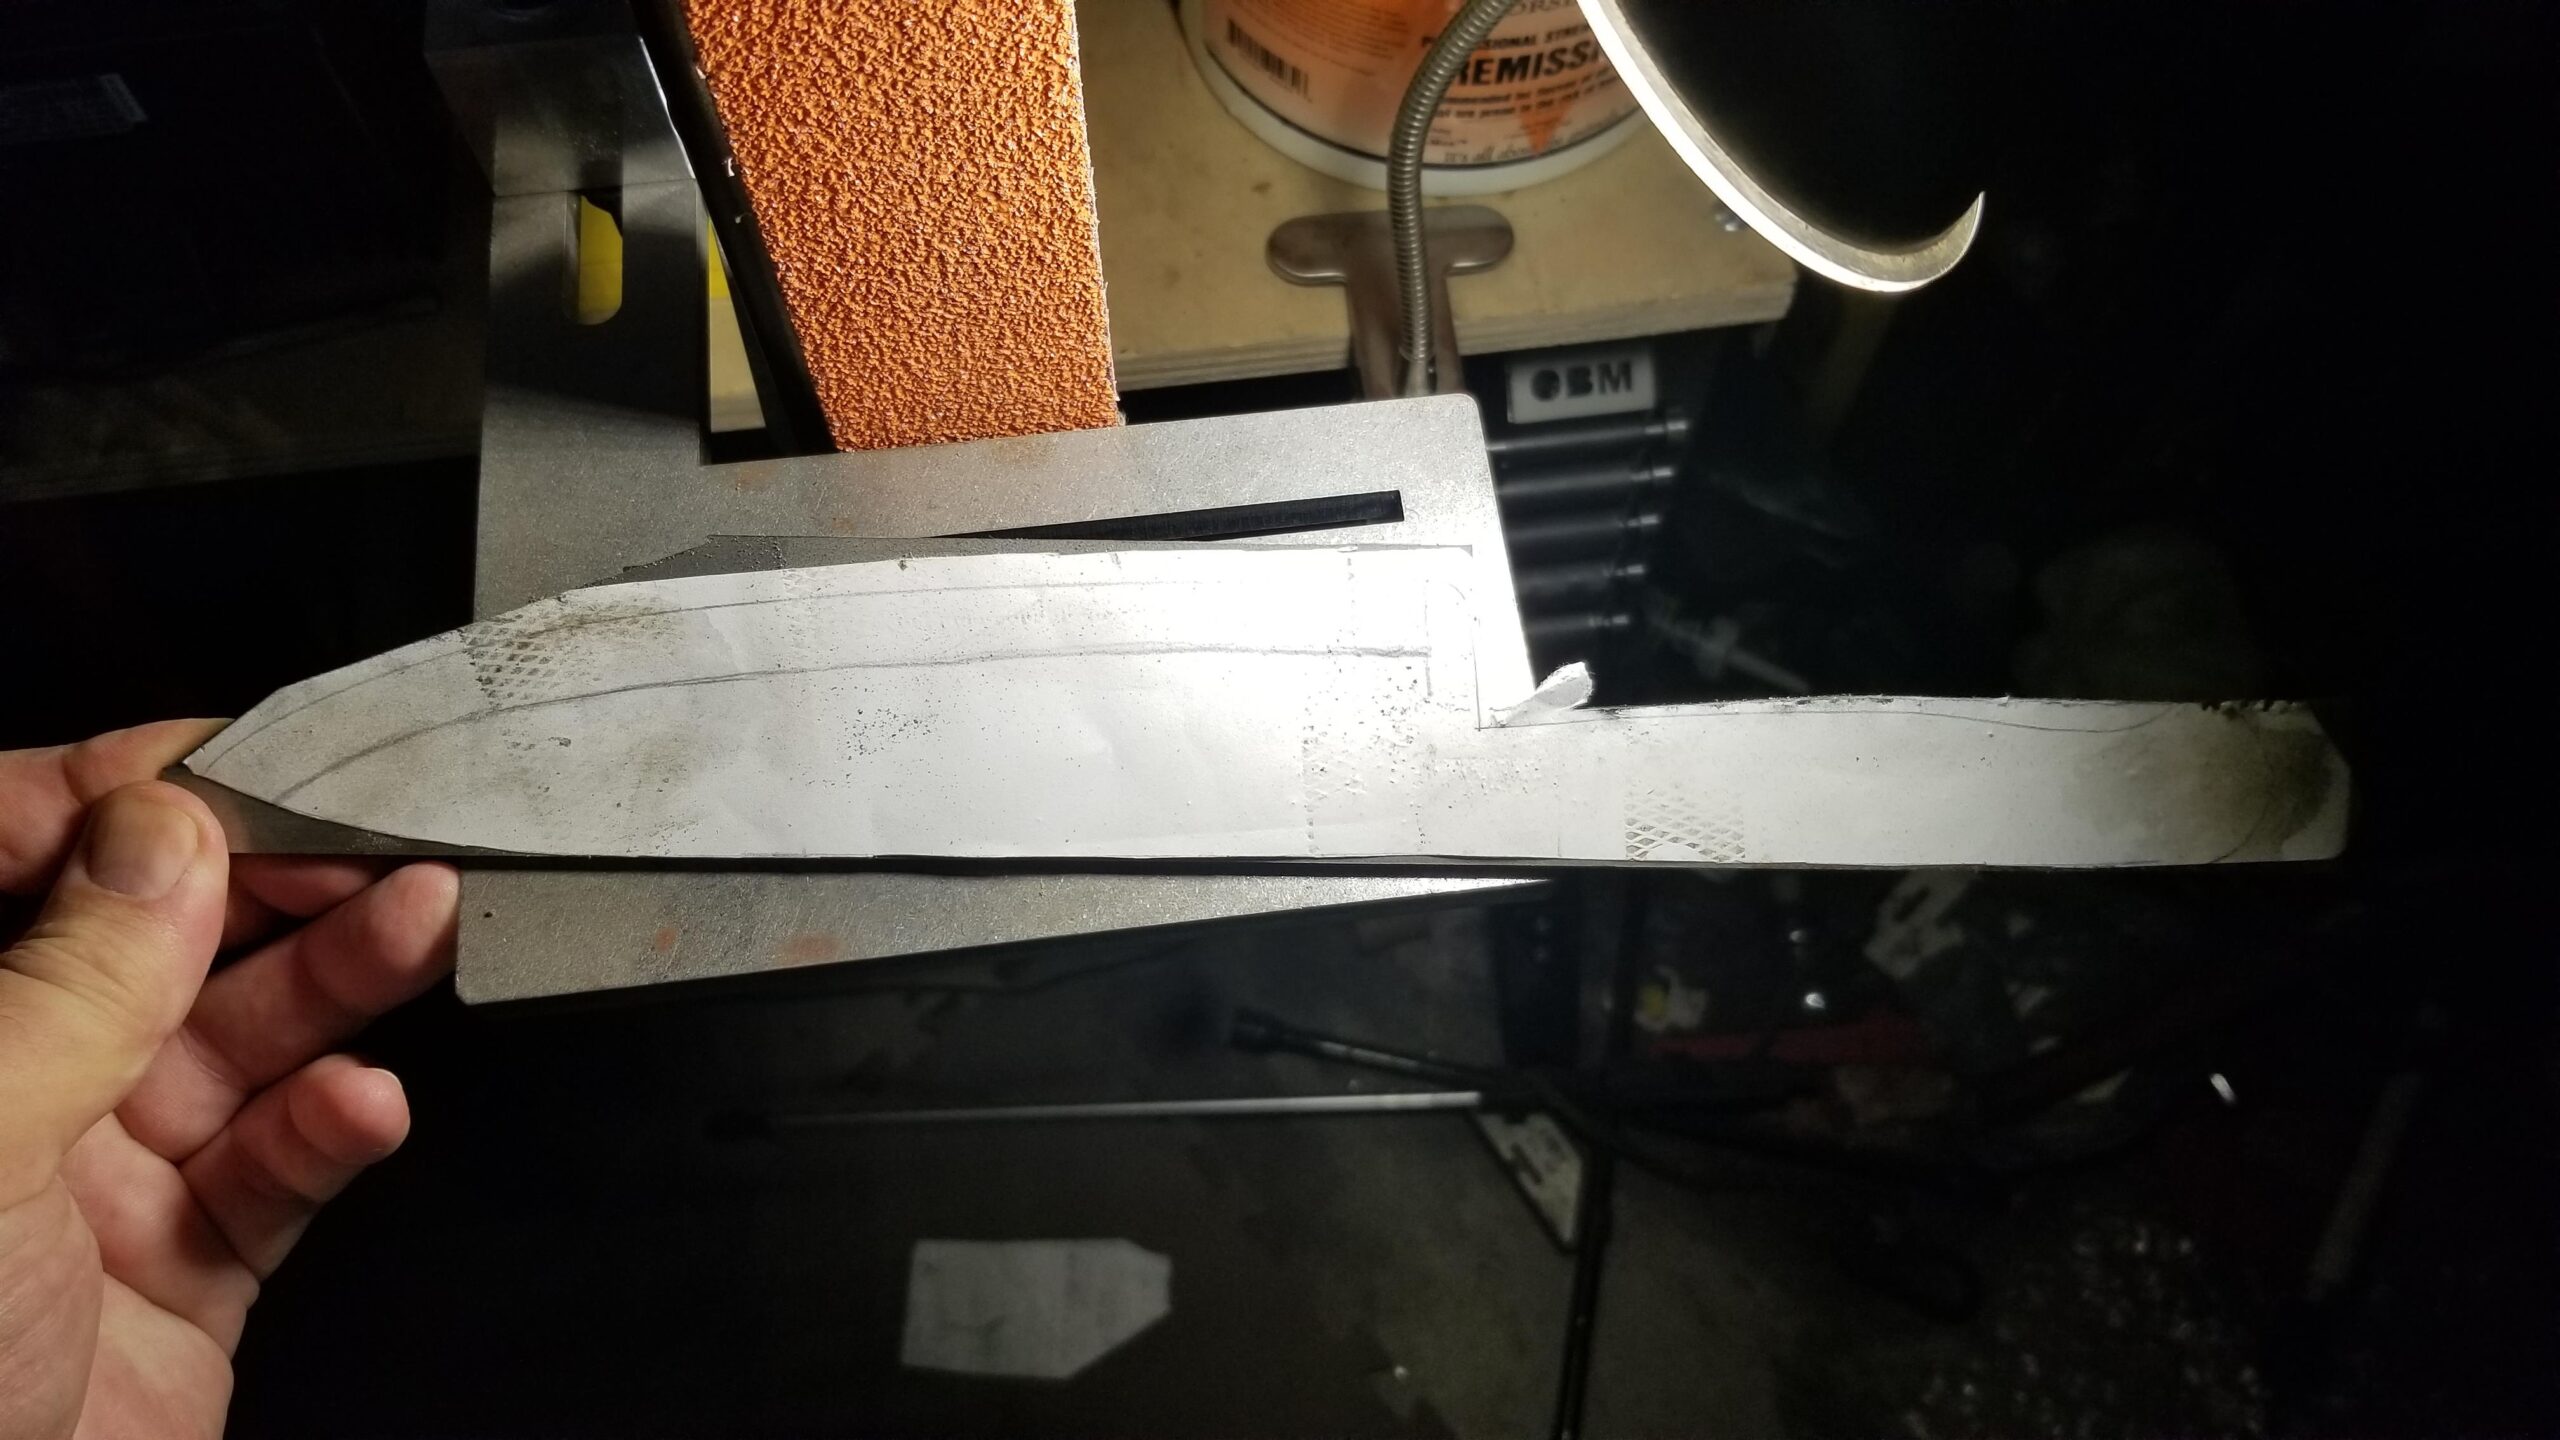
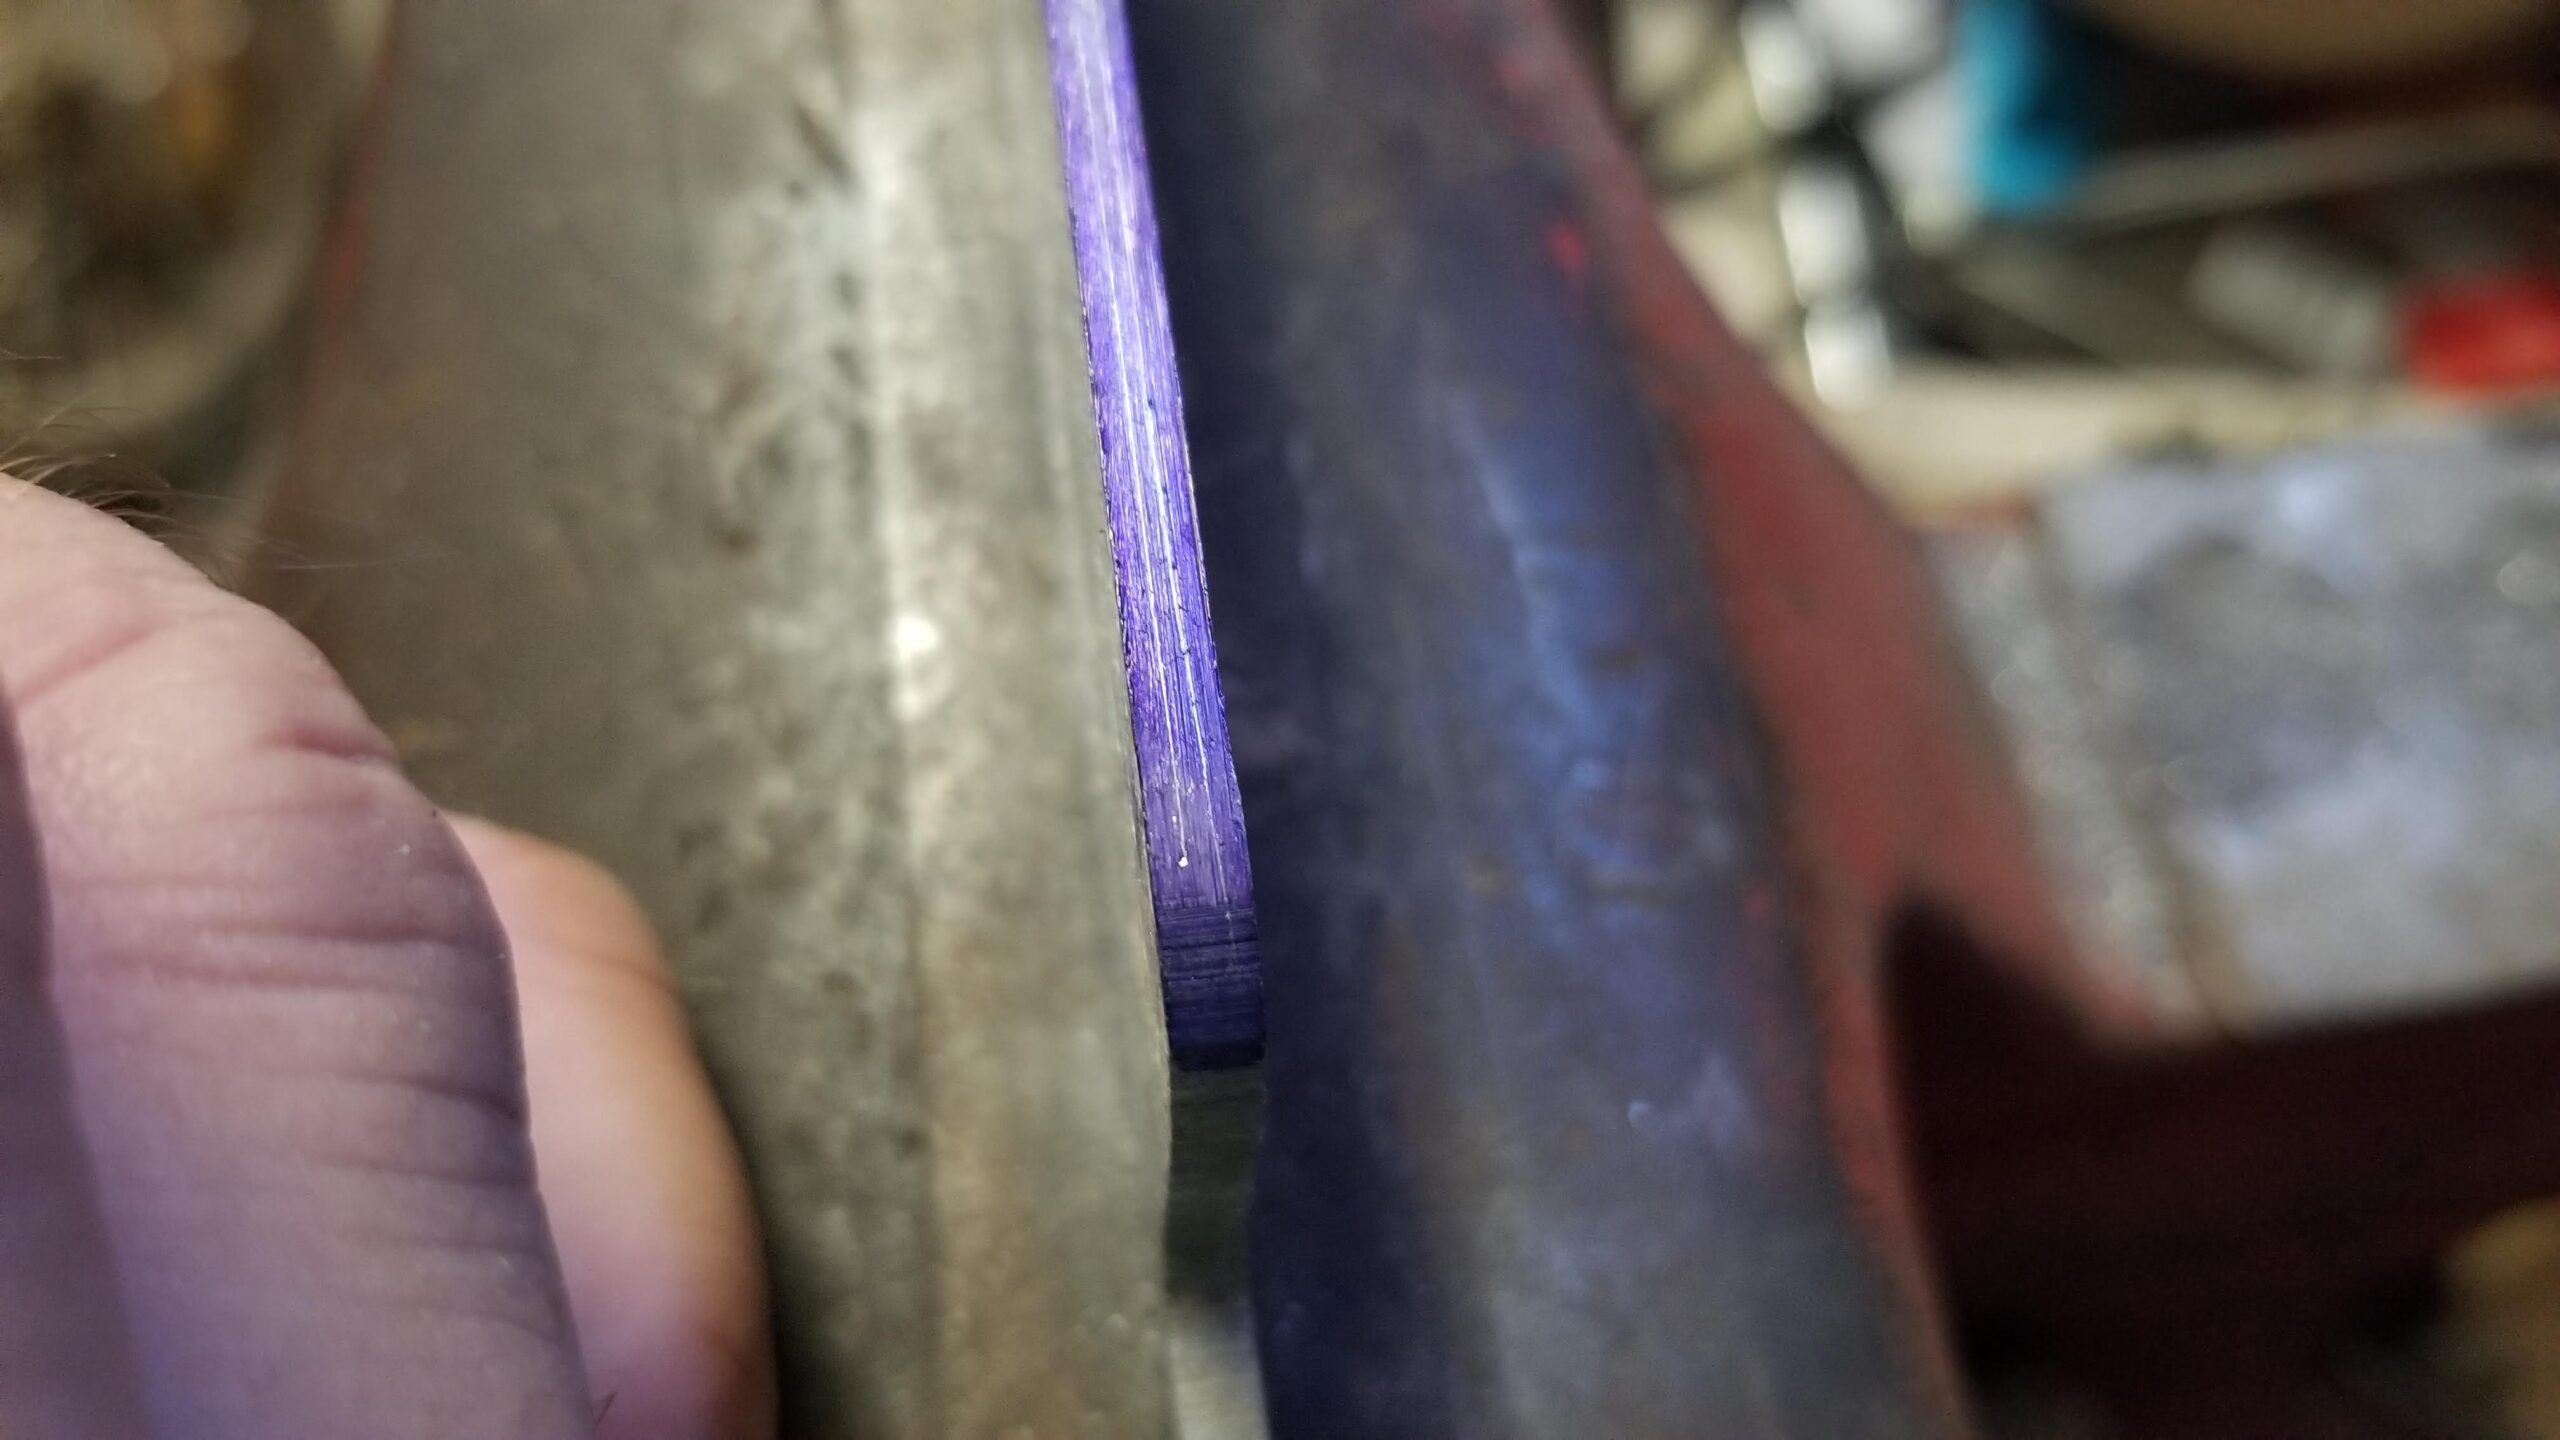
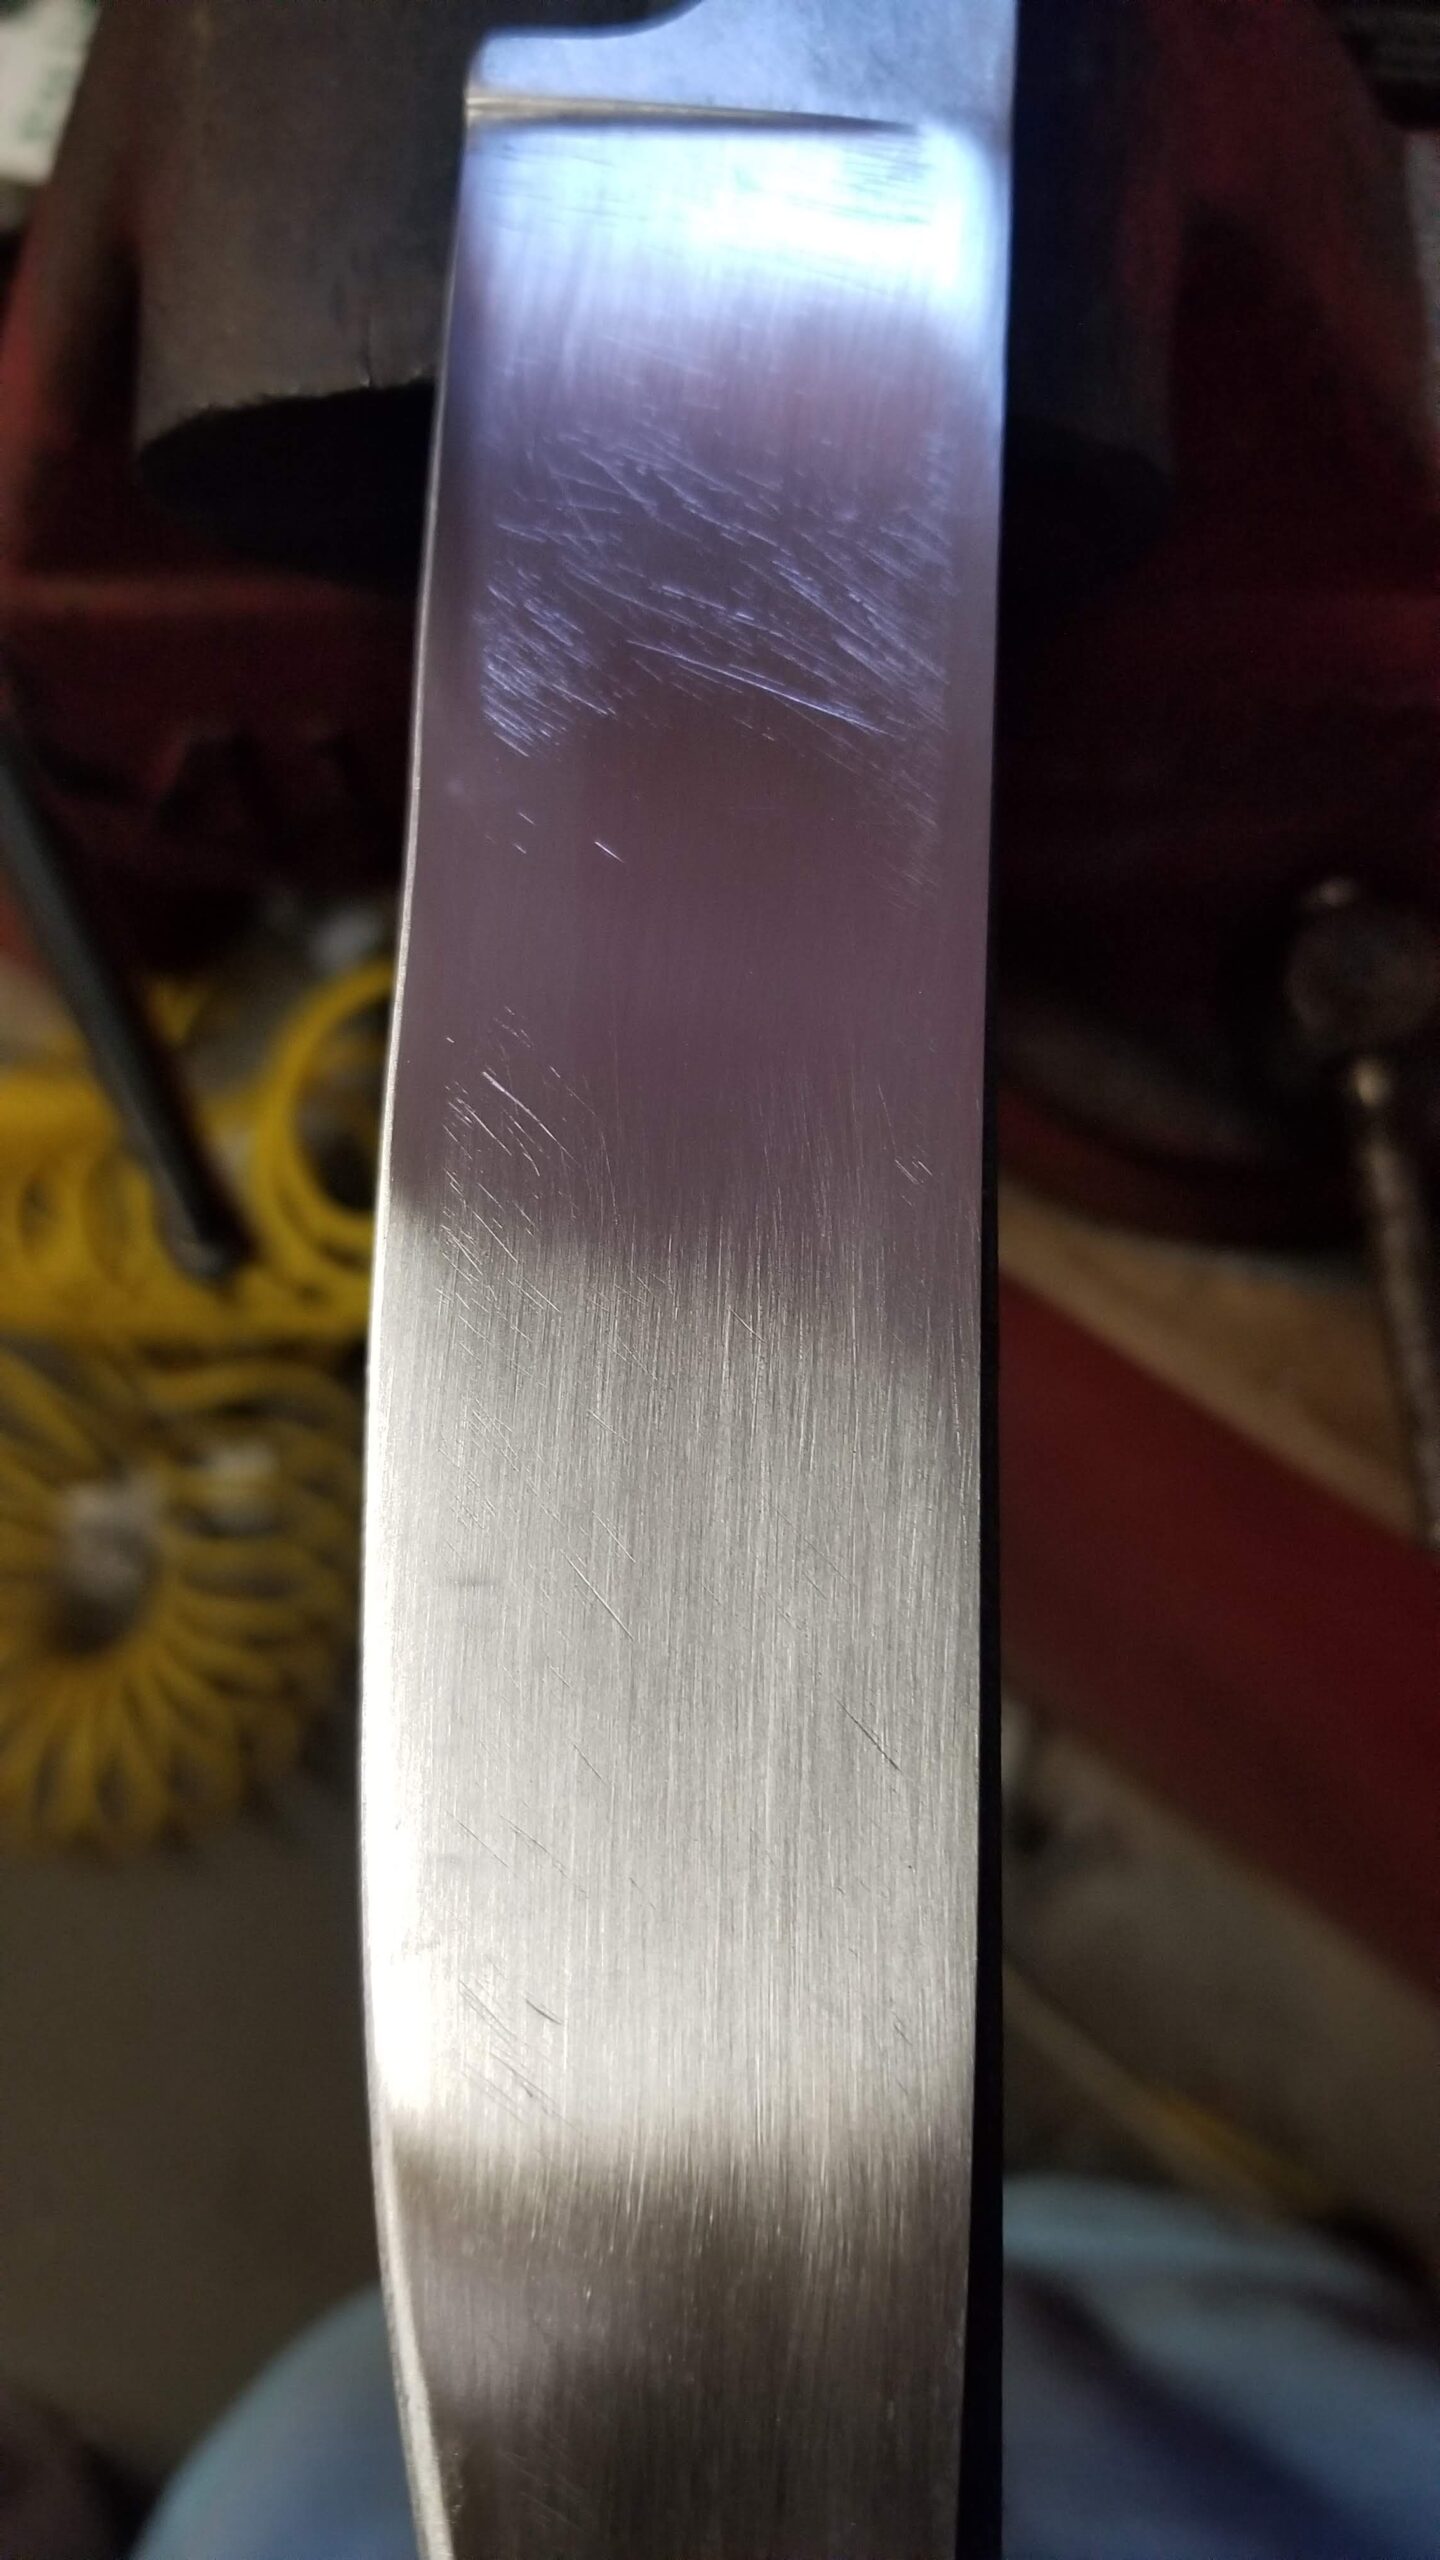
I ground a distal taper into the blank. I didn’t measure the actual taper, but it’s slightly visible here as I am marking the edge.

I marked the edge with this edge scribing tool, one of the extra accessories I picked up from Origin Blade Maker. It is set to bisect the tip.
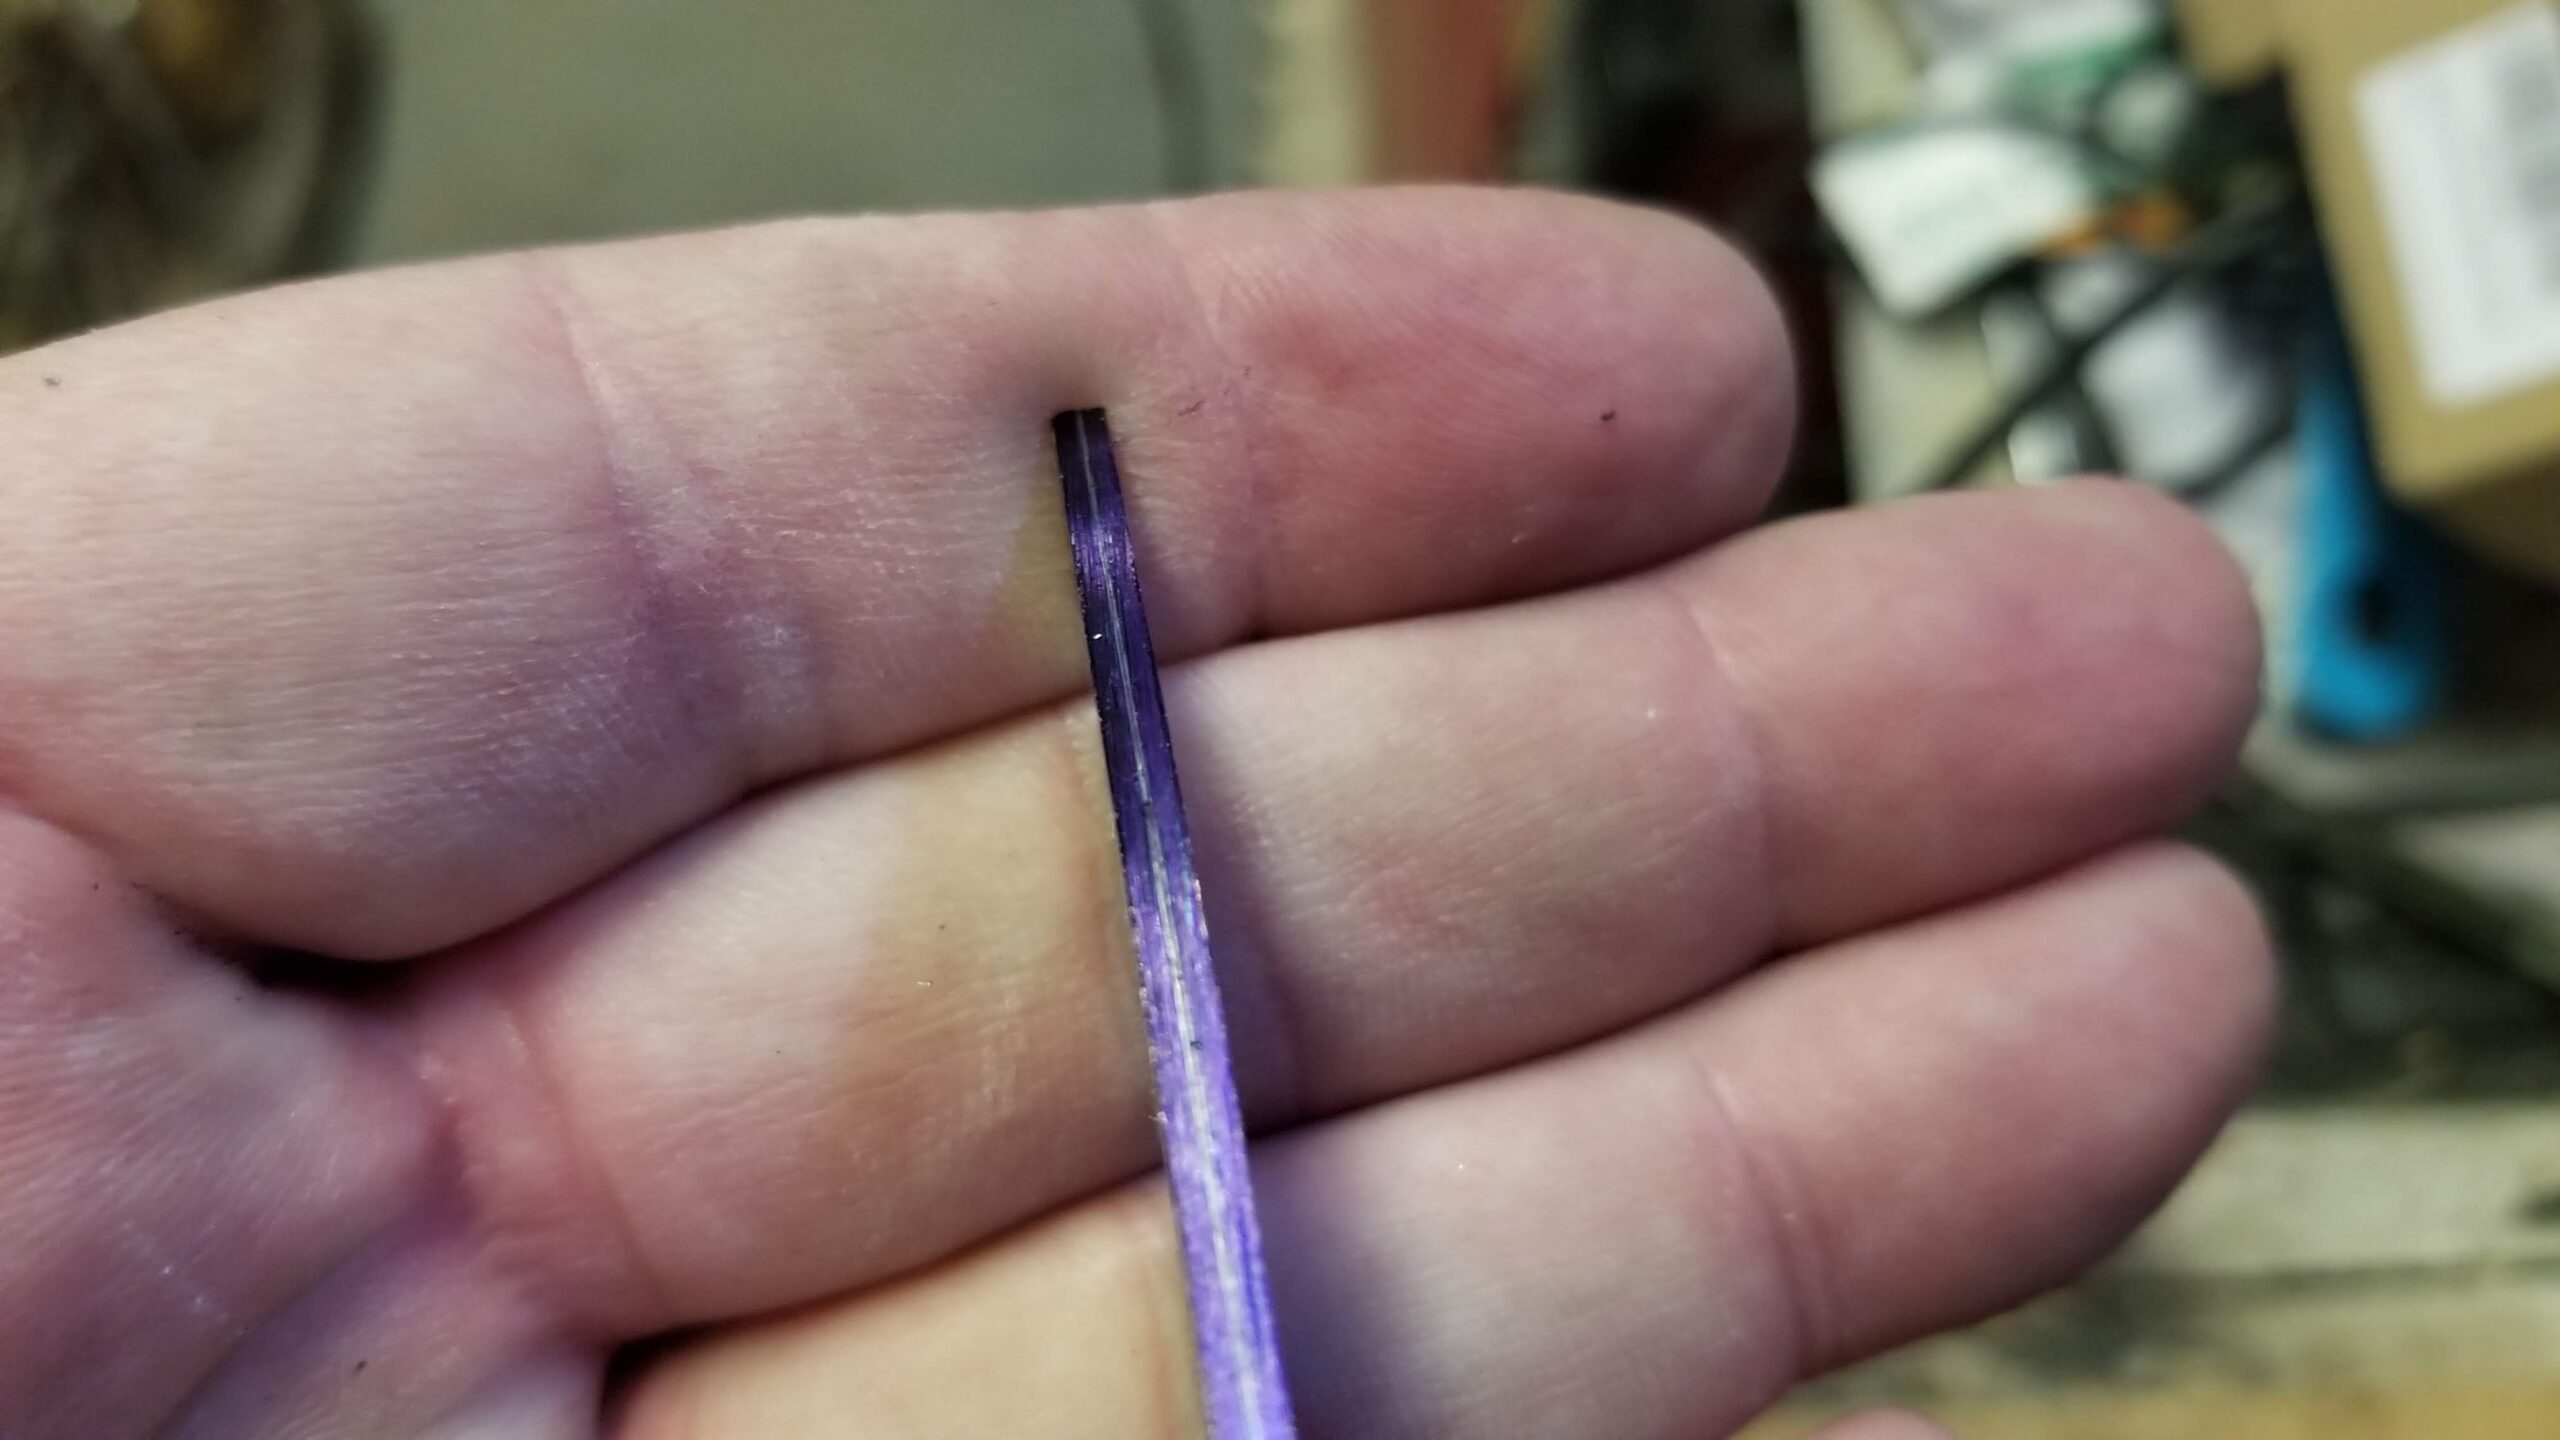
It makes the distal taper especially obvious. The heel is about 50% thicker than the tip.
As I was approaching this point in the grinding, it occurred to me that I had ground too far. The edge was going to be too thin for heat treatment!
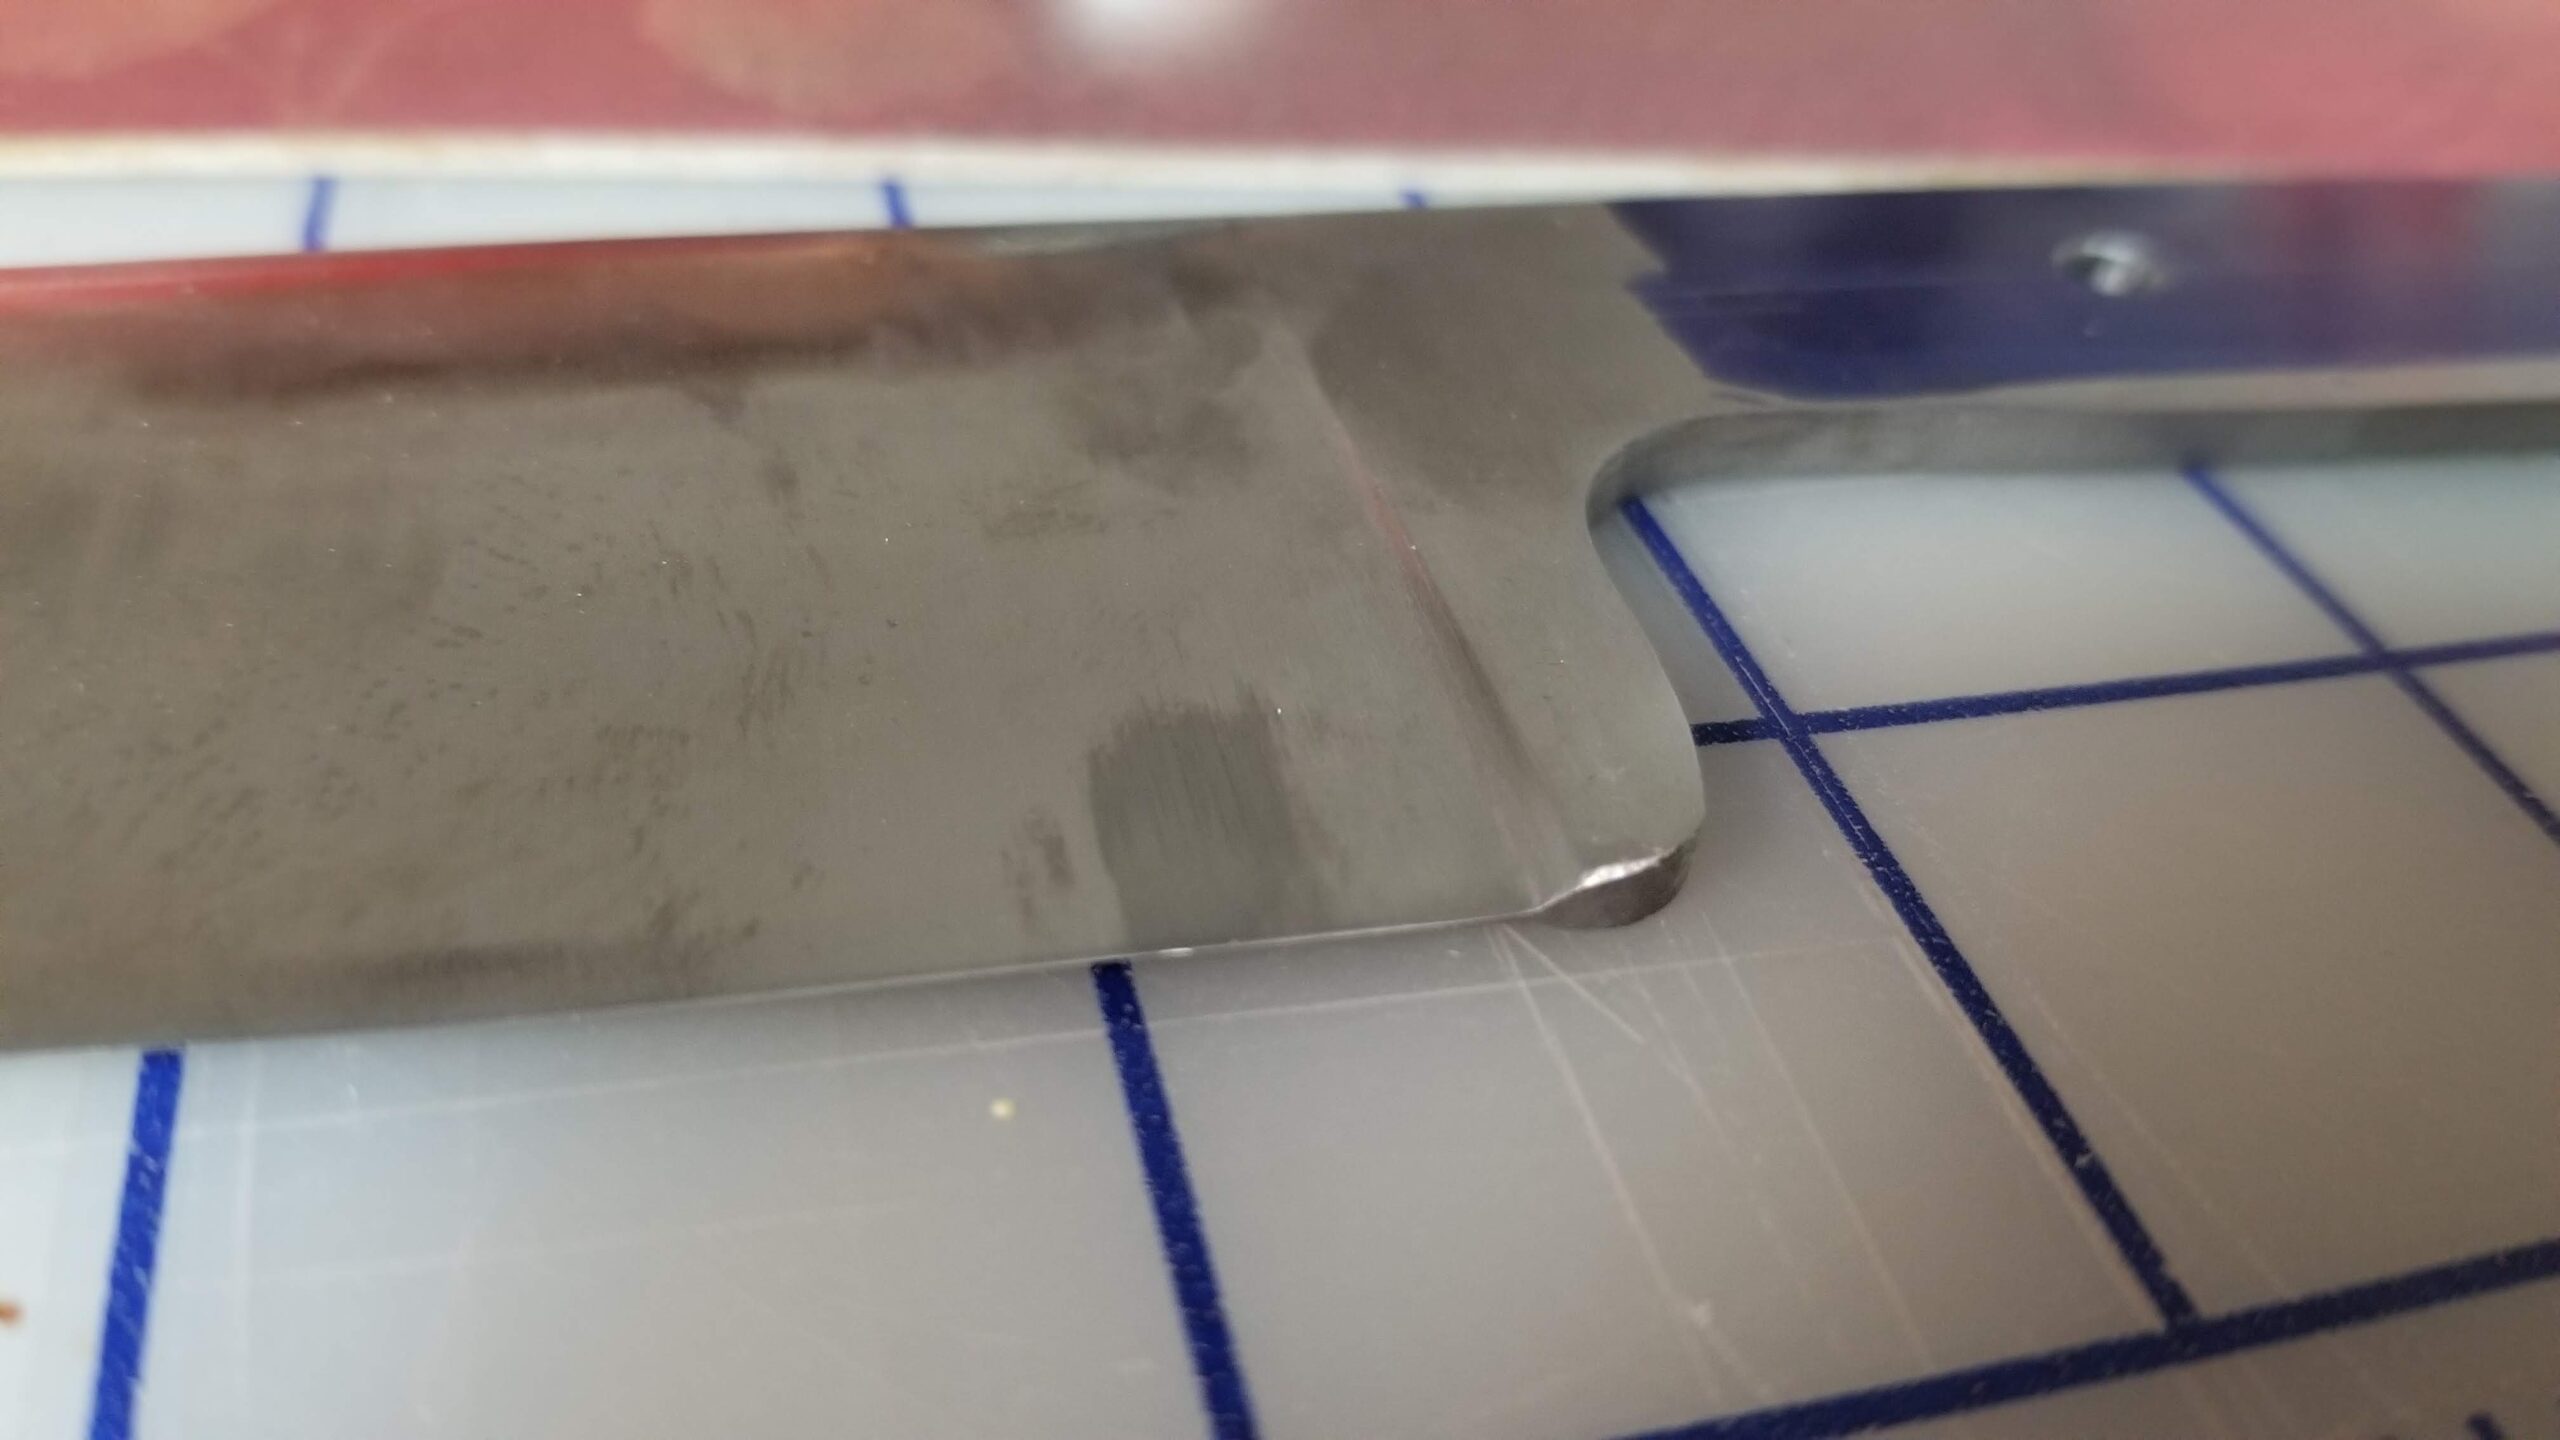
It was too late anyway, so I drilled the tang and prepared to heat treat in a day or two.
I didn’t get enough pictures of the early parts of the heat treatment process. First, I heated the blade up enough to apply my touchmark. Then I heated to an even orange heat and checked with an IR thermometer for 1600F. I let it soak at that color for about 5 minutes then quenched it in cheap 30W motor oil. Why, yes, that does smell perfectly yummy.
And, as predicted, the really thin edge of the blade came out not just warped but completely wavy.

There’s always a slim chance it might relax some in the temper, so I put it in the toaster oven for a two 60 minute cycles at 450F, cooling to room temperature between.

There was no perceptible reduction in the warping.

The tempering cycles took the evening and overnight, so I immediately started on another blank that I would not make *that* particular mistake on. This time, I would heat treat the tapered and drilled blank, before grinding the bevels.

Here’s that one, after tempering, ready to grind.
As for the first blade, I just scribed a line describing it as a narrower blade, less a chef’s knife and more a carving knife.
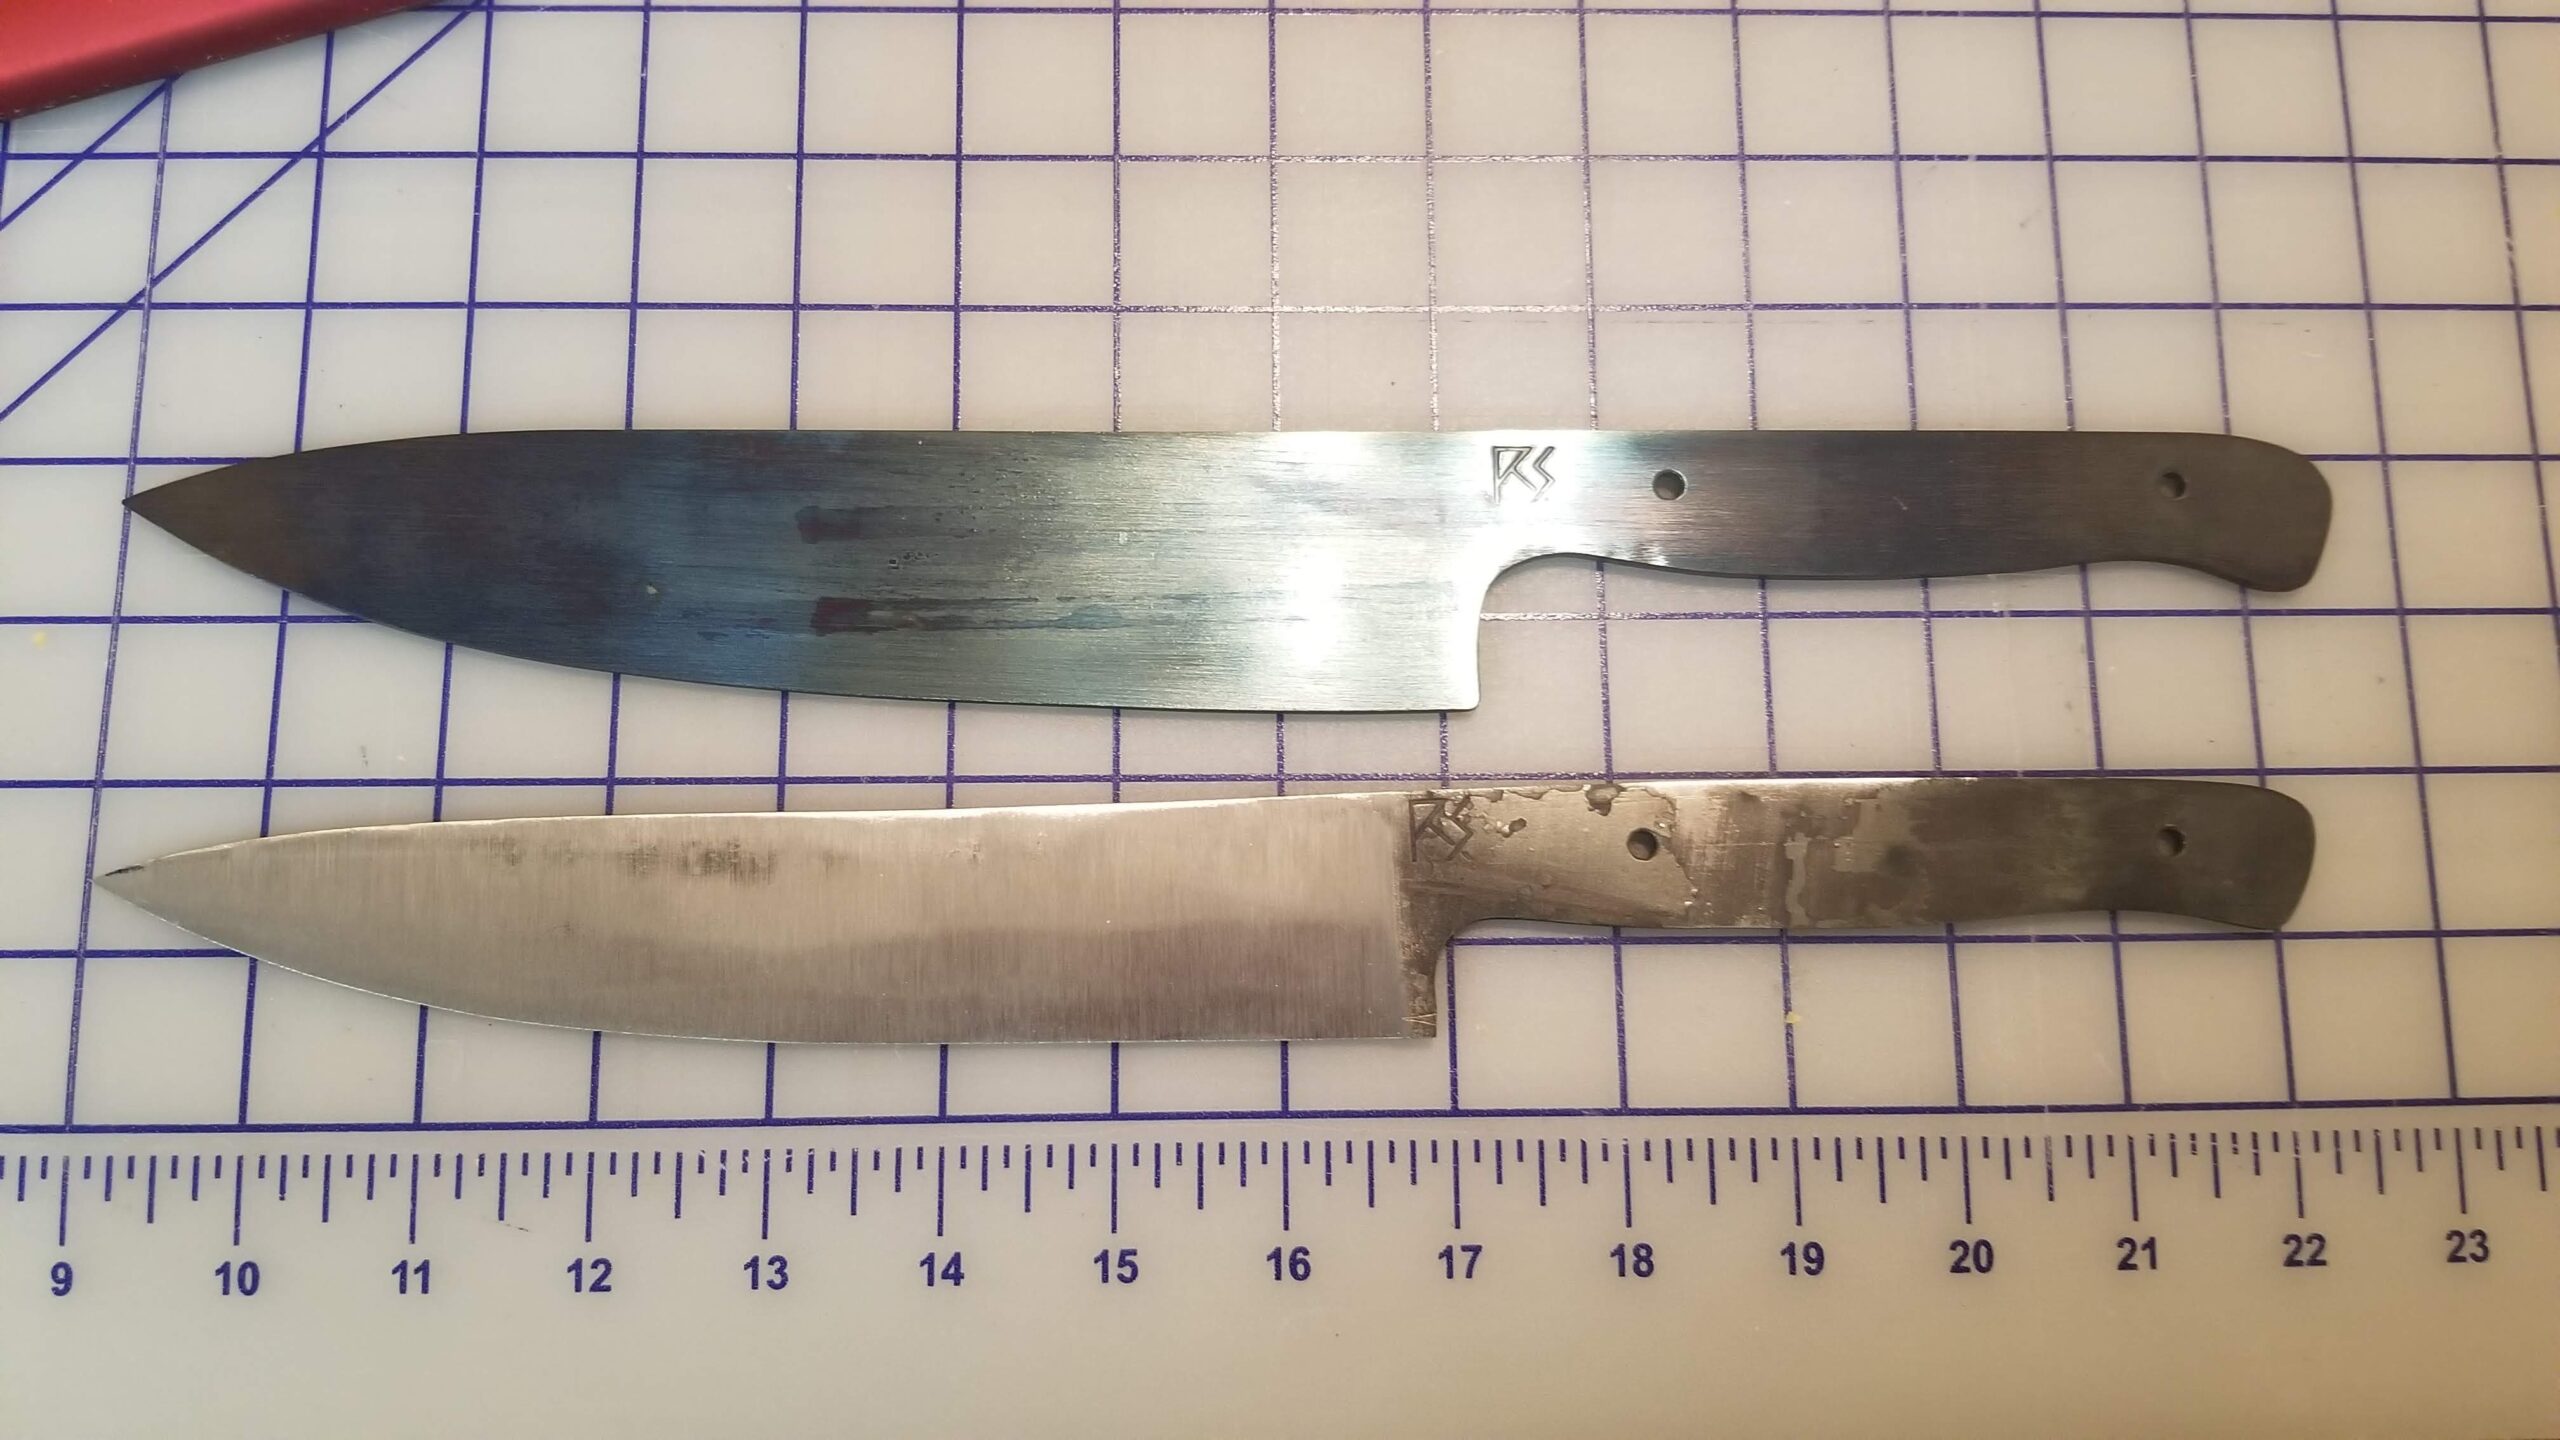
I ground the new profile, reground the bevels and hand sanded it.
I put mesquite scales on it. It is perilously close to finished.
