Category Archives: Sluggy’s and Gabby’s Trikes

Adventures on Three Wheels

Sponge Bob Fender Trauma

As I was leaving work one day this week, I noticed at the right fender on Sponge Bob, which has always been pretty iffy, had come loose again, loose enough to rattle while the engine was warming up. I mentally added securing it, again, to my todo list.

I headed on home. The rattle was noticeable, but I didn’t pay much attention to it until I suddenly heard the fairly specific sound of metal on tire, a clunk, then no more rattling, just as I was traversing a railroad crossing.

I looked down and saw basically this:

Of course, I was moving at the time…

I turned around in a parking lot to got back and retrieve the fender.

It’s a big yellow fender, you’d think it would be easy to see. While I was turning around, a commuter train came through. Even though it took me a little bit to get turned around, I wouldn’t have thought anyone would have time to have stopped and pick it up, even stopping for the train. I couldn’t find it anywhere.

Then, during one of the turns I made, I saw something out of the corner of my eye.

The fender was still attached by one bolt, but had swung around forward and I just couldn’t see it with my helmet on!

I laughed heartily and just held it up by me for the rest of the drive home, which was only about a mile.

Shift linkage

I used 1/2″ weldable tubing to make a shift linkage.

The shifter came with a coupler that I used on that end. I had to take down the diameter of the tubing just a little for it to fit.

There is a roll pin supplied to stake the rod to the coupler. I may decide to use a more easily removable pin for the final assembly.

I used 3/8″ ratchet U-joints for the linkage. On the shifter end, I formed the tubing into a square end to fit inside the U-joint. I ground the face of the socket down to provide more surface area and to remove the chrome plating and welded it in place. On the male ends of the U-joint, I ground the tenon down to approximately cylindrical to fit inside the tubing and welded there.

The joints have a little more play than I had hoped. If they introduce too much play, I will try to tighten them up. If that doesn’t work, I may need to start over with better U-joints.

On the transaxle end, I used a shift rod adjuster but modified it. I hot forged the threaded end into a 3/8″ square to fit into the ratchet U-joint, shown here before welding.

The results look pretty good to me…

Still left to do is a support brace/bearing to stabilize the rod between the shifter and the first U-joint. I think I will use an appropriately sized bronze sleeve attached to a brace attached to the frame, although I have considered using Nylon. I will probably need this brace to be adjustable, so I will probably need to weld a tab to the frame for the brace to bolt to.

The New Checklist

So, not mentioned in the last post was the other reason I haven’t been working on the trike. I figured that whenever I tore into the shifter that I would be honor-bound to do a bunch of other things that would be best done with the trike body removed. I also figured that I would probably find other things that needed doing once I was in there. I was right. So, now I’m committed…

In no particular order:

1. When I put the new footpegs on, I did so without grinding off some old weld flashings and such that were largely unreachable with the body in place. Well, not only must I do that, I also need to repair the handlebar wiring harness. I managed to put the footpeg U-bolts over the wire and tightened them down. That it hasn’t shorted out already is only because the footpegs have not been in use.

2. I had not noticed before that the reservoir on the brake master cylinder was empty. Even more so, I had not noticed that the surface of the master cylinder appears to be wet with brake fluid. I think the reservoir has been bumped too hard and too many times. Besides, it’s not really designed to sit at an angle. I will look into a remote reservoir. I know the adapter for one is very simple.

3. I had a wiring issue that came from all the wires being tied down without any wiggle room. This resulted in at least one connector getting pulled from the back of the fuse panel and with the body in place, there was no reasonable access to properly correct the issue, so I ended up adding a “bypass” wire.

I need to restore the original wiring and maybe more importantly, prevent that from happening again. That may require cutting loose 197 TyWraps, rerouting and/or extending some wires and maybe even adding some bracing to the relay panel to keep it from moving.

4. I need to connectorize the speedometer sensor. It was one of the wires I had to unsplice in order to remove the body.

5. I also broke the (admittedly temporary) master power switch when I failed to notice yet another zarking TyWrap that connected it to the body. I have a really nice keyswitch that is supposed to be used for that, but I have been reluctant to saw the required hole in the fiberglass to install it.

5. Not even *one* of the wire tie pads that I stuck under the fiberglass body stayed. The wiring harness fell everywhere. So, no more self-adhesives or double-sided tape. I am going to epoxy some screws with fender washers attached to use as studs for standard metal wire loom clamps to attach to. I really want this to be the last time I have to address this issue…

6. Though this doesn’t necessarily require that the body be removed, it will be much easier with the body off, and that is to finally get the fenders on the trike. The old fender mounts will need significant modification to fit the new fenders, especially the left one which was itself suddenly modified in a collision untold decades ago.

7. The old fuel tank has had a lot of work done on it and still needs so much work that I might be time and effort ahead to replace it. It has at least one remaining pinhole leak that is currently plugged with an epoxy patch, I have a remote fill spout that will need a suitable fitting on the top of the tank and I have a fuel level sender to install. Rebuilding the tank to account for all these changes seems like a good idea, and might allow me to increase capacity at the same time.

The Long Anticipated Shifter

After months of mundane interruptions, including hair curling heat, I finally tore into the the new shifter for Puff.

Thus far, it appears that the method I devised for transposing one shifter location to the other is working.

First, here is the old shifter before I got started. At this point, I had already removed the shift linkage.

I started by cutting a template and bolting it in place where the shifter would go.

Then I welded a couple of temporary braces between the plate and the frame.

Then I could remove the bolts and cut out the old shifter.

I forgot to cut out the template plate for the parts on the face of the disassembled shifter box. I drew in the shape from measurements, cut out the relief and bolted the shifter box on the check the fit.

At this point, I realized that a) I needed some bolts and b) chances were pretty good that the hardware stores might close early on Labor Day, so I skedattled.

When I returned, I made a plate that would become the new shifter mounting plate.

and bolted the entire assembly together, template, shifter and mounting plate, with my new bolts, seen here from the back.

I measured, cut and fit two braces to attach the mounting plate to the frame…

… and welded them into place.

I removed the shifter box…

Cut off the temporary mounting, reassembled the shifter and this is what it looks like now!

What’s left is to build the linkage. It will basically be a few lengths of 1/2″ tubing connected by U-joints.

The shifter handle is held in place by a split ring. When it’s removed, the body should easily fit over the shifter, then the handle is reinstalled.

After playing with the shifter some, it appears that the reverse lockout may be more trouble than it’s worth. It requires enough effort to engage that it is very difficult to do with one hand *and* apparently you have to press the release to get *out* of reverse as well.


Sponge Wobble

The new tire is nice and sticky, but did not affect the wobble, but that’s ok because now I remember why…

The rear wheels, especially the left one, have a wobble. It’s very subtle, but definitely enough to affect the front end.

My first fear, and probably why I put it out of my mind, is that the axle was bent.

Having suddenly remembered this, I began shopping for axles for the eventual replacement. Turns out there are two lengths of swing axle, so I consulted the oracle (“Tinker” in my local BTW chapter) and he suggested that the axles are VERY hard to bend and that there could be several much easier to fix things wrong instead.

Last night, I pulled the left wheel off and, while I could not find my dial indicator to quantify it, I did not *need* the indicator to see that the aluminum wheel adapter is bent.

Upon further investigation, I see why it’s bent…

The brake drum, in a departure from the usual hub/drum setup for Beetles, has a separate brake drum and wheel hub. Seems that it may be the way the brakes are done on a Type 3. The brake drum is held on the hub by two low profile bolts.

The bolt shown here interferes with the back of the wheel adapter.

Someone tried grinding away some material on the back of the adapter:

…but either they didn’t remove enough or they didn’t remove it soon enough and the adapter plate bent.

These plates depend on one eccentric bolt in order to adapt a hub with four bolt holes to a wheel with five studs.

It occurs to me as I write this that I may be able to reposition the eccentric bolt to a hole adjacent to the low profile bolt head. This may simply bring a different spot into interference.

I will try that with the new adapters, which I am picking up a lunch today, but I may end up just cutting away some material to relieve some clearance on the back of the new adapters.

[update]

I forgot to update this blog until the next entry was already posted. I removed the two low profile bolts, “depending” on the lug bolts to hold the hub in place. The rear wheel wobble is gone. The 30MPH front end wobble is unchanged.

Long Overdue Update

I have done a little bit of work on Sponge Bob, but more importantly, we racked up a few miles, just short of 4000 since the new speedo was put on way back in October of 2009. Much of this is ’round town miles, though a big chunk went on in a South Texas vacation/camping trip.

Sponge Bob has a new tire as of today. I pick it up on the way home in a few minutes. I also have a new headlight that I may even get on there tonight.

Last fall, Sponge Bob’s fuel pump quit. Without realizing it, it had actually been going for a while and was misdiagnosed as an ignition problem. When it died for good, at least it did it in town. Gabby trucked down the road to the nearest auto parts store for another unit, which was installed in pretty short order. He’s been reliable ever since. The mild but frustrating front end shimmy is expected to go with the old tire and while I have the wheel off for that, I will change the bolts that the speedometer sensor detects, which should stabilize the indicated speed. Change the headlight and I think Sponge Bob will be good for a while.

As for the Dragon trike, the two biggest things it needs are the shifter and the fenders, and arguably, the fenders could wait. The current shifter is such a pain to operate that it is difficult to properly tune the engine under and real driving conditions.

Replacing the shifter will involve welding on an alignment jig to bolt the new shifter to temporarily, cutting out all the old shifter parts, building a mount for the new shifter then removing the jig. The biggest question remaining is whether the shift lever can be easily removed from the new shifter to facilitate removing and installing the body.

While I have the body off for the shifter work, I need to clean up some wiring issues. Some of the wires are too short and since they plug in to the back of the fuse blocks, tension has resulted in some wires coming unplugged. Similarly, the wiring harness on the body needs to be secured better. I used sticky taped wire looms, but most of them didn’t last as long as it took to finish assembling the trike. Those looms need to be epoxied to the underside of the body.

A Prize Winner

I can’t believe I didn’t post anything about this when it happened. After all the work last September, I didn’t get to ride the dragon trike to a BTW benefit I was involved with, but I did tow it there and it won Best of Show *and* Best Engine.

Thanks to Bondo Joe Lane for both the prize winning paint and this picture of me and my goofy grin. 🙂

Uh oh, I’ve got….. HAPPY CLUTCH!

With my apologies to Steve Martin…

I had to skip an evening, but we were released from work a couple hours early, so I have had time to get a bite to eat (skipped lunch today), get home, change clothes, finishe assembling the trike, test ride and adjust the clutch, all by about the time I would normally be getting home.

The new clutch works very well. Everything is very smooth. This throwout bearing may have been going out for longer than I had thought.

Sponge Bob Clutch Problem Resolved

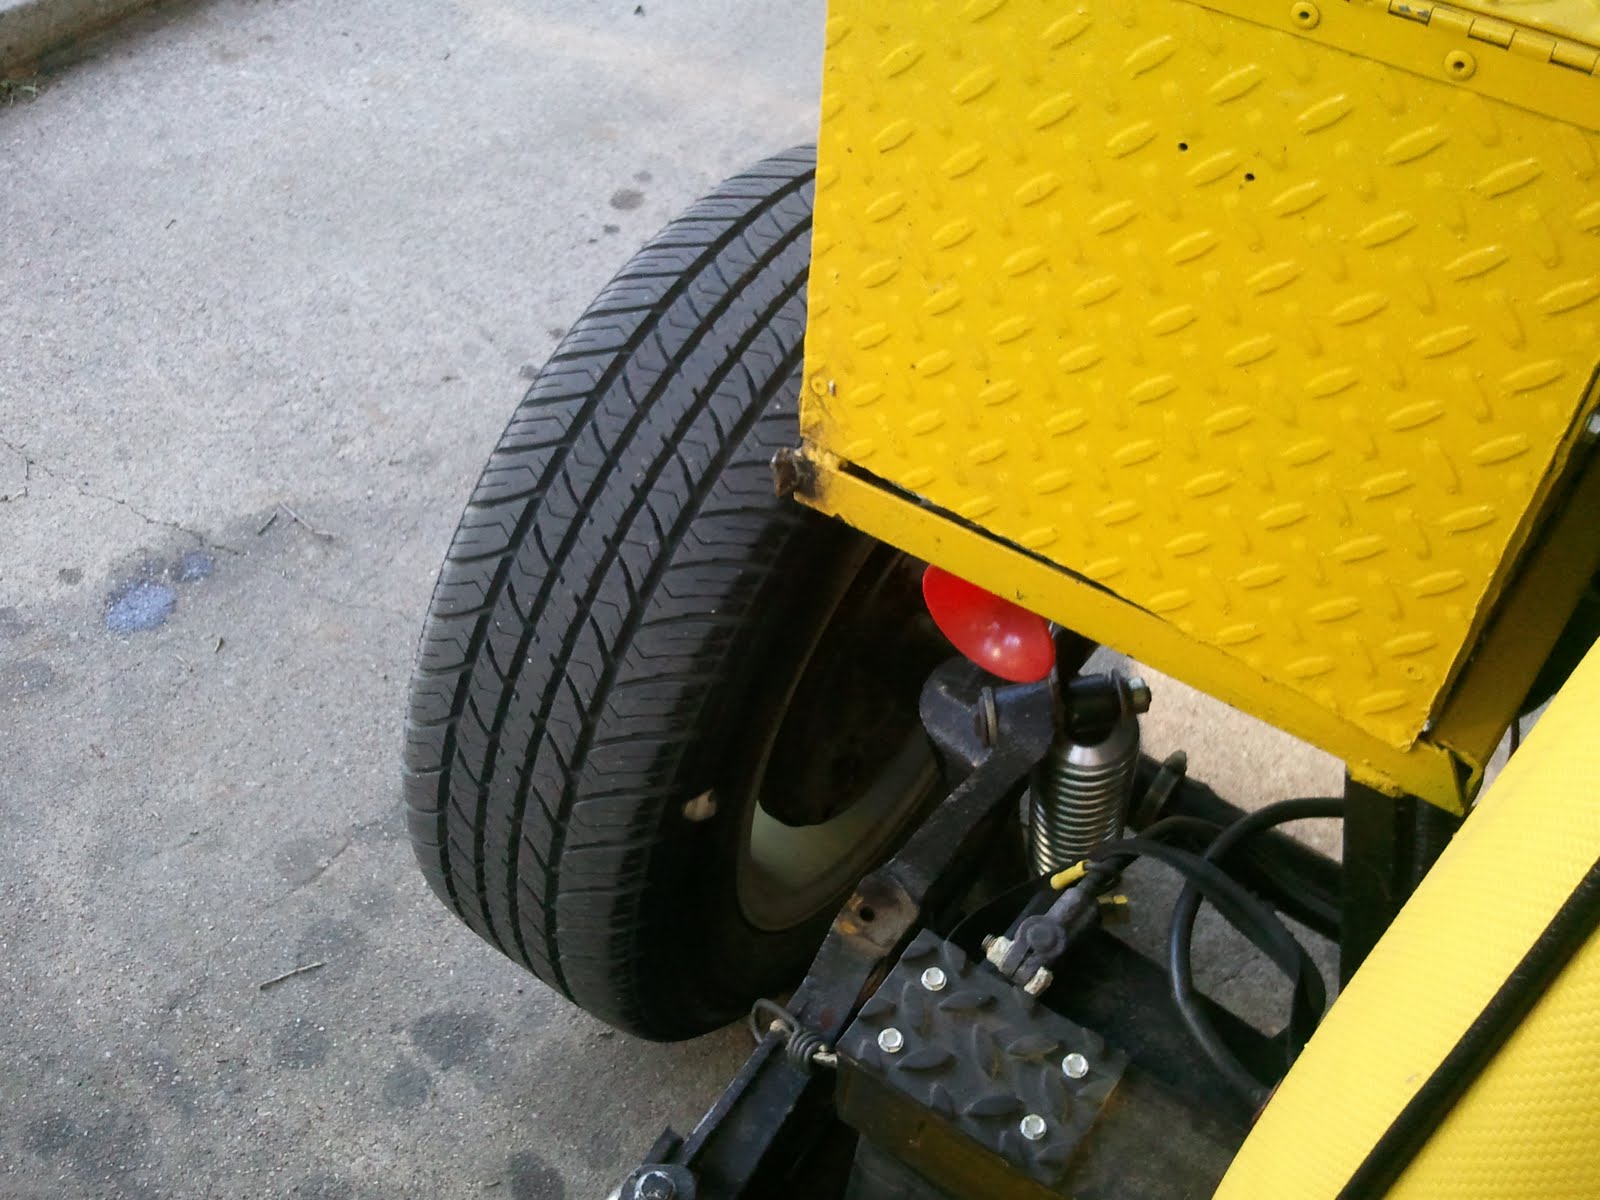
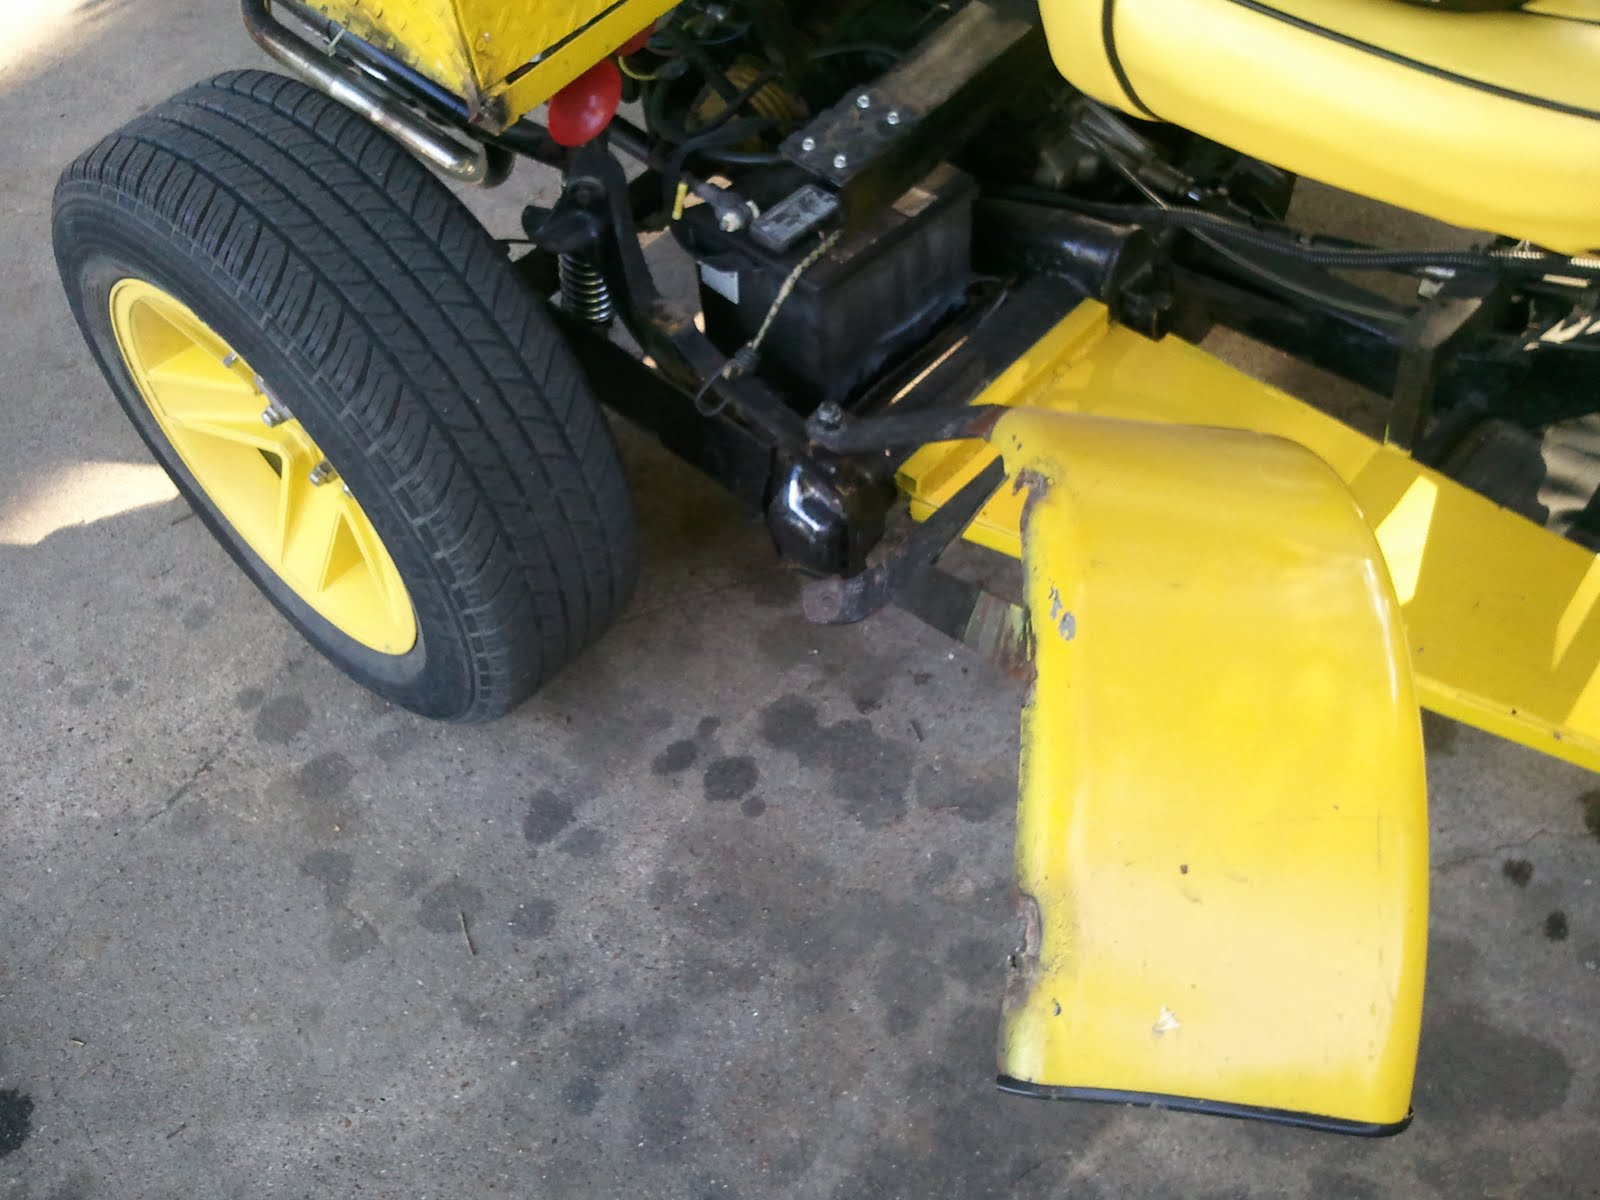
I used my fancy new tool and removed the remaining shock absorber. It worked perfectly. 🙂

I pulled the engine and saw that the throwout bearing had not, as I had suspected, jumped off the fork. Instead, I saw that the collar on the pressure plate had been ground off.

Some pieces of metal were recoverable, but mostly, there was a lot of shiny dust and a funky “burned barbecue” smell. The inside of the bell housing was coated with oil. My first thought was that the seal on either the engine or the transaxle was leaking.

None of the oil looks fresh, however. I recall that when the oil cooler event occurred, the top of the engine and transaxle were pretty much drenched in oil and I think that’s where it came from.

The throwout bearing itself had not jumped the rails, but you could tell that the surface didn’t look right.

Turns out that the bearing was not turning and the collar from the pressure plate had friction welded to the bearing race!

You can see the bearing race is completely hidden. For the entertainment value, I will see what forensic data I can gather and report back.

It’s no wonder the bearing failed, what with the inner race being off center and the balls scrambled inside the bearing.

I found that AutoZone carries the throwout bearing, for $37. They are about $15-18 at most places. AutoZone isn’t usually that high on any given item.

More importantly, while I have a new pressure plate leftover from the other trike, it looked like replacing the disk would be a good idea, what with all that oil. The disk also had a slightly strange wear pattern on it, seeming to wear most in a circle that would describe the center of the friction material. The contact side of the otherwise ruined pressure plate looked fine, but obviously it had to go.

AutoZone has a clutch kit which contains the clutch disk, pressure plate, throwout bearing, pilot bearing and a (redundant) pilot alignment tool. This whole assembly is $102 *and* carries a lifetime warranty. So I got one.

Nothing very magical about the installation from this point forward. I scraped as much of the slightly sticky dust off the flywheel as I could and vacuumed it away. Then I used a bunch of brake cleaner to ensure that the flywheel was clean and oil-free. After the brake cleaner, the pilot bearing needed grease.

Then I put the disk and pressure plate on and snapped a picture of it:

Looks like pretty much every other clutch, huh? 🙂

It took pretty much a whole can of brake cleaner to get the bell housing clean. I found a few recognizeable bits of metal from the old pressure plate in there. I installed the new throwout bearing. Now that I’ve done it a few dozen times, I can remove and install the spring clips with minimal bloodletting.

Bolted the engine and transaxle back together and before I continued, I verified that the clutch will disengage. That was a problem with the Dragon trike’s clutch and I wanted to make sure the same thing didn’t happen here before I finished bolting up everything else and had to pull it out again!

I ran out of time and will need to finish the rest of it tonight.