The snow came, but was indeed light and is mostly gone already. It’s not even supposed to freeze overnight. It’s still cold, just not the major death-to-all-fools-who-venture-outdoors that the news media might prefer. Maybe next time.
I rushed home and, after delays from trying to find and gather stuff (never organize; it’s just not worth it!), I reflashed the ECU with the latest firmware (v2.890), wired to support stepper IAC (Idle Air Control) and connected up to the JimStim.
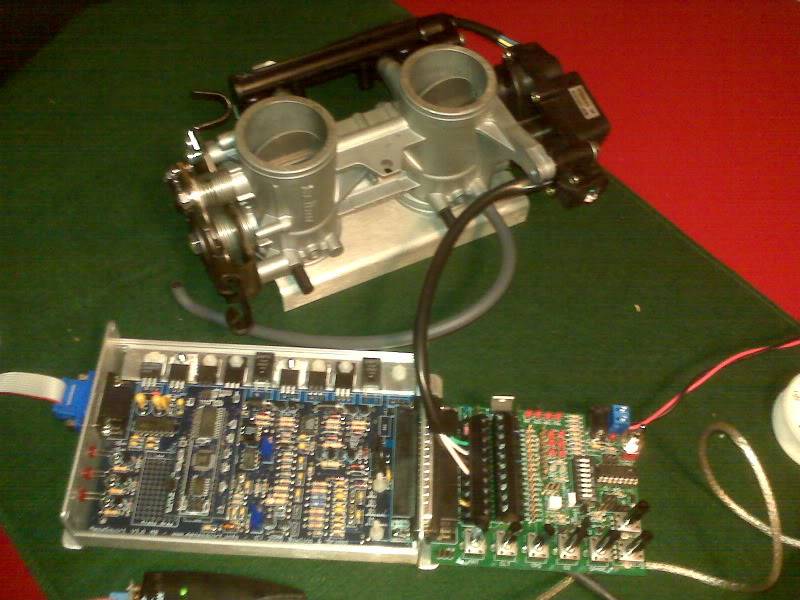
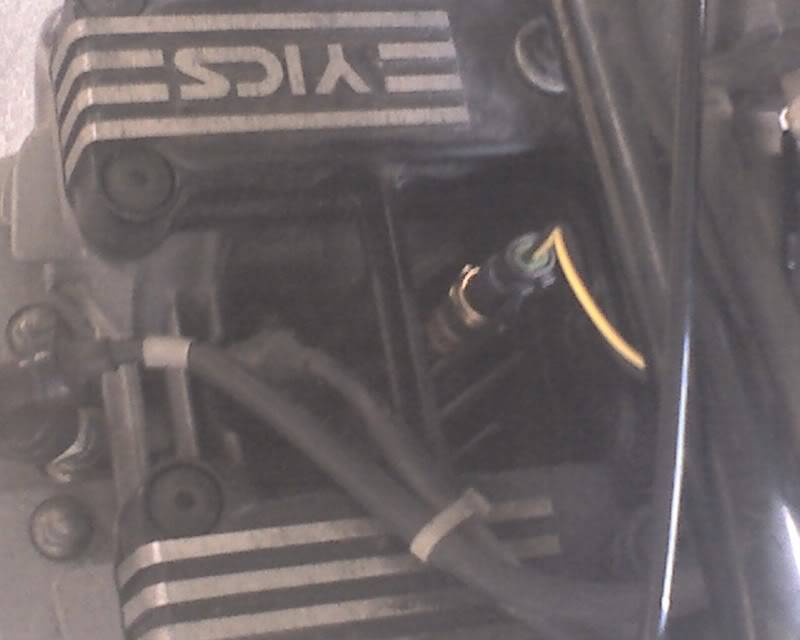
One of the first things I had to do was some wire mods on the ECU board. By default, the stepper feature is not physically connected on MegaSquirt. The output connections are left unconnected because they can be used for any of several options; stepper IAC is just one of the options. The mod itself is very simple, adding five jumper wires on the bottom of the board.
After lots of experimenting, I also had to perform another minor mod, bypassing some current limiting resistors that are built in to protect the circuit board and wiring from shorts. I guess I will have to just leave my shorts at home.
After that, it was just setting parameters, which was a very much experimental “try this and observe” process. I eventually arrived at some workable values.
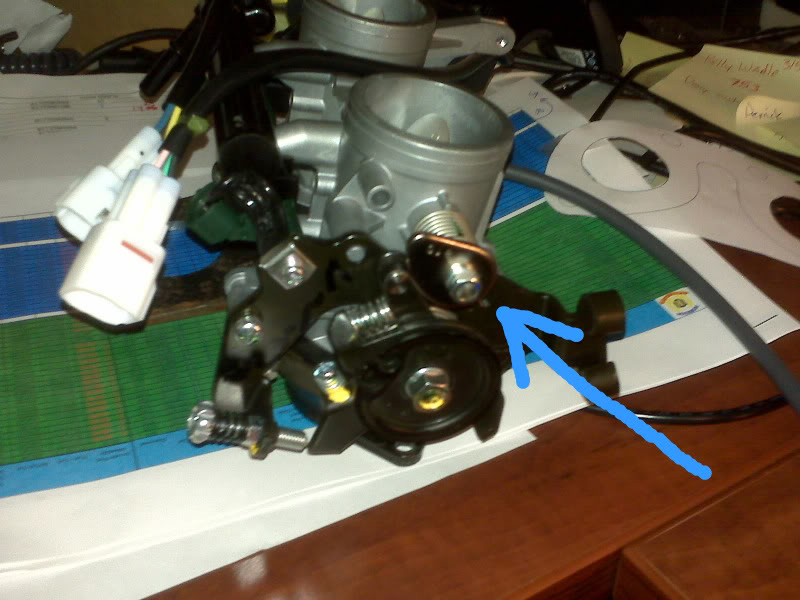
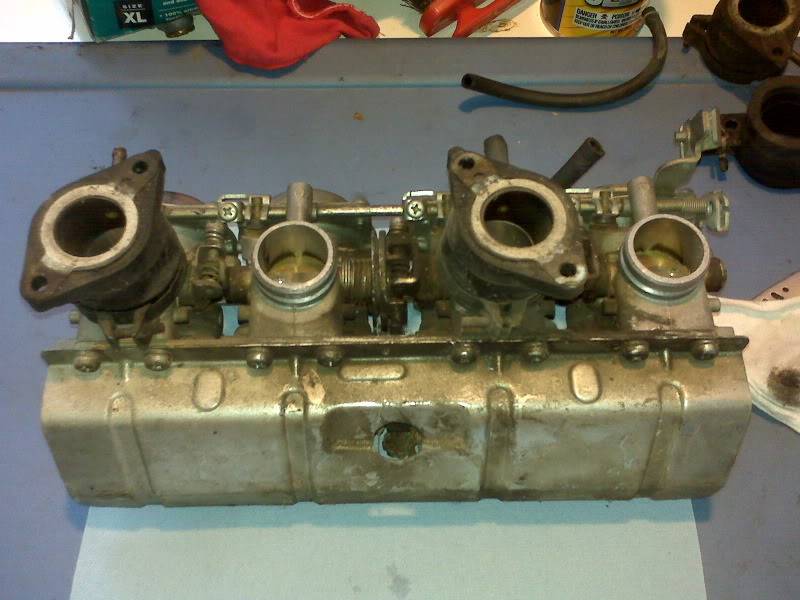
One thing to keep in mind is that my throttle body in it’s original Ninja 650 form uses a stepper motor to operate sub-throttles, but there is also a cam on the end of that shaft that operates the main throttle butterfly to provide fast idle. As I discovered experimentally, the subthrottle is completely open when the cam is operating the main throttle as far as it can. The subthrottle is at about 60% open when the cam disengages the main throttle completely. Although the partially closed subthrottle is not expected to affect normal engine operation until the main throttle is more than 60% open (and maybe not even then), I will probably remove the butterflies anyway.
One thing that I found confusing is that I was erroneously thinking in kind of “absolute position” terms. At power up, the ECU moves the IAC 350 steps (Start Value) to ensure it is open all the way. I thought of that as position 350, thinking that the system would then want to close the IAC down to 0 as the engine warms up.
I was wrong.
The two main states of the IAC, power-up and operation, are relative to one another. At power up, the ECU will use the Start Value to open IAC all the way with, in this case, 350 steps in one direction. Once the power-up routine is finished, that position becomes 0 and all temperature points are expressed as steps in the other direction from there. In my case, it then takes 145 steps in the other direction to completely close the IAC, or more precisely, to completely disengage the fast idle cam from the main throttle. It is 0 and 145 that are needed to generate the IAC Steps curve.
The other major value arrived at experimentally is the Time Step Size, basically the time between stepper pulses. The smaller the time, the quicker the motor moves, at least up to a point. I found that it seems reliable at 0.5 mS, which is way down from the default of 2.5 mS. I decided to give it a little margin and set it at 0.7 mS. It moves quickly, smoothly and quietly there.
For the entertainment value, at 5.0 mS, it sounds like an old 5-1/4″ floppy disk drive and at 10 mS, it sounds like a blender stuck on a piece of ice.
Sorry for the poor focus, but here is a bit of Blackberry video of it working.
Finally, it seems that operating the motor in the ‘Always On’ mode, where voltage is left on the motor to keep it stationary, makes the motor and driver chip run pretty hot. That mode is not really needed here, so I am running it in ‘Moving Only’ mode, which only sends power to the motor to effect an actual position change.
So, to summarize, it took me about 5 hours to make MegaSquirt open and close a little motor, but I think it still counts as a big step!