All posts by admin

A Mostly Good Day

Lots of little things today.

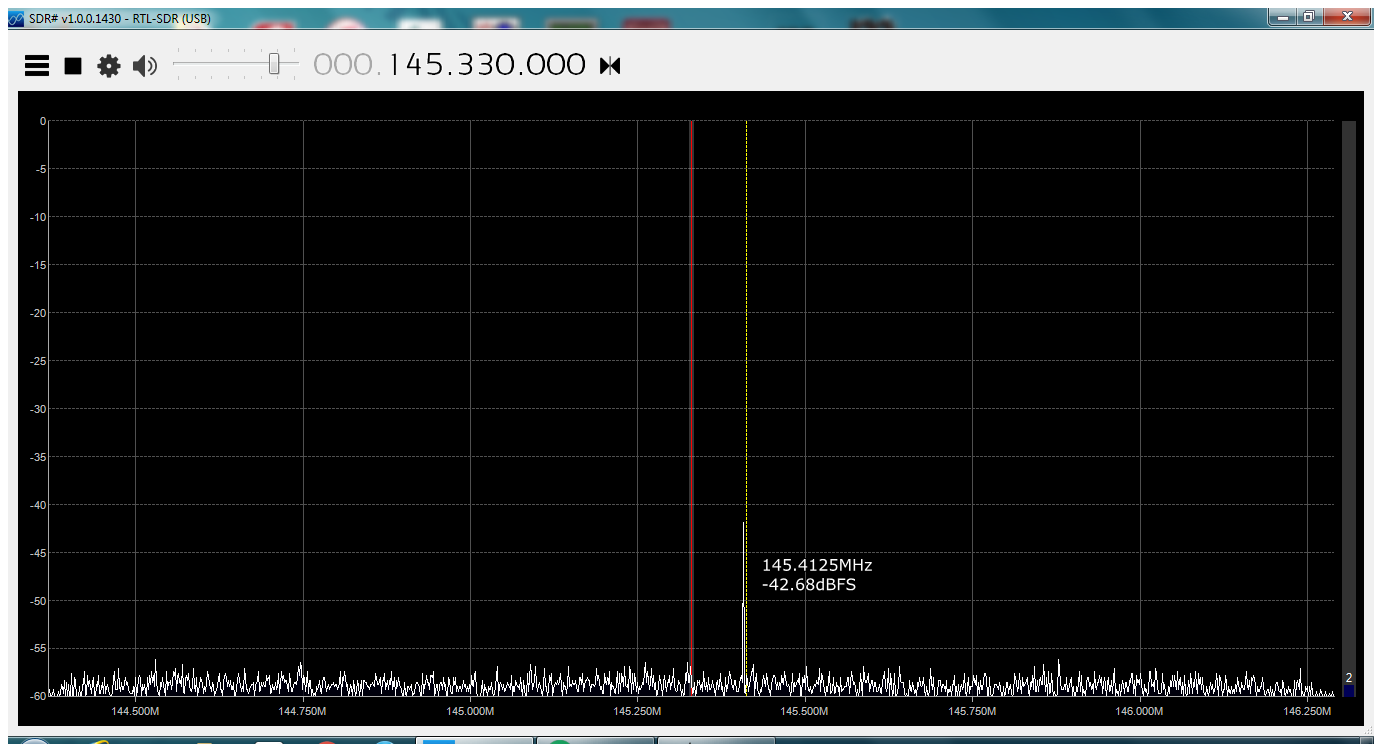
On the way out of the neighborhood this morning, I had my little SDR running, centered on 145.33. At the house, I saw a pretty strong birdie at exactly 144.000 and it never went away all the way to work, so I presume it’s an artifact from the laptop or perhaps in the radio itself. There was a tiny peak just above the repeater at 145.4125, but it went away by the time I got out to the truck, so it was probably something in the kitchen.

rfi-1


Interestingly, Oncor called me today with an update. Basically, my incident has been assigned to an RFI tech. I can expect to hear from them maybe Friday, but probably next week.

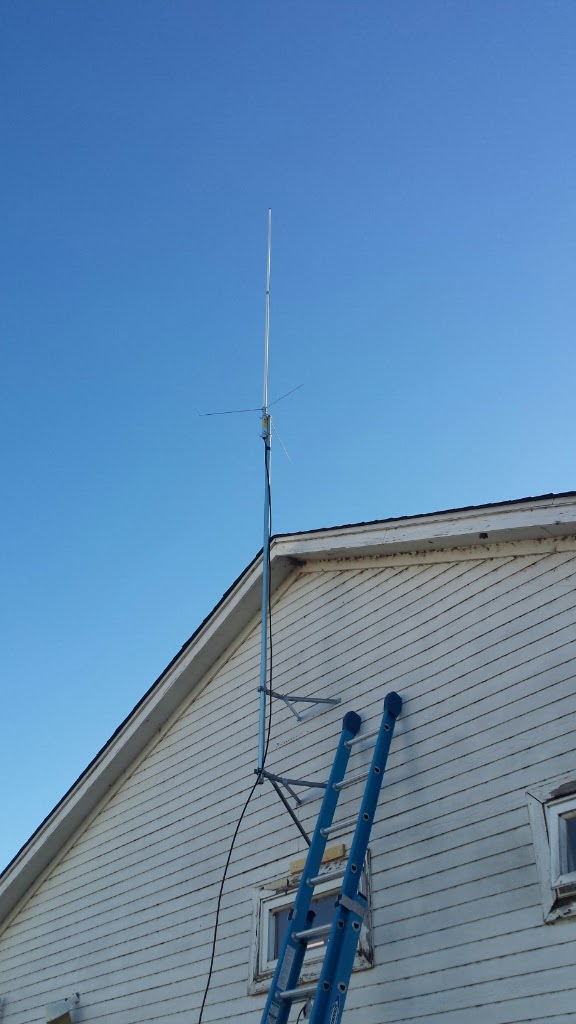
There was talk on the repeater today about a short Fusion Digital net right after the regular Six Shooter Net, so I put the FTM-100DR on the workbench so I could use the big antenna and have the best chances of joining in.

On the FM net, I tried to check in on *every* round and was never heard. I guess I need a beam or some more altitude. With the assistance of GoogleMaps, I have determined that I am 28 miles line-of-sight from the repeater. I am considering a three element beam. It would definitely have enough gain going that direction and would likely be wide enough to reach other Fort Worth area repeaters as well.

I eventually gave up and used the time to upgrade the firmware in the radio. I had plenty of time because it was the first time for a particular lady ham to run the net and people came out of the woodwork to check in for her. By the end of the net, she broke both standing records for length of a Six Shooter Net by three minutes and number of unique checkins by ten, even without mine!

So, the FTM100 firmware update procedure is split into three separate elements, the system, the display/control panel and the DSP. Before any of them, you connect the data cable to the PC and run the update program. It shows directions, which are also explained in an accompanying PDF in greater detail.

For the main firmware, you remove power, set an update switch reachable behind a rubber plug on the top of the radio and apply power. The weird part is that the radio in this mode shows no signs of life. You just click the OK and it starts loading. After it finishes, you are to remove power, set the update switch back, power up, perform a factory reset then verify the version.

The panel is different in that you hold down a two key combination on the panel as you power on the radio. It puts the radio into a mode specifically for panel updates. Then you flip an update switch and press a reset button reachable behind a rubber plug on the back of the control panel. Click ok and it starts loading. When it finishes, you again power cycle, do a factory reset and verify the version.

The DSP is similar to the panel. You hold down a different two key combination on the panel as you power up, then press a key on the panel to get to the DSP update mode and click OK. Interestingly, the DSP update didn’t claim to need a factory reset and definitely showed to be updated by the version numbers.

After the factory reset, you lose the callsign and all your channel memories and any other settings. It’s probably best to backup all to an SD card before the updates then restore from SD afterwards. In my case, I had both the SD card and the programming software.

So far as I can tell, the updates didn’t fix anything that I was aware of 🙂

So by that time, the record-smashing Six Shooter Net on FM had concluded and they had anyone who could do digital do a quick checkin with their location. Not surprisingly, I couldn’t make it, but 16 others did.

Oncor RFI Saga

Tiny update:

Thank you for contacting Oncor regarding radio interference. Your request has been assigned to the appropriate department. One of our representatives will contact you within the next 2 business days.

So, maybe something will come of it afterall…

Mostly Moved

Blogger has an XML export and WordPress has a Blogger Import plugin that can read the export, so moving the posts over was generally pretty easy.

Everything defaulted as Uncategorized. There is a a bulk edit facility where I could *add* another category, but I had to touch each post to remove the Uncategorized tag. Once all the posts were properly tagged, I added a menu that lets me put all the posts from five separate Blogger blogs and use the menu to view only the specific subjects.

The other caveat to the export/import process is that images came across on the import as URLs pointing back to Blogger. I will need to copy those actual images over here and edit the links in the posts. I think I can massage the XML files themselves to facilitate it…

All in all, though it is not yet 100% finished, it was much easier than I expected, especially with 190+ posts going back 6 years.


WordPress

Thanks to Google’s decision to move PicasaWeb galleries under the Google Photos banner, and more specifically the likely effect that may have on my few years of Blogspot blogging posts and the access to those photos, I have elected to move all my blogs to a WordPress server. Rather than using the WordPress hosting service, I have chosen to use WordPress on a server is hosted by GoDaddy. In a way, I am again dependent on another entity for my internet real estate, but this is a paid service and I don’t think GoDaddy is as likely to make such far reaching decisions without input from their paying customers. Besides, it’s easier to have GoDaddy host all this stuff as well as register my domain names. Well, most of them are here, anyway.

Google is great (if maybe too connected) and I foresee keeping my gmail accounts and my Google voice number for as long as they offer them. My preferred mobile phones are Android, so there will always by a Google connection there. Google is also a private business and they are completely free to make whatever decisions they see fit to operate their business. Those of us who enjoy the services that they offer for no direct renumeration must be willing to accept that we really have no say in their decisions, not like their board of directors does.

My blogging, even if only seen by a small number of people, is a deeply personal investment of my time (on Blogspot since 2009, before Google bought them) and I am trying to insulate myself from the decisions that Google may make.

Thus, I am moving my blogs over here where at least I have a contract with GoDaddy and they have accepted my renumeration in exchange for specific services.

I have five Blogger / Blogspot blogs, though really only three of them have any reasonably current activity. As I learn how things work in WordPress, I imagine I will build replacements for all five blogs, plus a couple on MSRuns and, who know, maybe some new ones. It should be an interesting ride, for me anyway.


Dillon RL550B and First Sunday Match.

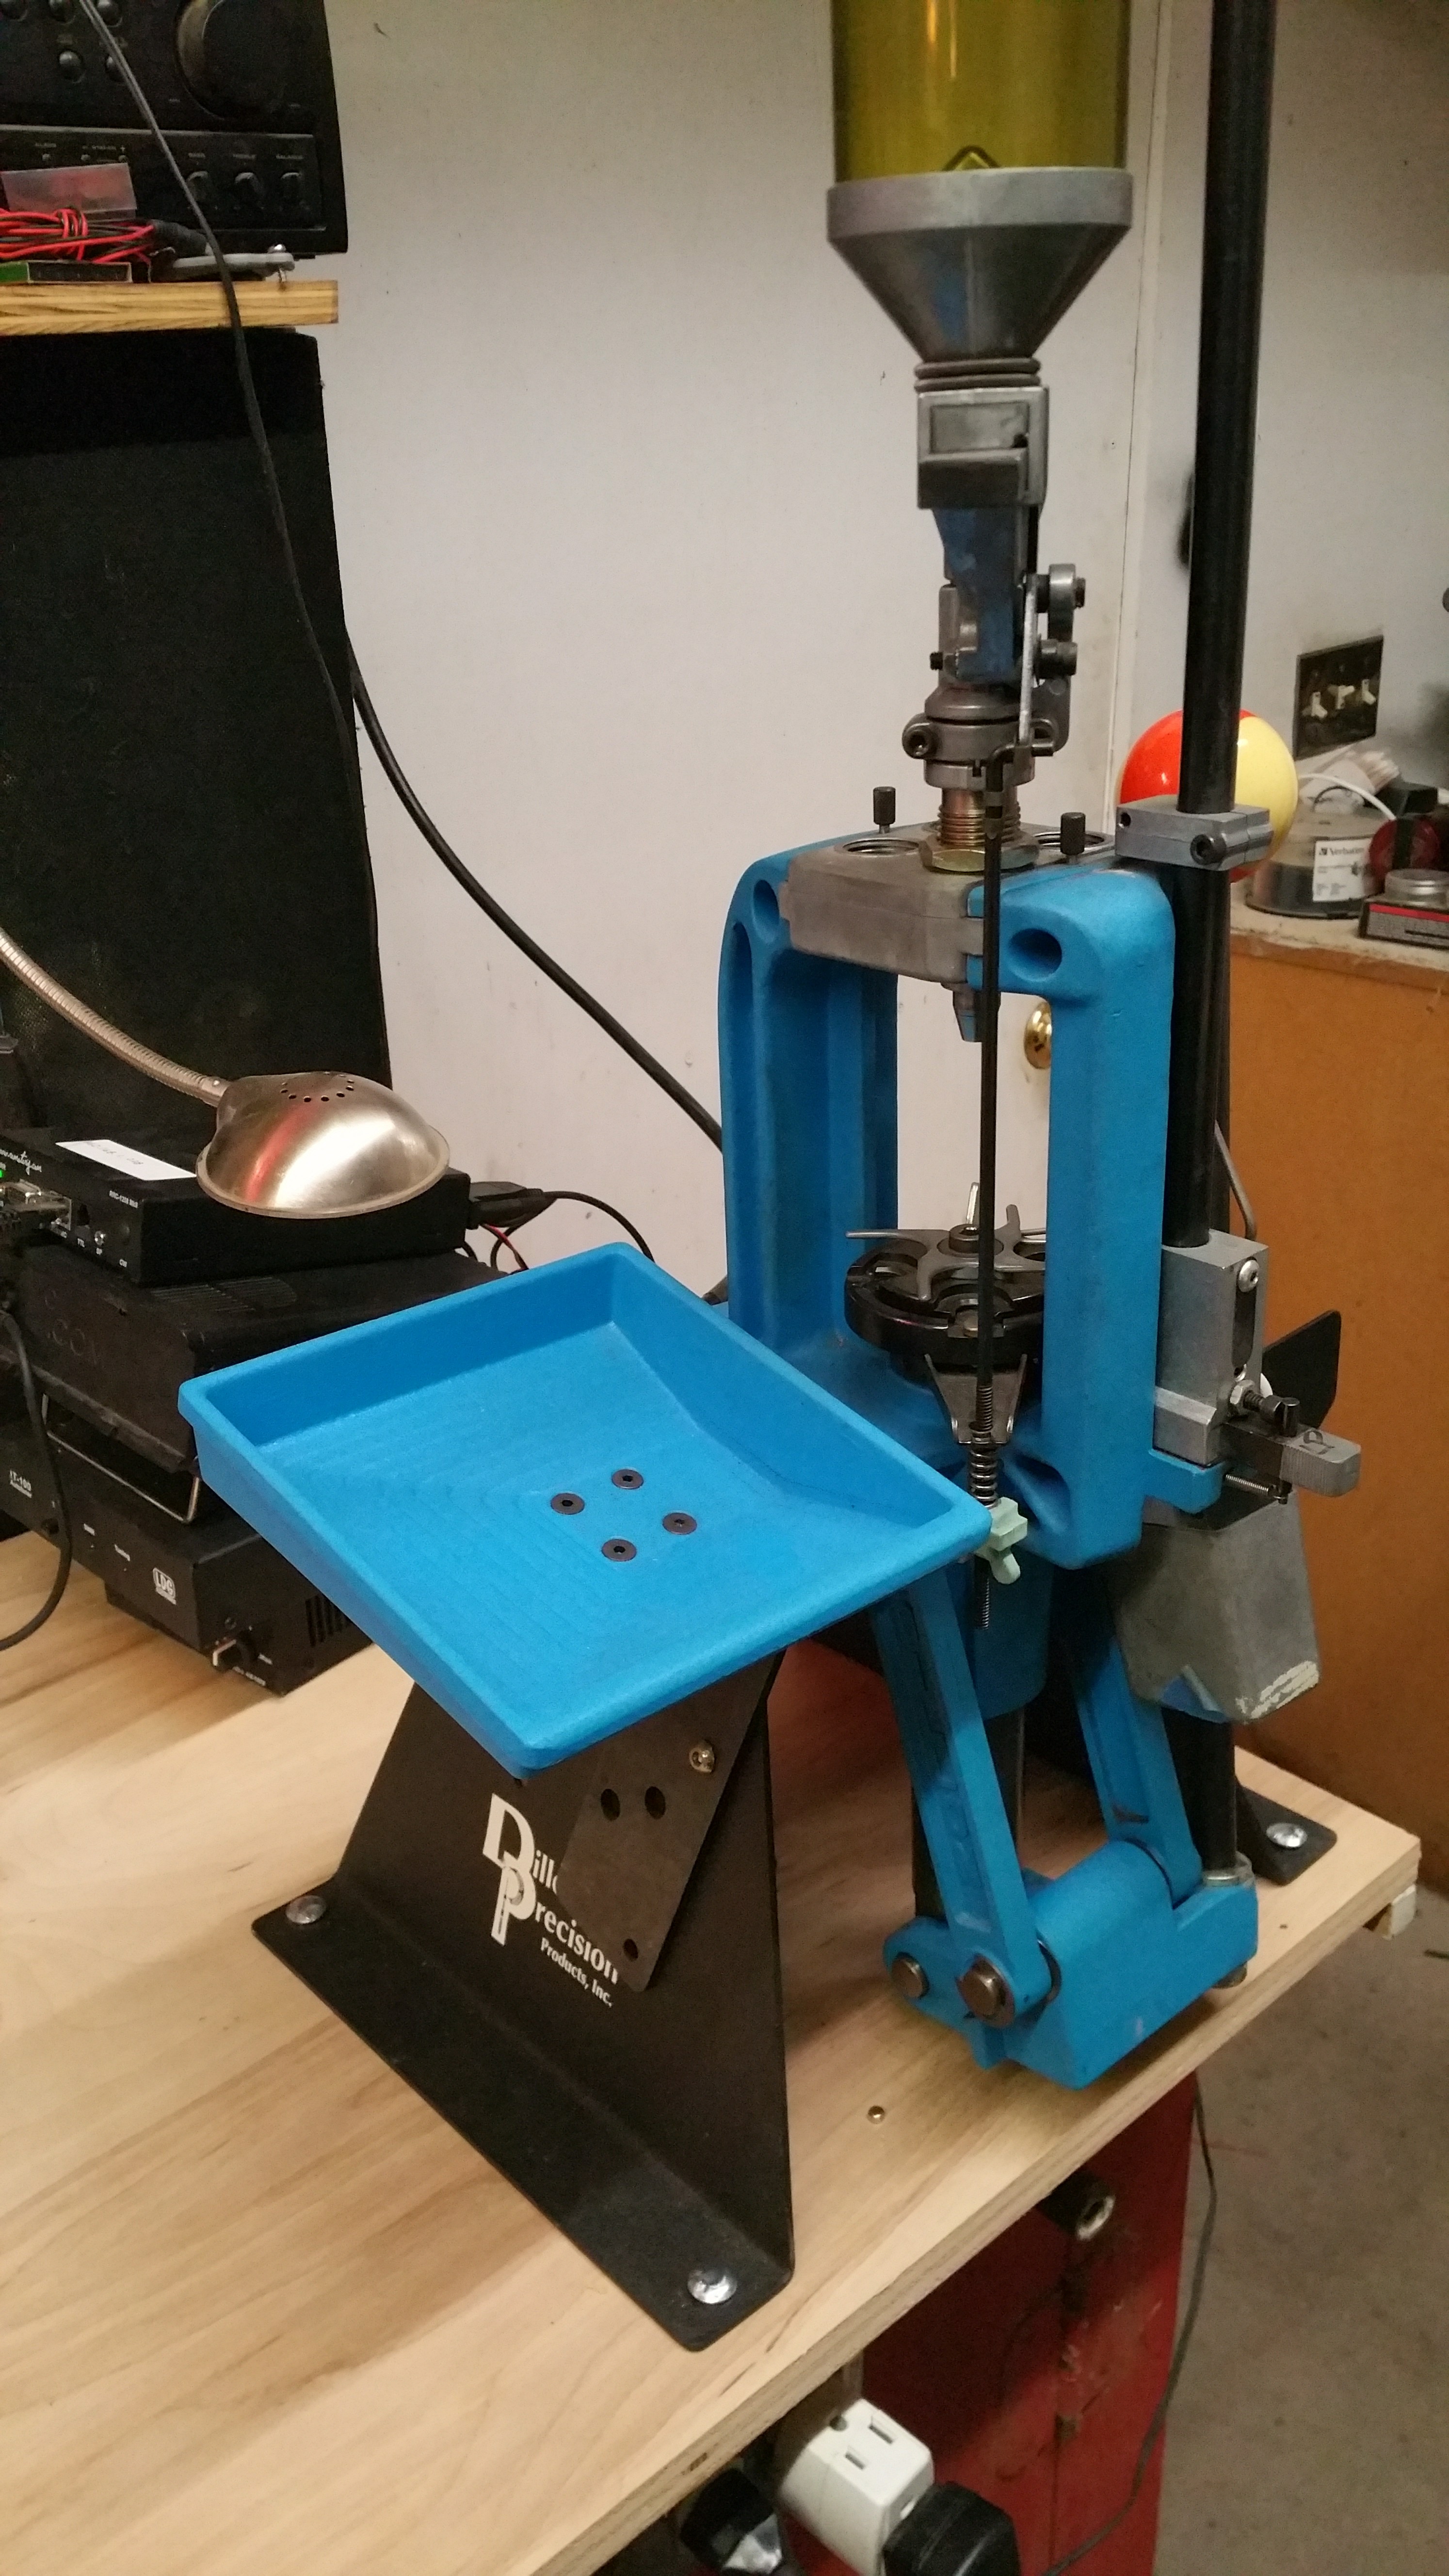
I have had this Dillon thing for several months now and I am finally getting it installed for use.

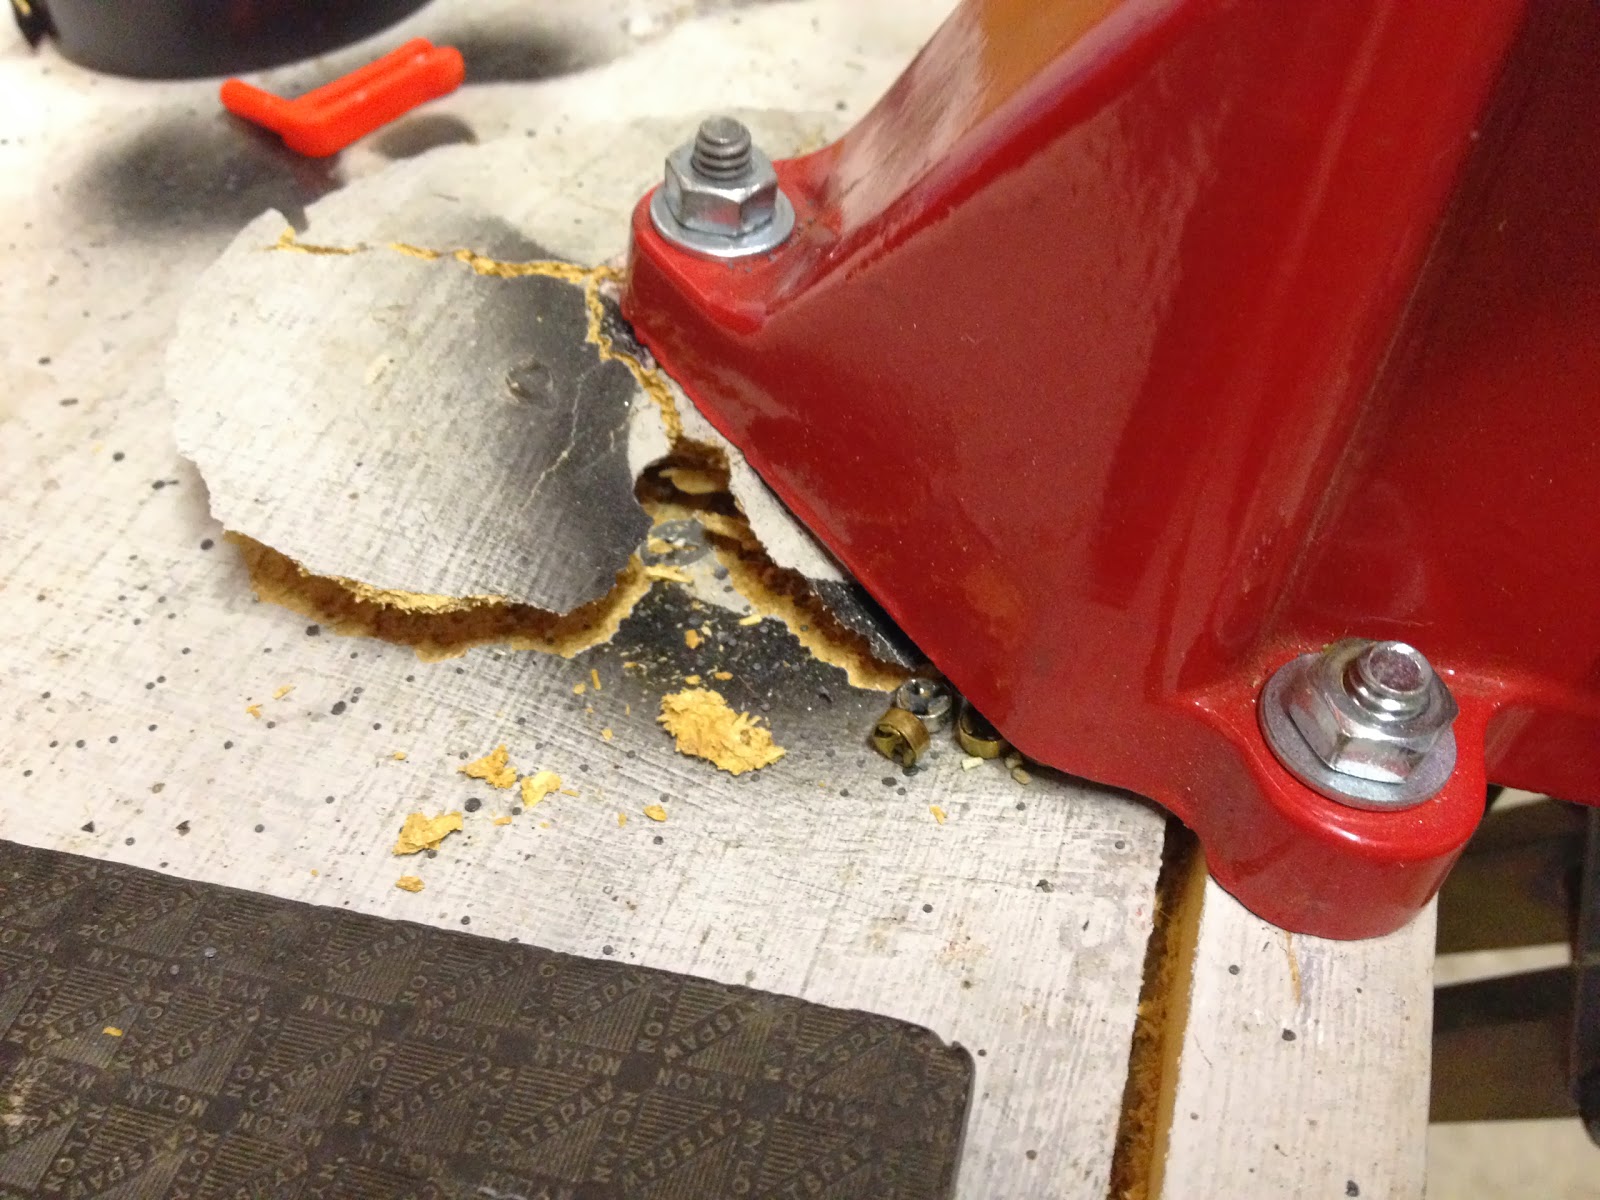
Way back, I broke the particle board work bench top with normal press operation.

IMG_01241

Even when I put it there, I knew it was just a matter of time until it would give.

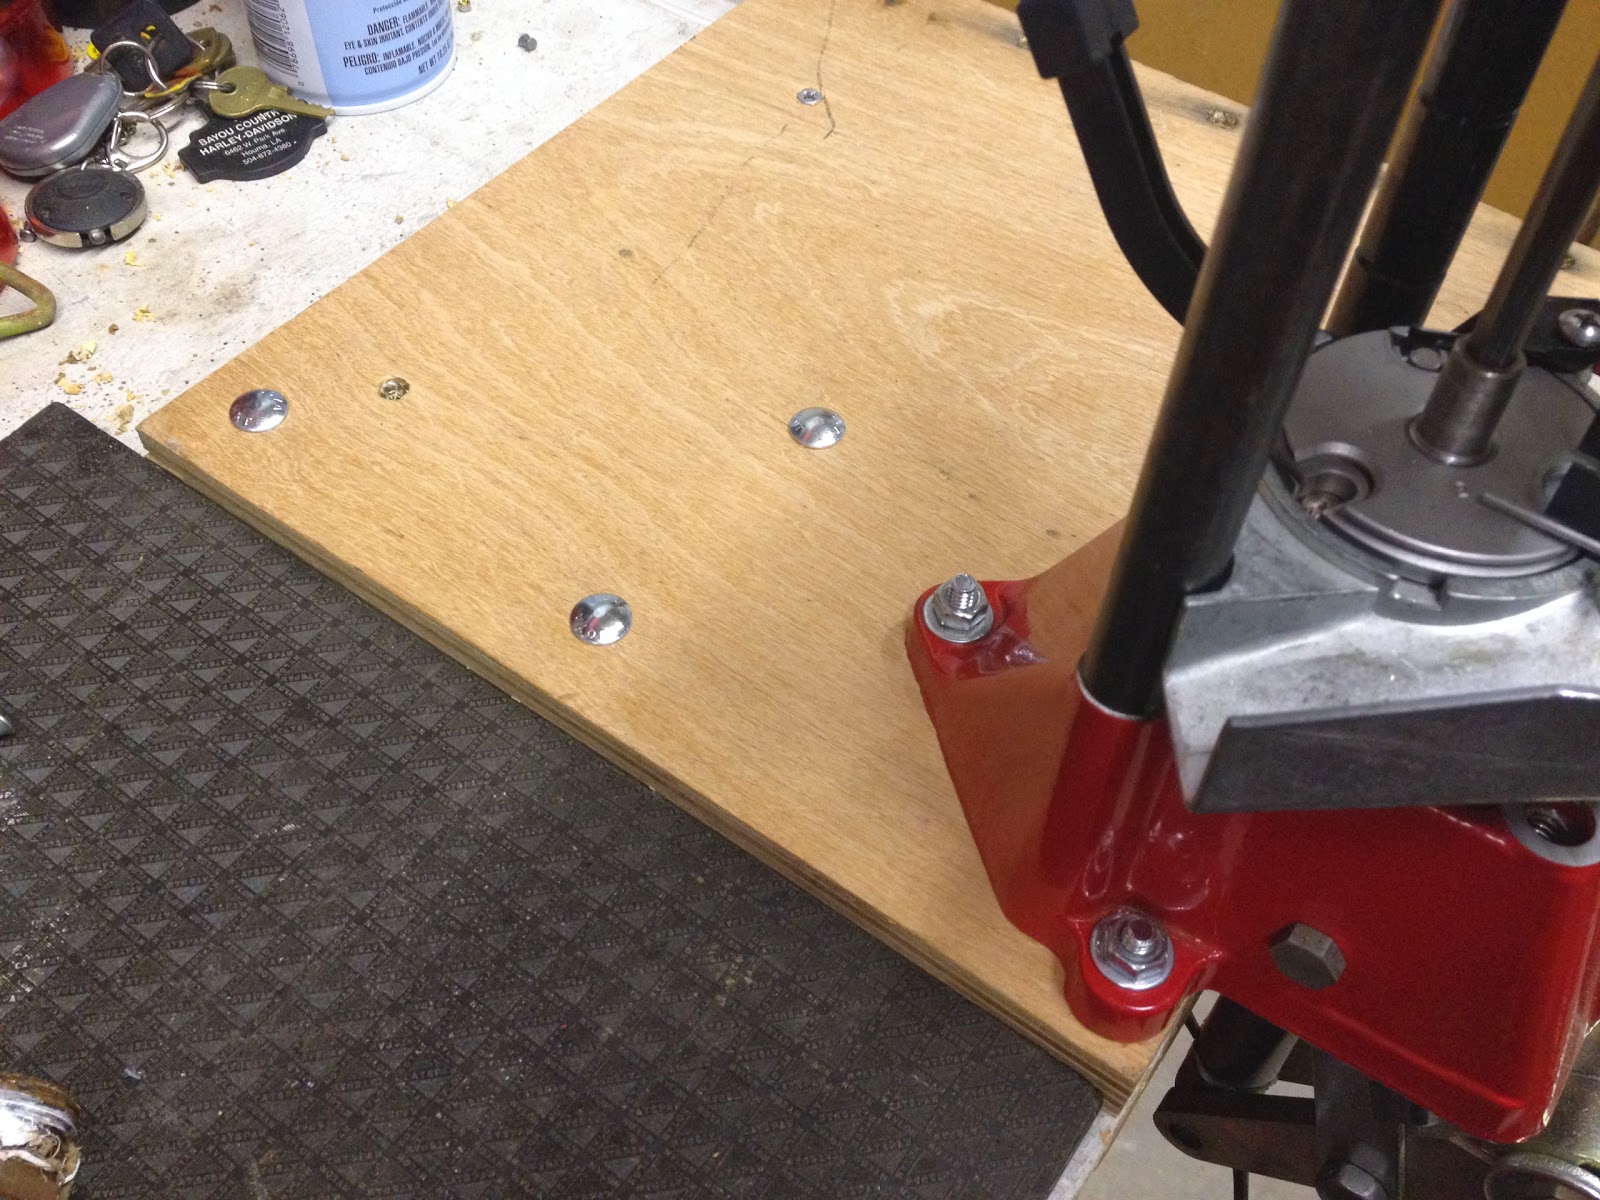
I cleaned up the damage as best I could and put a piece of 3/4″ birch plywood on the top of the bench, glued down and backed up with a metal plate underneath.

IMG_01243

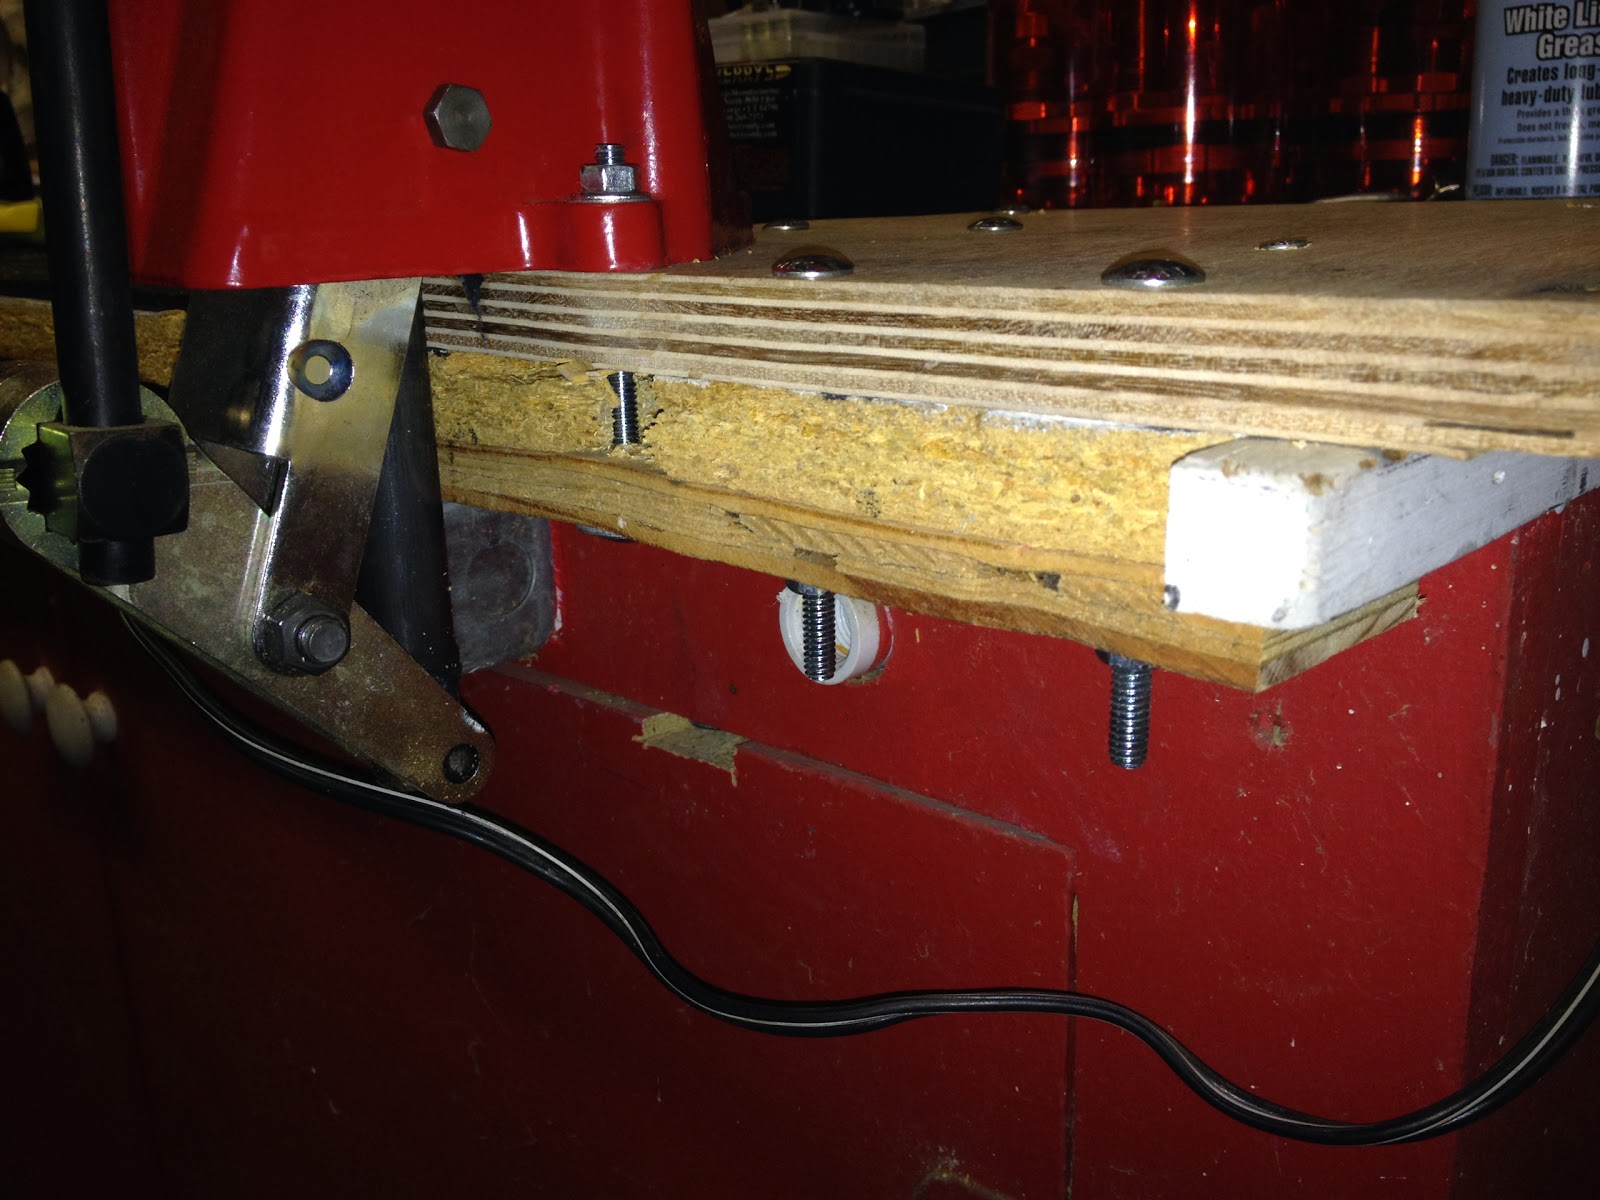
One the front edge, where the damage was most severe, I also sandwiched the damaged particle board with a strip of plywood underneath.

IMG_01244

This has all served really well, the press was now mounted solidly enough to reveal other problems instead 🙂

Enter the Dillon.

The Dillon has the strong mount accessory base that is wider than the piece of plywood that I bolstered the workbench with. It solves problems with some installations, but it may not be the best solution for my installation, due largely to my relatively high benchtop.

My original plan was to add a strip of 3/4″ plywood to make it a little wider to fit the Dillon. I decided that I didn’t really want to piece it together like that and thought I should just cut a bigger piece of plywood. I have a piece of exterior grade plywood I purchased but turned out not to be needed for a ham radio project.

Then I realized that the whole workbench could benefit from a plywood top. I have a bench vise on the other end of that work area. That plywood piece I have is solid, other than the holes drilled in it, but it’s kinda rough. I remembered a plywood table/bench top I made long ago that was not friendly to skin.

I then decided that if I was gonna do the whole surface, it would be worth getting a nice piece of plywood for it, so I verified that a 2×4 foot piece would fit and I went to Lowe’s for plywood, hardware and Liquid Nails adhesive.

By then, it was time to get ready for my attendance of the first official 1st Sunday IDPA match and I didn’t want to fix the workbench right then as badly as I wanted to go shoot!

Matchwise, because of the troubles I was having with the Remington primers in the Starline brass, I didn’t trust my last batch of ammo and shot with Remington UMC factory ammo. I brought a 10mm Auto barrel and some ammo for it, but elected to go with factory ammo for the 40S&W.

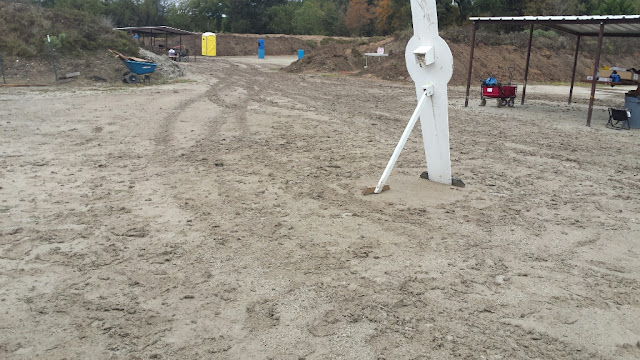
Stage 1 hurt but the rest of my stages were reasonably good, especially considering that it has been a couple of months since my last match. The majority of the pain was from one target. It was at the far left of the range, kinda in the dark, a vertical target with an angled non-threat in front of it. Not only did I hit the non-threat, but I aimed at the non-threat and having missed it, made up the miss. The actual target was clean and untouched. So, 10 down plus 5 seconds fail to neutralize on the target and not one, but two hits on the non-threat for 10 more seconds. I’m pretty sure there was another procedural as well, out of cover for another target. The rest of the stage was pretty normal, 1’s and 3’s.

The rest of the stages weren’t bad either. Overall, raw time 109.59, total 142.09. Stage 1 points down and penalties accounted for 22 seconds alone.

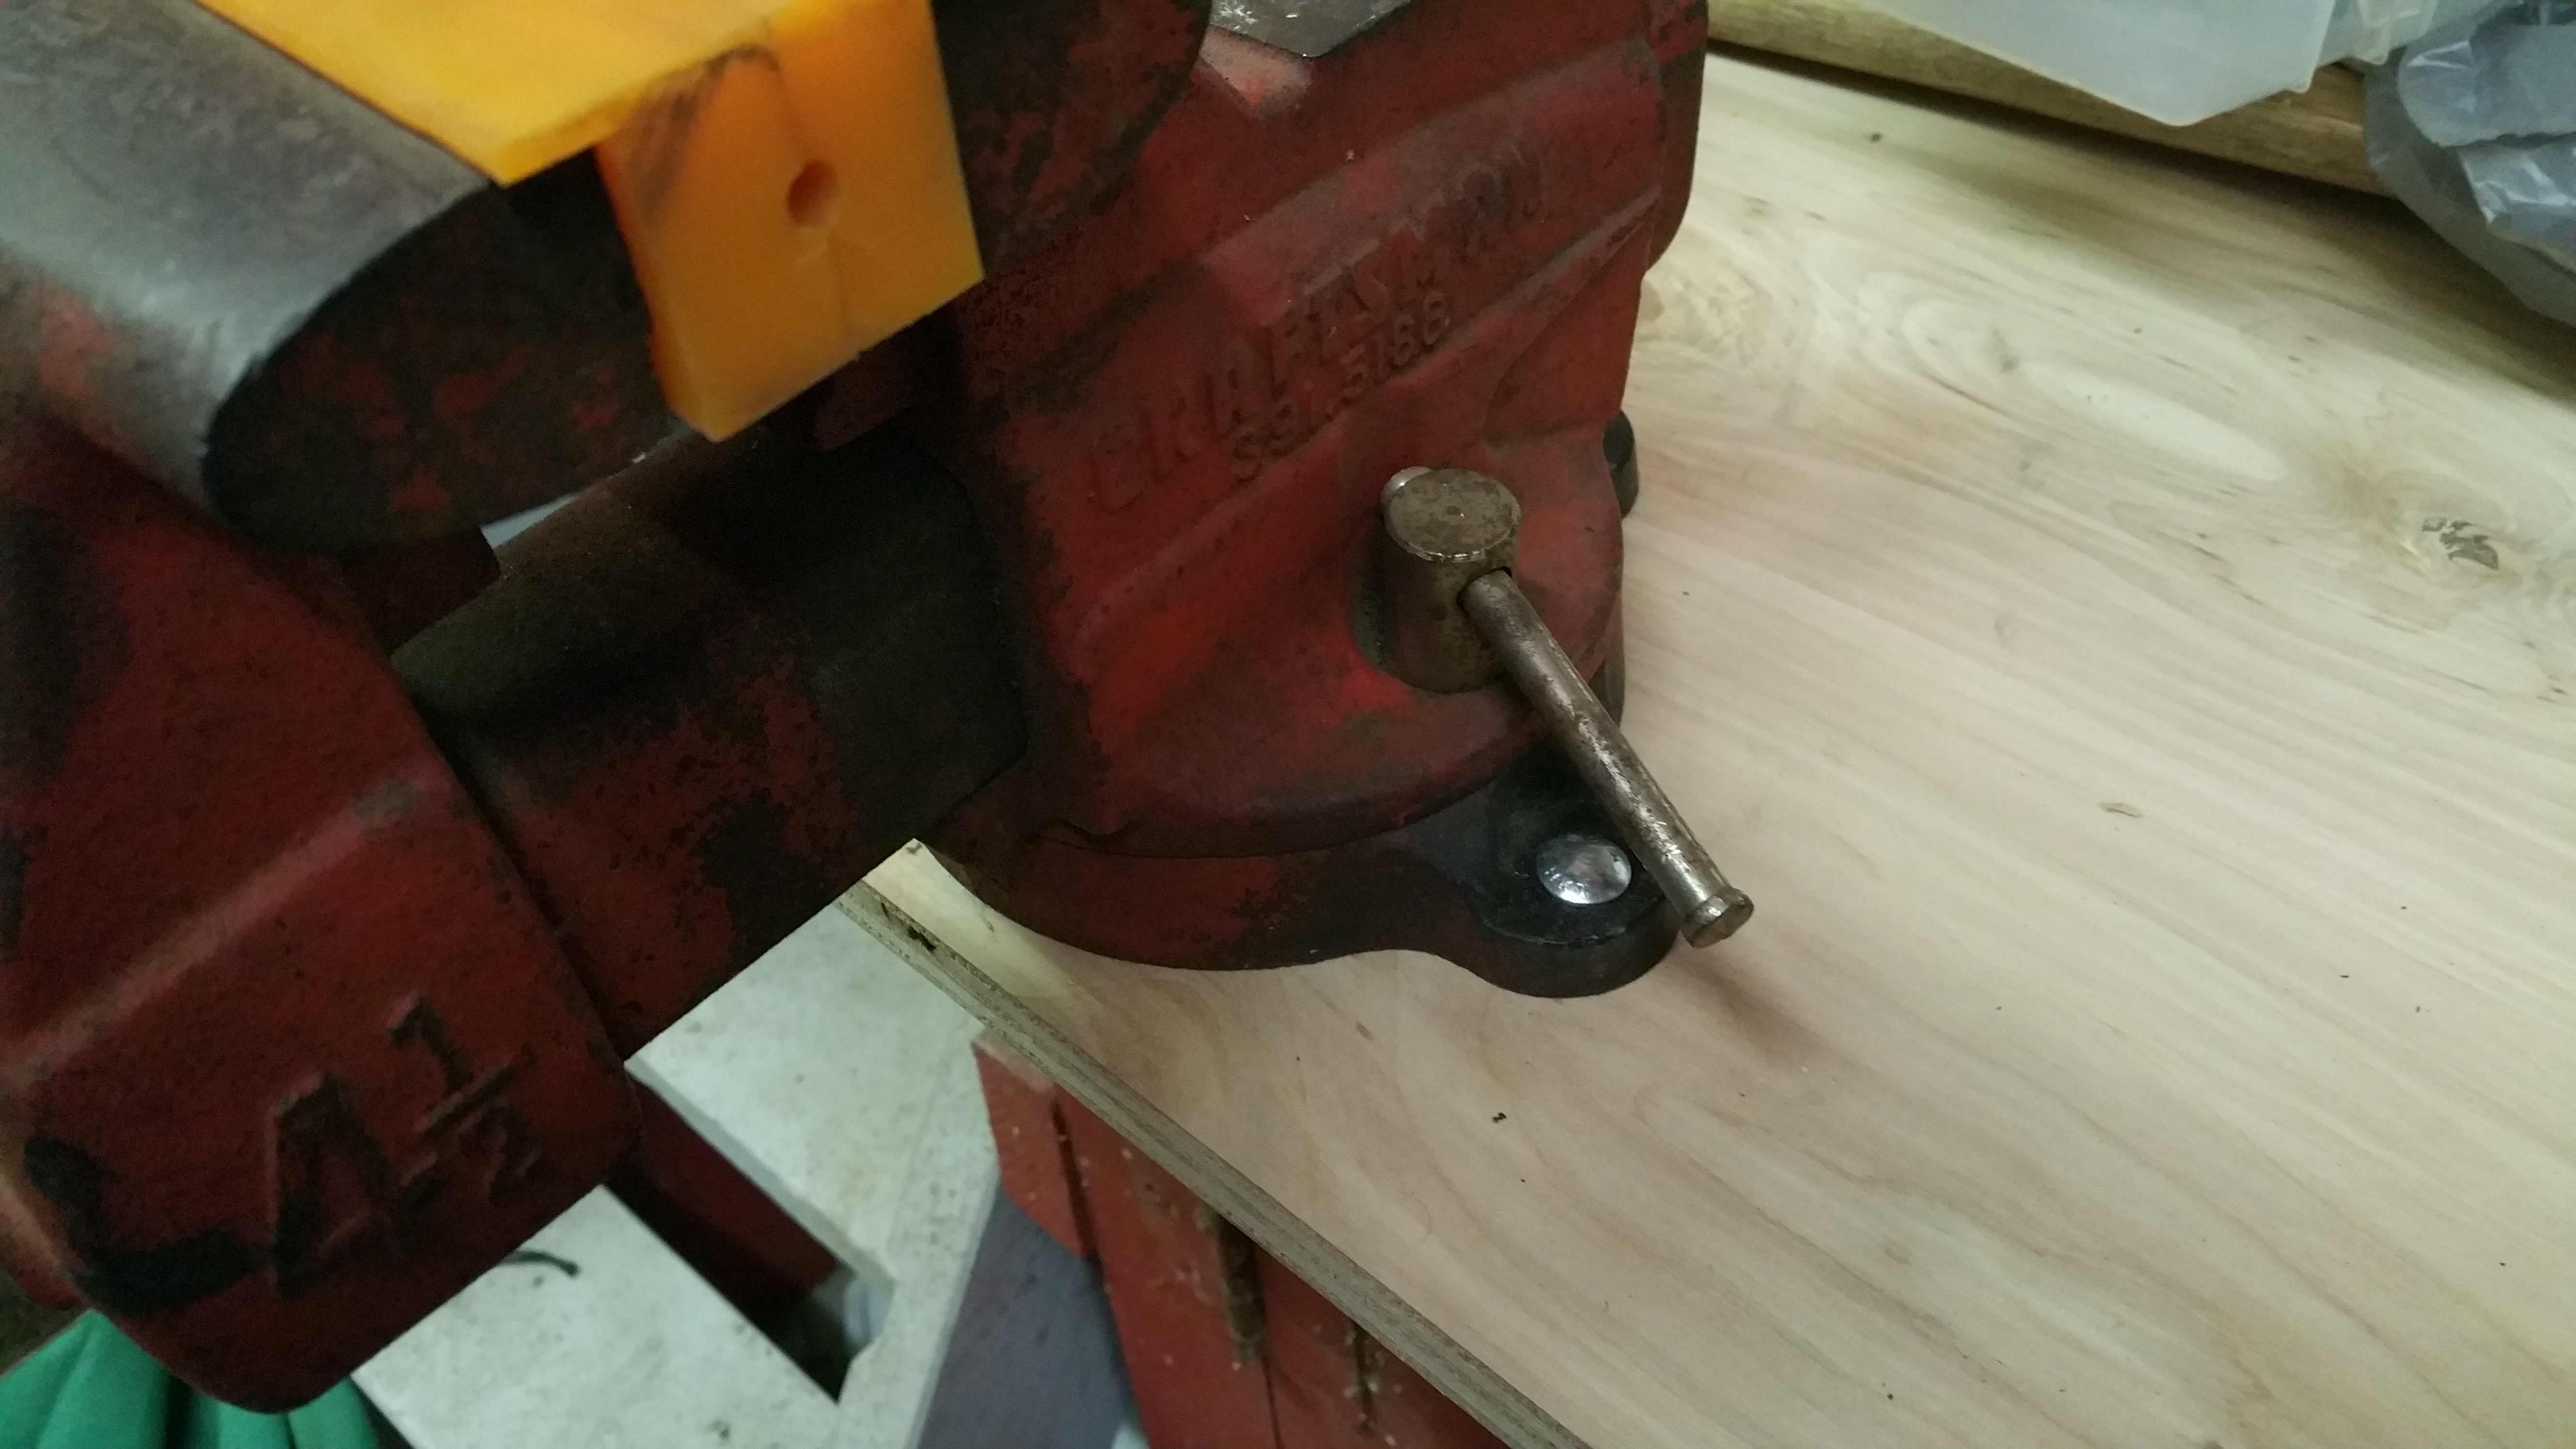
A few days later, I managed to finish the bench top and mounted the Dillon and the bench vise.

20160218_072133

Upon removing the vice, I found that the particleboard beneath it was probably only a few solid whacks from complete separation like the original Lee press did.

20160218_072207

Now the workbench is too pretty to work on…

BUG/CCP Match and Ammo Talk

Well, the BladeTech Southern Regional BUG / CCP Match held last Saturday was great fun! It had rained Friday and overnight Friday night. The rain was pretty much gone by match time Saturday morning, but it was still vera muddy.

I was my own worst enemy when it came to arriving on time. I left the house plenty early, but 20 minutes down the road, noticed I had left my wallet at home. So, 40 minutes added to trip. Caught at the railroad crossing on the way out the second time, so 5 more minutes there, though it always feels longer. Then as I neared the range, I lefted when I should have righted and didn’t realize *that* for 15 minutes, so 15 extra minutes added. I arrived at the gate shortly after the shooter’s meeting, and the range is still 15 minutes from the gate. Still, I got there, parked, registered and caught up with my squad and got inspection and stage description before the first shot, so not bad…

Two stages kind ate me up. The first was simply a matter of shooting faster than I can go. It looks good on the video but the score was pretty poor, 25 down on that one stage. One other stage had a poor score. Those two account for 2/3 of my total penalties. In contrast, the other 10 stages averaged 3 down.

Still, it was fun and I had almost no ammo issues. All rounds that saw the firing pin fired. I did have two rounds that failed to go into battery. I have gotten into what could arguably be a bad habit of racking out such failures. I think I need to develop instead the habit of bumping the back of the slide to attempt to force them into battery. With a BUG pistol at a BUG match, the stages were understandably BUG friendly, designed largely to be shot in groups of 6. Two targets get 3 each or 3 targets to two each, then move. Well, when you rack out a fail to battery, you now have only 5 rounds. You will run out before you address all 6 rounds. So, advance to cover, reload, take the last shot. *Now*, you’re probably going be short for the next 6 rounds and have to stop and reload for that. Both rounds that were racked out were lost in the copious mud, so I could not check those to see if there was a dimensional issue with them.

All in all, however, it was a fun match with ammo I feel I can trust, at least for competition. This Thursday, I may get to test that load in the Glock, though Thursday is also the last day of work for my retiring spouse. I might be busy. 🙂

It’s Not Really Science If You Change All The Conditions

I loaded up 100 rounds of low recoil 40S&W, using new Starline brass, Remington 1-1/2 primers and a slightly hotter 4.6g charge of Power Pistol and shot it from my Kahr CW40. So, other than keeping the Xtreme 180g RNFP projectile, I changed all the parameters of the test.
First, the Kahr is running it’s stock spring, which is pretty stiff to judge by just a finger pull. I’m sure the smaller size of everything magnifies the apparent effort needed to cycle the slide, but the ammo never failed to extract or in any other way, fail to operate the pistol.
So long as it actually fired.
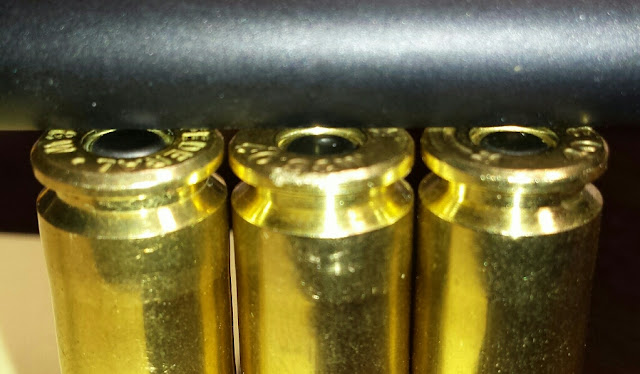
I had a few click-no-fire failures. Several, in fact. I recovered at least three manually ejected cartridges with seemingly light strikes. Upon closer examination, it appears that the primers are set deeper in the pockets than expected.
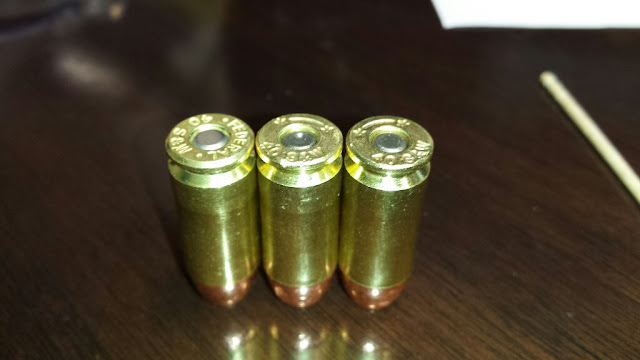
On the left is one of my previously loaded 180g rounds, with used brass and CCI primer. In the center is a light strike failure and on the right is an unfired “new” round. The really sharp observer will notice that the light strike is also a smidgen off center, but that is not generally a problem unless it’s WAY off.
It may be tough to see in that picture, but the primers in both of the new rounds are noticeably set back.
Not sure if this is a better or worse illustration.
Since the previous load is in different brass and using a different primer, it’s hard to compare them fairly, but the degree to which the new rounds are wrong is very clear.
Since I need to load about 200 rounds of ammo for a major match *tomorrow*, I need to resolve this tonight.
Most obviously, I will see what CCI or even Tula primers look like in the Starline brass. Before I load any, however, I will see if the Remington primers are smaller than the others and/or if the primer pockets in the Starline brass are different from the fired brass I have. The Remington primers gave me some fits anyway. They didnt want to feed reliably in the press. It seems to like CCI better. Actually, it seems to like Tula primers as well or maybe better. My hopes are very high that this will resolve the problem and I can use this load tomorrow without issue.
Using new brass was an unaccustomed joy. None of the usual QA gyrations that fired brass needs seemed to even apply. Never fired means never GlockBulged; loaded rounds dropped straight through the bulge buster without interference, so that fairly time consuming step could be eliminated. Thanks to a minor adjustment of the crimping die, they dropped into and out of the gauge block as well. I did not put a caliper on every round, but the 20 or so random rounds that I checked were all dead on 0.419″ at the case mouth and OAL 1.115″, +/- 0.001. That is a little short, so I will move that out to 1.120″ or so. I have had some feeding problems in the Lone Wolf conversion barrel of the Glock and that will likely help.
In looking up some figures about primer pocket depth, I came across an article about the dangers of loading 40S&W with 180g bullets. The gist of the article was that since the 180g bullet is physically longer than any other weight bullet, but that we maintain the same OAL, the combination results in significantly reduce loaded case volume. This volume does indeed affect the burn rate and peak pressure of any powder in any round and the article included a scary chart showing that a variation of 0.140″ in cartridge OAL and thus case volume, resulted in pressures soaring as high as 4 times the maximum SAAMI pressure for the cartridge.
The same sort of problem comes from too light of a crimp on an autoloading pistol cartridge and even more often, chambering the same cartridge over and over (like you might do if you unload and reload your carry ammo into a pistol you also compete with) can set the bullet back from being rammed into the feed ramp. At the very least, it can affect accuracy because the pressures vary from shot to shot and in the worst case, your pistol comes apart in your hand due to extremely high pressures, possibly taking your hand with it.
In my case, I think my handloading goal avoids this issue. I am not loading anywhere near full power, let alone max power. Just the opposite, in fact. I am developing the lowest power load that will meet minimum power factor for my competition and reliably operate the pistol.

Punching Holes Gently, Continued…

The 13 pound spring did seem to help operation of the pistol in general. With the stock spring, I had several issues where extraction and ejection seemed to not complete in pretty much every stage I shot. The lighter spring as reduced that greatly, but it has not completely eliminated it. Last Thursday, I still had a couple of them.

Also, the lighter spring seems to have made the pistol a little less forgiving about about case mouth tolerances and thus I had a few failures to go into battery.

In my defense, though perhaps it’s not a truly warranted defense, I have found that I can have rounds that drop freely into the gauge block but close observation reveals a tiny bit of the flared mouth remains. This might not be an issue on a Glock 22, with it’s native 40S&W magazines, but using the 10mm mags and a 40S&W conversion barrel might introduce enough geometric change to take up all the usual tolerances and result in a failure to go into battery.

Message received, Cody. I need to mic those case mouths. Adjusting the crimp die will be very simple and will probably take care of it.

So, with the BUG match coming up this weekend, I have two critical ammo related problems to address.

Even the lighter spring on the Glock isn’t quite light enough for the current load, so I need to bump up the powder charge just a little. As I am using the Lee Pro Auto Disk powder measure, I will just go up one cavity size on the disk. I think I’m using the 0.40 cc cavity and the next larger 0.43 cc cavity should raise the powder charge to about 4.8g. This should add about 50 fps to the velocity, but more importantly, about 31 foot pounds of energy to the slide.

Of course, that whole paragraph applies to shooting the Glock. For the BUG match, I’ll be shooting the Kahr, and I haven’t tried that ammo at all in that pistol. The current load might work, or I might need to bump that even higher for the Kahr. I may be able to test that this evening.

Spring Is In The Air

No, spring is in the Glock…

The 13 pound recoil spring worked as expected. I did have two ammo issues, but they appeared to be ammo dimensional issues.

As I was rushing somewhat to have 100 rounds of this low recoil ammo recipe ready for the match, I QA’d the rounds with the gauge block only. Usually, I run all rounds through the Bulge Buster first, then case gauge block. In the interest of cranking out 100 rounds that morning, I just cleared all rounds though the case gauge only. If they drop unrestricted into the block, I called them good. I’m not sure if that allowed a couple of marginal rounds through or not. Shrug.

What I really need to do is take a few hundred rounds to the range and test them under non-competitive conditions, with the chronograph, too.

I have also been looking into a bullet trap for easier and safer ammo testing at home.

We have about 12 acres of land in a subdivision with a minimum lot size of 5 acres. We have a pond on the property which includes a dam that I have used as a firearm backstop before. However, that area is muddy much of the spring rainy season, limiting access to keep it mowed. Consequently, it is overgrown much of the rest of the year. It is a good place for daytime target practice, for part of the year, but it less than convenient for the kind of shooting needed to work up a handload recipe.

After shopping for commercially available bullet traps, I have found that there are a few available that would suit my needs fairly well, but they tend to be $1000-2000 and I just can’t justify that kind of cost. I think I’m going to have to go homebrew.

There are three *basic* designs for small bullet traps, four if you include clearing traps. Clearing traps are designed to simply be a safe direction to point the muzzle when unloading and clearing a weapon. They are not truly intended to be fired into regularly. For bench work, a sand filled bucket is adequate for most handguns.

The other bullet trap designs are variations on a theme of safely dissipating a bullet’s energy. The most common design, both commercial and home made, uses a hard steel plate, generally at somewhat of an angle to the shooter, to absorb most of the bullet’s energy and deflect it into a soft material, often sand, to absorb the rest of the energy and capture the projectile. The home made version might be adaptable to indoor shooting and in fact, many indoor and even outdoor ranges use another variation of this technology wherein the angled steel plate deflects upward, but the plate is covered in several inches of shredded tire rubber.

Another very common design that is a little more complex is some form of a design that uses highly angled plates to deflect and guide the projectile into an enclosed tube to dissipate the remaining energy in the tube. This design makes recovery of the spent projectiles easier, thus making the lead easier to recycle. The specifics vary somewhat, but they mostly look like a big funnel connected tangentially to the side of a pipe. This would be my favorite design to try, mostly because there is no need for any kind of sand, ground rubber or other media to sift spent projectiles out of.

The last common design is really basically a scaled up clearing trap, a tube filled with baffles or some other energy absorbing media, large enough to safely shoot at from a distance. One of the slickest example of these was from a company called Target Shooting Solutions. As of November 2017, their web presence is now for an indoor range in Pennsylvania, with no bullet traps to be found. Sadly, their least expensive model was $1000. However, their basic design lends itself somewhat to the DIY builder, a tube filled with absorption media.

The easiest to build your own tube trap with would be 12″ or larger steel pipe, about 3 feet long, with a heavy plate securely welded to one end, the other end made of something a bullet should be able to pass through, like a piece of a horse stall mat.