I’m sure my eclipse day story is not much different than untold thousands of others, but I only have mine to tell. 🙂
My long long time friend KD and I started loosely planning for an eclipse capture trip quite early, as one should. Actually, we started planning for the October 2023 annular eclipse. We both live in Texas, but a good four hours apart and neither of our homes were directly on the October 2023 path. Soon, however, I realized that I already had conflicting plans for that week, so I missed that one. That made April 2024 that much more important. I had vacation time to burn, so planned for Monday and Tuesday of that week so that I could do whatever travel I wanted to do.
As we got closer to the date, we tried to find a place that was a similar daytrip drive for both of us and it was looking likely for a lonely stretch of highway near Llano. Conditions changed, as they often do, and KD was going to be able to make it more than a day trip, so I started looking for places closer to me, intending to host him here. As it turns out, the path passed through a town near Sulphur Springs where I know someone who owns a bit of land. I contacted her and a couple of astrophotography nerds were just the thing she needed to complete her eclipse day plans. She asked for our T-shirt sizes, so I knew something was up. 🙂
The other part of planning that I was partly successful with was the two part task of getting things together for the shoot and practicing with them. I was better at gathering than having 😉 Of course, the gathering was done in time for the October eclipse.
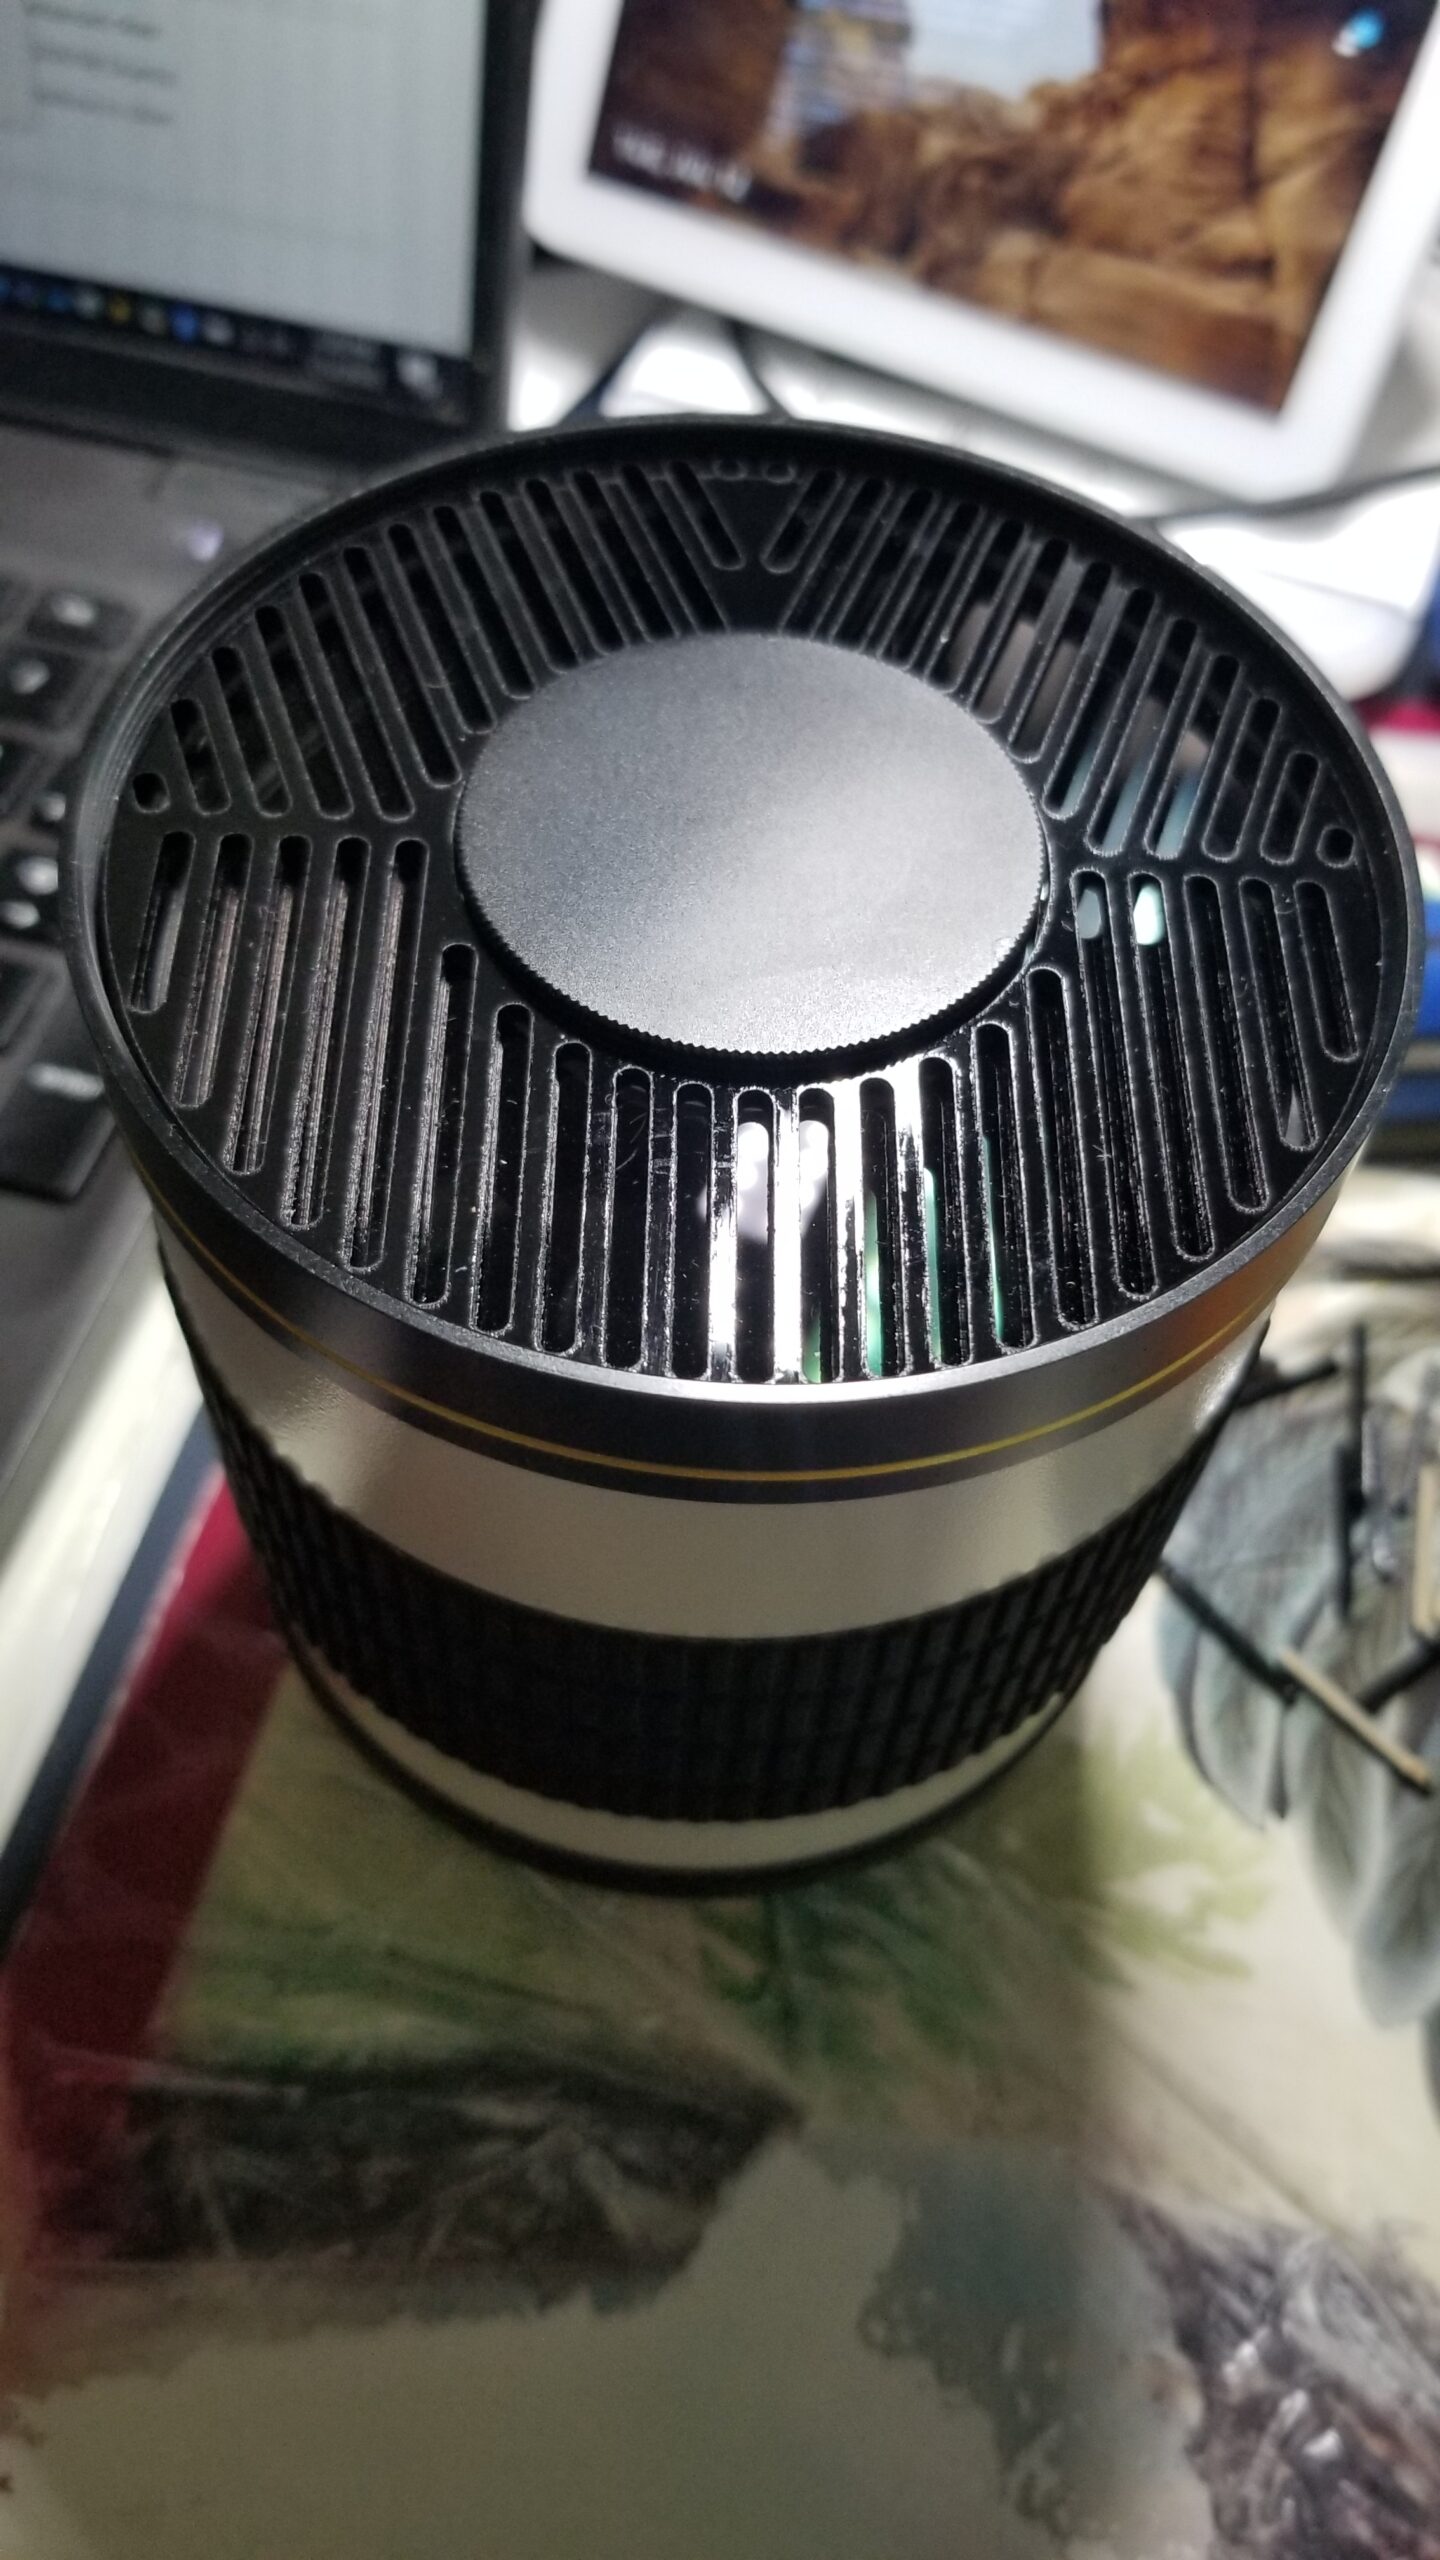
The general plan for the day was to use my Redcat 51 telescope and venerable Canon Rebel T6 with a solar filter and an intervalometer to take about one picture per minute and use my tracker to make it easier. Happily, for that part of the plan, all I needed to purchase was a solar filter to fit the Redcat.
I also wanted to have an second camera for manual use. I found that I could get decent price on used Canon cameras on Adorama. They had a Rebel T5 for less than $100. The T6 has WiFi and NFC and a higher resolution screen, but otherwise the T5 is essentially identical to the T6, making them largely interchangeable for most of my uses.
Editors note… for reasons I can’t explain, I am picking up the editing of this post almost a full year after the event and everything above this paragraph was written a year ago. It just shows that if I don’t jump right on a blog post, it suffers.
Now it just came down to making sure that KD and I coordinated our travel plans and that we gathered pretty much everything vaguely photographically related that either of us own. He came to our house a day early and the morning of, we headed to North East Texas. After all the introductions were made, it came to light that the proprietor had indeed made a small event out of it and had lunch and T-shirts for a dozen or so guests.

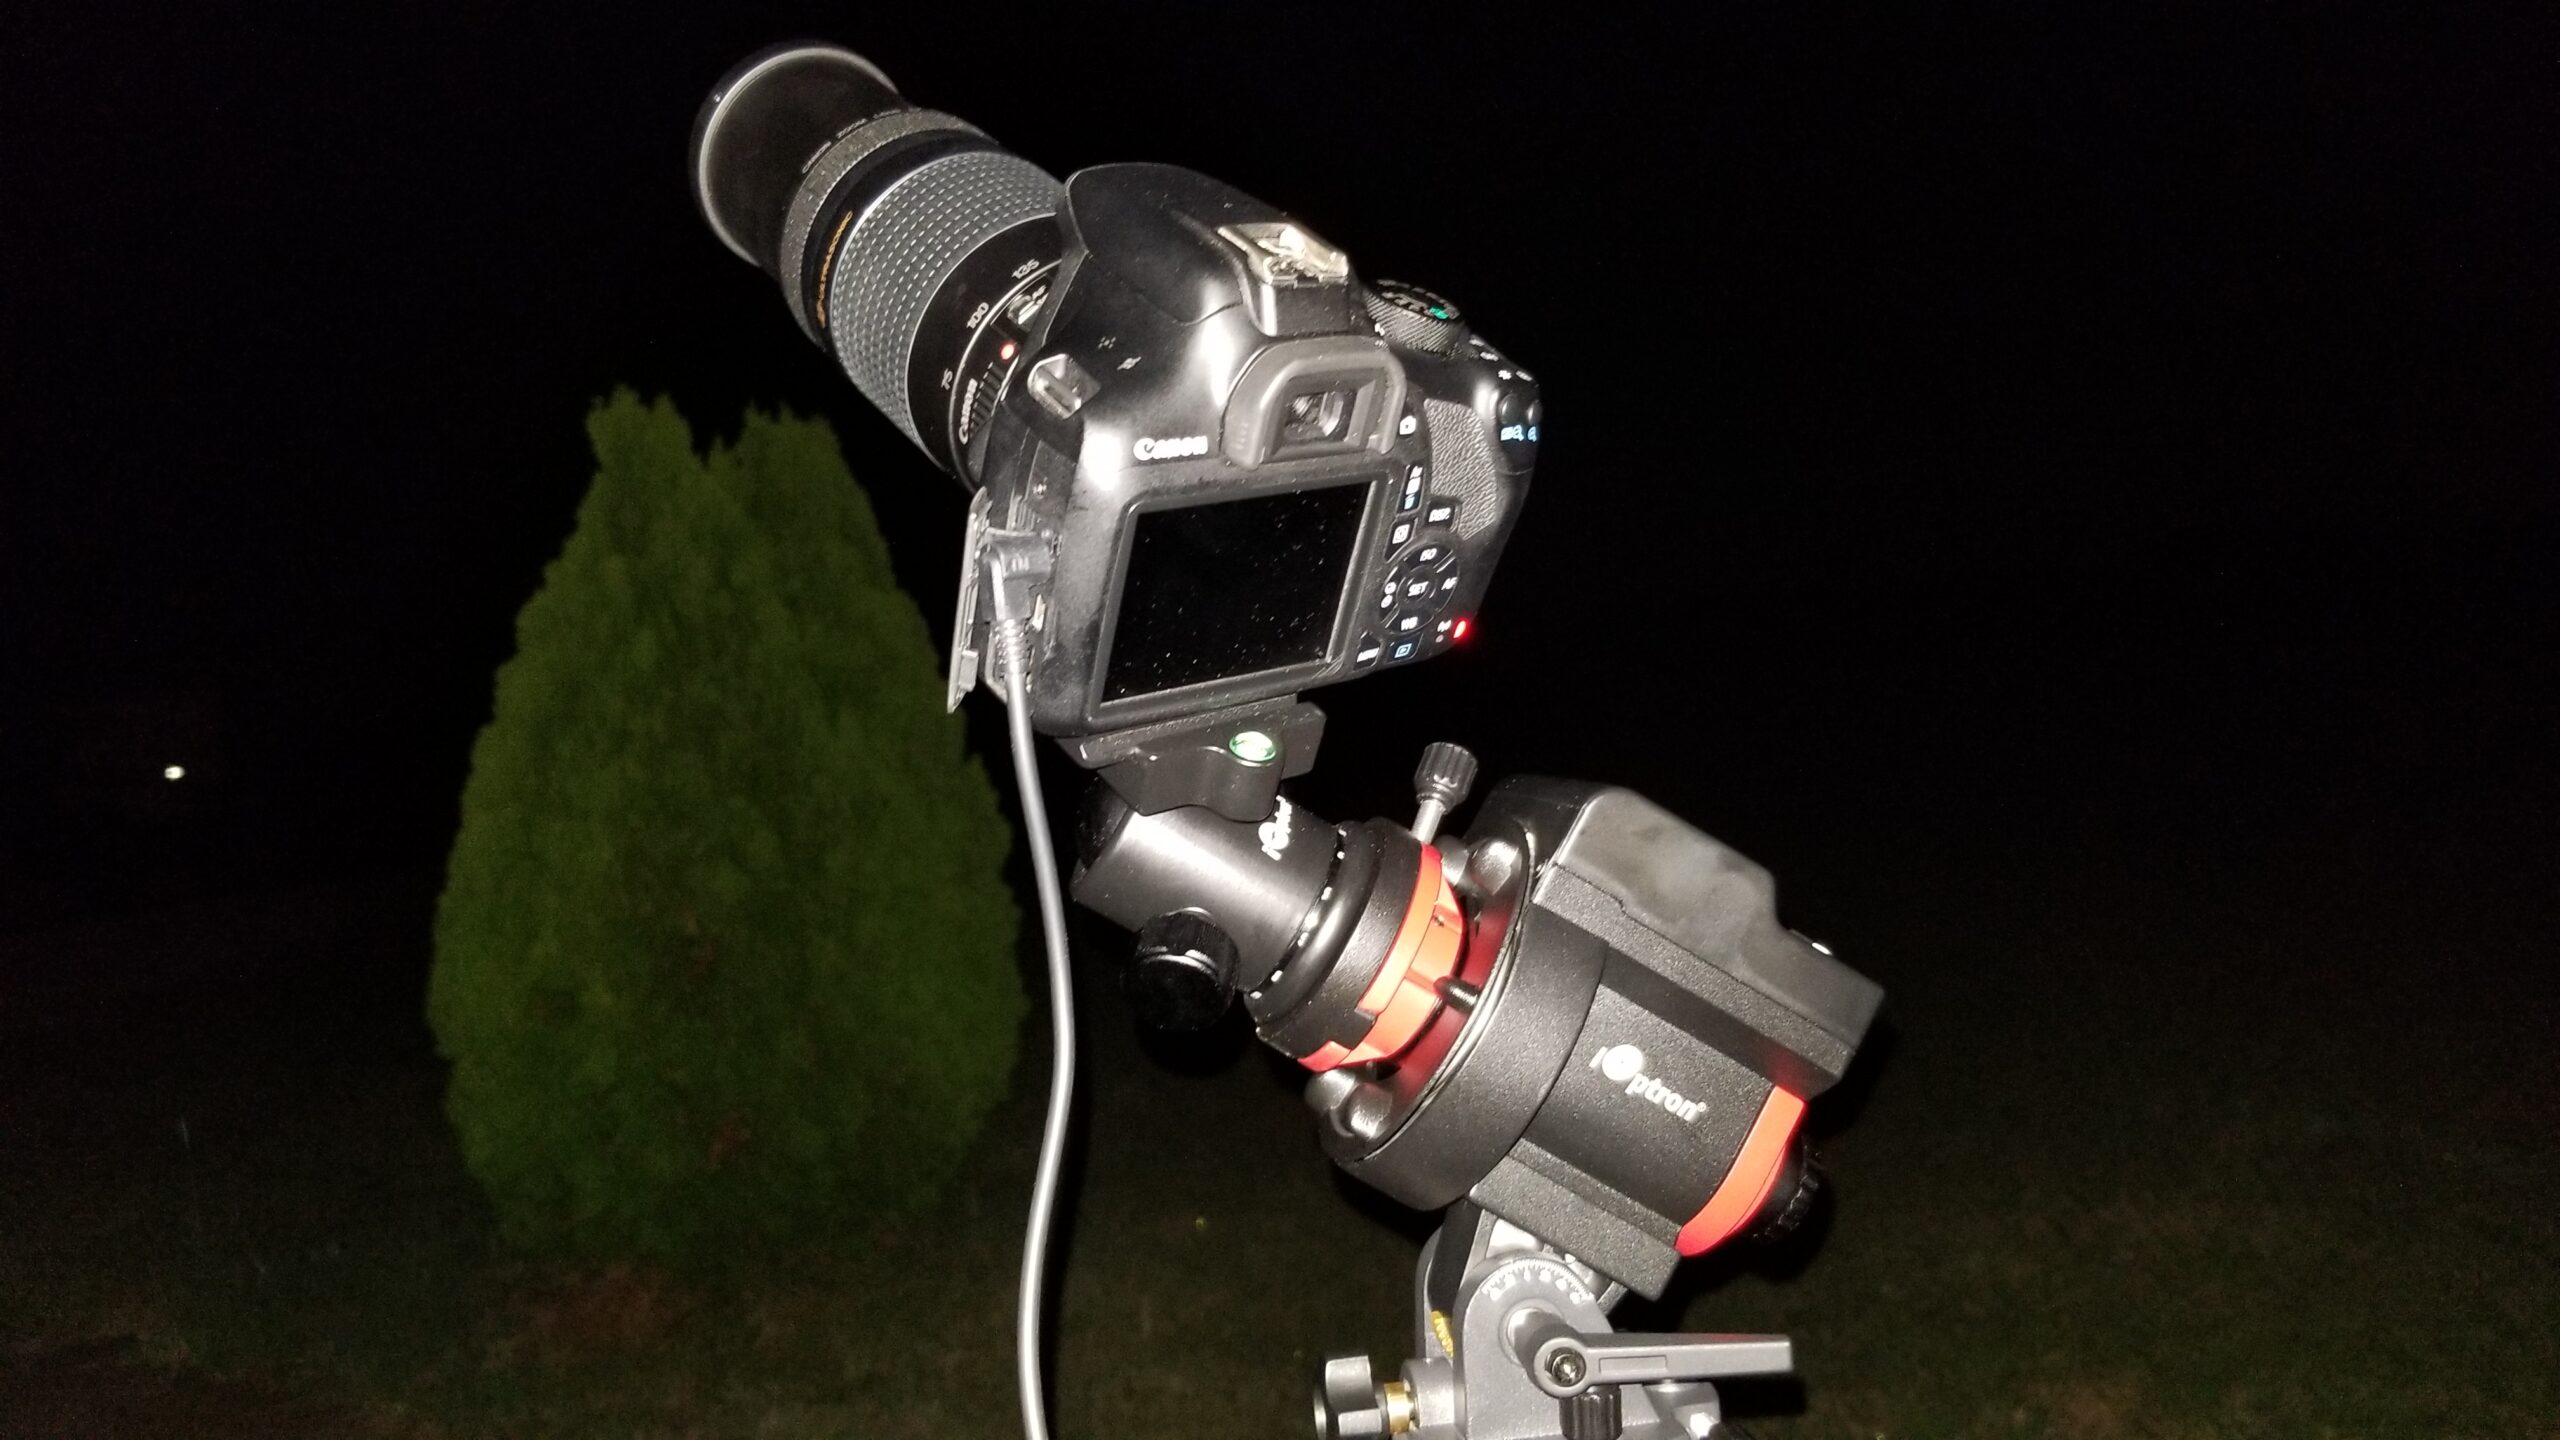
We set up all of our gear. With all the boxes and bags we brough in, it looked like we were there for a movie shoot. Sadly, I did not get any good detail shots of the gear once it was set up, just this wide shot of the site.

In the foreground is KD’s setup, a Canon DSLR and filtered lens on a tracking mount, secured on a weighted tripod. Behind is my setup, similar in that it is a Canon DSLR and the Redcat51 with a filter on a tracking mount secured on a big tripod, but not weighted. In the rear is someone else’s camera on a tripod.
One of the things we were concerned with was polar alignment for the tracking mounts without being able to see Polaris. Using just compass directions fine tuned with smartphone apps, it turned out to not be a big deal. We sighted down the axis of the tracker along the compass line and tracked the sun pretty well, making a couple of small adjustments to tune it in beforehand.
The setup as we approached showtime felt pretty dialed in. Besides, what were we gonna do, start over?
I had my intervalometer set to one exposure per minute, and I was setting exposure manually in the camera. I had an external HDMI monitor connected so that I could preview images and do these exposure settings thanks to KD bringing one for me to use. This was SO handy that I immediately purchased one of my own after this event.
When the schedule app we were using gave us the warning for first contact, we got ready. I started my exposures *at* first contact, which technically was not yet visible to us, especially to the naked eye.
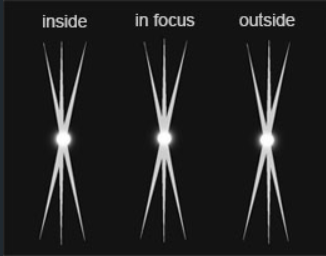
My setup tracked really well. I did have to reframe a few times to keep the image centered, so polar alignment was not perfect, but it was definitely good enough. I tweaked exposure a few times, especially when we had a few clouds pass through, which did happen several times, especially after totality.
So, yes, the clouds had us very nervous around totality, but if I recall correctly, we got all of totality cloud free. Or at least, if we had clouds, they passed quickly such that totality was not ruined by them. I would need to check all the images. As mentioned above, I am editing this post a full year after the event :/

There were quite a few clouds between the end of totality and last contact, enough so that I had to kinda cheat for my composite image of the event.

The top half images are first phase images. Because of how many second phase images were obscured by clouds, I could not really mirror shot for shot like I wanted to, so I cheated and just mirrored the first phase images completely for artistic reasons.

A good time was had by all. Yes, we are posing with Moon Pies.