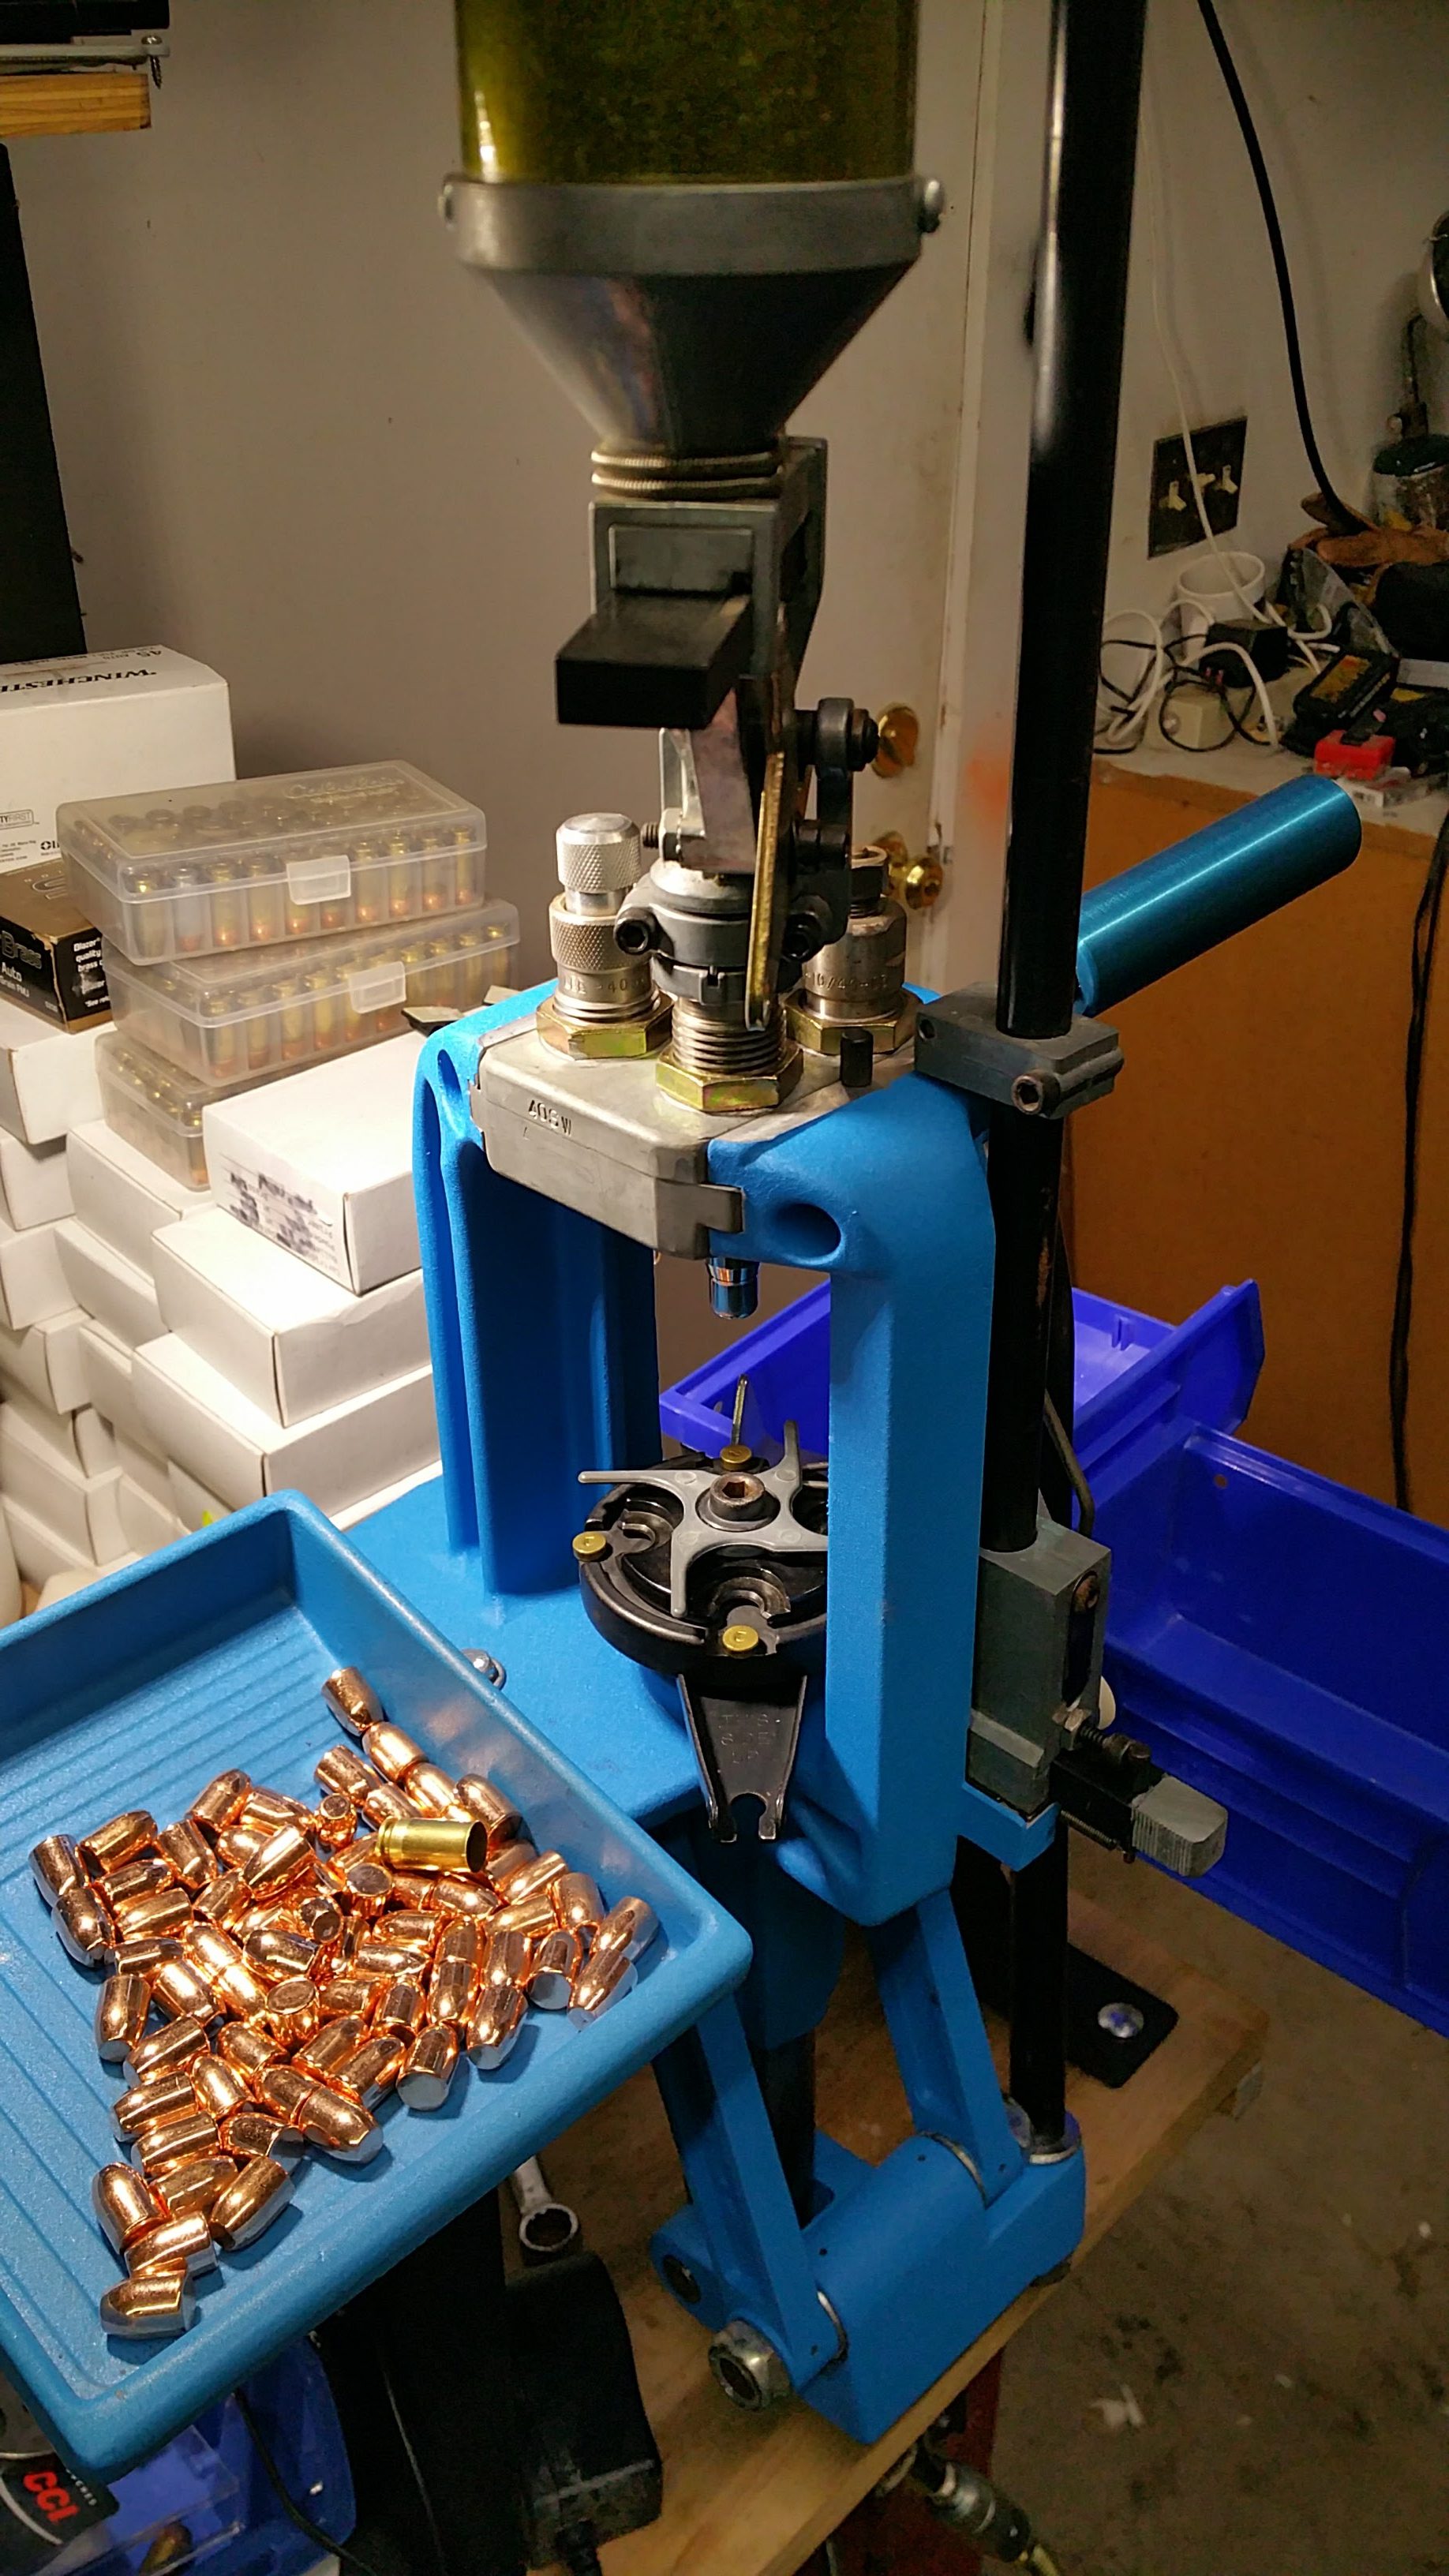
There are two main reasons to hand load your own ammunition. Most people approach reloading for reasons of economy. All situations being otherwise equal, reloaded ammo designed around cost tends to run about half of what commercial ammo might cost. There are firms selling commercially remanufactured ammunition for close to what you can load your own for, particularly if you watch for sales and/or free shipping is offered, so if you are reloading for economy only, reloading may not actually be your best option. After all, for $600+ investment in a press, accessories and reloading components makes that first box of ammo run at least $12 a round. It gets much better from there, though.
The other, perhaps even more compelling, reason is to customize ammunition performance. Action shooters benefit from controlled recoil for faster followup shots and consistency. While economy *is* a factor, it is custom performance that drives my reloading/handloading efforts.
There are revolvers and other semiautomatic cartridges in use, but the majority of action shooting competition is done with semiautomatic pistols in 9mm, 40S&W or 45 Auto. The focus of this blog article is about the effects of customizing recoil in semiautomatics for the competitive shooter.
There are energies released and absorbed throughout the operation of a semiautomatic pistol (or just ‘pistol’ from here on). One could go completely crazy plotting them all. The displacement of a 1911 in reaction to the swinging hammer would be mathematically predictable and physically measurable. It would likely be buried in the noise, but it could be accounted for. Indeed, sniper rifle design accounts for dampening or reacting such forces because in that application, it can matter.
The forces that matter most to action shooting reloaders are the actions and equal but opposite reactions that are initiated by firing the cartridge. These are also the big forces, big enough that we can largely ignore everything else.
Power Factor is a simple measurement that action shooting sanctioning bodies use to ensure their competitors meet a minimum expected level of power. Power Factor (PF) is calculated simply by multiplying the bullet weight in grains by it’s velocity in feet per second, dividing by 1000 then discarding the digits to the right of the decimal. For example, a 165g bullet going 900 fps would be 165 x 900 = 148,500. Dividing by 1000 and discarding the digits to the right of the decimal is practically the same as just dropping the comma and those digits, PF = 148.
Common minimum power factors are 125 and 165. For example, in IDPA, all semiautomatic divisions except CDP is 125 and CDP is 165. In USPSA, PF is a scoring modifier in some divisions, like a golf handicap. Shooting major PF (165 or more) reduces the penalty of non-A zone hits.
Power factor, or momentum, is a simple and linear method that is adequate for comparing different ammo between different shooters. Recoil is a more personal effect, felt by only the shooter. Less recoil generally means an easier to control firearm. Ideally, you have the least possible recoil while meeting the minimum required power factor.
Recoil is really the reactive force to the bullet’s acceleration. The easiest way to measure that is by the velocity of the bullet, presuming it has lost a negligible amount of energy between the muzzle and the measuring field. Scientifically, they are different things. Practically, they are close enough.
Momentum is derived from a fixed mass moving at a fixed velocity. Muzzle energy is derived from the acceleration of the mass. Remember that acceleration is any change in velocity, not just speeding up but also slowing down.
Unlike momentum, the relationship between muzzle energy and velocity is thus not linear.
Bullet weight (in grains) X (velocity ^ 2) / 2 X 32.174 X 7000
The 7000 is to convert grains to pounds and 32.174 is the acceleration of gravity in fps. Note importantly that the velocity is squared.
The same 165g bullet above at 900fps has 296.7 foot pounds of energy.
Here is where the handloading magic starts to happen. Raise the bullet weight to 180g and obviously the PF and the muzzle energy will also rise, 162 and 323.7 ft/lbs respectively. However, now you can keep the heavier bullet, but slow it down. At 825fps, the 180g bullet still makes 148 power factor, but now the muzzle energy is only 242 ft/lbs. Keep reducing the velocity to 695 fps and you get exactly 125 PF but only 193 ft/lbs energy. That translates to 35% reduction in recoil while still meeting minimum power factor.
Now, shooting for exactly 125 PF doesn’t allow for the inevitable differences in powder drops or ambient temperature, either of which can make any given bullet run faster or slower. It will likely be the ones that the match officials chronograph that will be slower, so it’s best to build in a little margin to allow for that.
You can also reverse that logic and load up a 9mm bullet hot enough to be major PF. A 147g bullet at 1125 fps meets 165 power factor, but at the cost of 413 ft/lbs of recoil (and probably dangerously high pressures in the cartridge). You can go nuts and push a 115g bullet at 1440 fps for 165PF, but a whopping 529 ft/lbs energy, which is at the lower end of the 357 Magnum neighborhood. Plus, I’m pretty sure neither your warranty nor health insurance will cover that.
The other thing to consider is that unless you are shooting a Desert Eagle, your semiautomatic pistol is probably *powered* by recoil. Turn it down too much and there may not be enough energy left to operate it, especially if some of that energy is also lost in a loose grip.
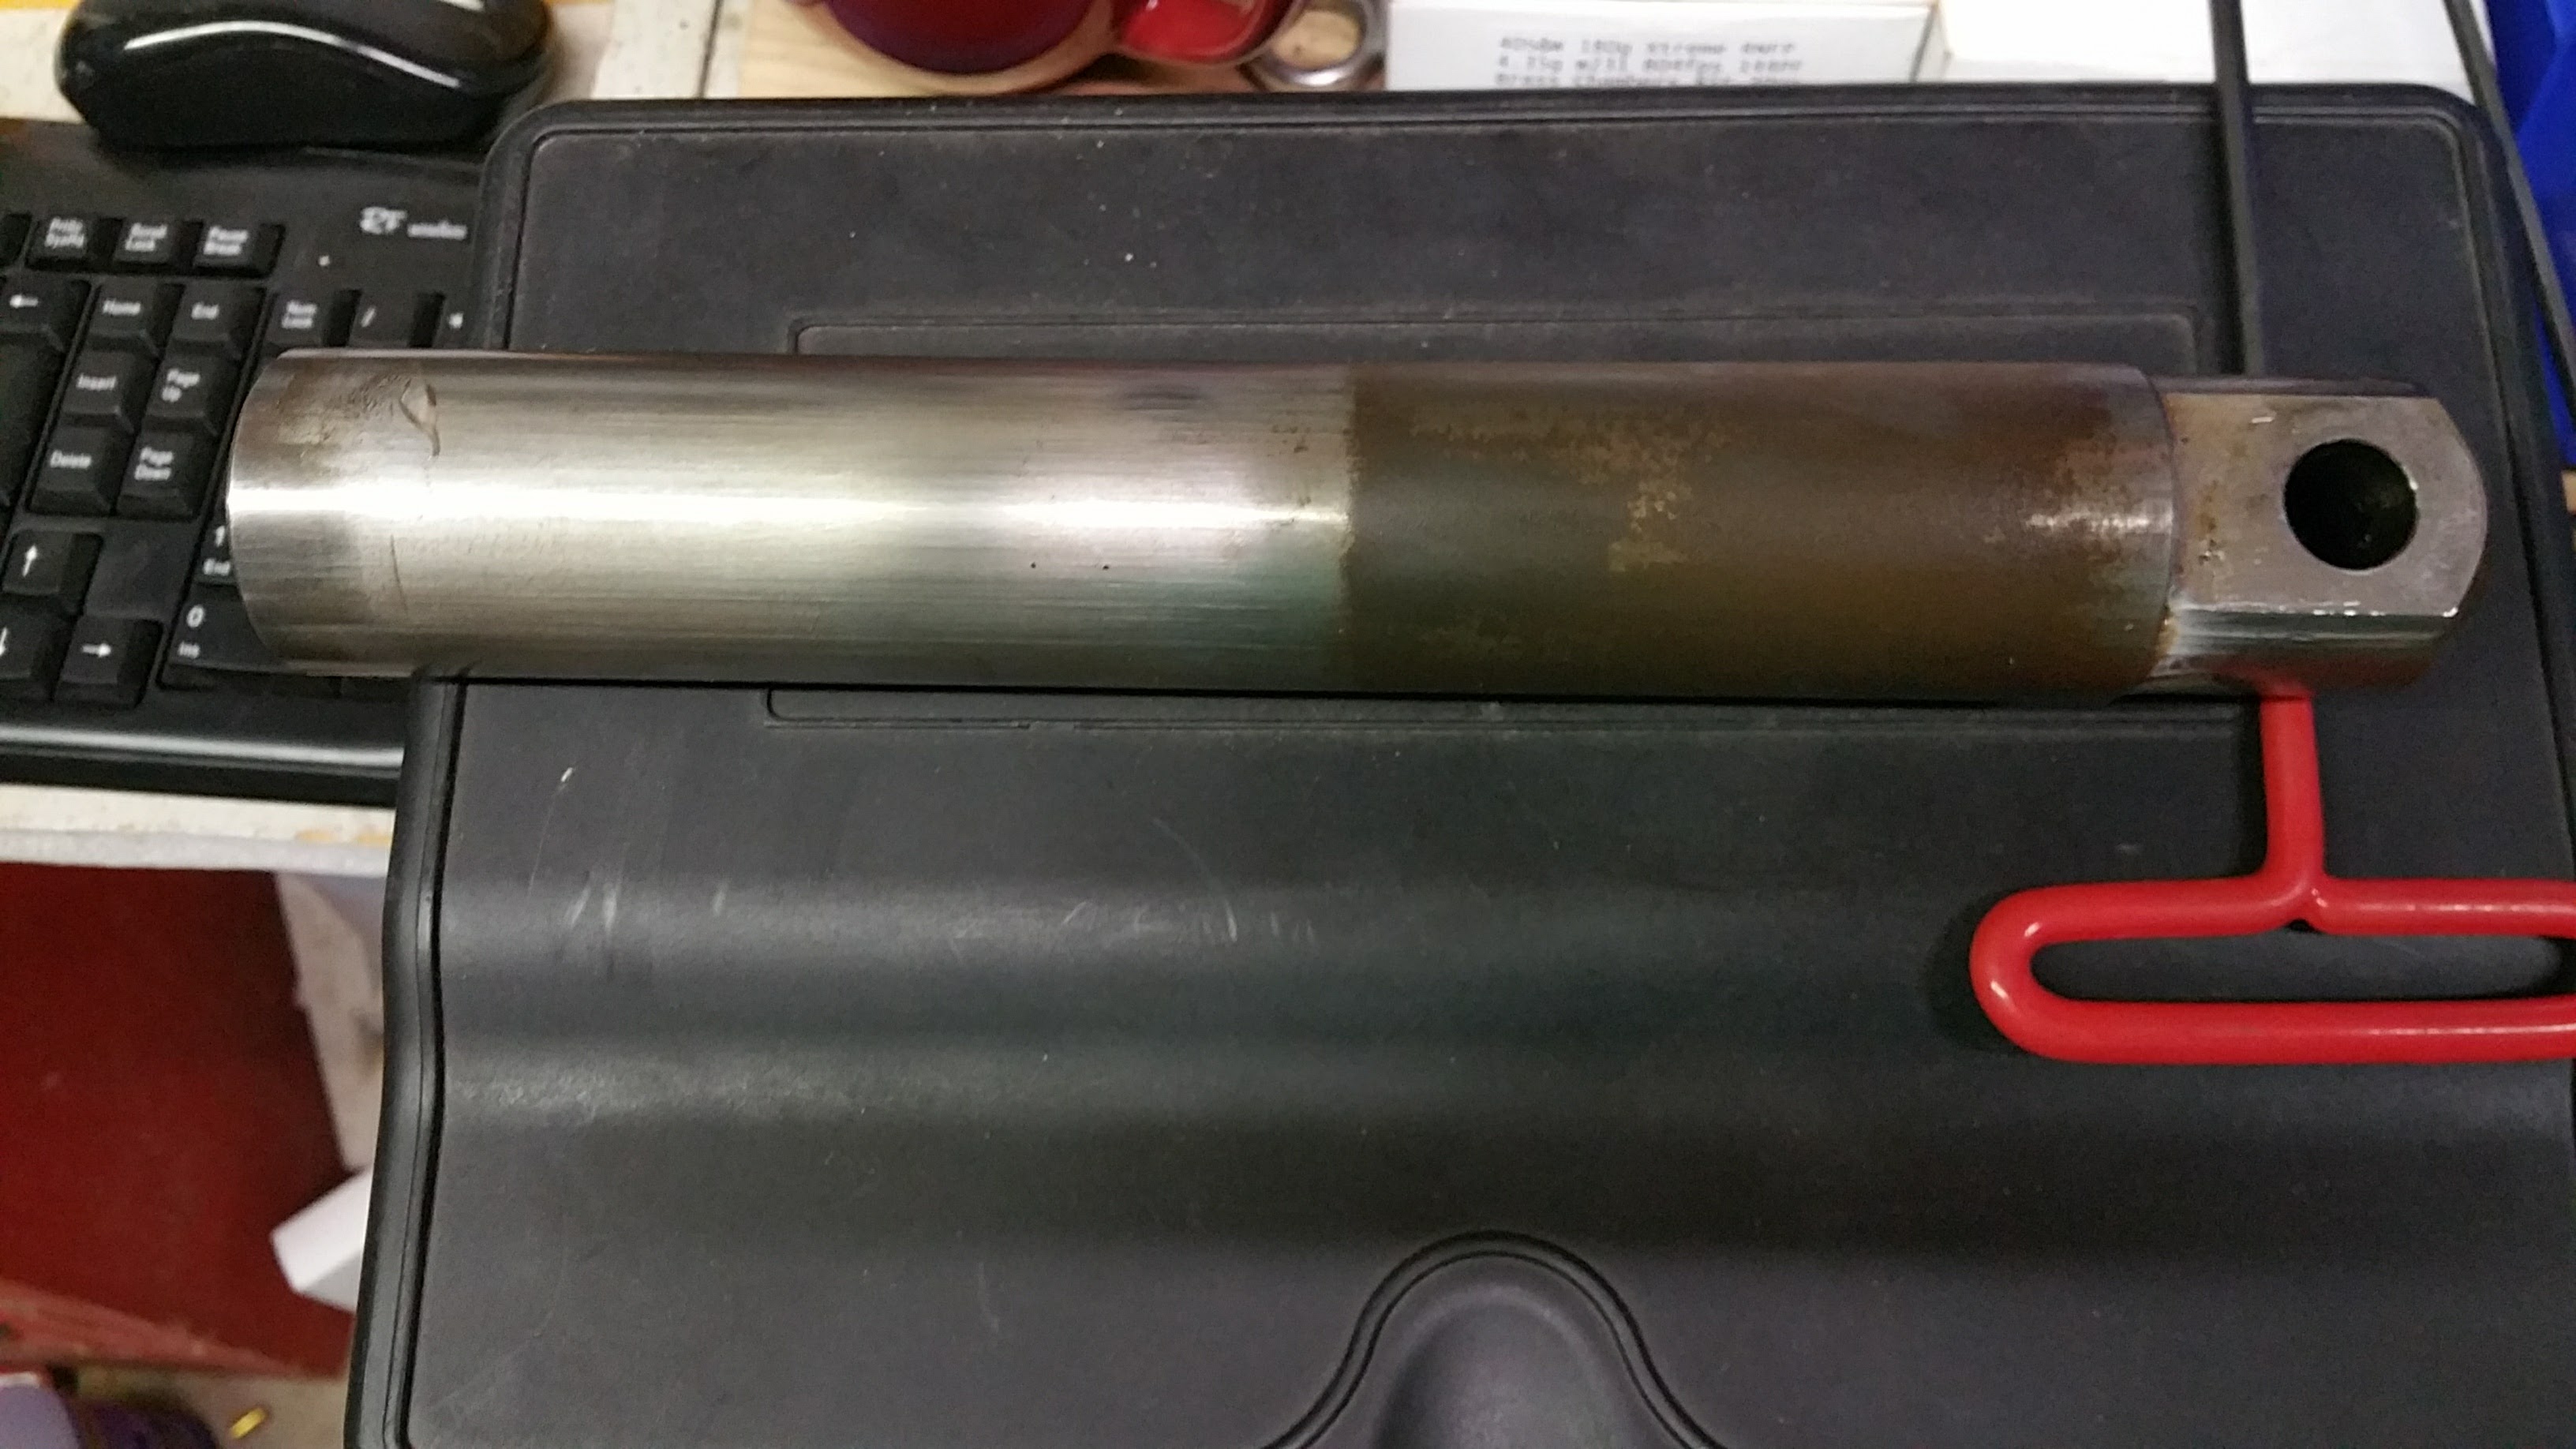
There is a reasonable solution for that: lighter recoil springs. I had to tune the recoil spring weight in my Glock 20. Using a LoneWolf 40S&W conversion barrel, heavier bullets and lighter loads, I was able to greatly reduce recoil while meeting power factor, but before I could get all the way down, I started having stovepipe jams or sometimes, it would just fail to extract at all. The stock spring on the G20, and I think all base models, is 17 pounds. The G20 and G21 have heavier slides, as well. So the stock spring and big slide took more energy than was left after throwing a bullet downrange. I ordered a 13 pound and an 11 pound spring, each with a stainless guide rod. Turns out the 11 pound spring runs best with my softest 180g handloads, which is 4.2g Winchester 231 (or Hodgdon HP38; they are essentially the same powder from the same manufacturer, with different labeling). I can sometimes run the pistol on as low as 3.9g W231, but with the occasional jam and it’s only about 119PF.
One should be be able to determine mathematically what weight spring would be needed to run a given slide with a given ammo power. I may tackle that just for the fun of it.