Let Me Check My Schedule…

… nope, sorry, no room.

So, I got another project anyway. Well, not so much a project as a gateway to projects.
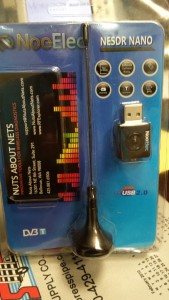
upload_-1.24

This is the NooElec NESDR, an RTL2832U based SDR (software defined receiver)… module, I guess. Calling it an SDR receiver is technically redundant.

I am interested in SDR in general but what made me jump on this one was that it came with spectrum analyzer software, specifically Touchstone Pro. More precisely, it came with the license to unlock the free downloadable software.

Installation is a fairly simple affair, but definitely follow the directions. The device needs to be physically present for the driver installation to work right. Furthermore, I found that I could plug it in to a USB3 slot on my laptop and it was discovered, but it would not operate there. I had to move it to another port. This is not the first time I have had trouble getting hardware to operate in that port, though. What tripped me up the worst is that the directions say that the first time the software runs, it will ask for the license key, but mine didn’t ask. It just kept going into demo mode. That turned out to be because with the hardware in the USB3 port, the driver was not loaded. Once I moved the dongle to another port, it asked me for the license info and works correctly now.

My initial review of the software is not exactly raving praise, but I will work with it a bit before I am too hard on it. My first complaint is that it doesn’t seem to let me scan only a 4 MHz chunk of 2m bandwidth. I can’t initially configure it to scan 144 to 148 MHz; it kicked it back saying it had to be minimum 10MHz bandwidth. I had to set it to run 144 to 154, then use the zoom feature to zoom in on desired band. Then, it would show bandwidth to be approximately 4 MHz. Don’t forget and try to zoom twice, though; it will crash.

By default, it has a peak hold display enabled. It is implemented as a red trace *in front of* the live green trace. To turn that off, you right click on the screen then toggle a checkbox. However, doing that while it was actively scanning usually, but not always, made the menu hang. You can’t turn it off before you begin scanning because the toggle isn’t on the menu at that point.

To be fair, I spent a total of about 30 minutes playing with it between tasks at work, so there may be some basic configuration that I can do to avoid these pitfalls, such as the default bandwidth limits and the peak hold feature.

The other thing was an issue I kind of expected. The SDR is sensitive enough that transmitting nearby with my Icom ID-51, even on the lowest power, completely swamped it. It could see the .33 repeater tail with that tiny antenna from inside a concrete building, so even 100mW in the same room was way too much for it.

I am quite intrigued, though. I hope to use SDR technology to explore the RF world around me.
Oh, That Explains It….

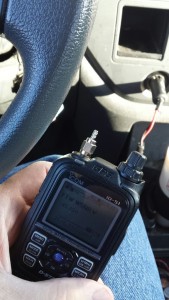
On my commute this morning, I could not help but notice that the .33 repeater was very quiet. When I got to work and was gathering my stuff to go in the office, I think I found the problem:
upload_-1.25

Yep, that’ll do it.

I use an SMA to PL259 cable to connect the output of the handheld to the input of a Mirage BD35, but that is the third cable I’ve had on the radio in only a few months. They just don’t hold up. They don’t appear to be suitable in an application where it gets moved around a lot and are disconnected and reconnected a few times a day.

All the more reason I am so happy to see this notification in my email this morning 🙂


North American QSO Party

Today was my first non-Field Day contest, the NAQP.

 Total Contacts = 83
 Total Points = 3,569

 Operating Period: 2016/01/16 19:02 – 2016/01/17 05:42

 Total Contacts by Band and Mode:

 Band       CW   Phone     Dig   Total       %
 —-       —   —–     —   —–     —
   40        0      46       0      46      55
   20        0      33       0      33      40
   15        0       4       0       4       5
            —   —–     —   —–     —
 Total       0      83       0      83     100

The Icom, of course, suffered it’s transmit weirdness and delayed my start. I pulled the cover off and tapped around on the main board unit it started working and it kept working all day. Maybe that magic will last beyond today.

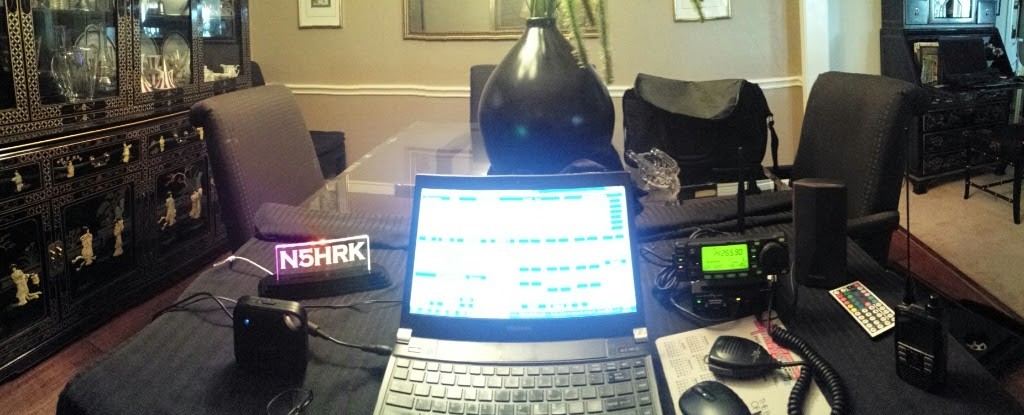
I worked in the comfort of the dining room, via RemoteRig.
upload_-1.19

Last Field Day, the RemoteRig would sometimes disconnect from the WLAN. I never really found out why, I just rebooted the Control-RRC. Today, however, no issues. Then again, it was only 30 feet from the router.

CI-V and Code Warrior Update

I did a bit of work trying to get CI-V up with RemoteRig. In the Radio Settings page, there is a pulldown menu for Program Mode. Option 1 is Icom CI-V and Option 2 is IC-7100, IC-706, IC-703. This implies that I can run either CI-V or control head, not both. I will need to dig into it a little deeper. The power of being able to choose either the control head or the laptop/cellphone option would be *greatly* enhanced if I didn’t have to choose before I left town. I know that the comm ports can be set up to carry other data, such as rotator control, while the control head is operational. I presume that CI-V can also be set up thusly. It will take a little experimenting with the laptop and both RemoteRig devices on the bench.

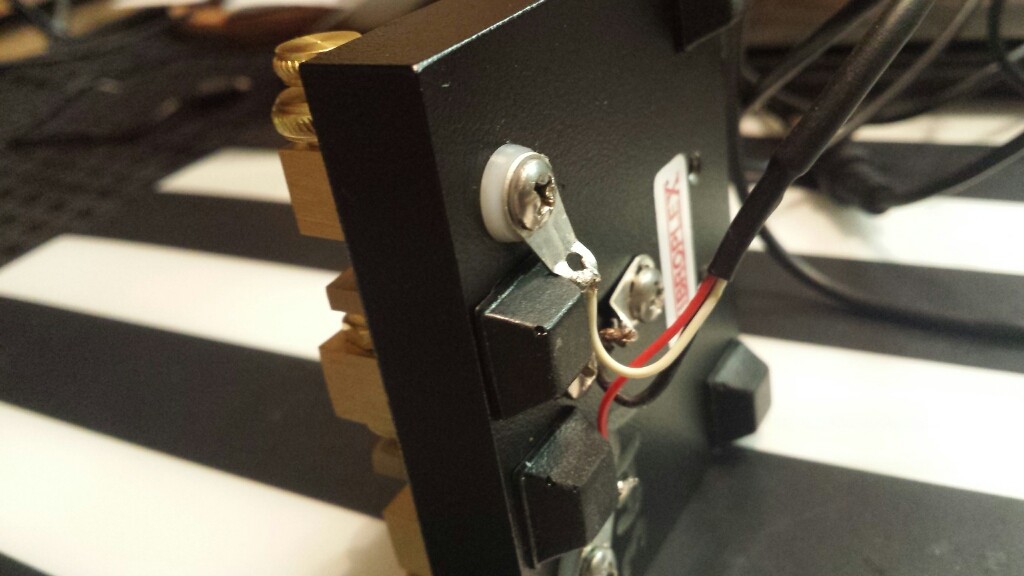
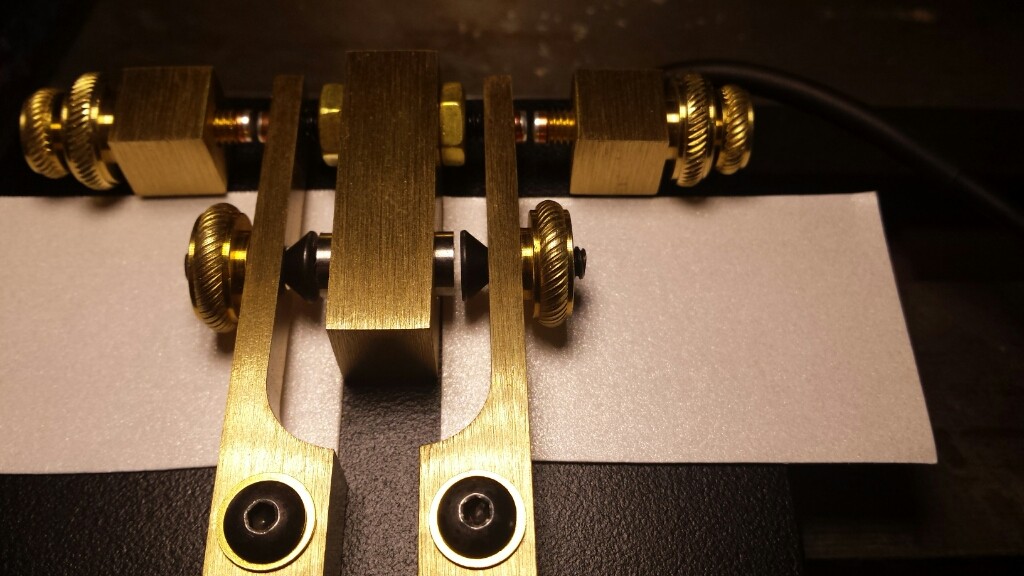
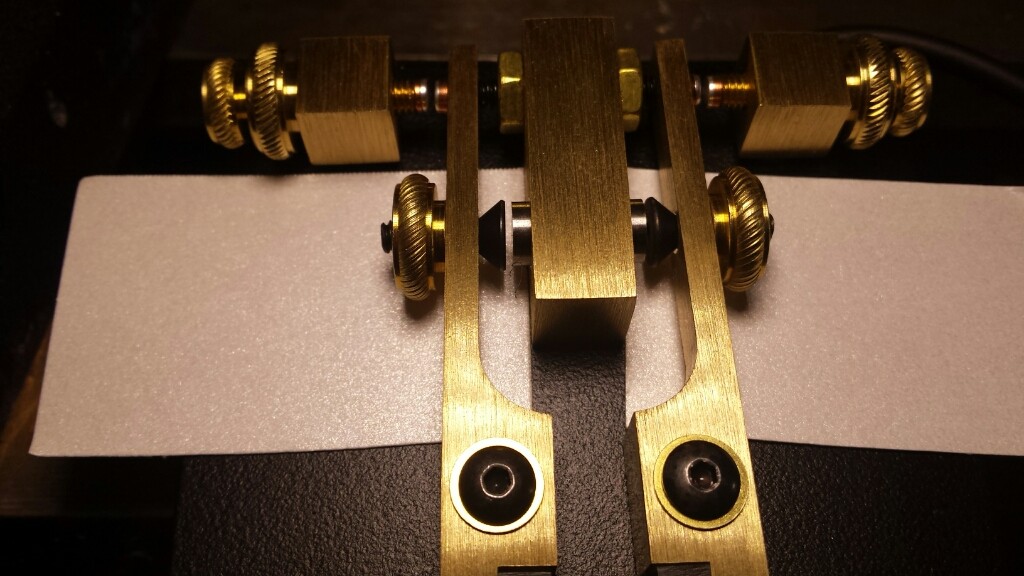
Meanwhile, I got some brass hardware and made the contact blocks on the Code Warrior better.
upload_-1.2

This is the stock stainless steel hardware, a screw directly in the contact block and through the wire lug. Note that the wire lug would rather stay with the screw than with the nylon insulator. With three or more hands, I could hold the lug and the block while tightening the screw, but I’m picky that way.
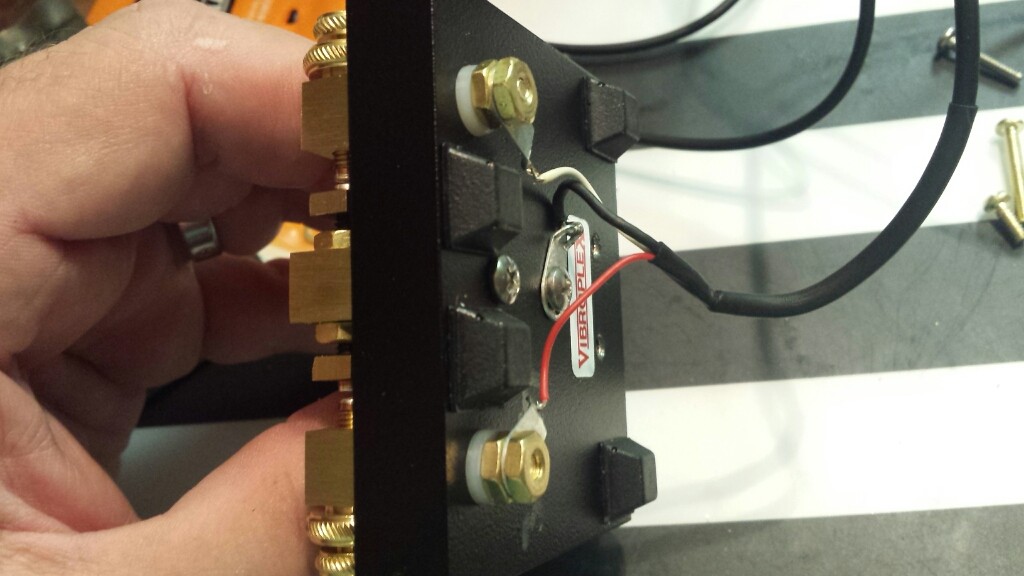
upload_-1.5

After, the block is held by the first nut and the wiring by the second. As expected, the new assembly is taller than the rubber feet, so I will have to get some taller ones to fix that. I did have the proper application of flat washers, but the entire assembly was even taller, making the rubber feet problem worse.

There is still one more minor improvement needed for it to be called finished, namely to fill the hole though the base so that the blocks only go in one place.

RemoteRig and CI-V

First, let me say that, although I have made all the physical connections, I have not yet configured RemoteRig for use with the Code Warrior paddles. Free time has not yet manifested in the proper form 🙂

I will actually have a couple of related projects to complete, all of which is intended to make HF operating easier, and maybe I can get them all done at the same time.

CI-V is what Icom calls their protocol for computer controlling their products. It is an initialism for Communications Interface V (as in 5). There was/is a CI-IV, implemented most notably in the IC-751 transceiver, but almost every transceiver and receiver since then offers connectivity via CI-V. The two are not electrically interchangable, but there exists a CI-IV to CI-V converter and CI-V has backward compatibility with the data protocol of CI-IV.

Fundamentally, CI-V is a multidrop half duplex serial data protocol and command set. Electrically, it is a single wire for transmitting and receiving data and a ground or return, with logic levels of 0v and 5v. Bitwise, the protocol is compatible with a (once standard) PC serial port, though it must use a level conversion chip. RS/EIA-232 is a +/- 12v protocol. Also, since transmit and receive are shared on a single wire, a diode or some such needs to be in line to isolate the transmitter output of each device on the line from the other devices.

Most or all that is taken care of for us in the Icom CI-17 interface or it’s compatible clones.

There are two common cables. One has a USB serial port and all the necessary wiring and drivers needed to connect a PC or laptop directly to the transceiver. The other is a DB-9 serial to CI-V cable which has the level conversion circuitry built in. Since the RemoteRig implements a DB-9 serial port from one end to the other, it is this cable that I need and have indeed procured.
upload_-1.15

There are two main reasons I want to implement CI-V in my setup.

One of the handiest things logging software can do is automatically log your frequency and mode, which it can do by knowing what your rig is currently running, via computer control. Because RemoteRig inserts a configurable bit of hardware in the middle of that chain, I may need to dink with it a bit to get it operational, but I should be able to plug my laptop into the Control-RRC and use the CI-V protocol to talk through the LAN/WAN to the Radio-RRC and on to the physical radio. Not only can that help in logging, but I can also do other rig control functions.

The other big thing is RemoteRig’s alternate control clients.

RRC-Micro PC-Client is a small hardware device that lets your PC do remote rig control over WAN/LAN while it takes care of the SIP audio streams and PTT. Operating thusly, you can leave the comparatively bulky Control-RRC, radio control head and speaker at home and work completely from a laptop, say from a hotel room while travelling for business.

If your laptop is too big, try using your Android telephone or tablet and the RRC-Nano App. It implements a light version of rig control (with brand-specific versions of the app) and the Android device does the audio, too.

In the case of the IC-706mkIIg, the CI-V implementation in that model (and others) doesn’t doesn’t support power on/off. To prepare the radio for remote operation with either of those clients, put the control head back on the radio and leave it powered up. When either client connects, the radio will respond to CI-V controls and the Radio-RRC takes care of the remote communications and audio.

That’s the design, anyway.

Minimal Tweaking and Some Updates

I was able to do some really minimal tweaking to make a pretty big difference in the feel of the Code Warrior Jr.

First (and I failed to snap a pic of this),  measured the dit bar and it’s bearing. I found that the length of the bearing was about 0.005mm shorter than bar. I ground (by hand, on a diamond knife sharpening stone) the bottom face of the bar shorter. It took two grind-fit passes to get the height just right, where I could tighten the screw all the way without the bar binding.

There was still a tiny bit of radial play, but the two bars are about the same now.

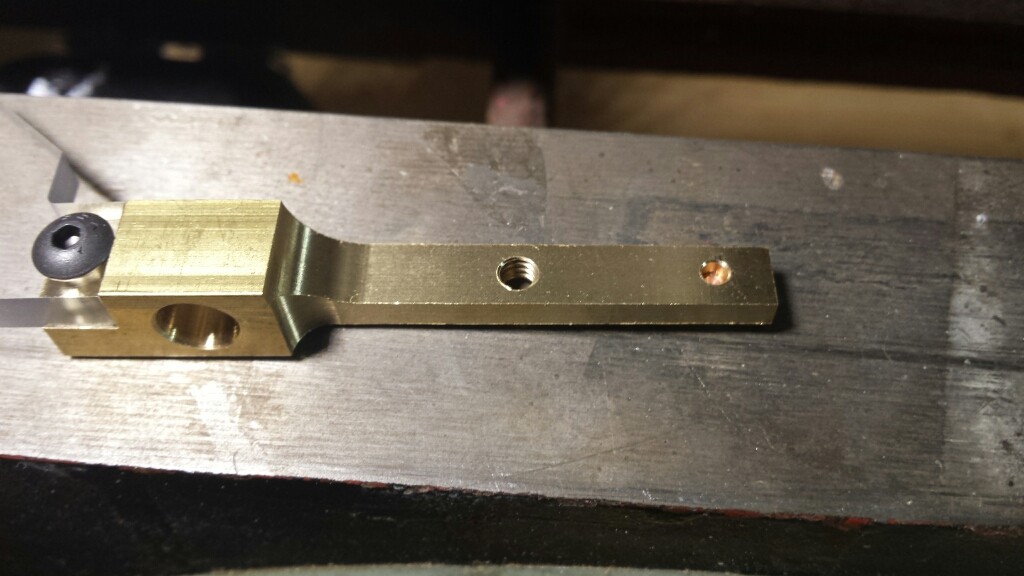
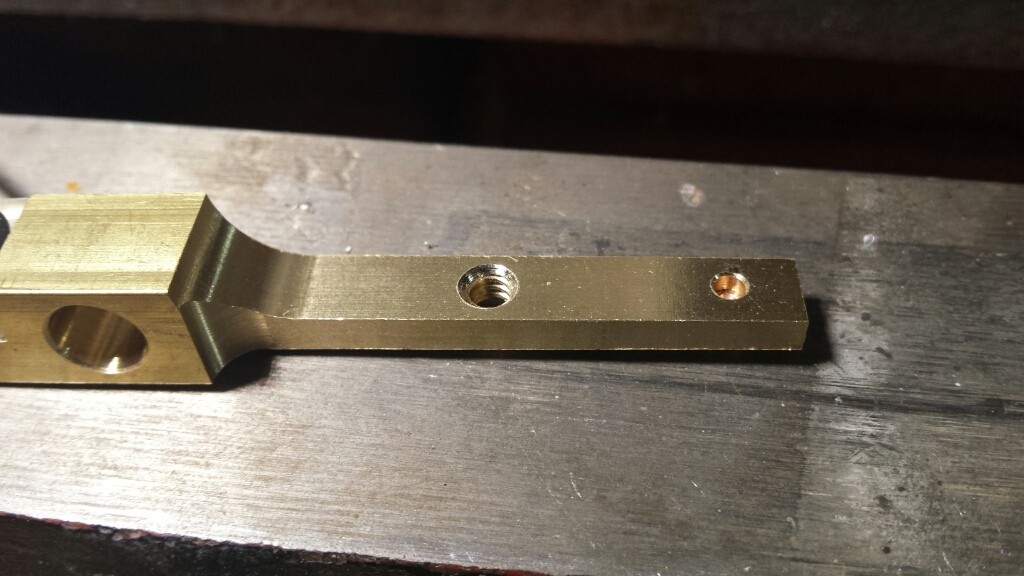
I also cut shallow countersinks into each arm for the magnetic spring screws.
upload_-1.1

upload_-1.14

Not bad for hand cut, I suppose.

Now the screw head can be adjusted far enough to greatly lighten the tension on the paddle.
upload_-1.13

upload_-1.11

I also chamfered the edges of the acrylic paddles just a little bit, enough to take the edge off.

For now, I choose to ignore the contact block mounting issue. I will gather some hardware to fix that better. Besides using a bit of threaded rod to secure the mounting better, I think I will also put some sort of spacer inside the mounting holes in the base to stabilize them horizontally. I’m sure I will need to adjust the resting stops once that is done.

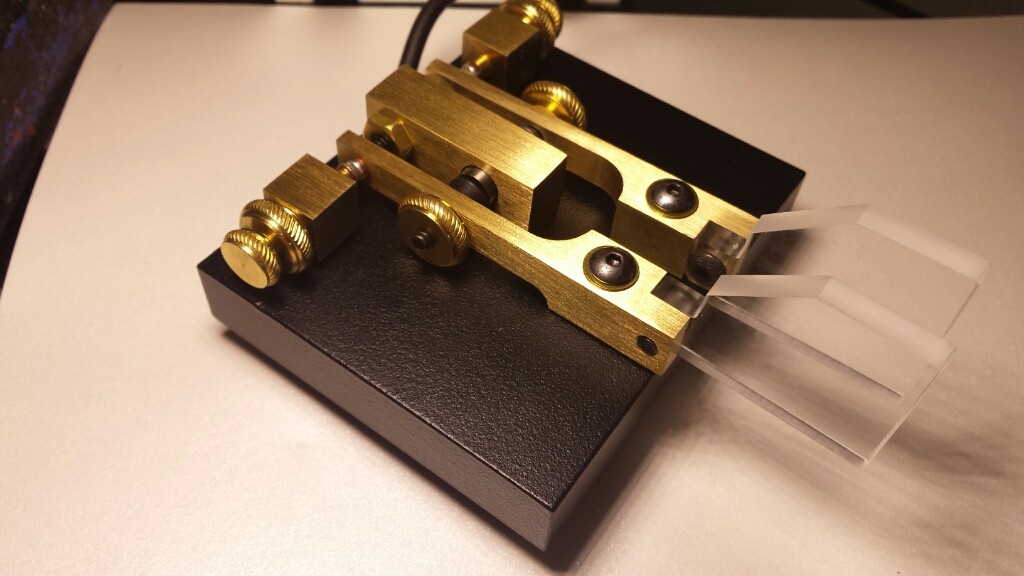
Here is my actual unit, ready to use for now.
upload_-1.31

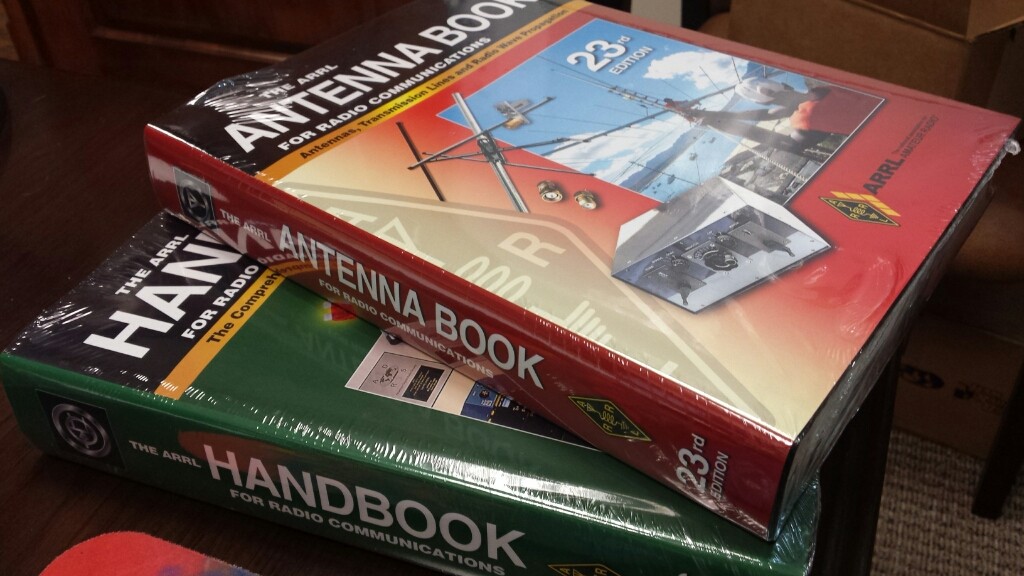
In other news, Ham Radio Outlet indeed made the cable thing good and it will cost me nothing. Good guys there in Plano.

I got my Gordon West Morse Code course CDs yesterday and listened to a bit of Disk 1 on the way home from work today. Since you need to write down what you copy, it may not be something I can do much of on the commute.