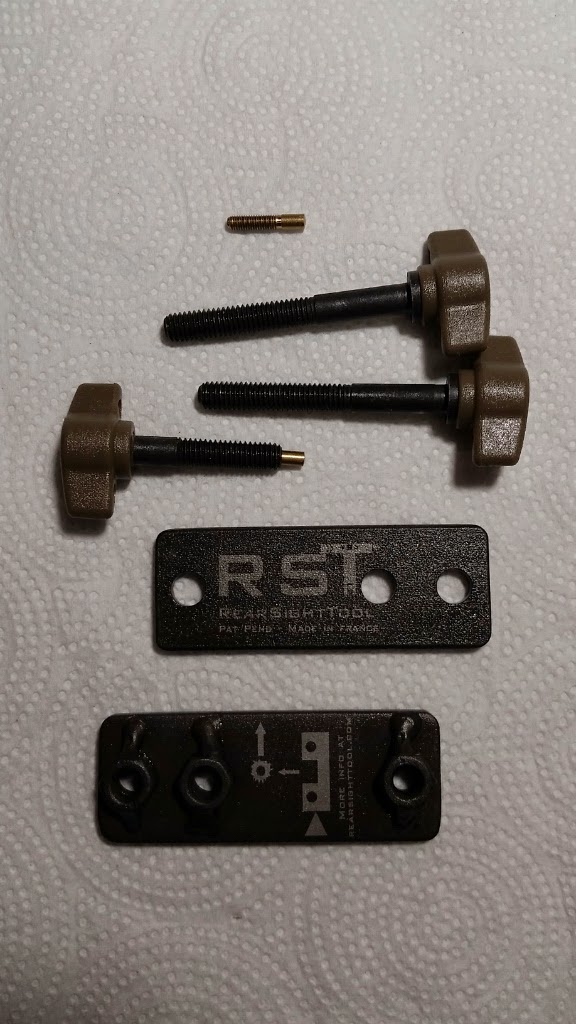
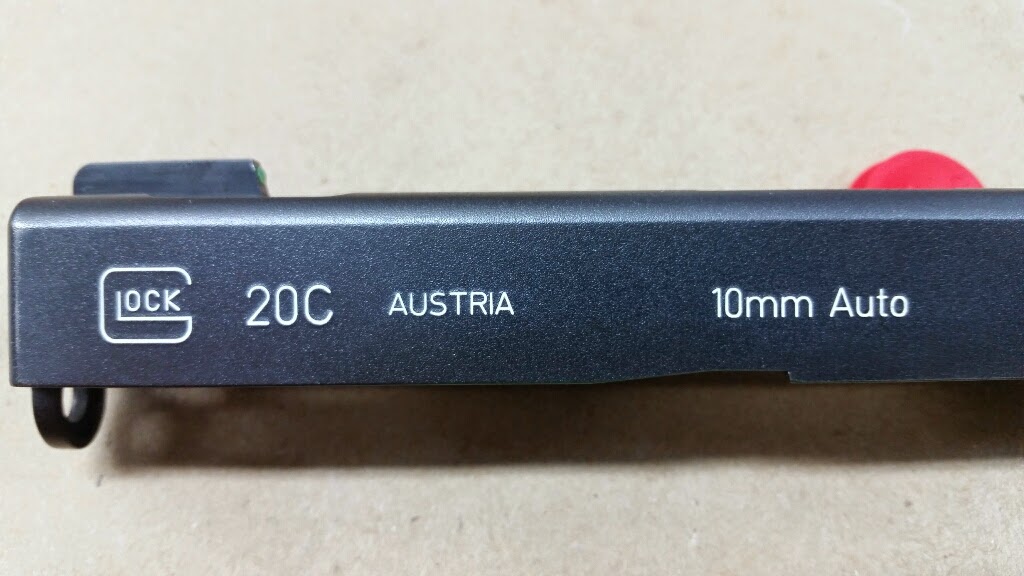
I finally swapped out the Burris red dot sight on my G20 non-compensated slide for a set of TruGlo fiber optic sights. I got a compact sight pusher tool from RST. It’s a simple & clever “I could have made that” design but I didn’t have to.
The pusher consists of two steel plates, both with holes and one with nuts welded in front of them. There are two long thumbscrews for clamping the slide between the plates and a shorter one with an interchangeable tip that does the actually pushing work.
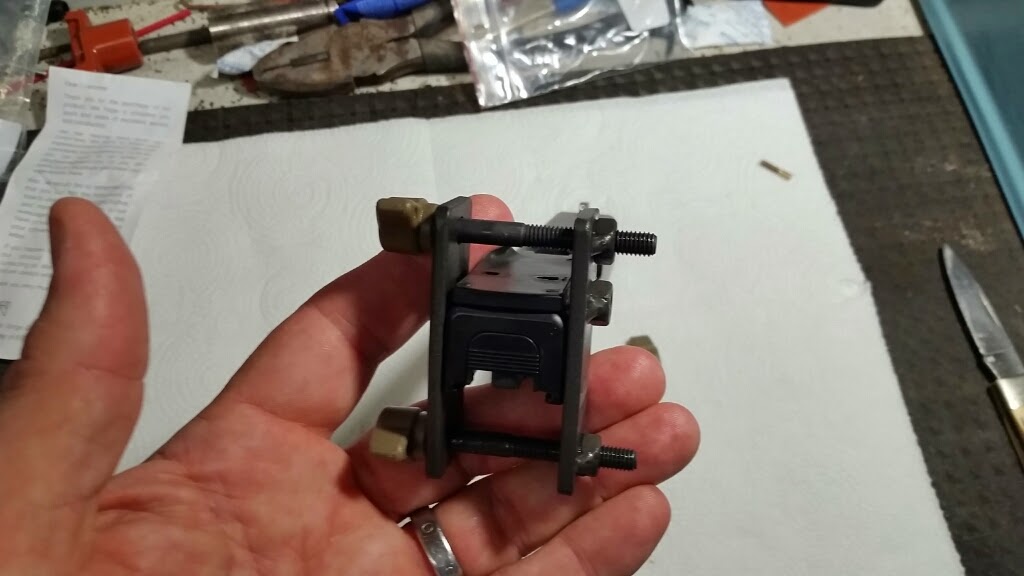
Clamping the pusher to the slide is pretty trivial, beyond aligning the pusher screw to hit the sight but not the slide.
The base plate of the Burris sight is only slightly narrower than the slide, so all this pusher could do was pop it loose and start it moving. I put the slide in a vise and tapped the sight the rest of the way out with a handy deadblow hammer, which was bigger than needed. I have no doubt that I could have completed the removal without the vise if required.
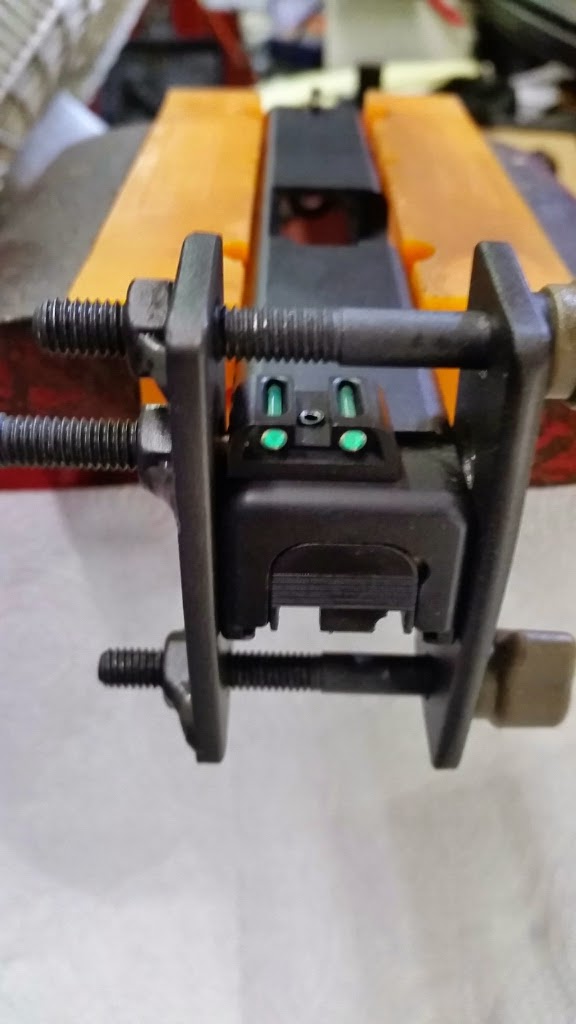
Installing the new sight was pretty much exactly the reverse of removing the old. I had to tap the new sight far enough into the dovetail for the RST pusher plate to be able to clamp to the slide, then the pusher very easily and precisely moved it into place.
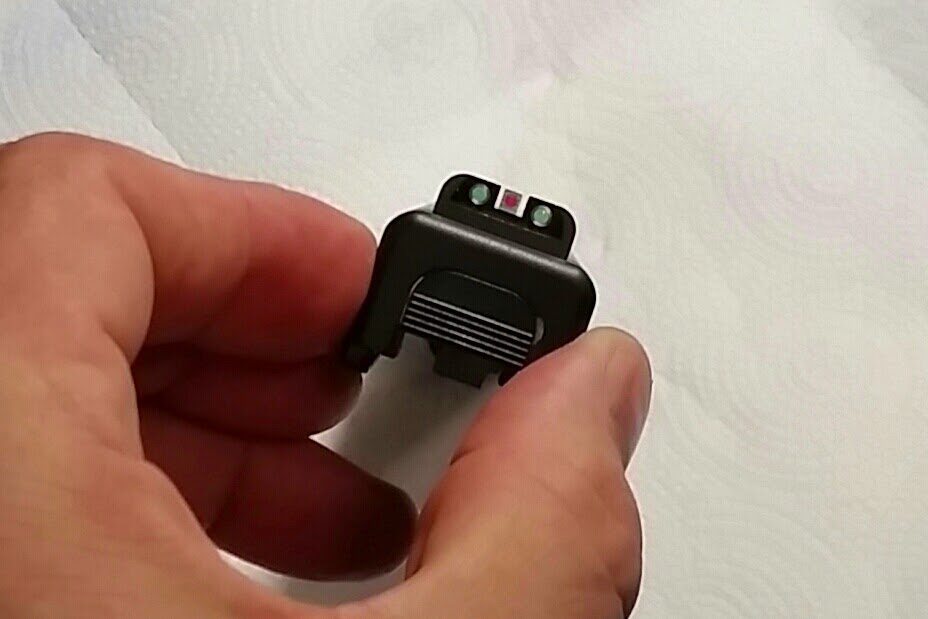
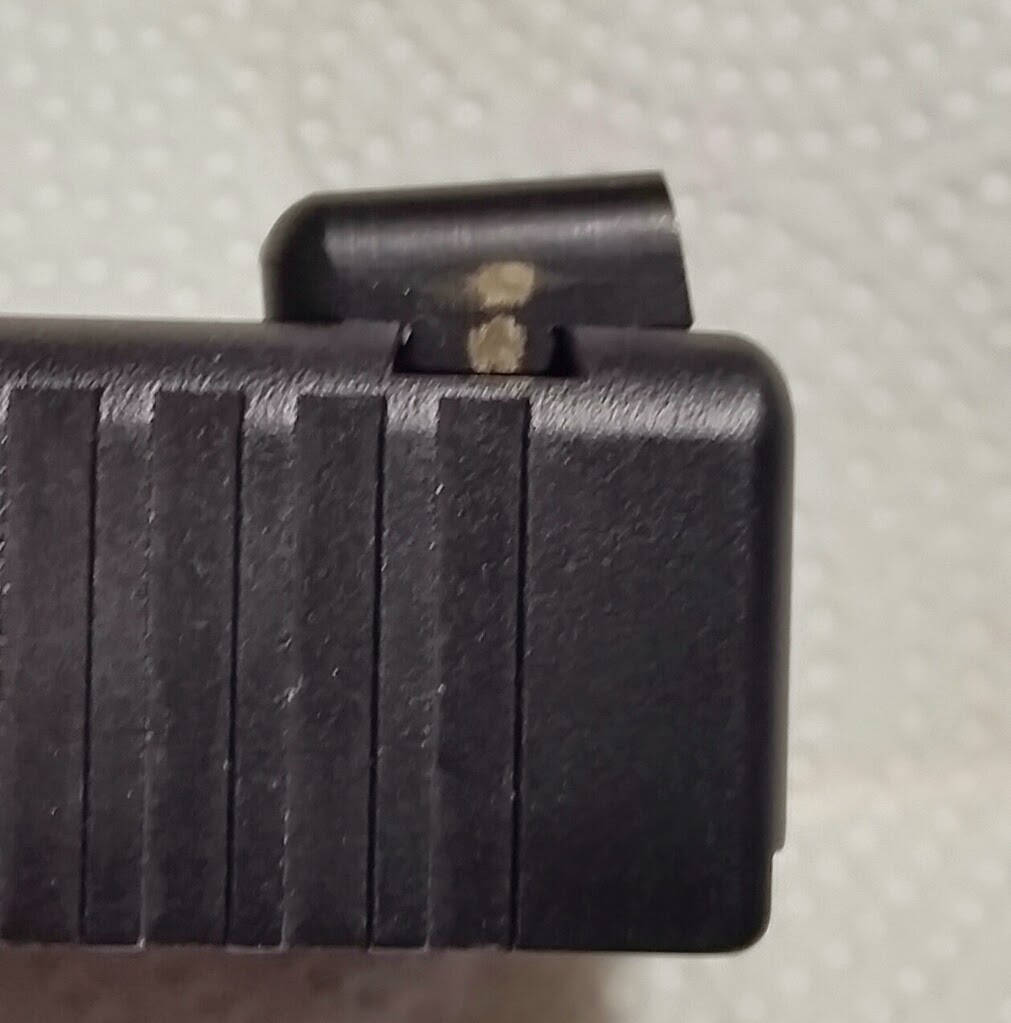
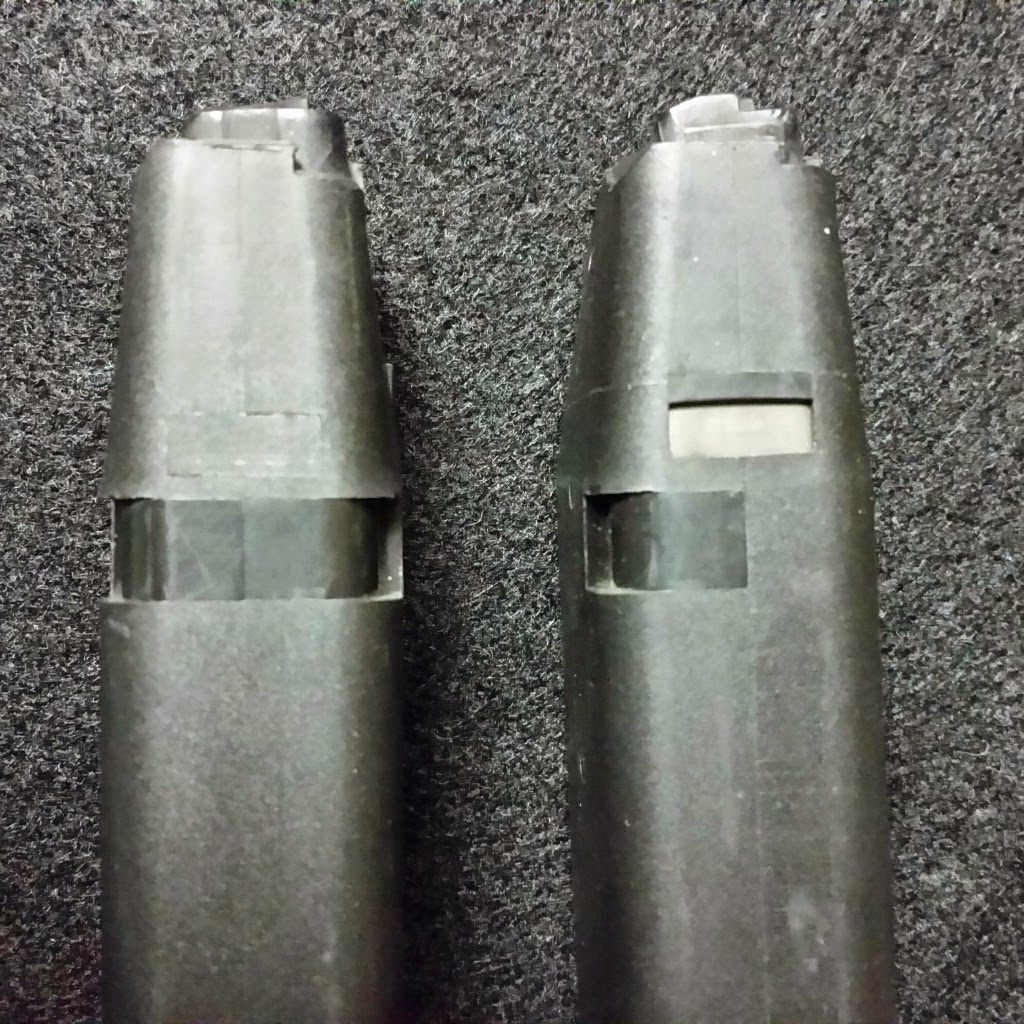
The slide had a
Trijicon front sight in place. It was very easy to remove and replace with the red fiber optic TruGlo.
That pic was deceptively hard to get. The focus depth of field on my smartphone is narrow enough that I had to hold it almost at the limit of my reach for front and rear sight to both be in focus. Since I needed to crop most of the pic, I had to turn the resolution up to max. Pretty happy with it, actually.
The one complaint about the RST was something I might have been able to avoid, but the soft brass pusher tip left brassy colored scuff dots on the black finish on both sights. This is mostly removable, but particularly on the Burris plate, cleaning the brass dot off left a slightly polished finish. I think that is because the Burris plate has a paint/powdercoat finish and the TruGlo is some sort of chemical finish like anodizing.
The tool comes with a spare brass point and a steel point. The steel point may have actually been better for not leaving these marks. If I need to adjust the TruGlo sight, I will test the steel point for that.
All in all, I am very pleased with the RST sight pusher tool. It was inexpensive and is small enough to leave in the range bag, particularly disassembled and kept in a plastic bag.
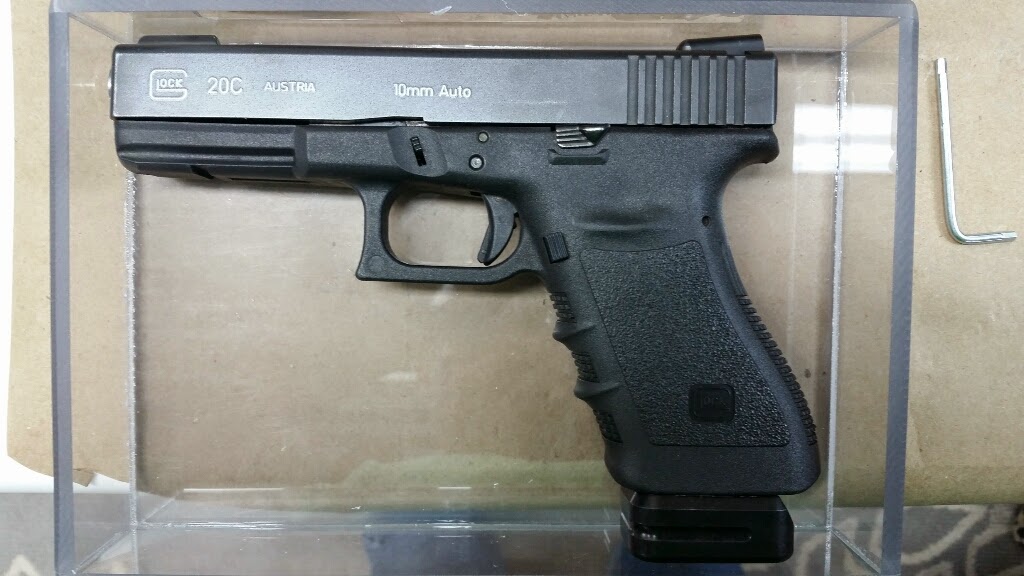
As of this writing, I have not yet fired the pistol with this slide and sight. One of the main reasons to have changed out the Burris sight is that it is not
IDPA legal. By putting the notch and post on the non-compensated slide and changing the slide release back to stock, this pistol we be IDPA legal in the SSP division, though only in 10mm Auto. If only there was some technology to make soft shooting 10mm rounds…
Speaking of ammo, we recently had an IDPA classifier match where some old ammo problems I thought I had address came back for me, resulting in quite a bit of lost time clearing failure to feeds. As a Marksman shooter, I scored firmly in Novice territory. To my credit, I did not accrue any ammo-jockying procedural errors, even when it was all jammy during an advance or retreat.
I was using some 165g RNFP loads with
Ranier Ballistics plated bullets that I had gotten from
Cabelas. Once I started having troubles, I unloaded all my magazines into a pocket in my range bag and grabbed a box of previously reliable 155g RNFP loads with
Xtreme Bullets plated bullets. At first, I thought perhaps I had ammo that had not gone through my fairly rigorous QA process, but I have since found that all the rounds of both loads drop perfectly into the gauge block and that the OAL of both loads is the same. As it turns out, I am reasonably sure the OAL turns out to actually indicate the problem.
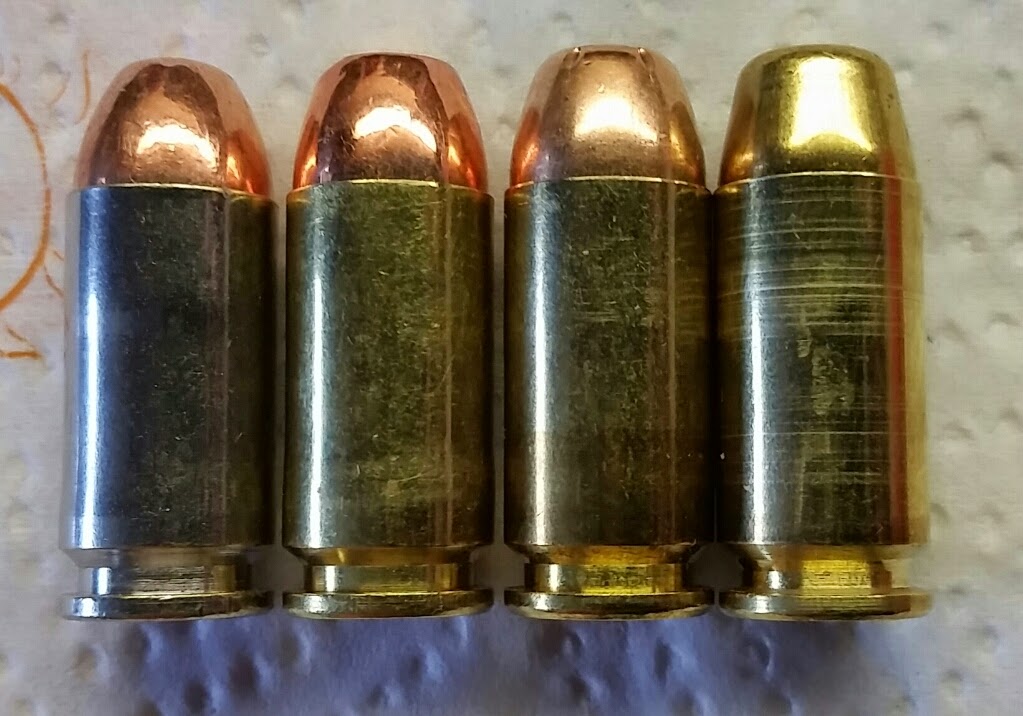
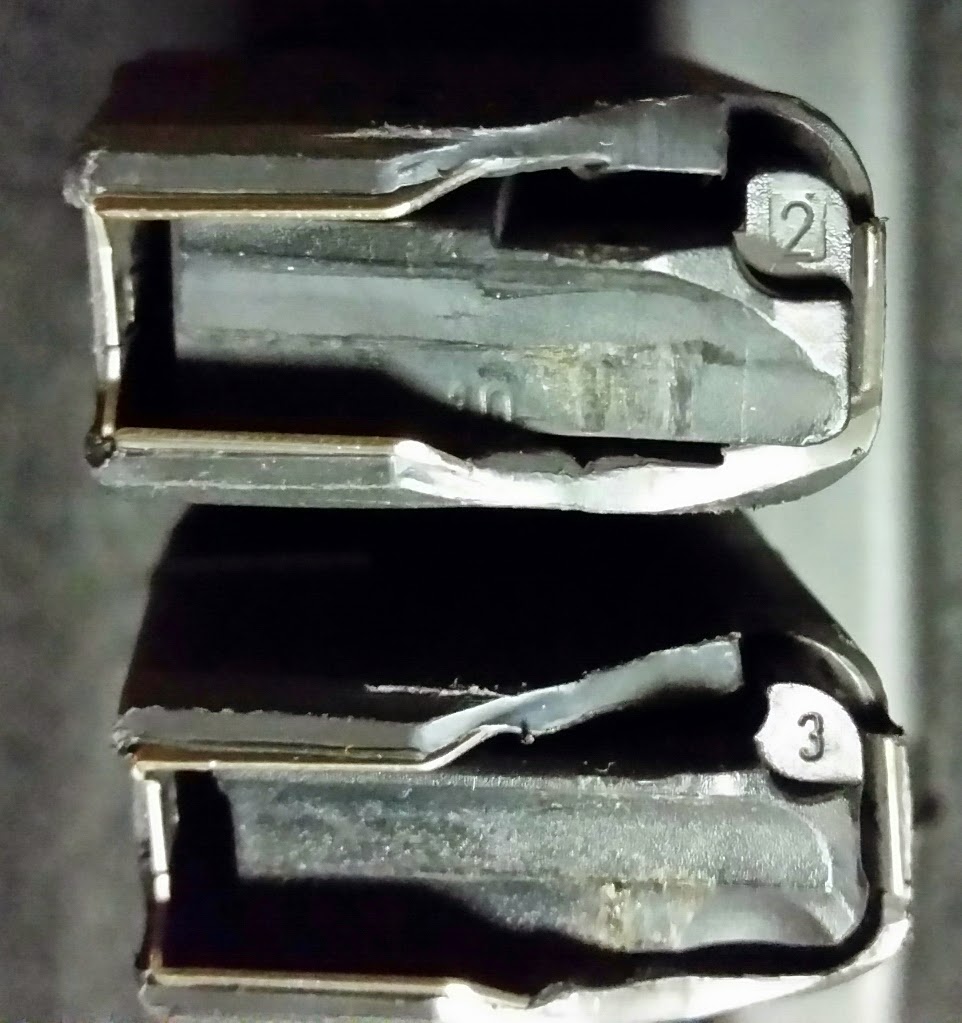
Left to right: 165g Ranier, 165g Xtreme, 180g PMC factory, 180g Remington factory.
If you look closely, you will see that the flat point profile of the Ranier bullet is significantly smaller than the flat profile of the others, leading to a more acute angle for the cartridge to contact the feed ramp during feeding. I don’t have a stock Glock barrel to compare it to, but the LoneWolf conversion barrel in the Glock 20 will frequently fail to feed these rounds that are otherwise drop-in happy. In a quick and non-scientific test of cycling a few magazines of this ammo manually through two pistols, the Ranier bullet loads failed to feed about half the time in the Glock with a 40S&W conversion barrel, but only once in the native 40S&W Kahr CW40. The other three examples did not fail to feed even once.
Long story short, the OAL length for the Ranier bullets needs to be longer than for the Xtreme bullets. It’s that pesky ogive impingement angle. The overall length is a critical measurement, but really it’s not the actual end to end length that matters so much as the base of cartridge to the circle/point on the bullet that first contacts the feed ramp.
The longer part of the story is that, while I might be able to slightly extract these bullets and reseat them to the proper depth, the actual better way to do it would be to pull them all and reload them from scratch to the proper length, once that length is determined.
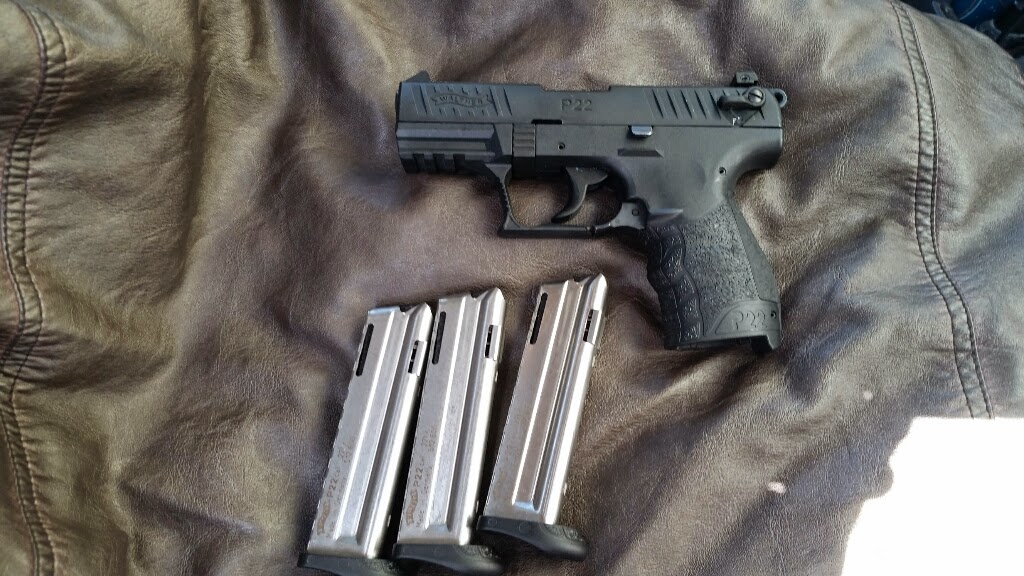
In other news, a coworker sold me his
Wather P22 pistol. I had shot it a few times before he sold it, but I have not yet shot it as “mine”.
He included a significant quantity of Federal, CCI and Aquila ammo, as well. I was able to find a leather
Galco Stinger belt loop holster for it at Cabela’s, in the Bargain Cave, but I don’t particularly like that particular one. The holster fits tightly enough to the pistol and loosely enough to my belt to not draw nicely. I want it to be secure, but I don’t want to struggle with it to draw. It’s primary role will be to carry around the property and while fishing, ATVing or other outdoor activities. Some additional forming on the holster may help, but I will probably end up with a Kydex holster of some sort.
CompTac makes one for it, the same model as I got for the
Kahr.