All posts by admin

Antenna Tuning Precheck

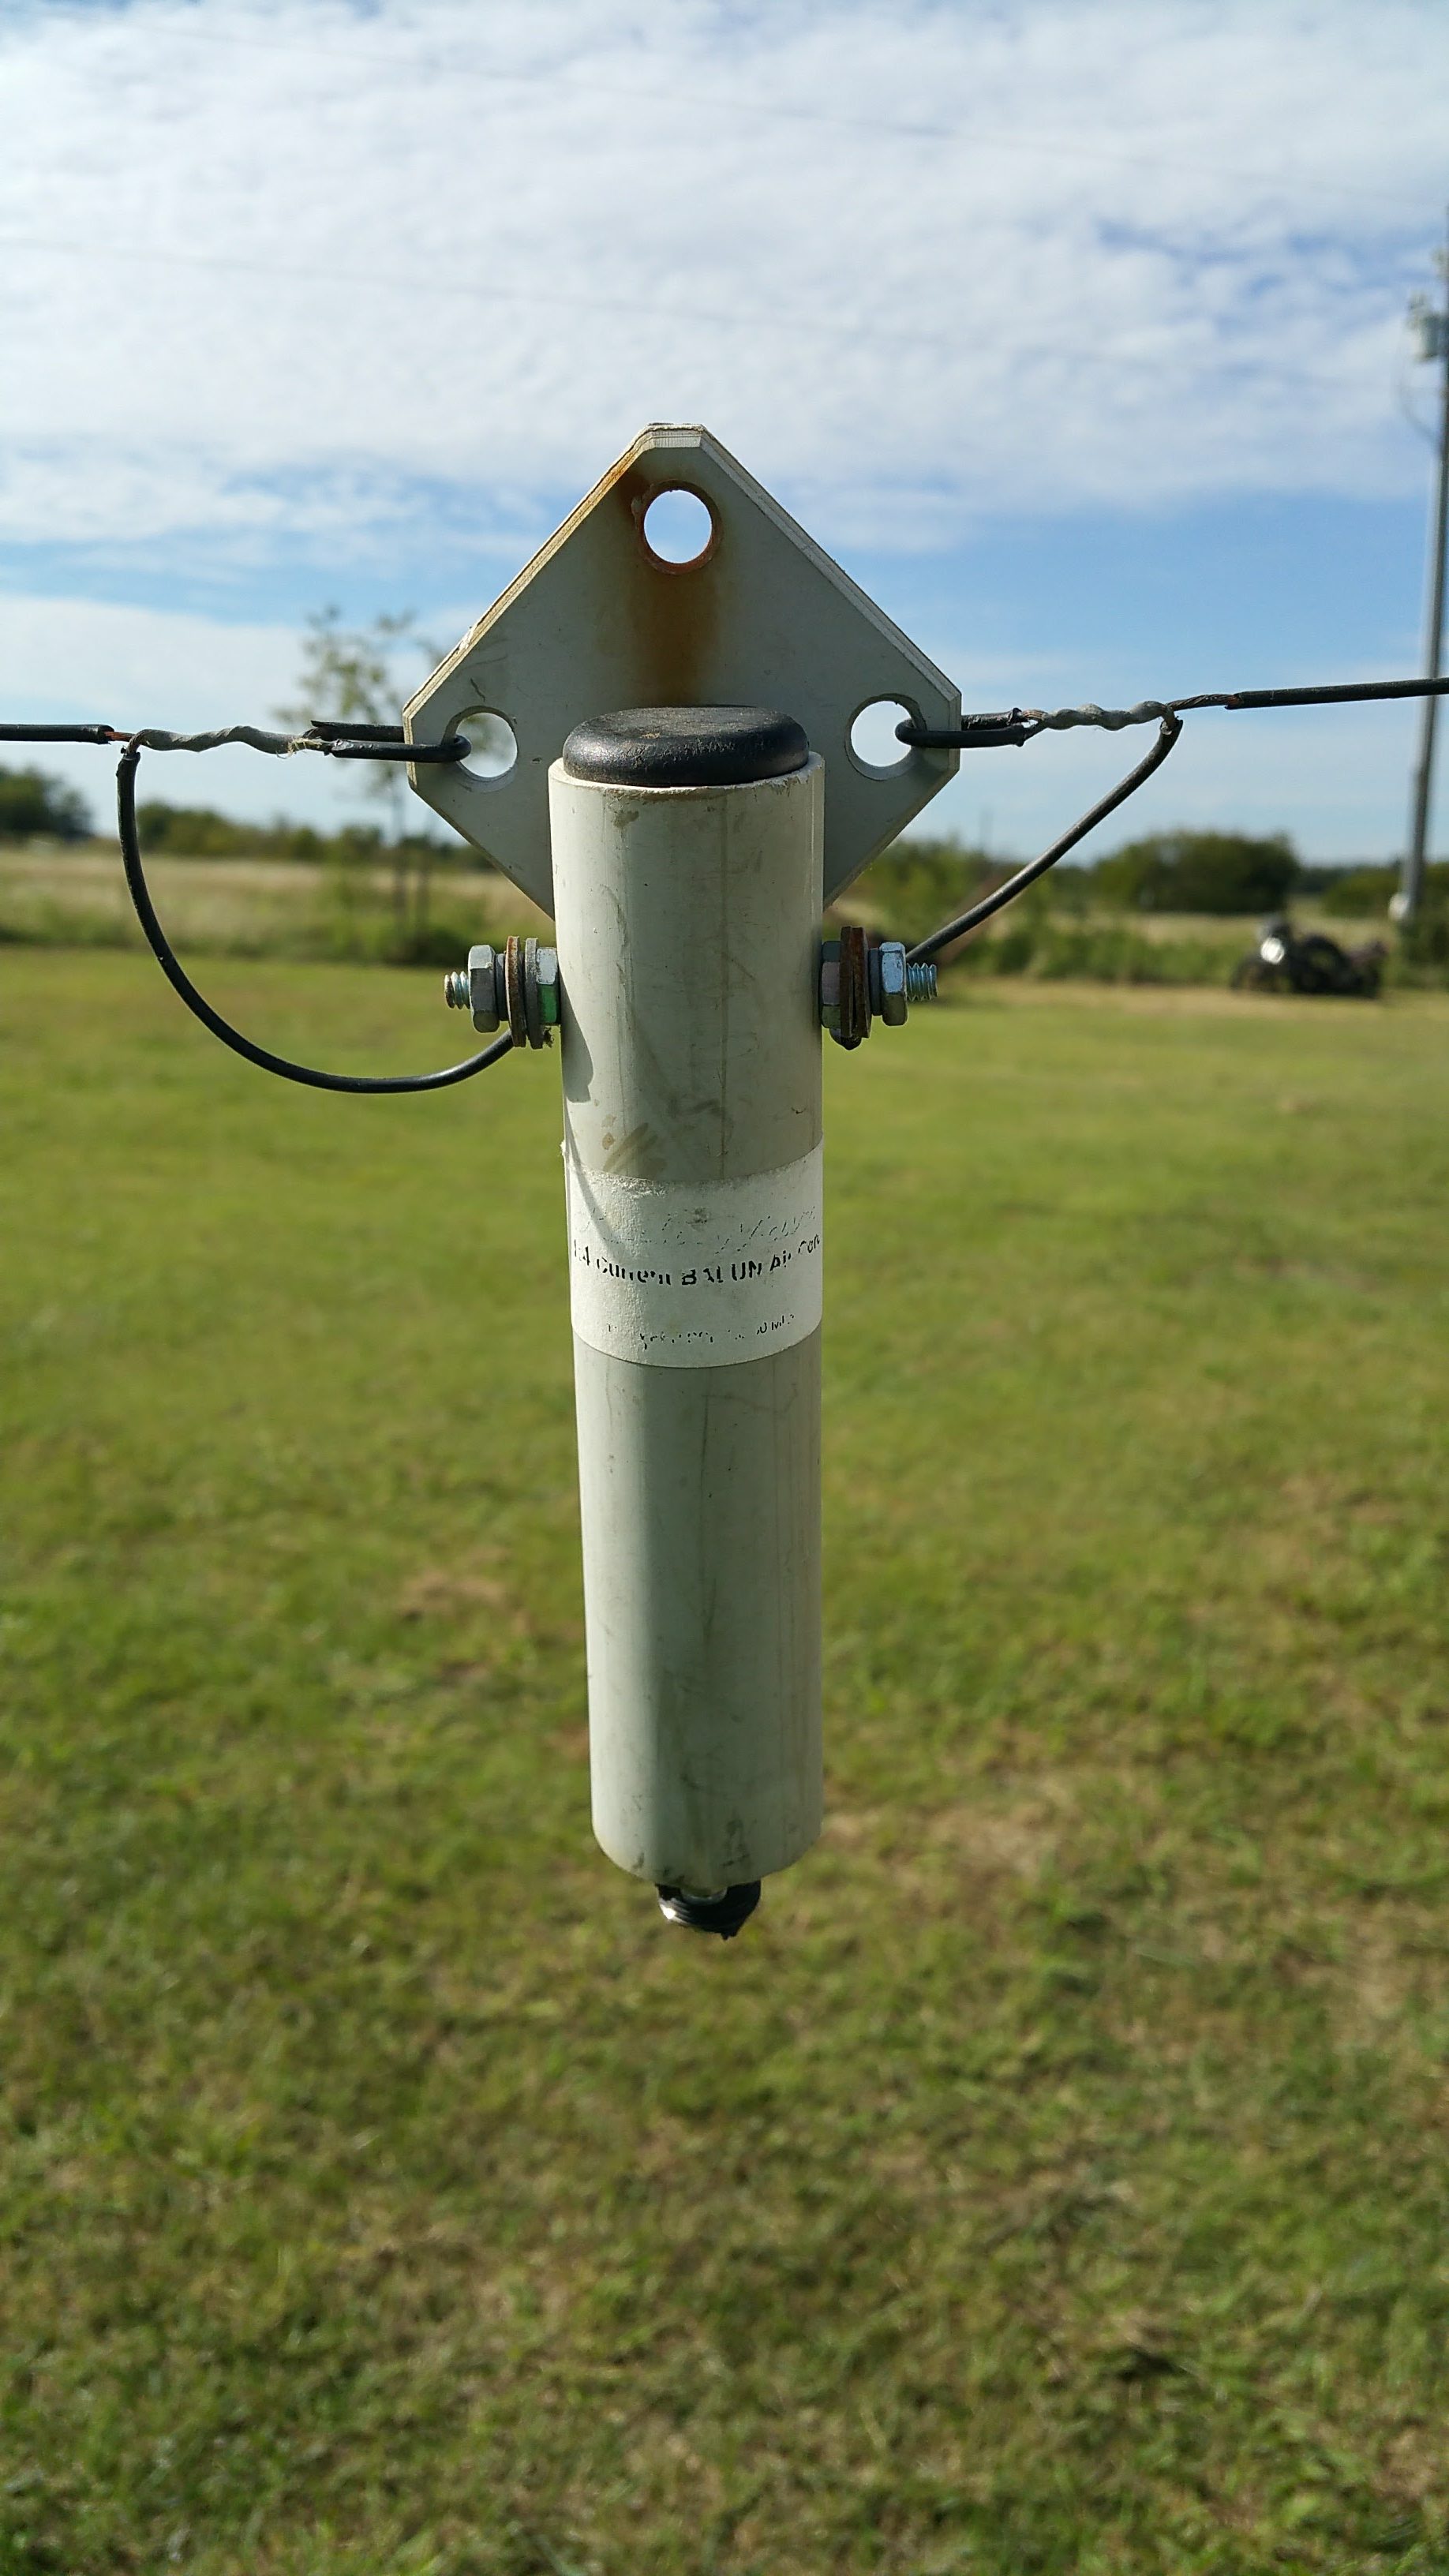
The ol’ 6BTV has been out there for three or four years and has served me well enough. It was about two years ago that I used an MFJ antenna analyzer to see where it’s peaks were after repairing it (from running it down with my truck) and they were all close enough to operating range to leave alone.

However, my interest in more operating means that I’d like to have a better idea where it works best. More than a year ago, I got a Rig Expert AA-170, the HF to 2m range device. Other than firing it up at my desk at work once, I’ve not used it until tonight. Pretty slick box.

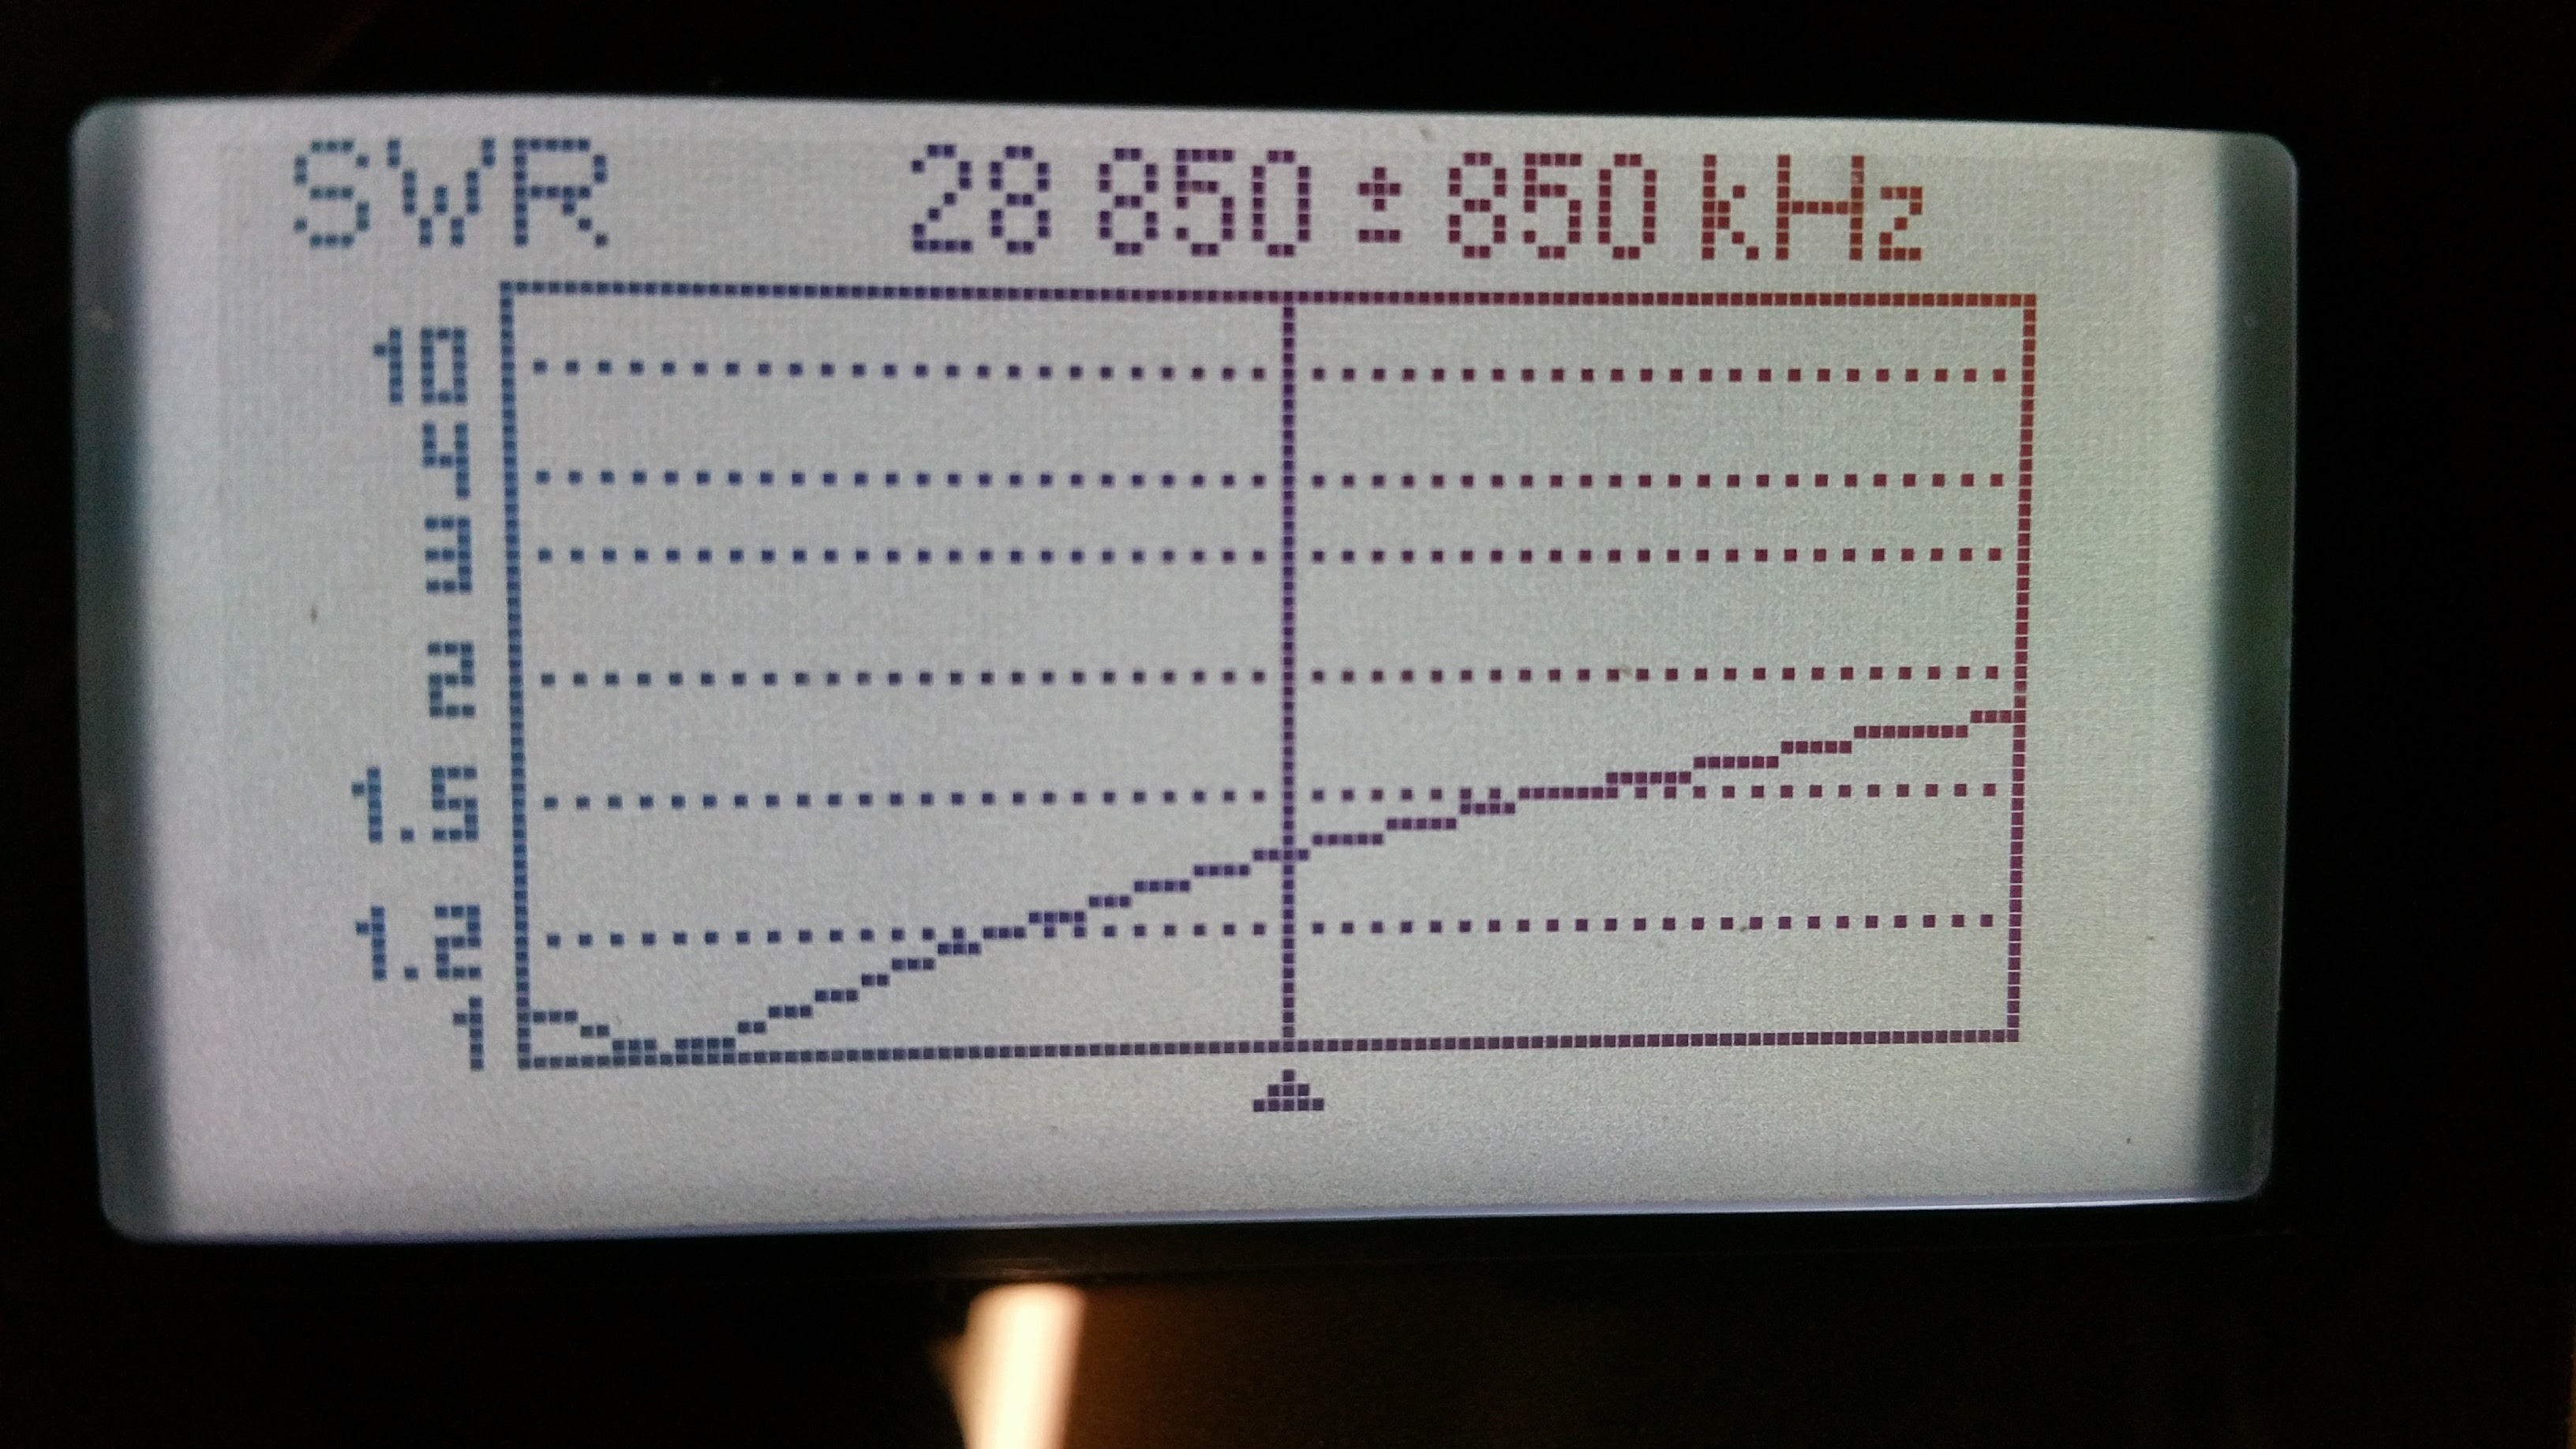
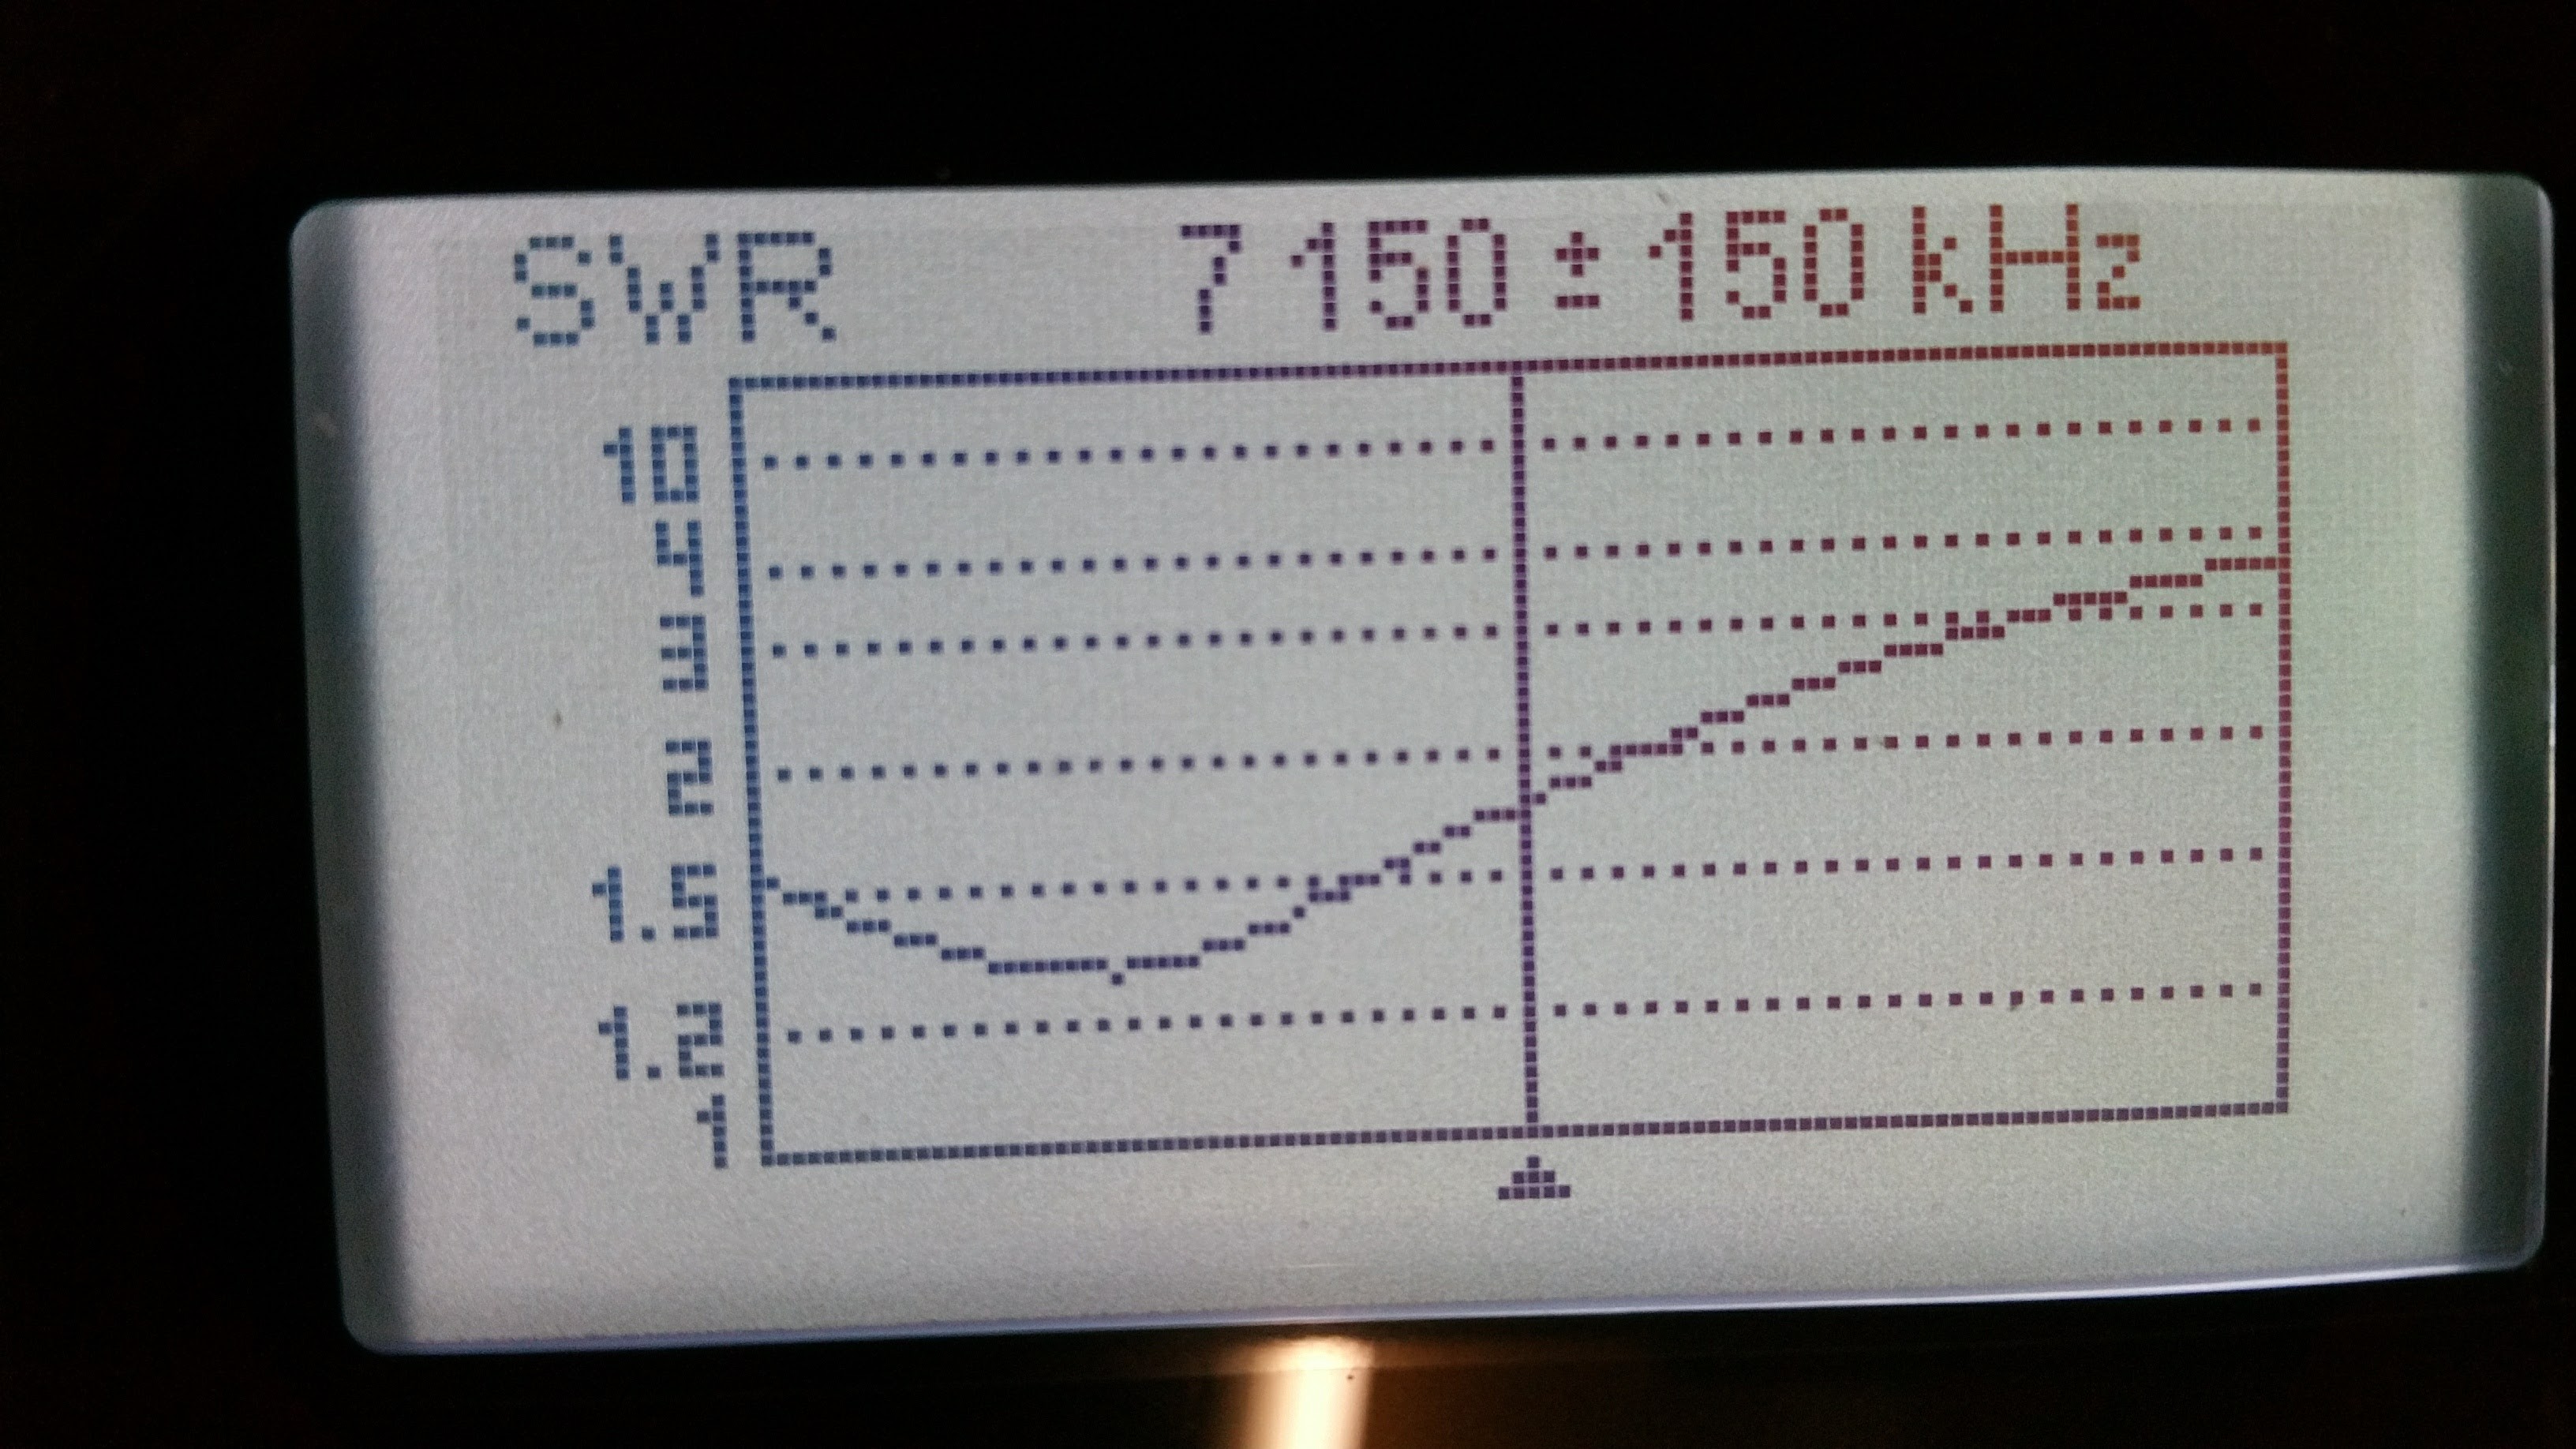
10 meters is usable across the band, with a power-peak at the bottom end in the rtty/data sub-band.

20160920_201805

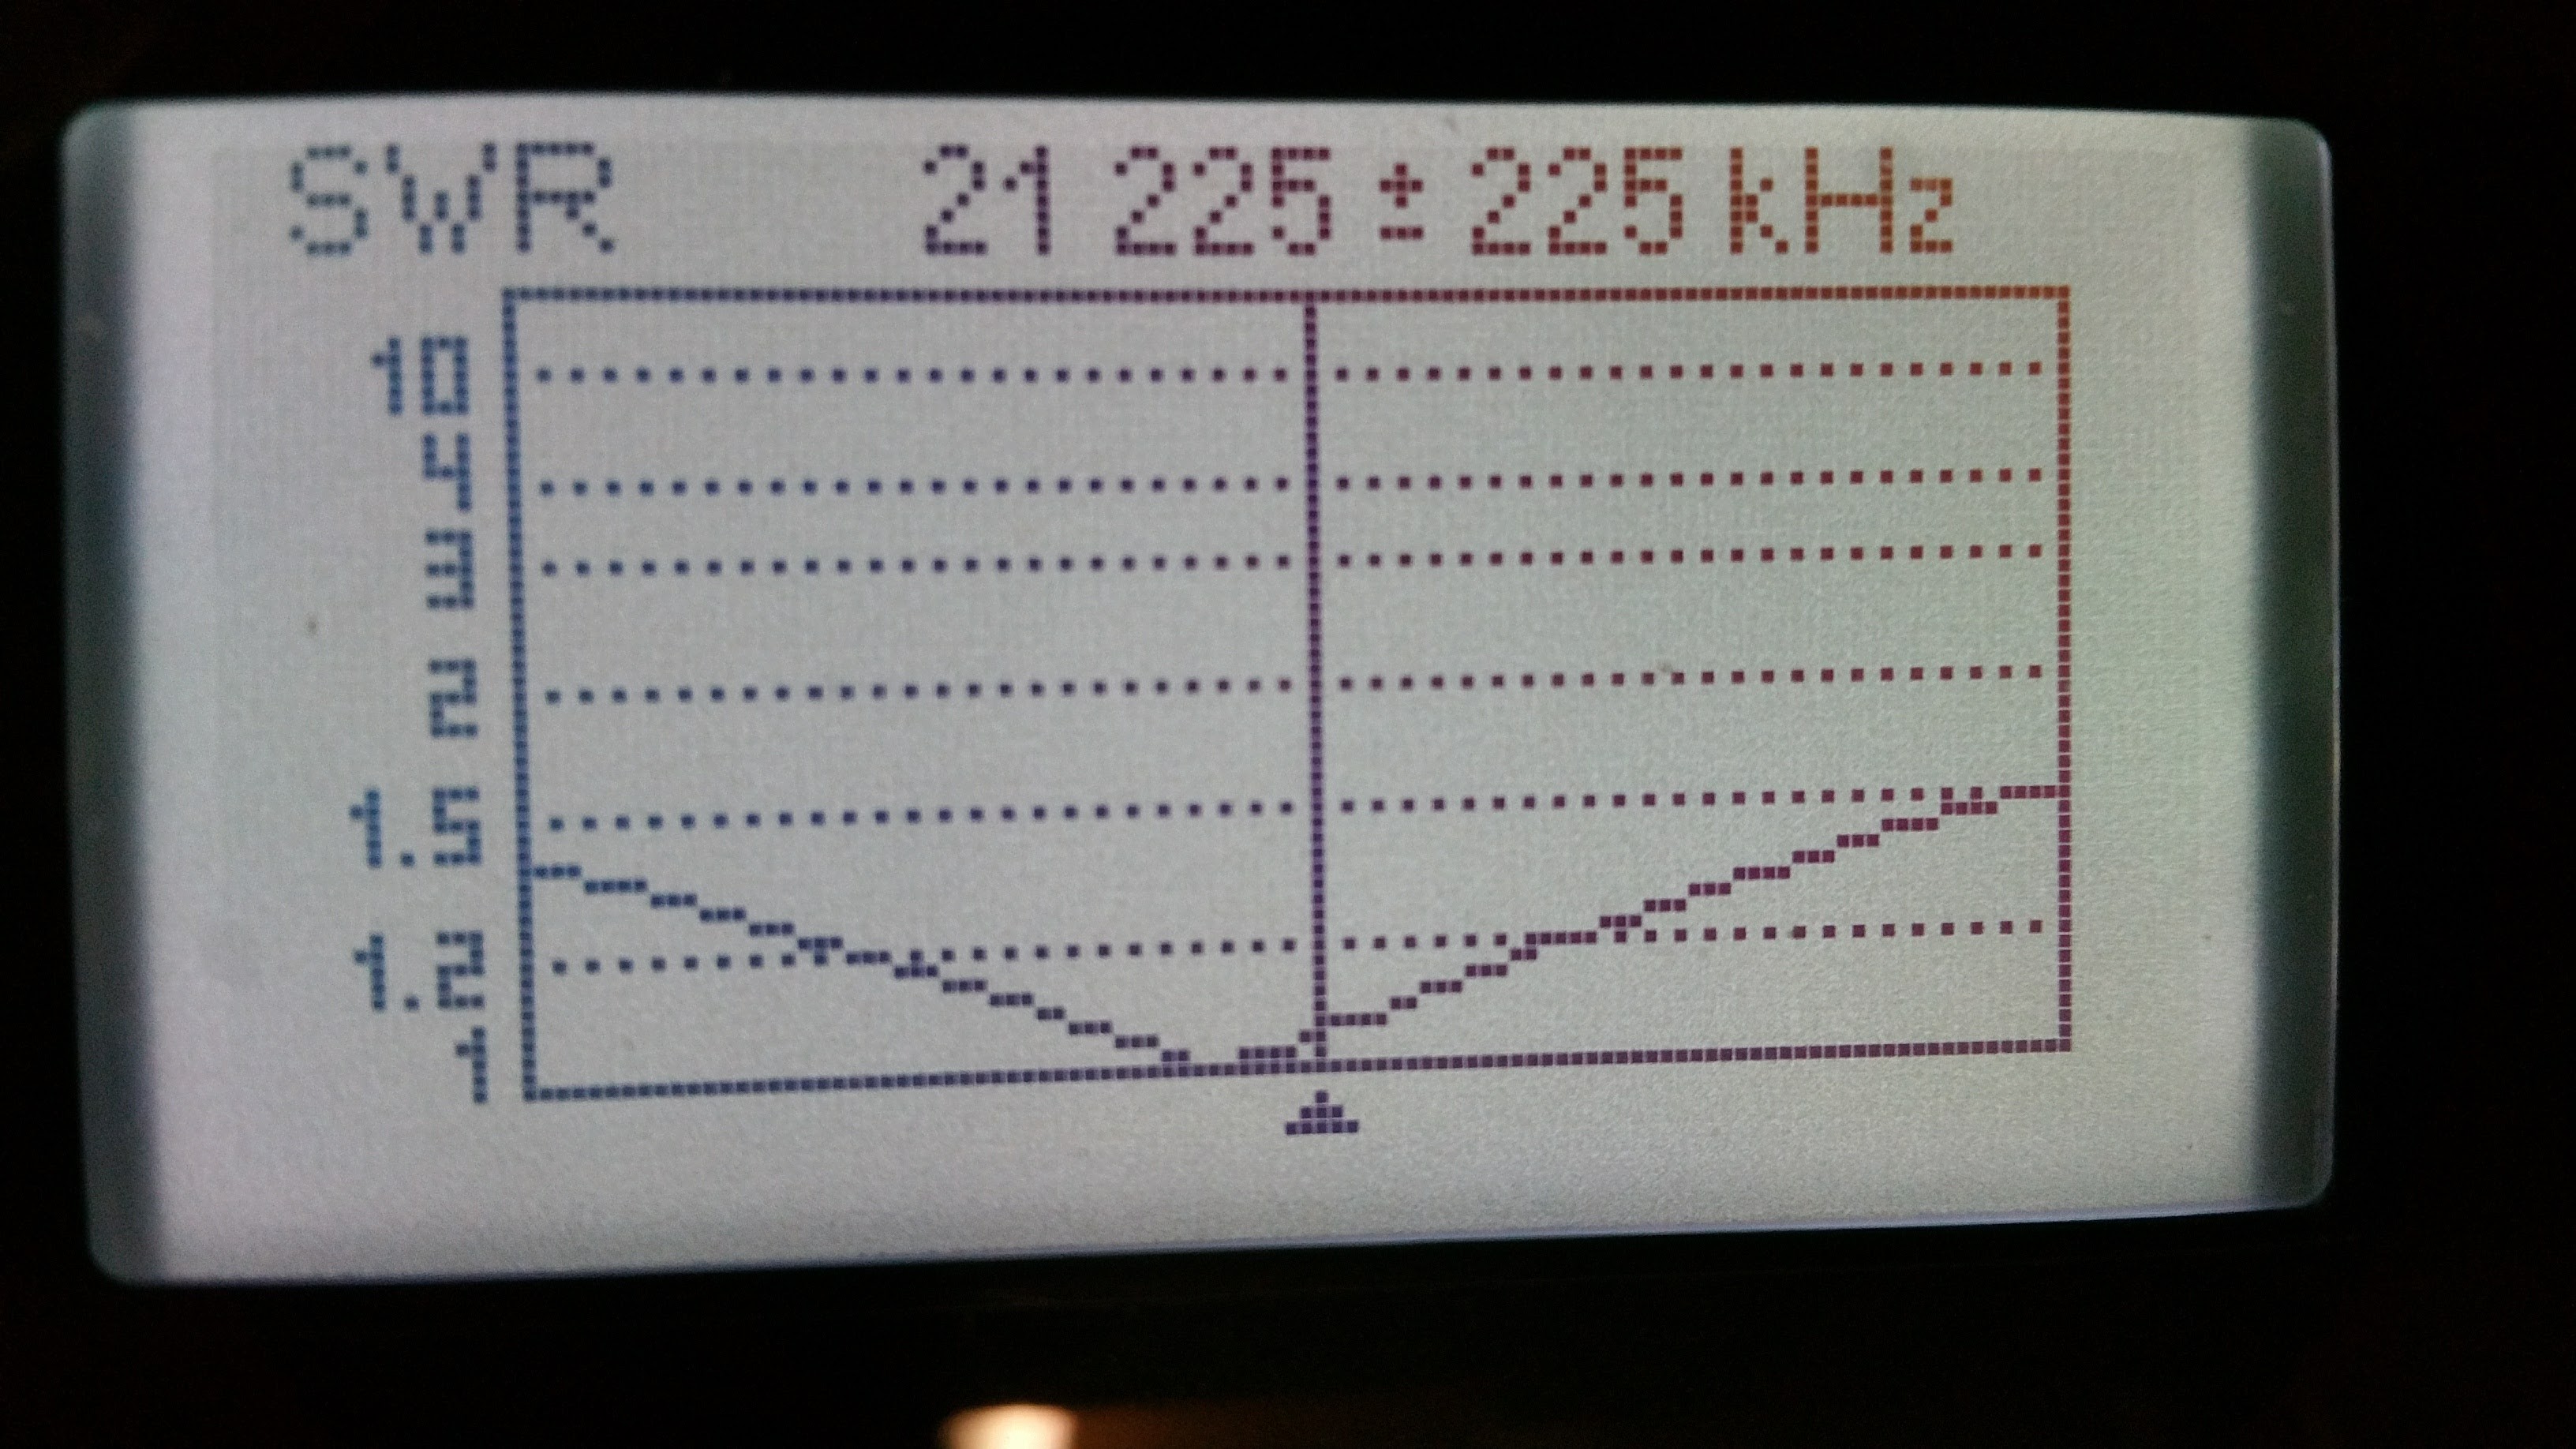
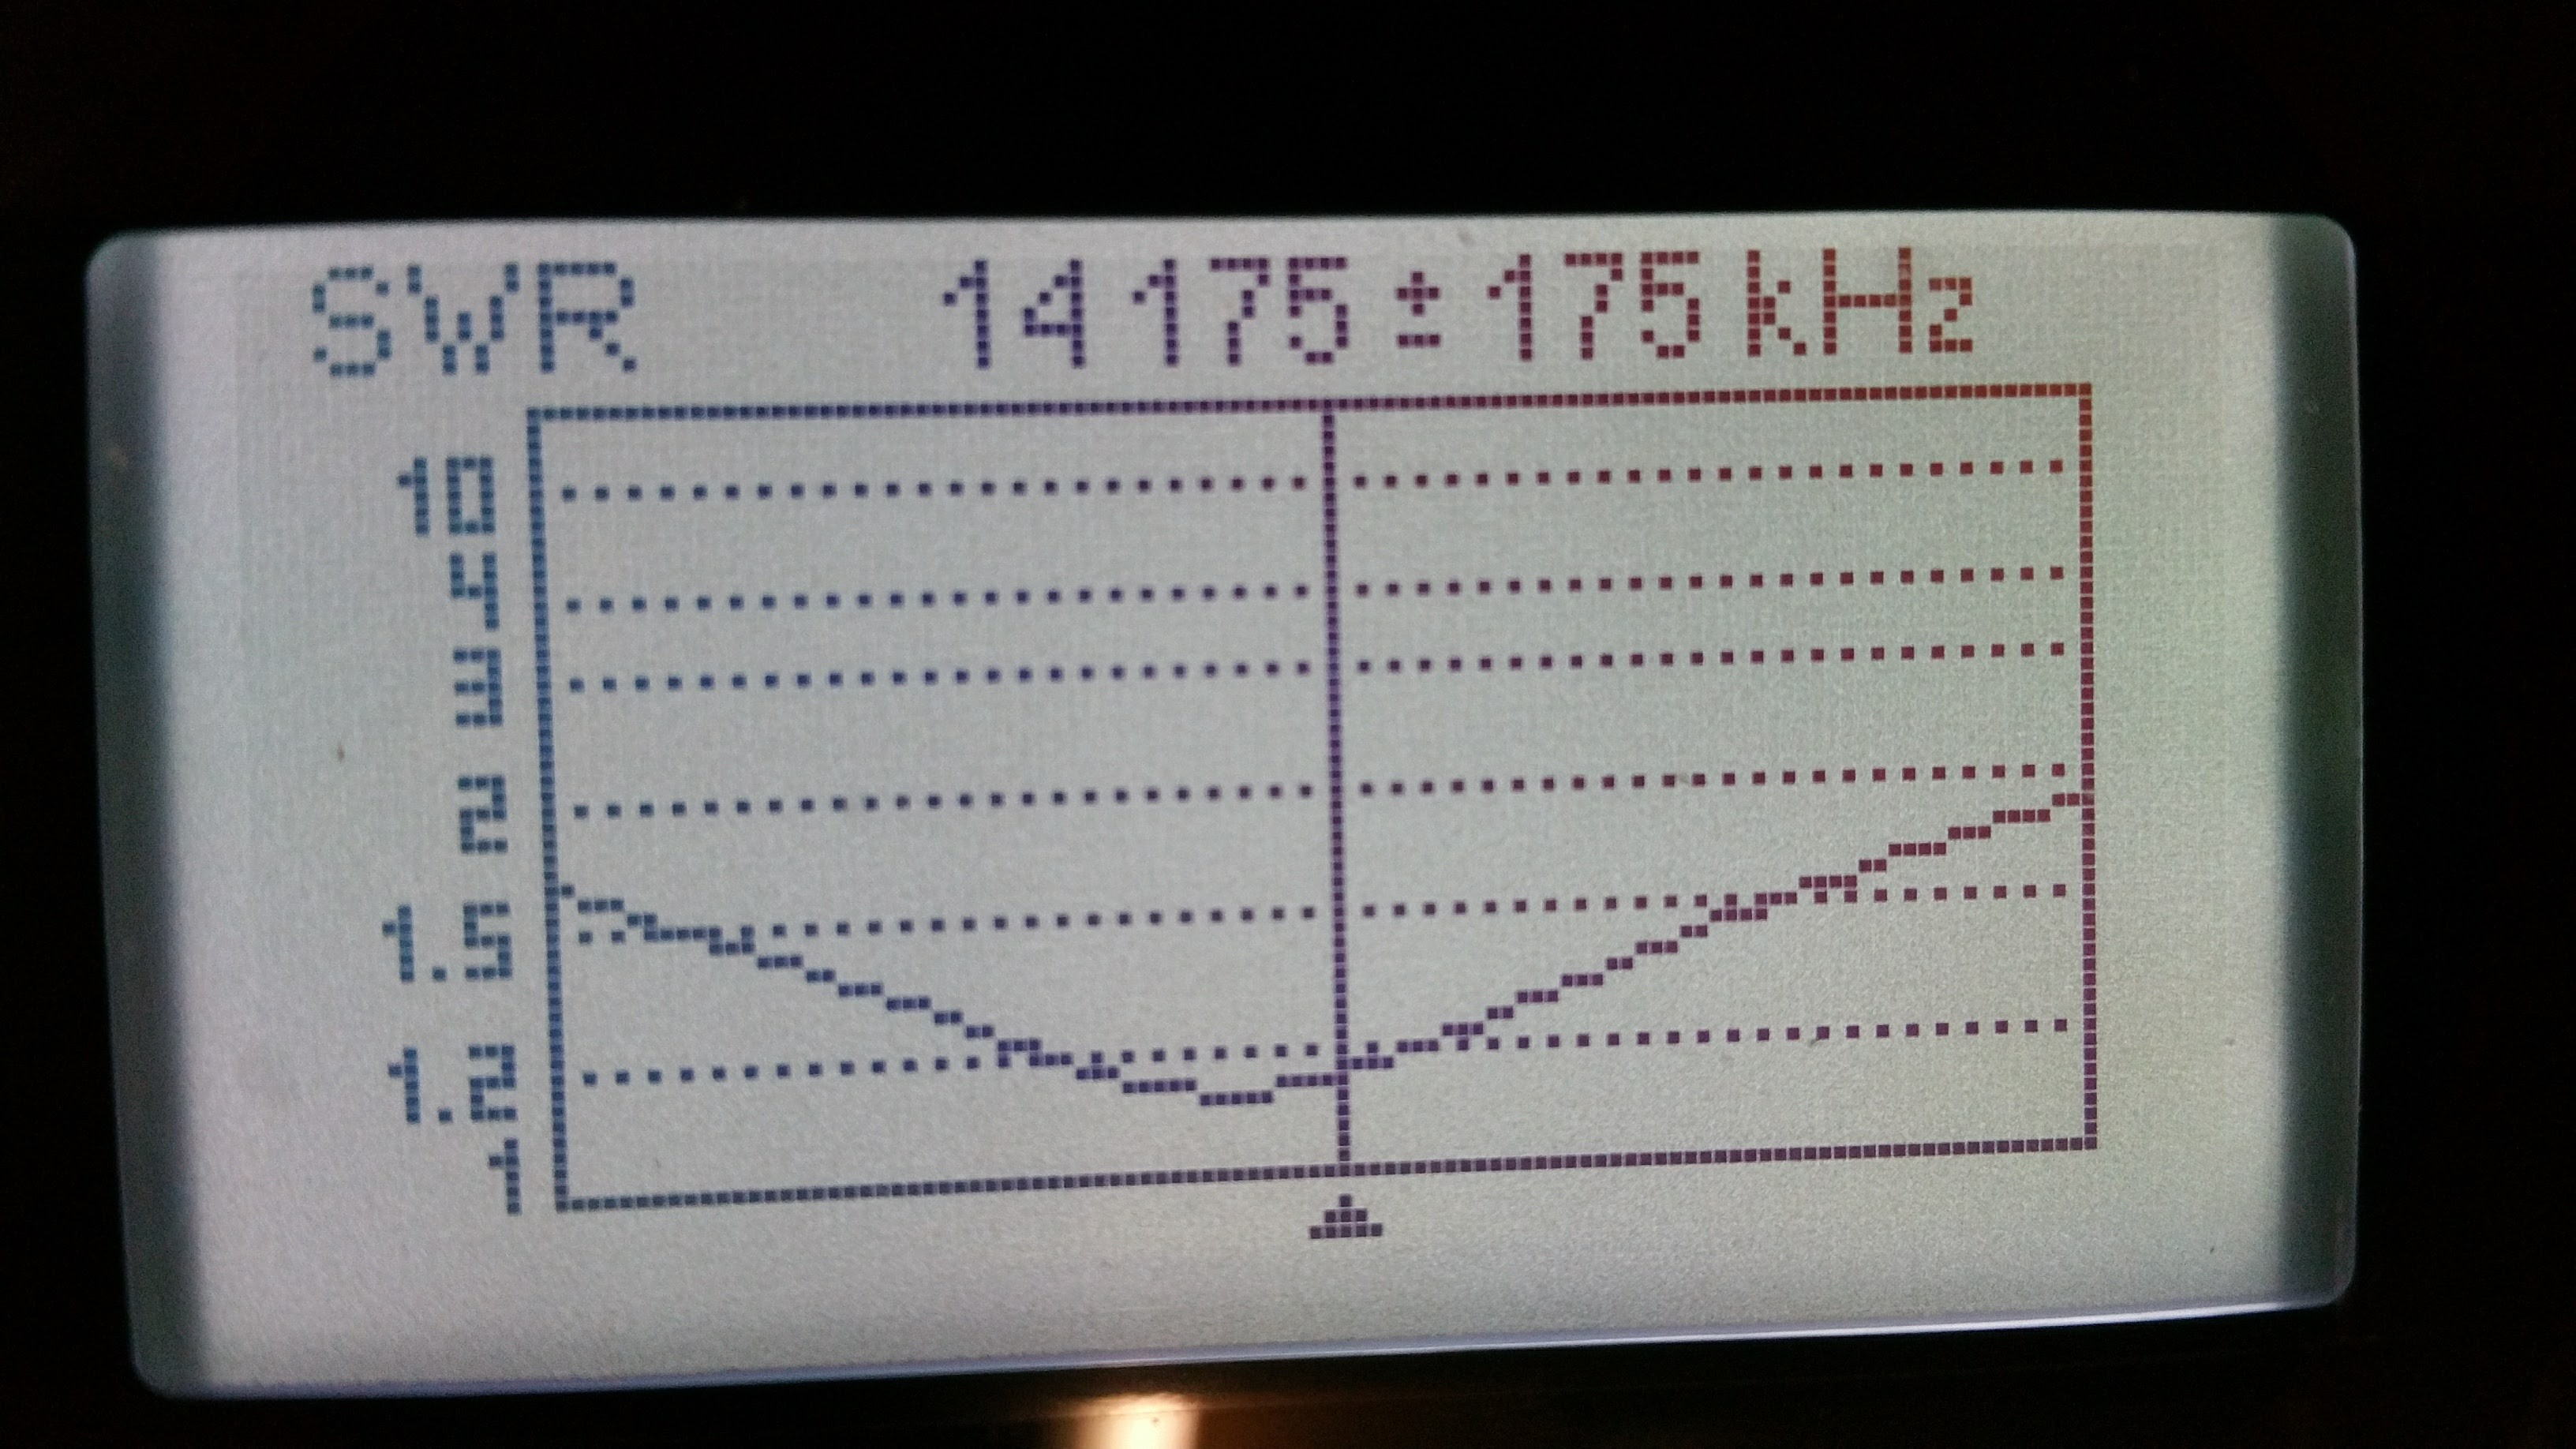
15 and 20 meters are both pretty much smack in the middle of the band.

20160920_201725

20160920_201649

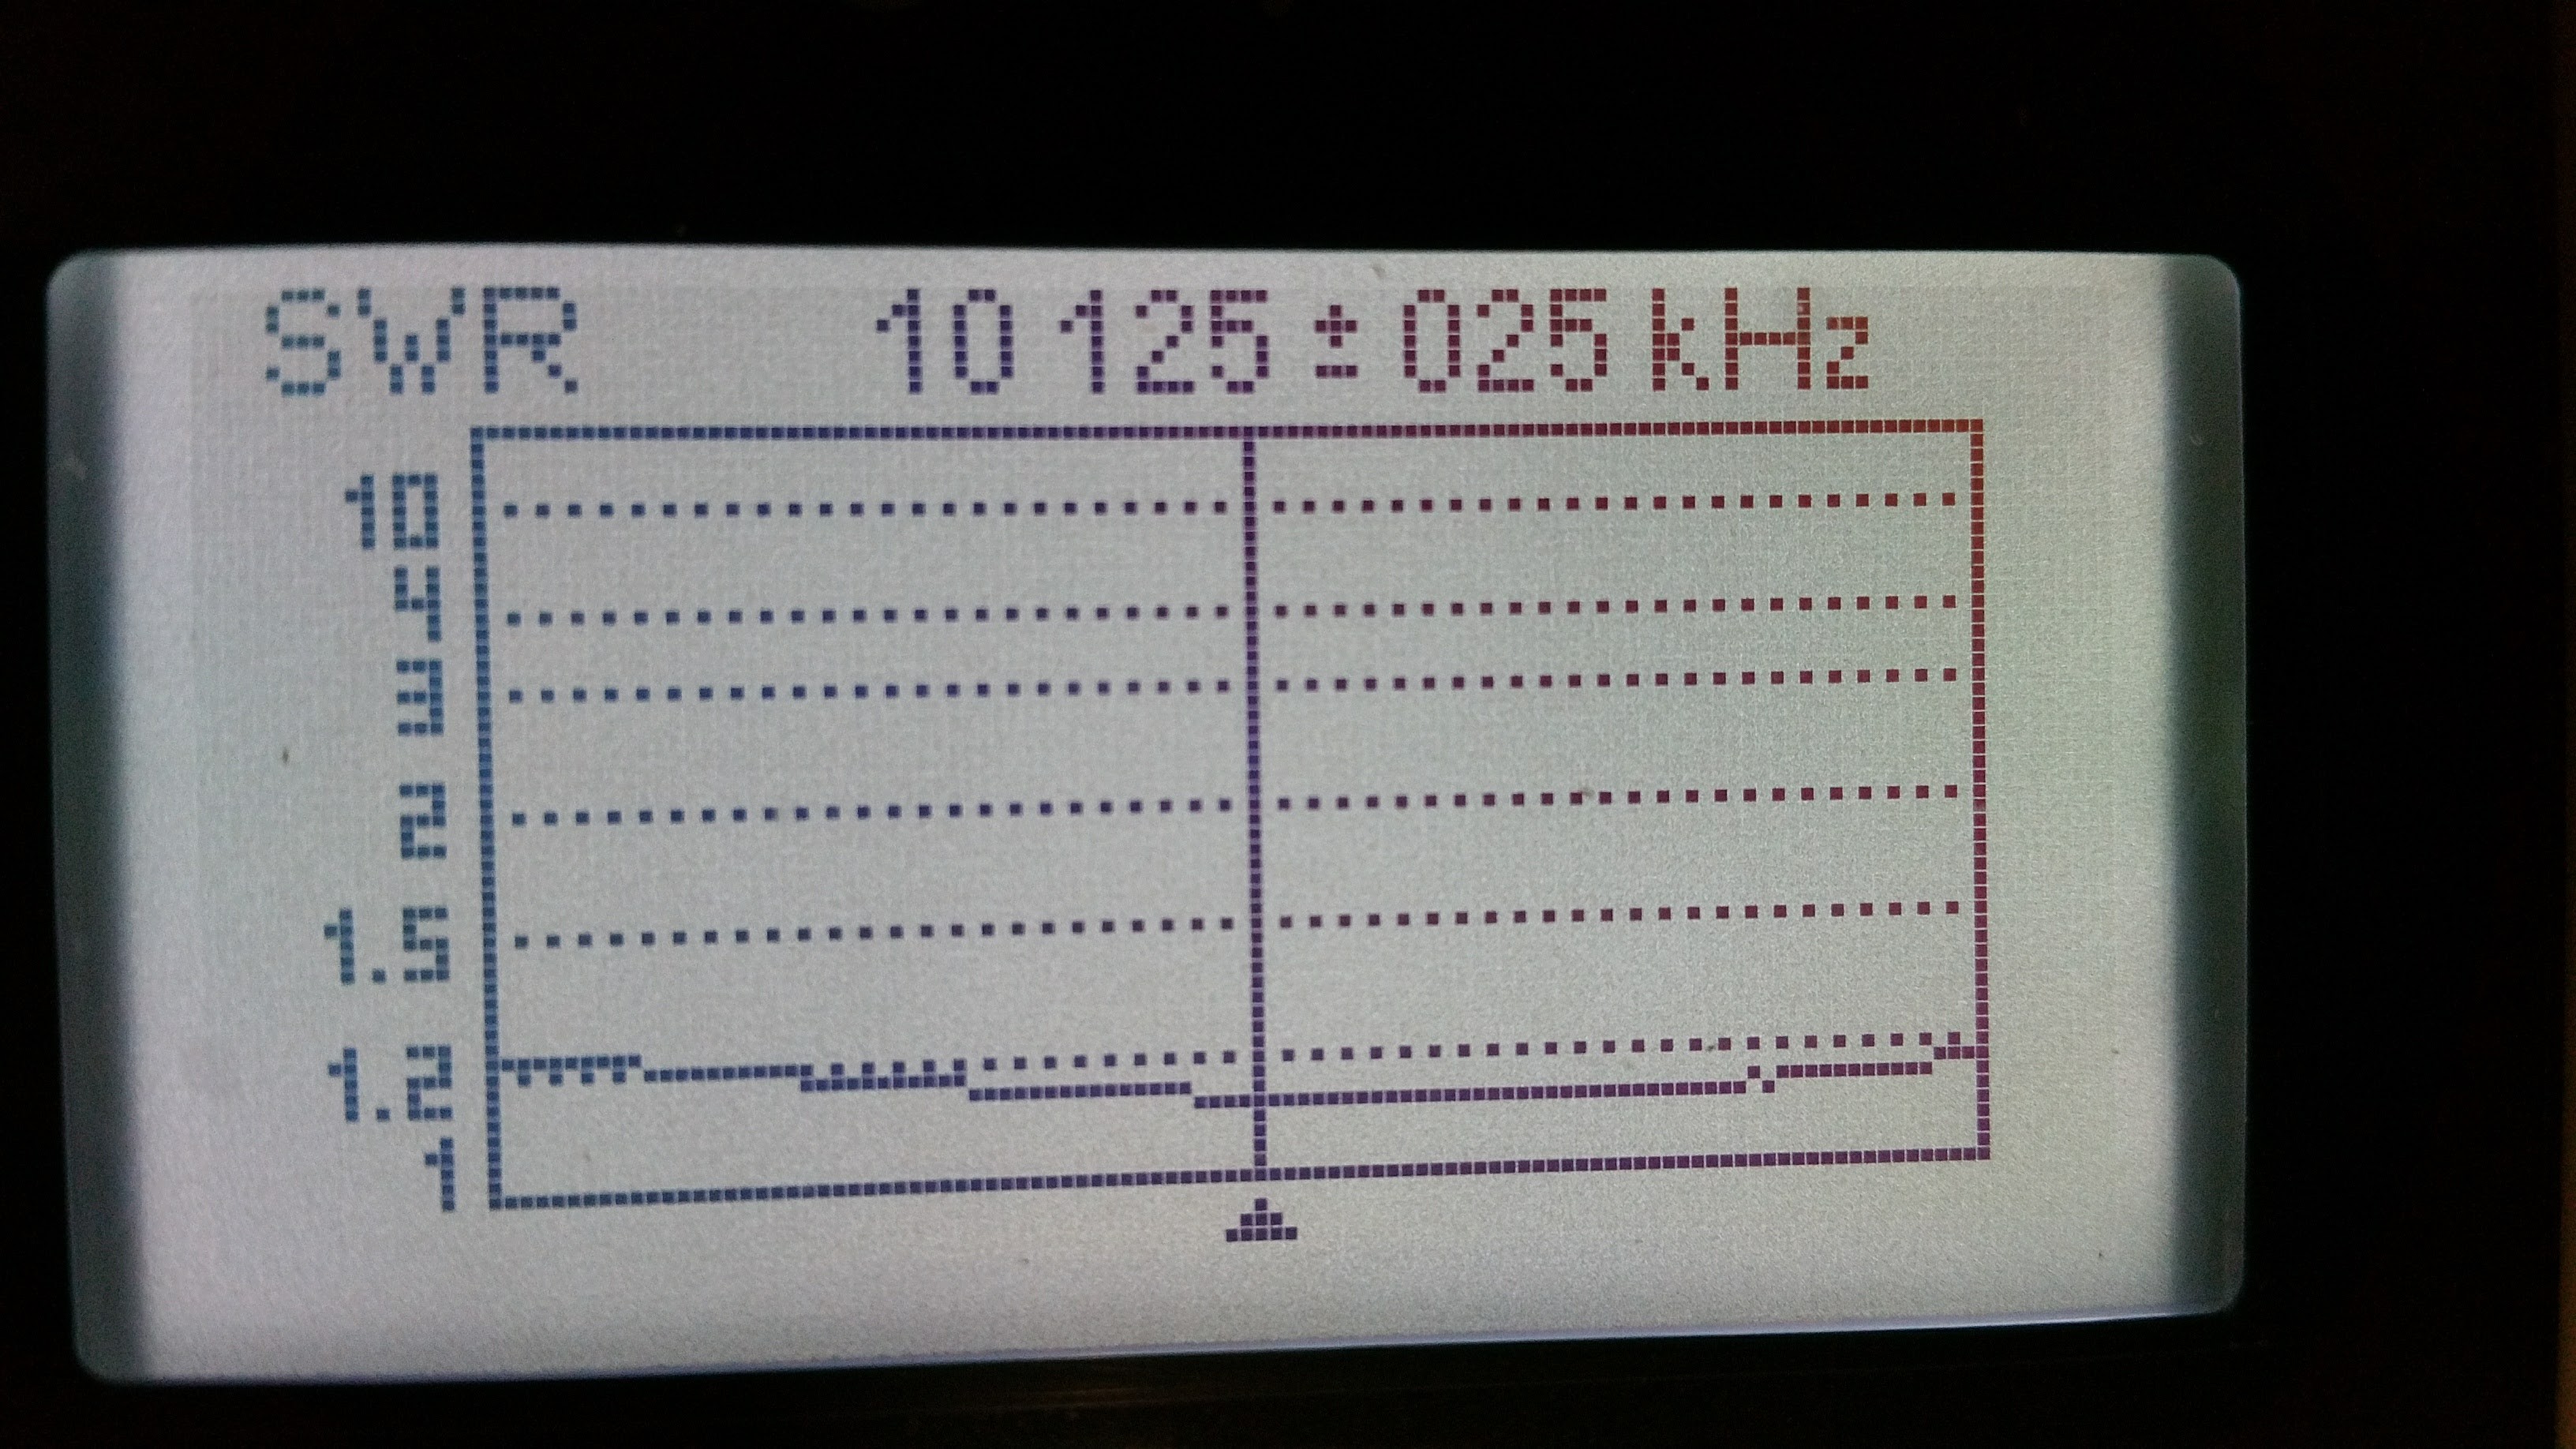
30 meters is a pretty narrow band, so it makes sense that it would be pretty flat across the whole thing.

20160920_201631

40 meters is, again, a peak in the lower end of the band. With my interests in JT65 and PSK31, that’s probably as good a place for resonance as any.

20160920_201611

80 meters is where I finally really need to tweak it. The resonance point is a few kHz below the bottom of the band and the antenna bandwidth is fairly narrow, so I need to choose a spot in the band and see how well I can match it.

20160920_201548

20160920_200724

If I adjust 10 meters up a little in frequency, the rest of the peaks will move a bit upward as well, as 10 meters is the bottom section of the antenna.

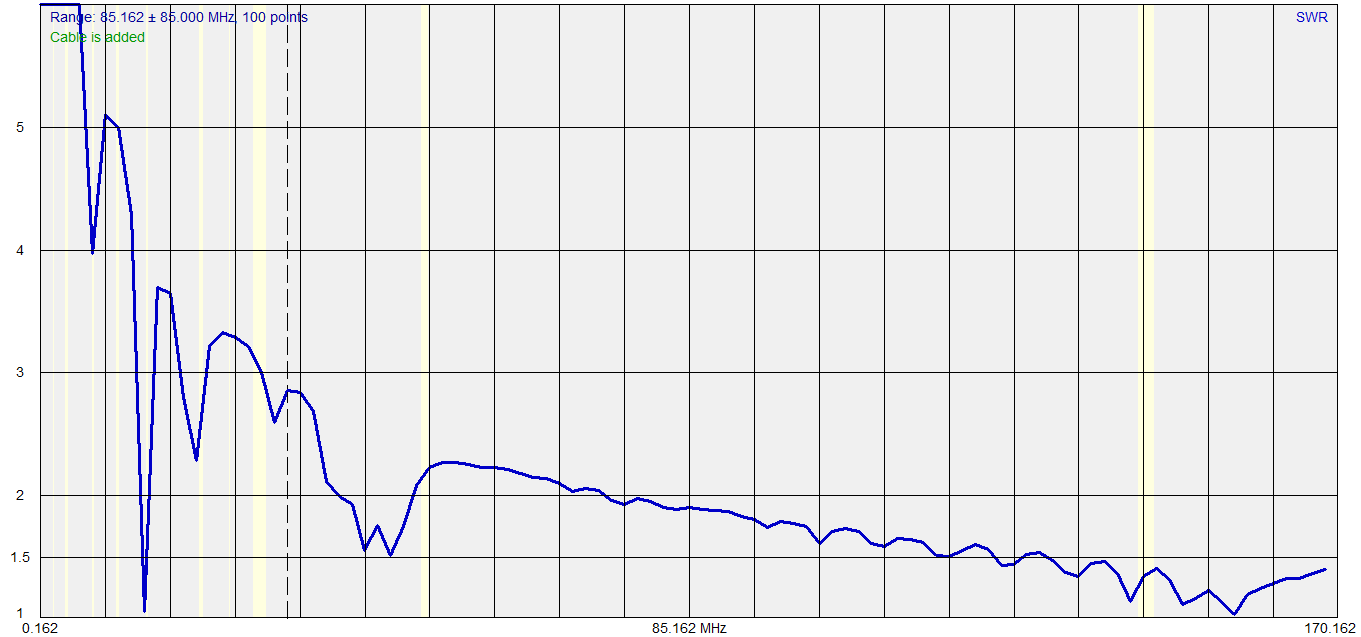
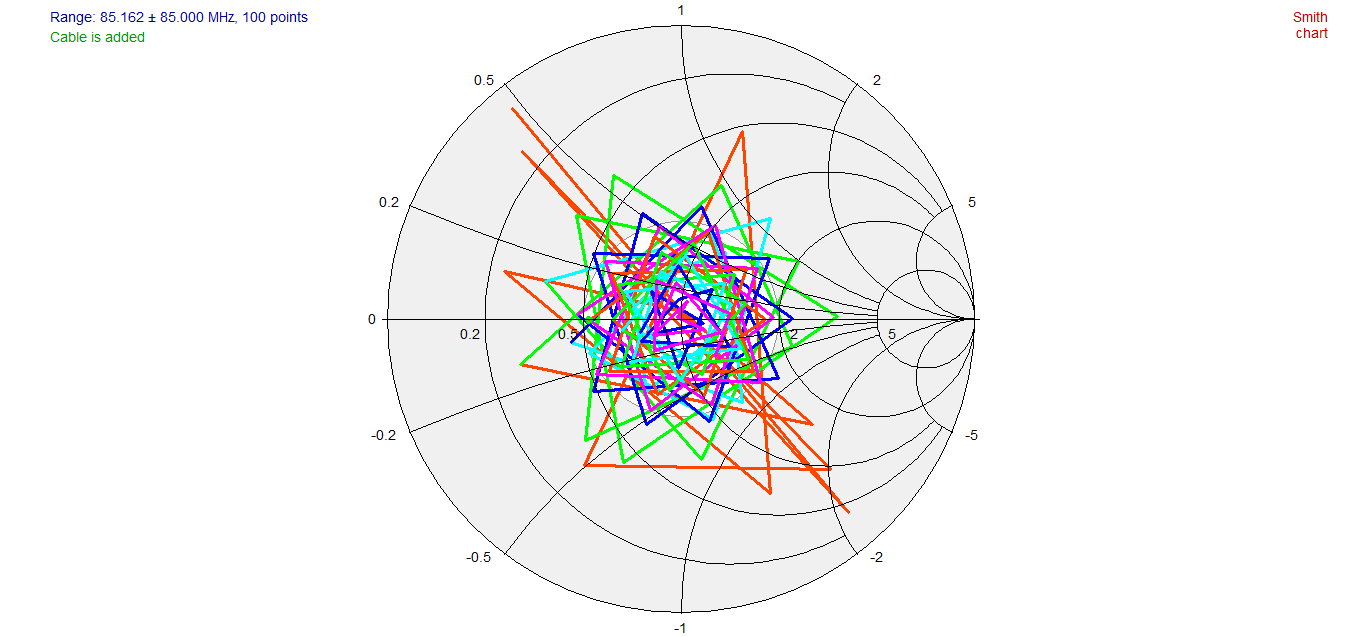
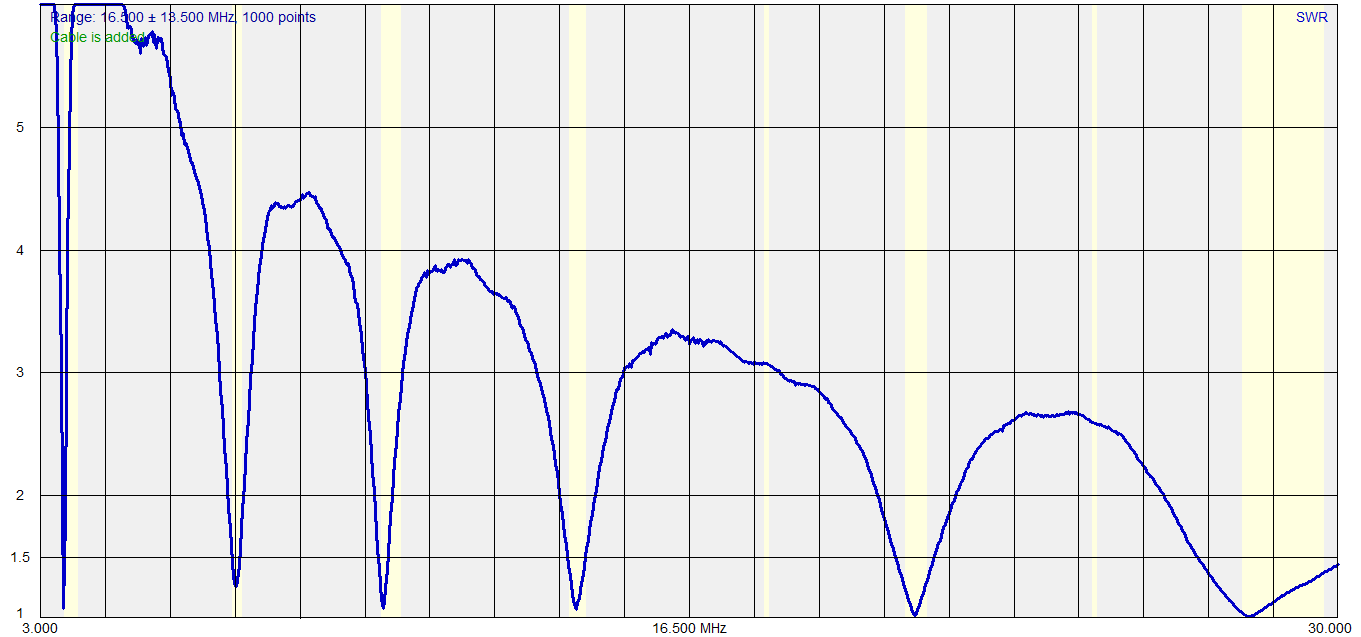
The software that comes with the Rig Expert does a decent job of graphing as well.

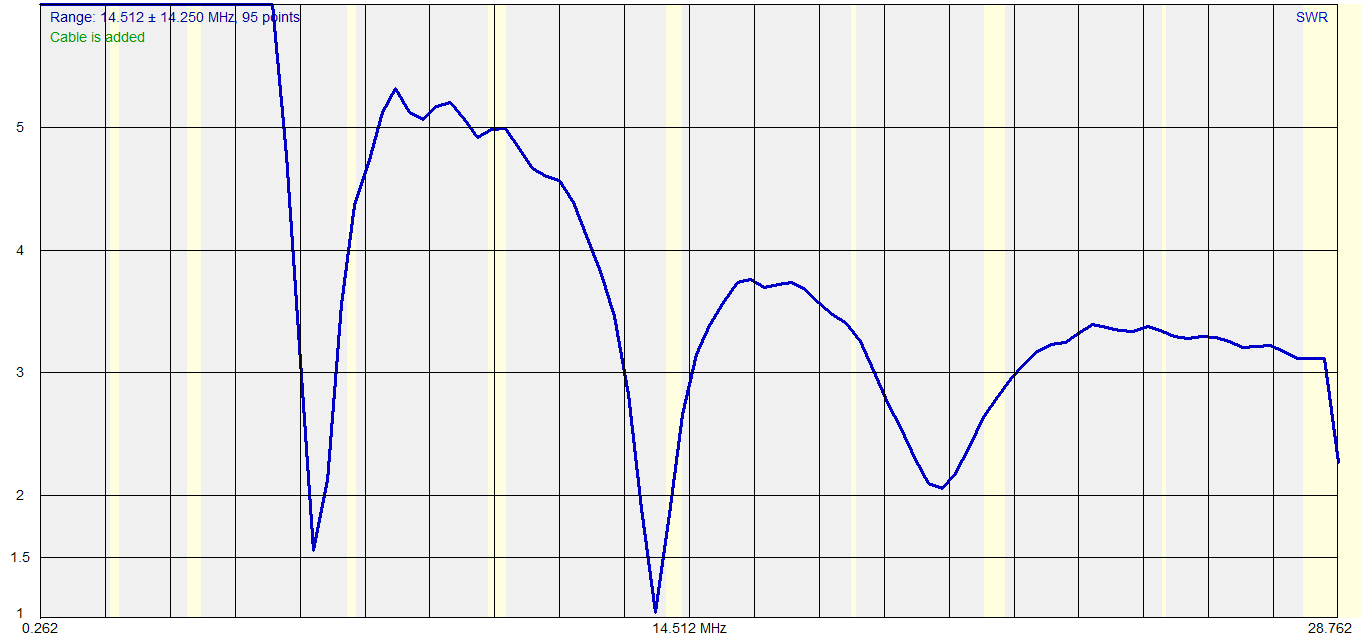
This is an SWR scan of 3.0MHz to 30MHz, accounting for 75 feet of RG213 cable. The dips obviously correspond to the tuning of the six bands that the antenna covers, 80, 40, 30, 20, 15 and 10 meters. The software also marks the ham bands in white on the background fill.

6btv-cable

On The Air Again

Well, strictly speaking, I was not really off the air because I was receiving JT65 before I discovered the damage.

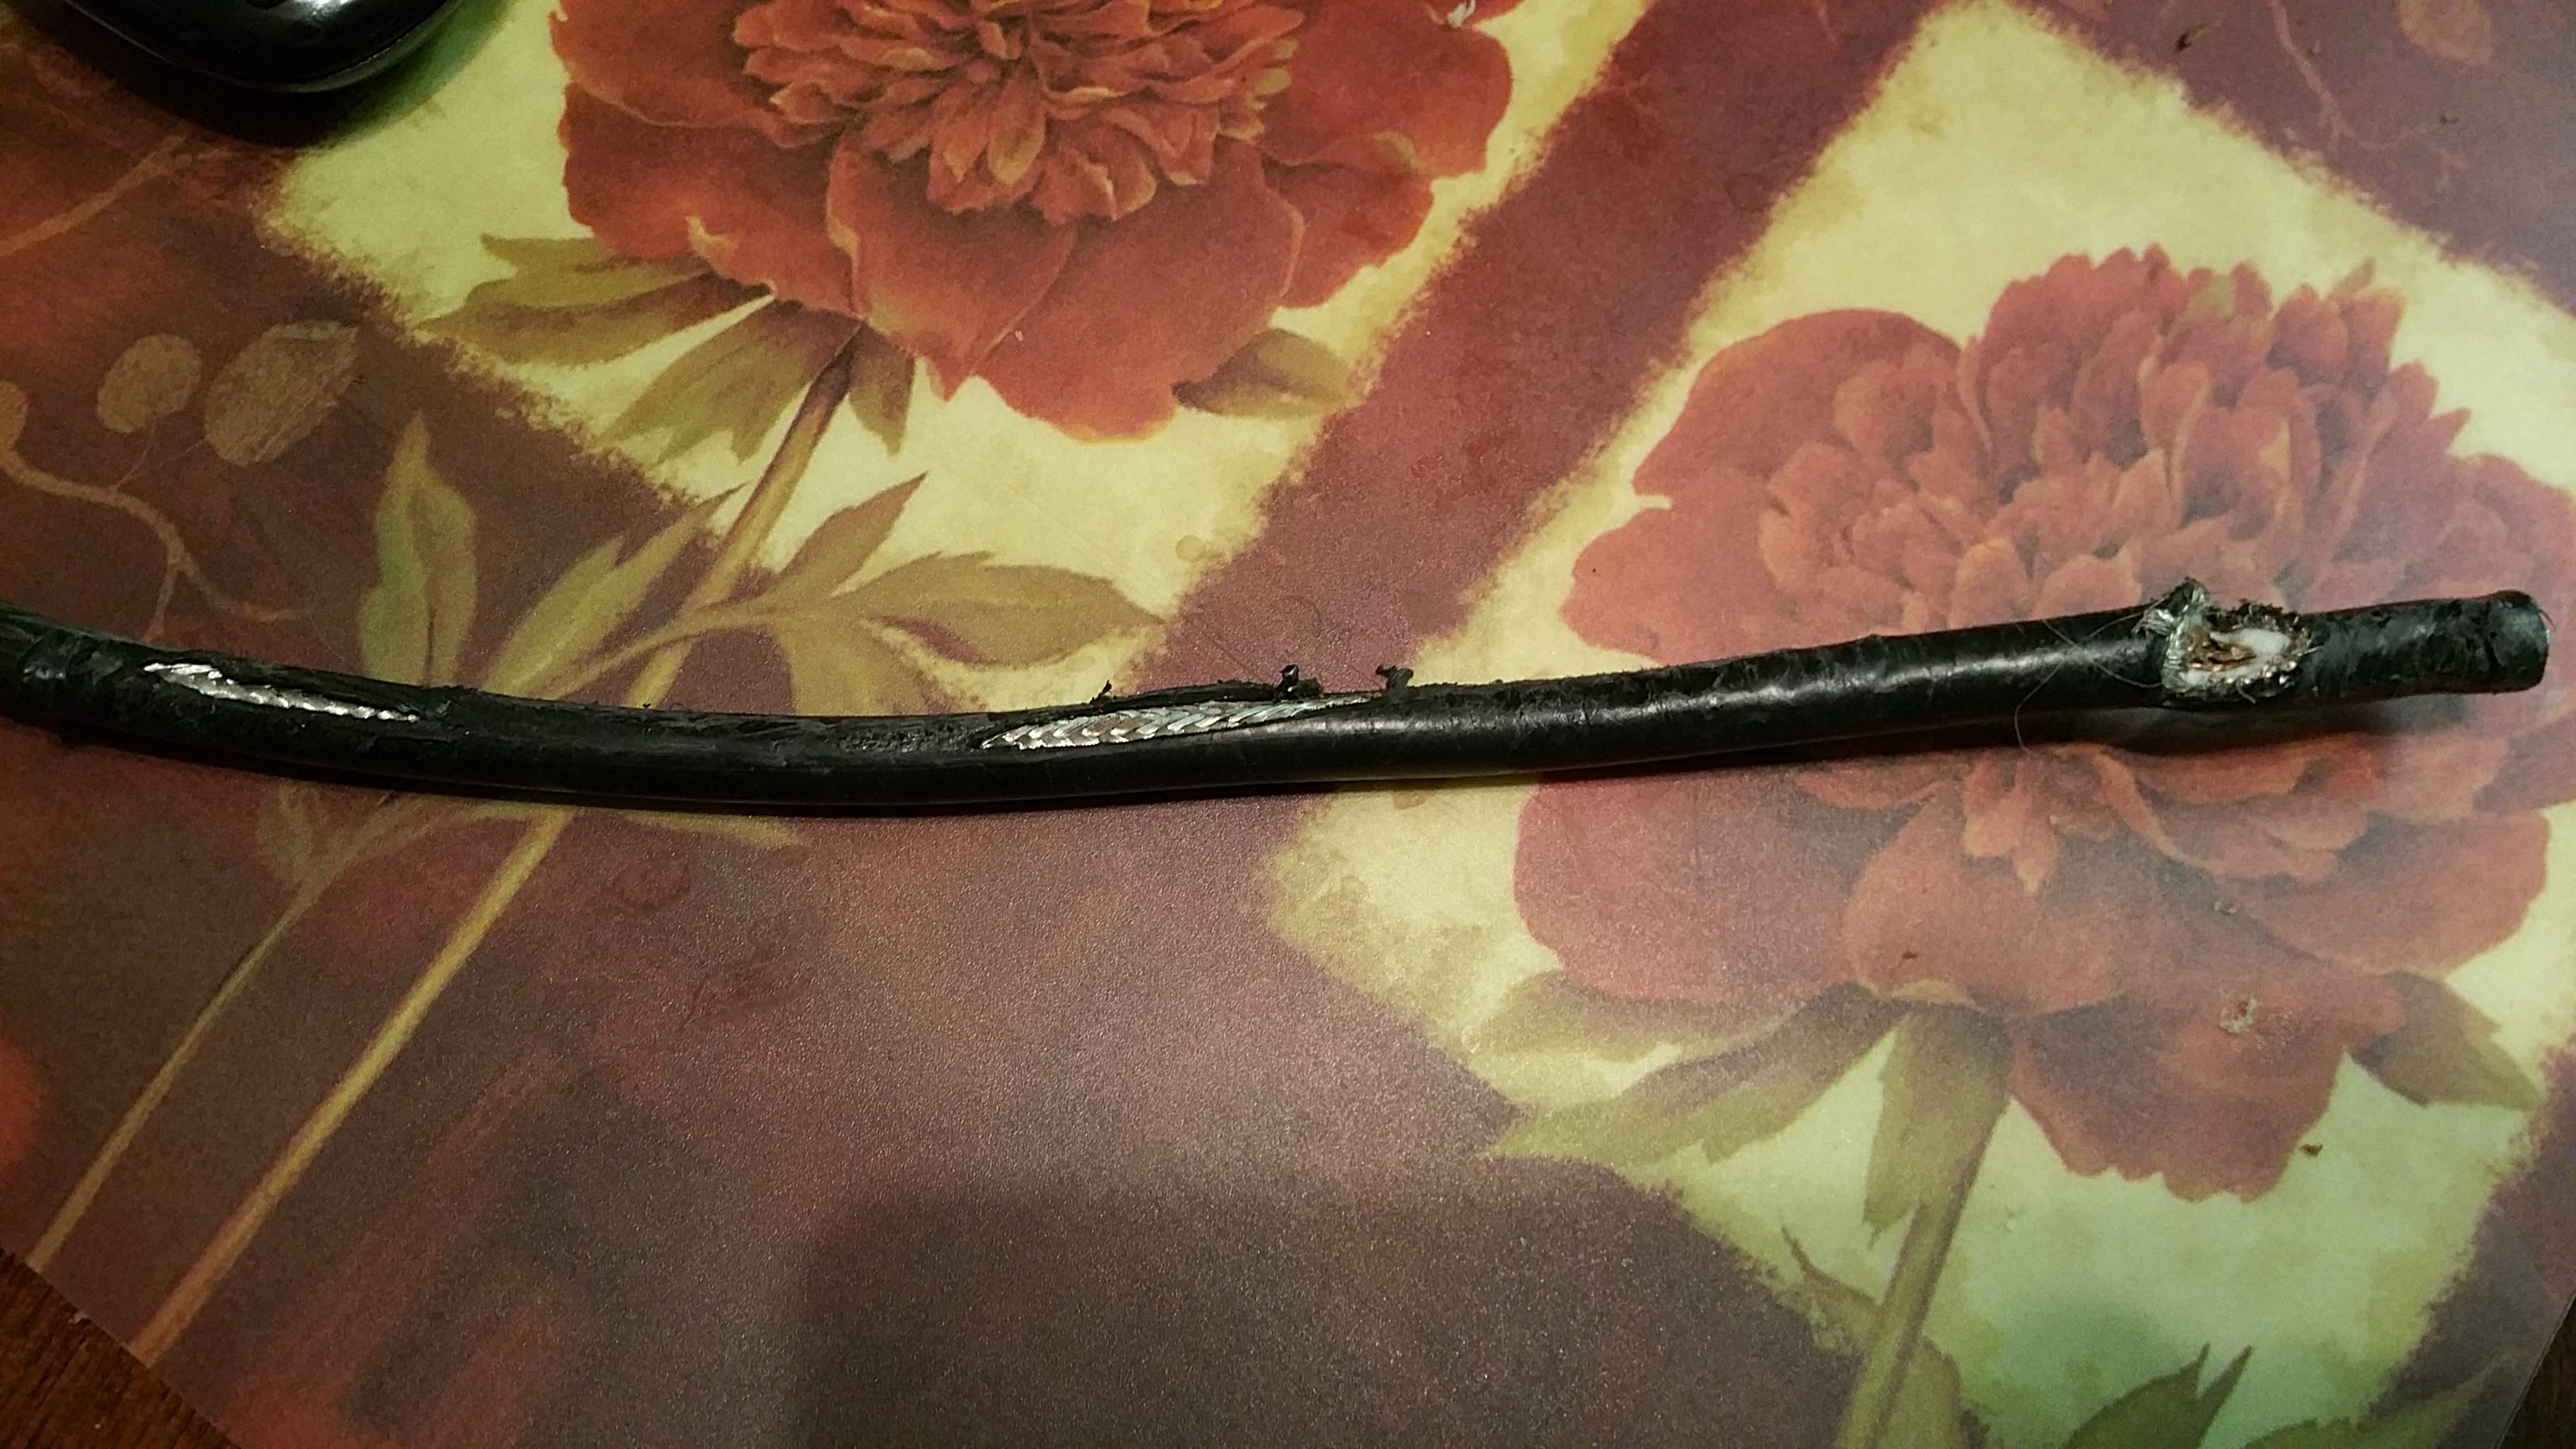
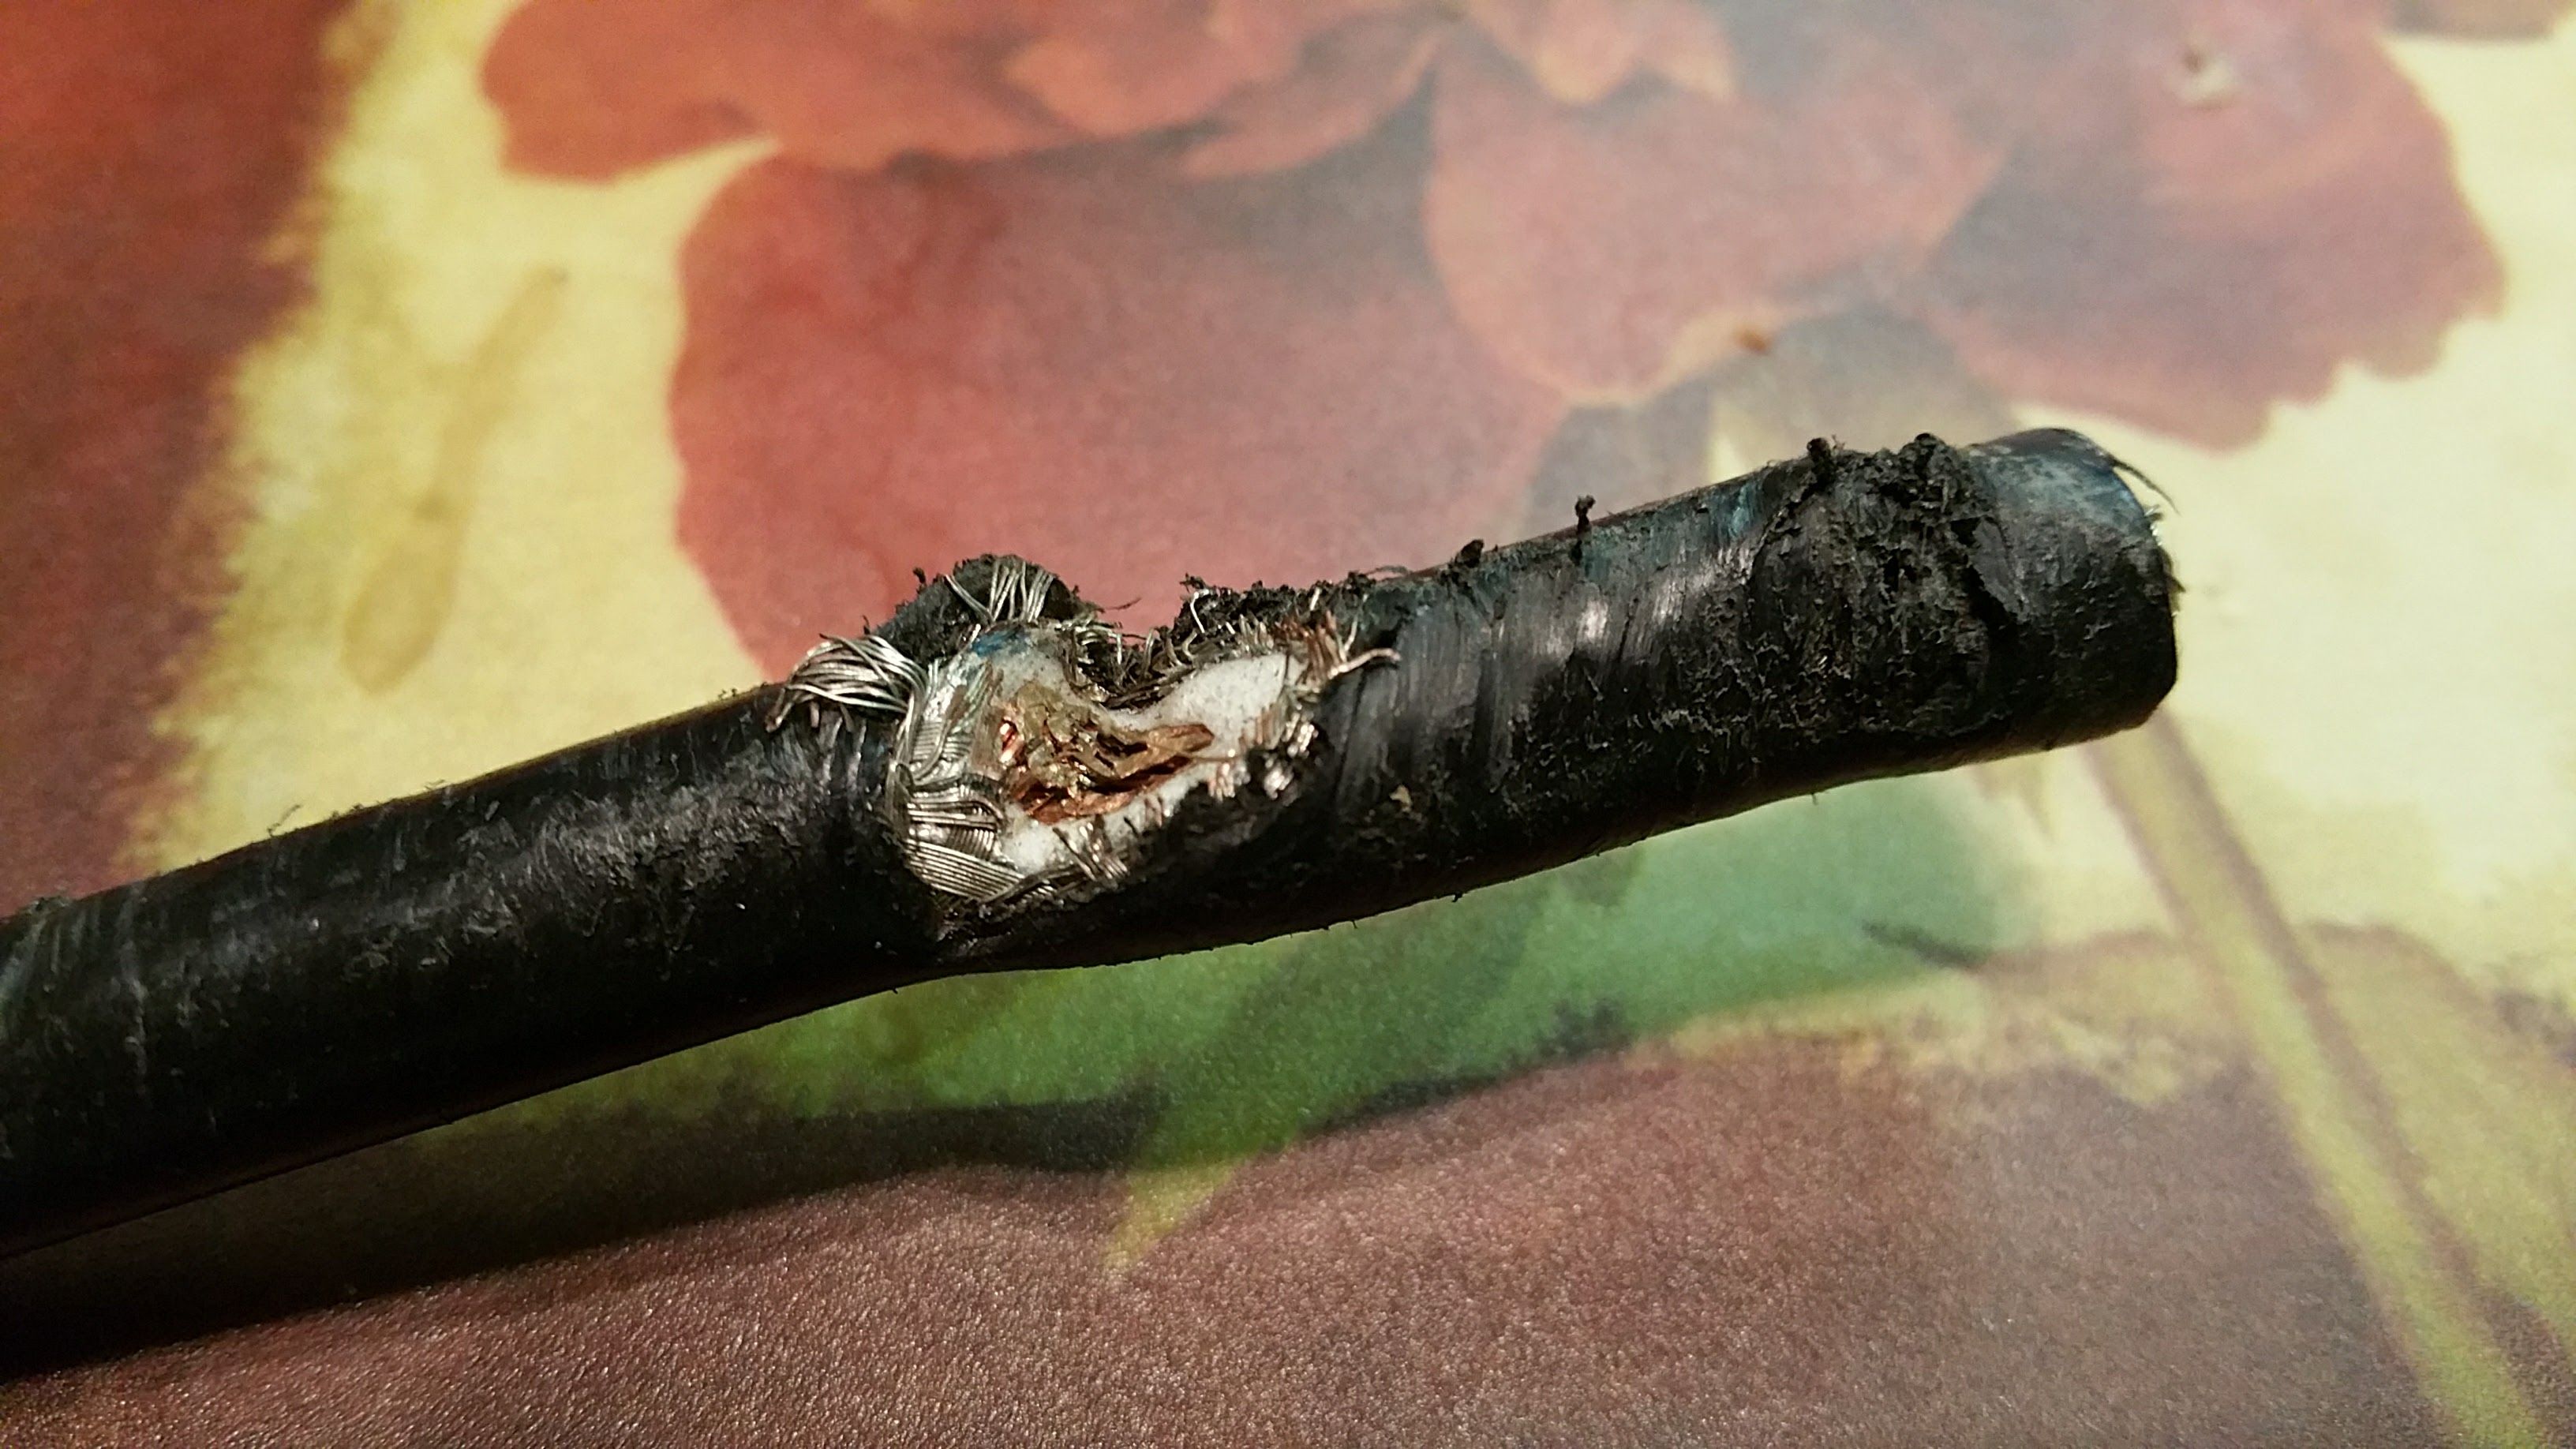
We have a friend who visits once a year or sometimes every other year, and while he’s here, it does projects and other work around the house. This time, however, I had inadvertently set a trap.

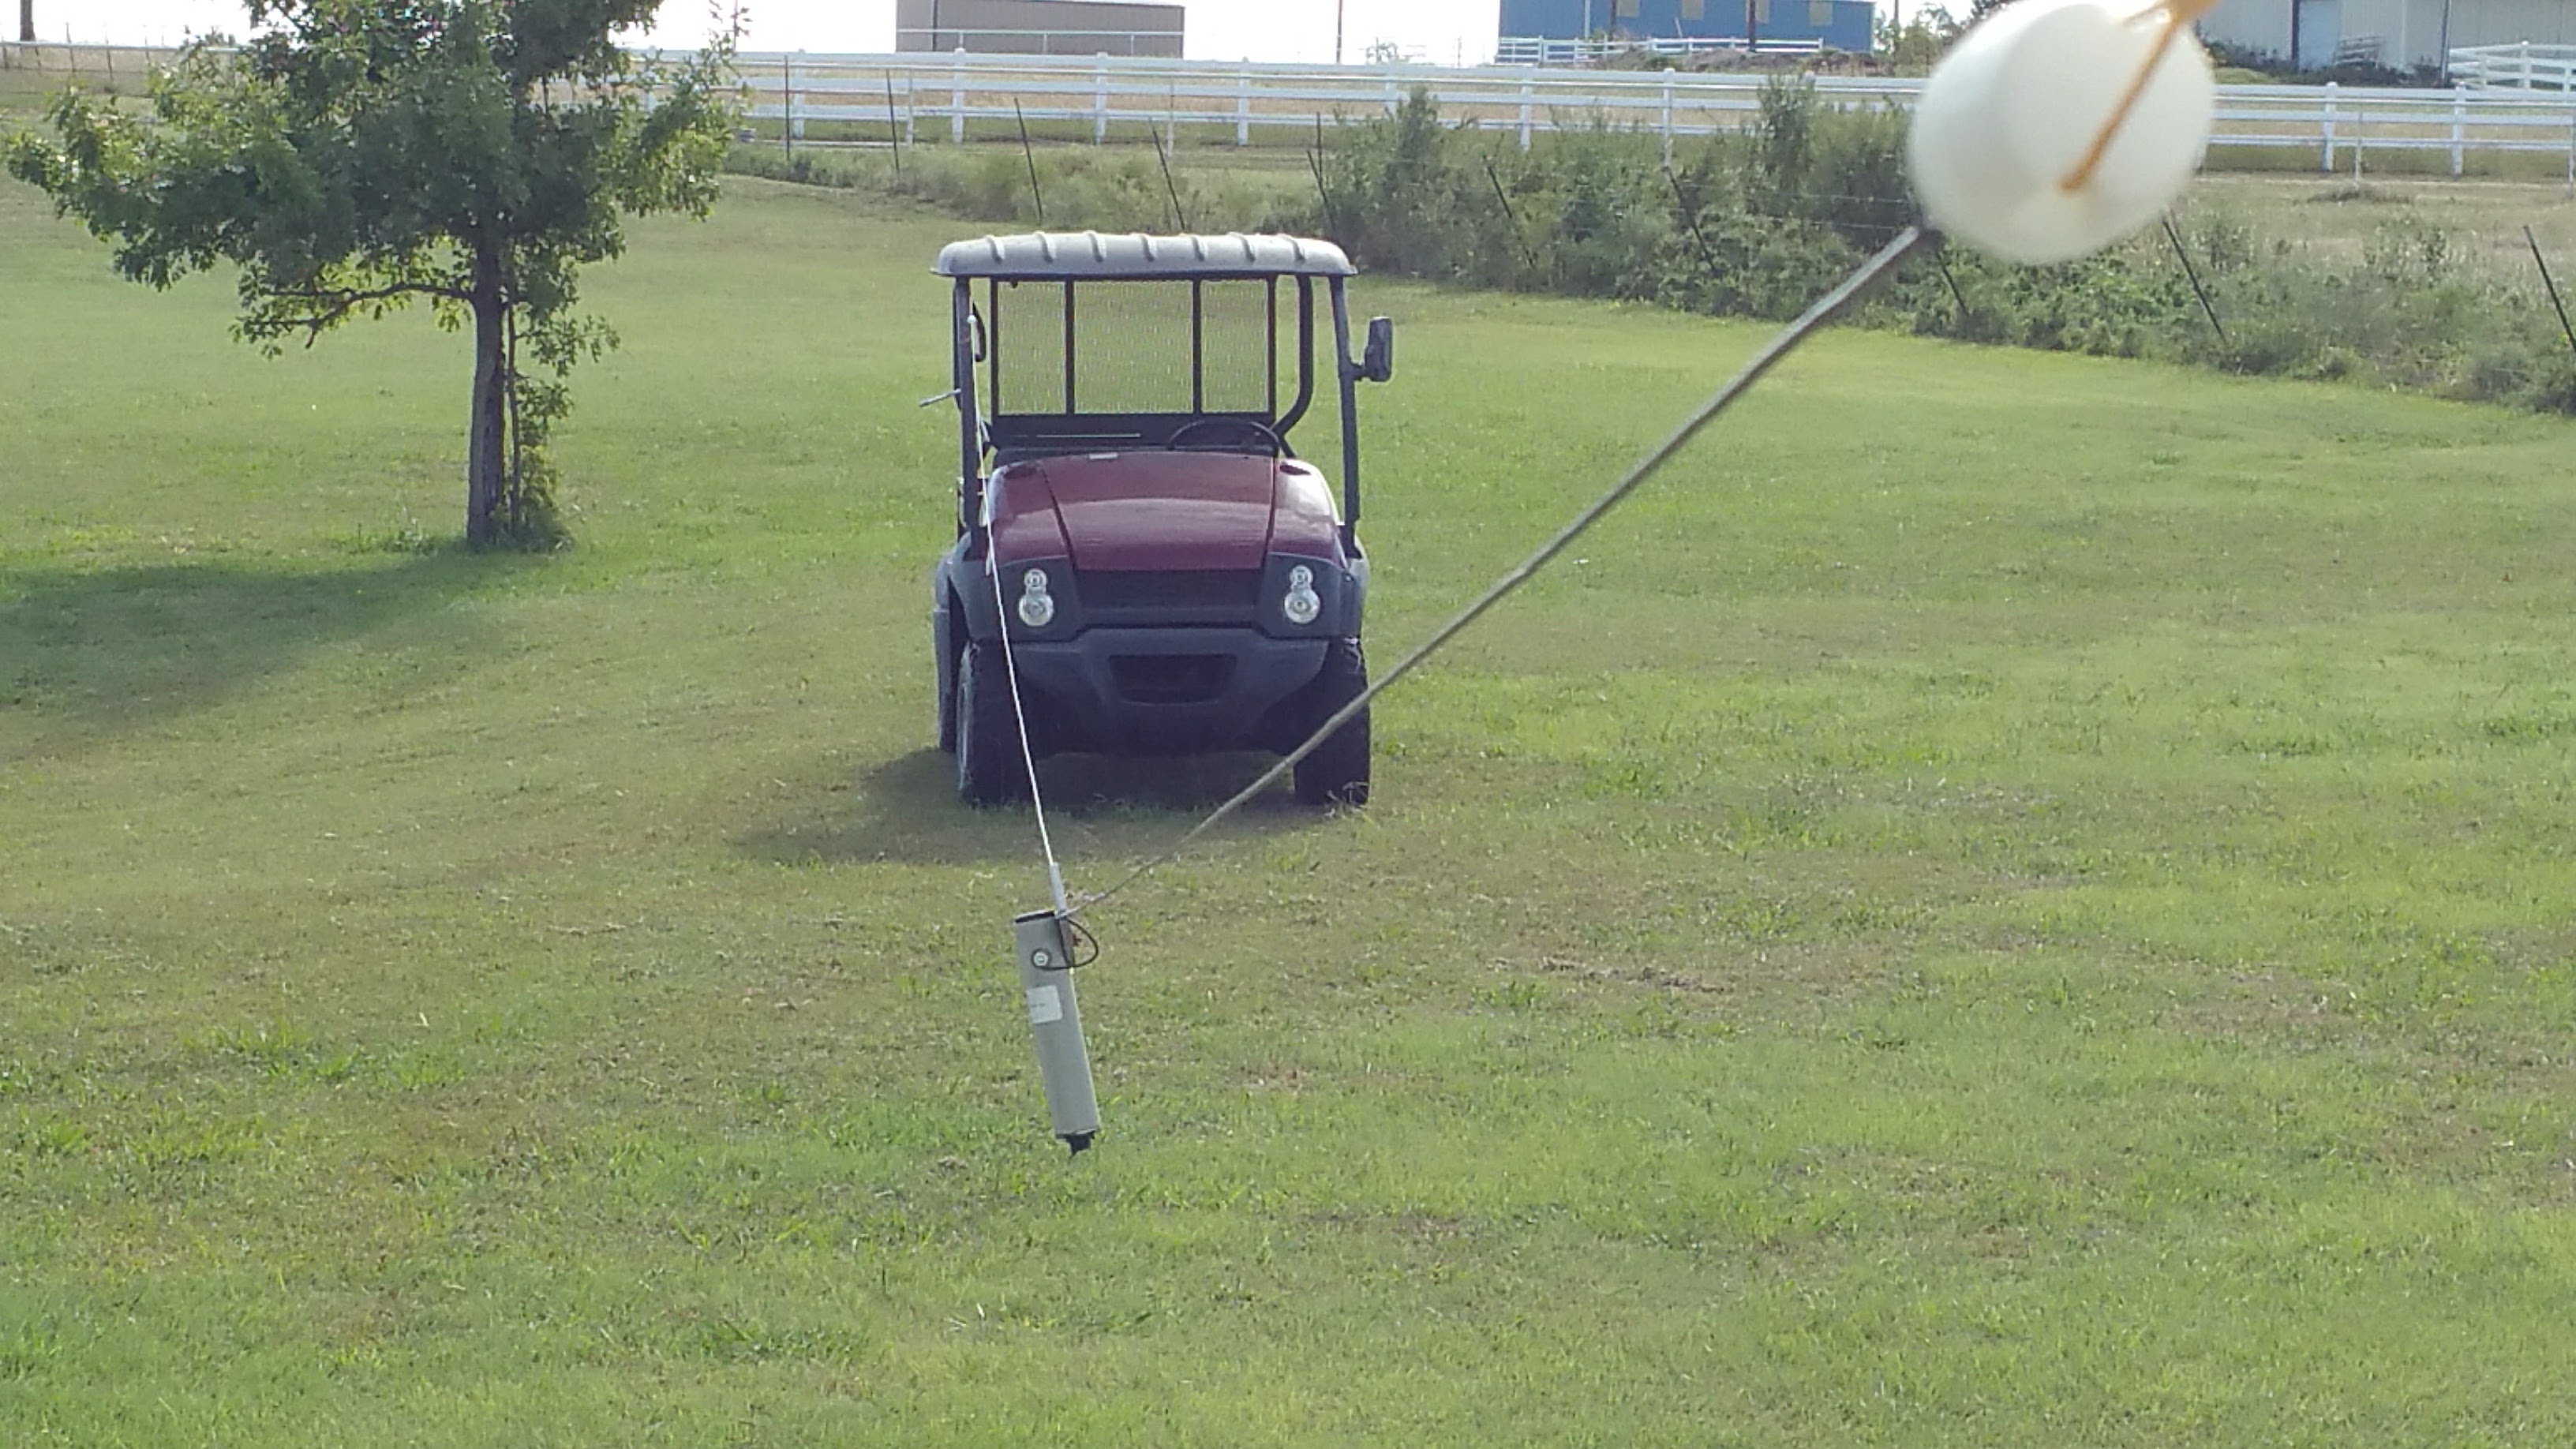
The coax from my HF vertical antenna comes out of a shallow trench too far away from the workshop. The Husqvarna walk behind line trimmer is a pretty powerful cutter.

20160918_224029

20160918_224204

Yesterday, I finally had both time and the materials to repair the damage, protect if from future damage and to add lightning protection along the way.

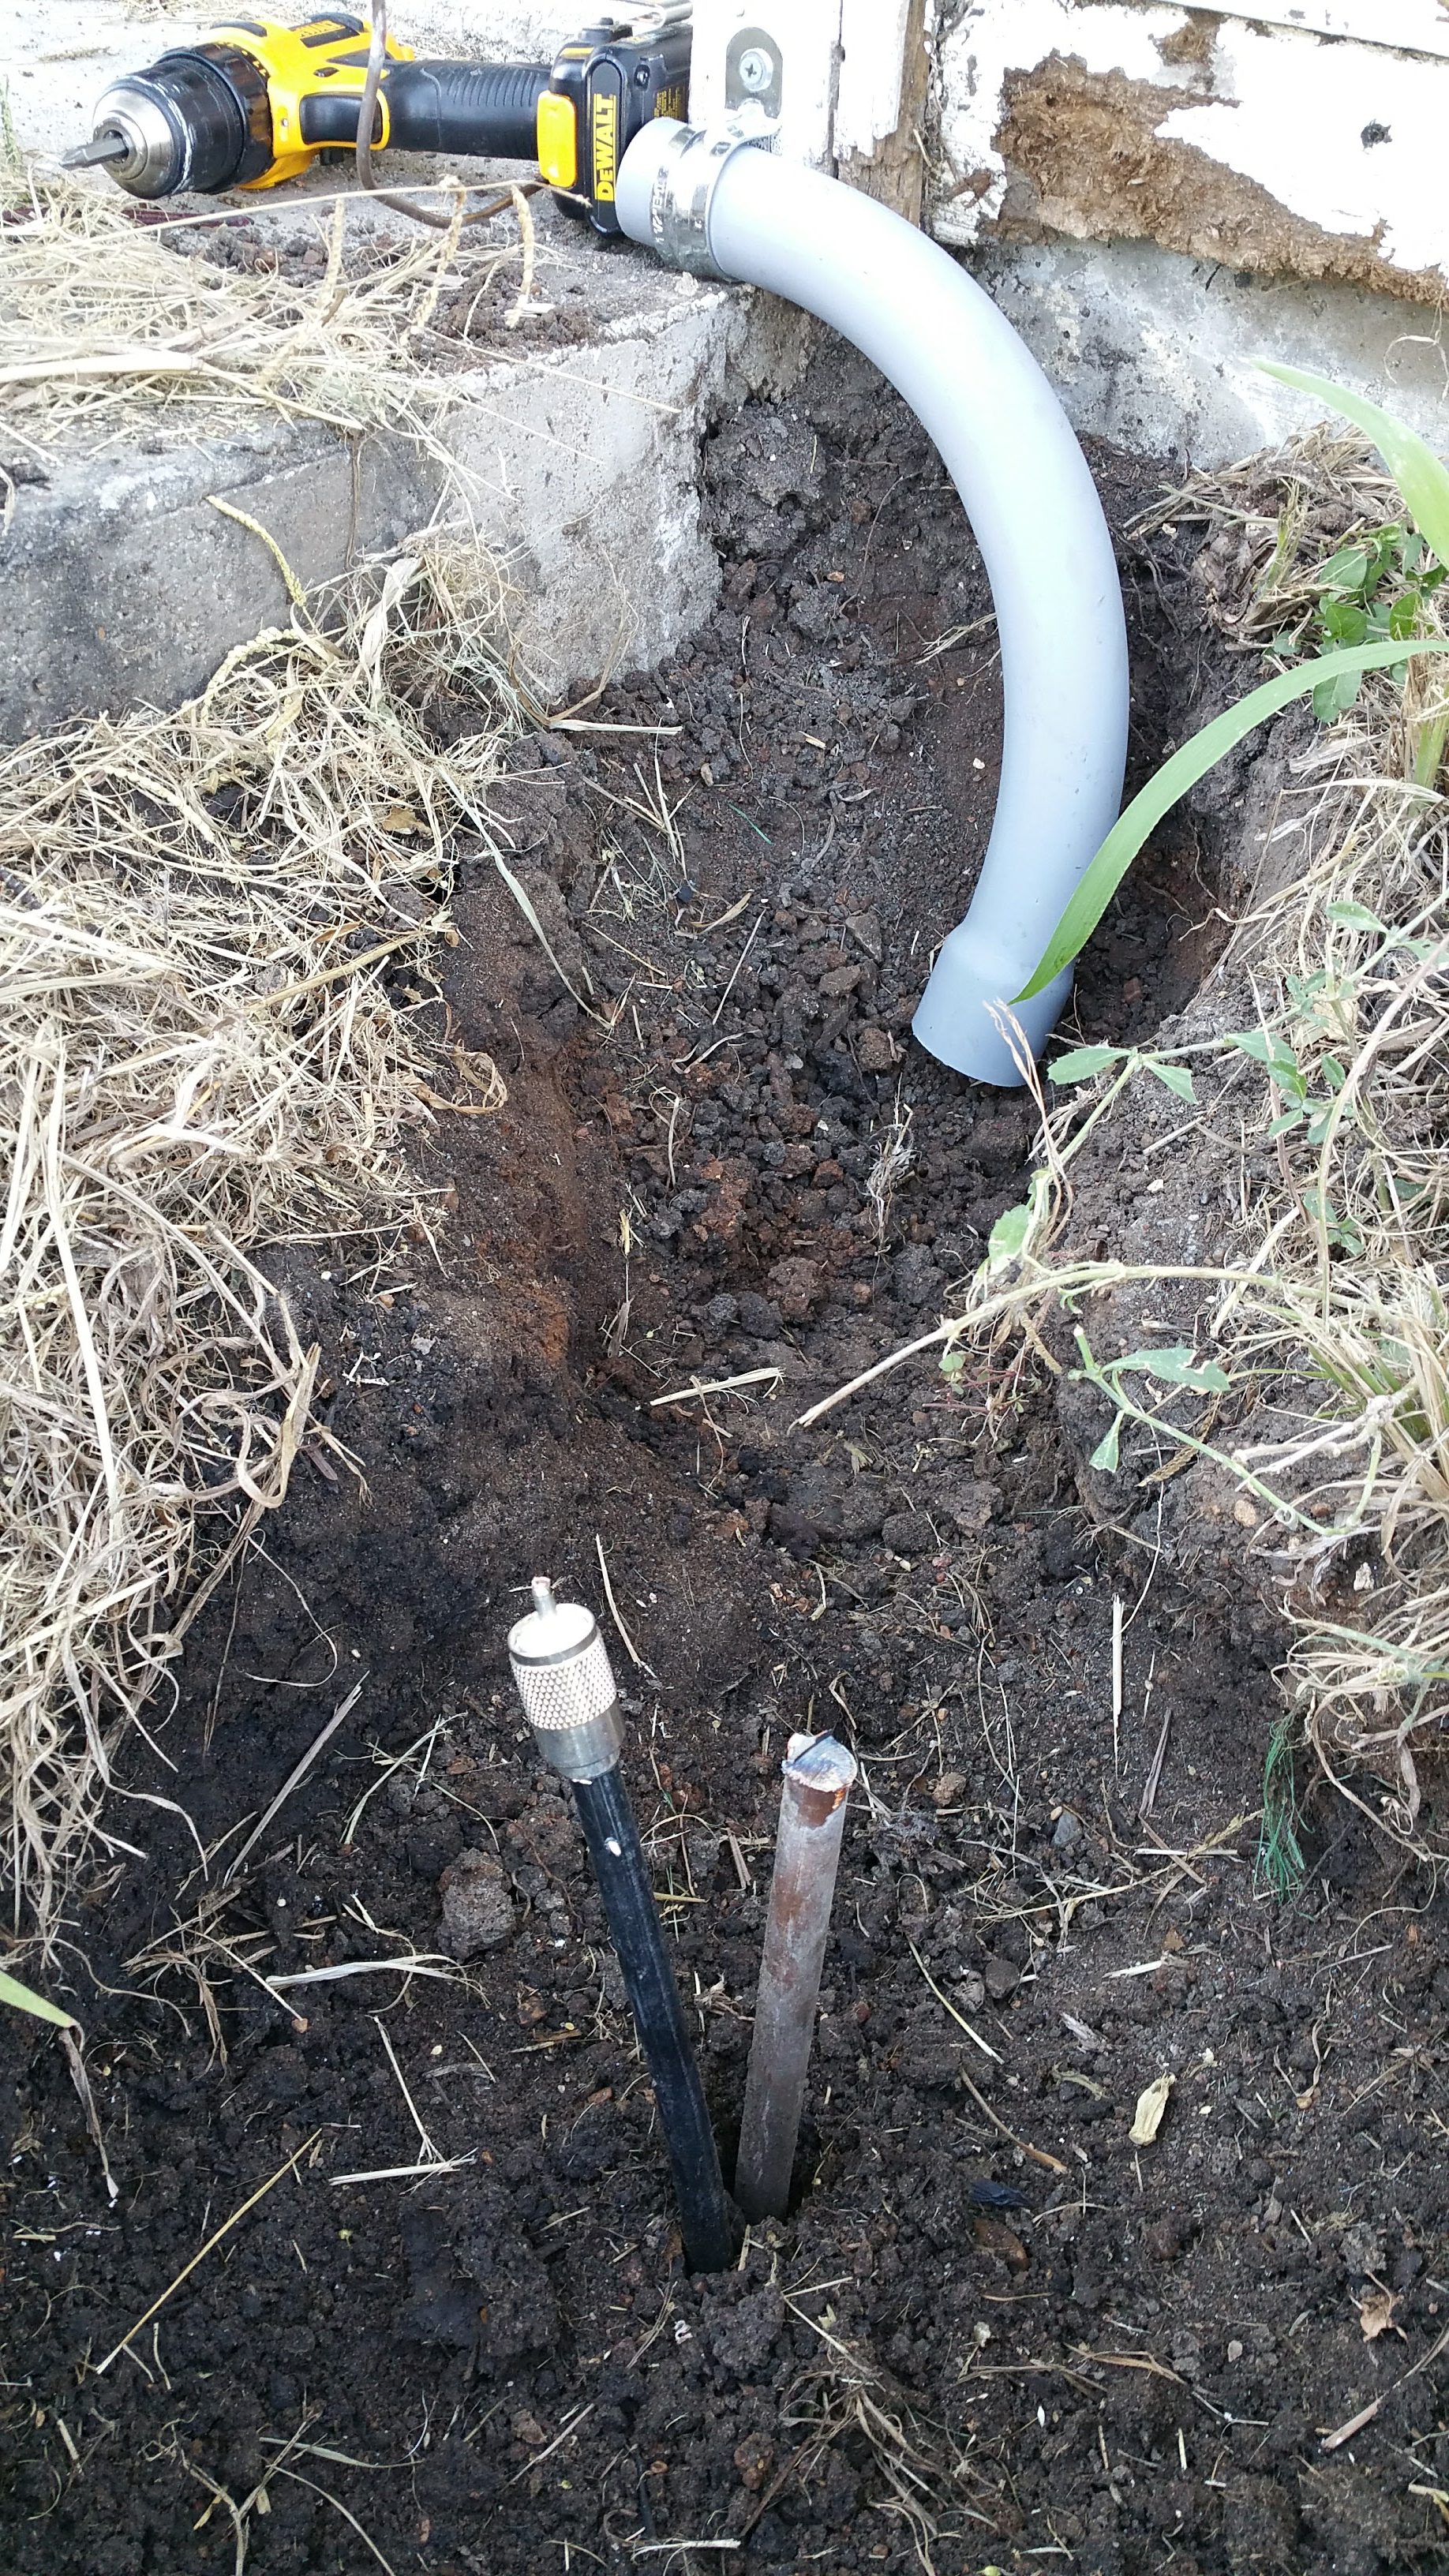
First, I put a new connector on the coax where it comes out of the dirt and moved my ground rod to the same area. I also added 90 degree elbow of 1-1/2″ PVC conduit to protect the coax at the new spot where it comes out of the ground.

I hit something immovable with about 2 feet of ground rod still sticking out, so I cut it to length.

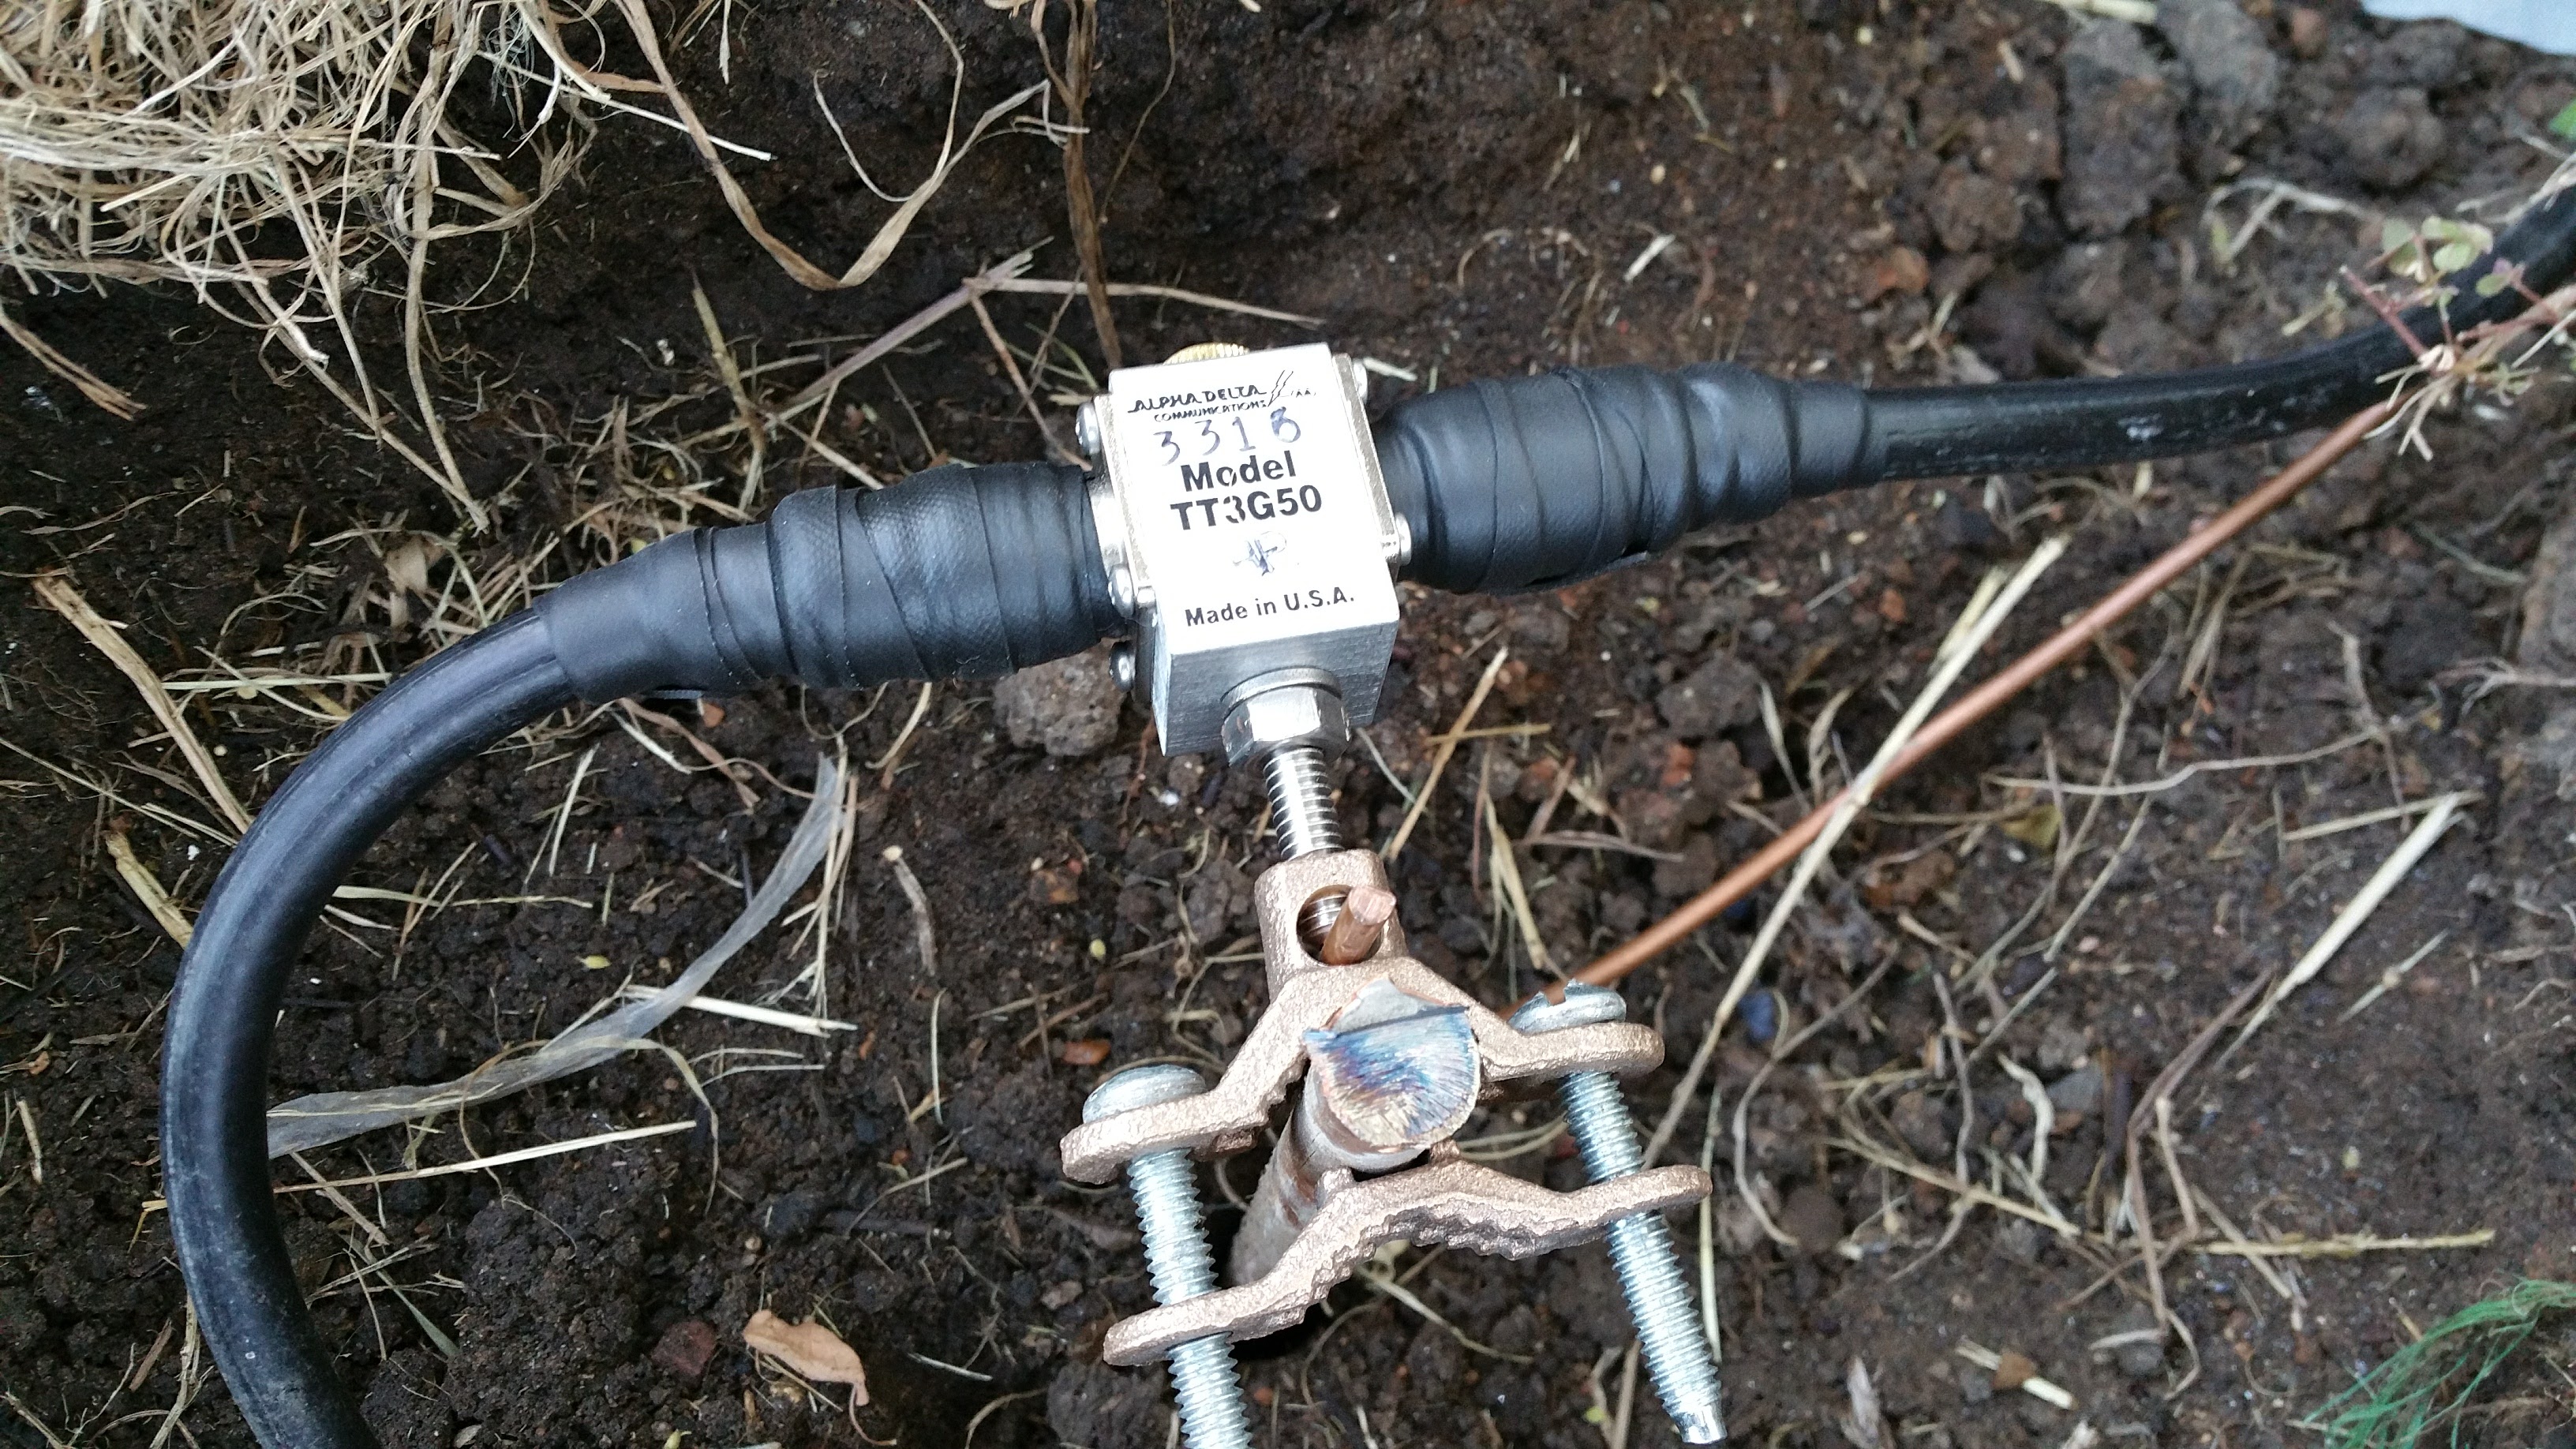
The ground rod was closer to the radio before, so I had to replace the 10ga solid copper to the inside grounding block. I put a new connector on the coax from the other side of the damage and fed them both through the conduit.

20160918_184651

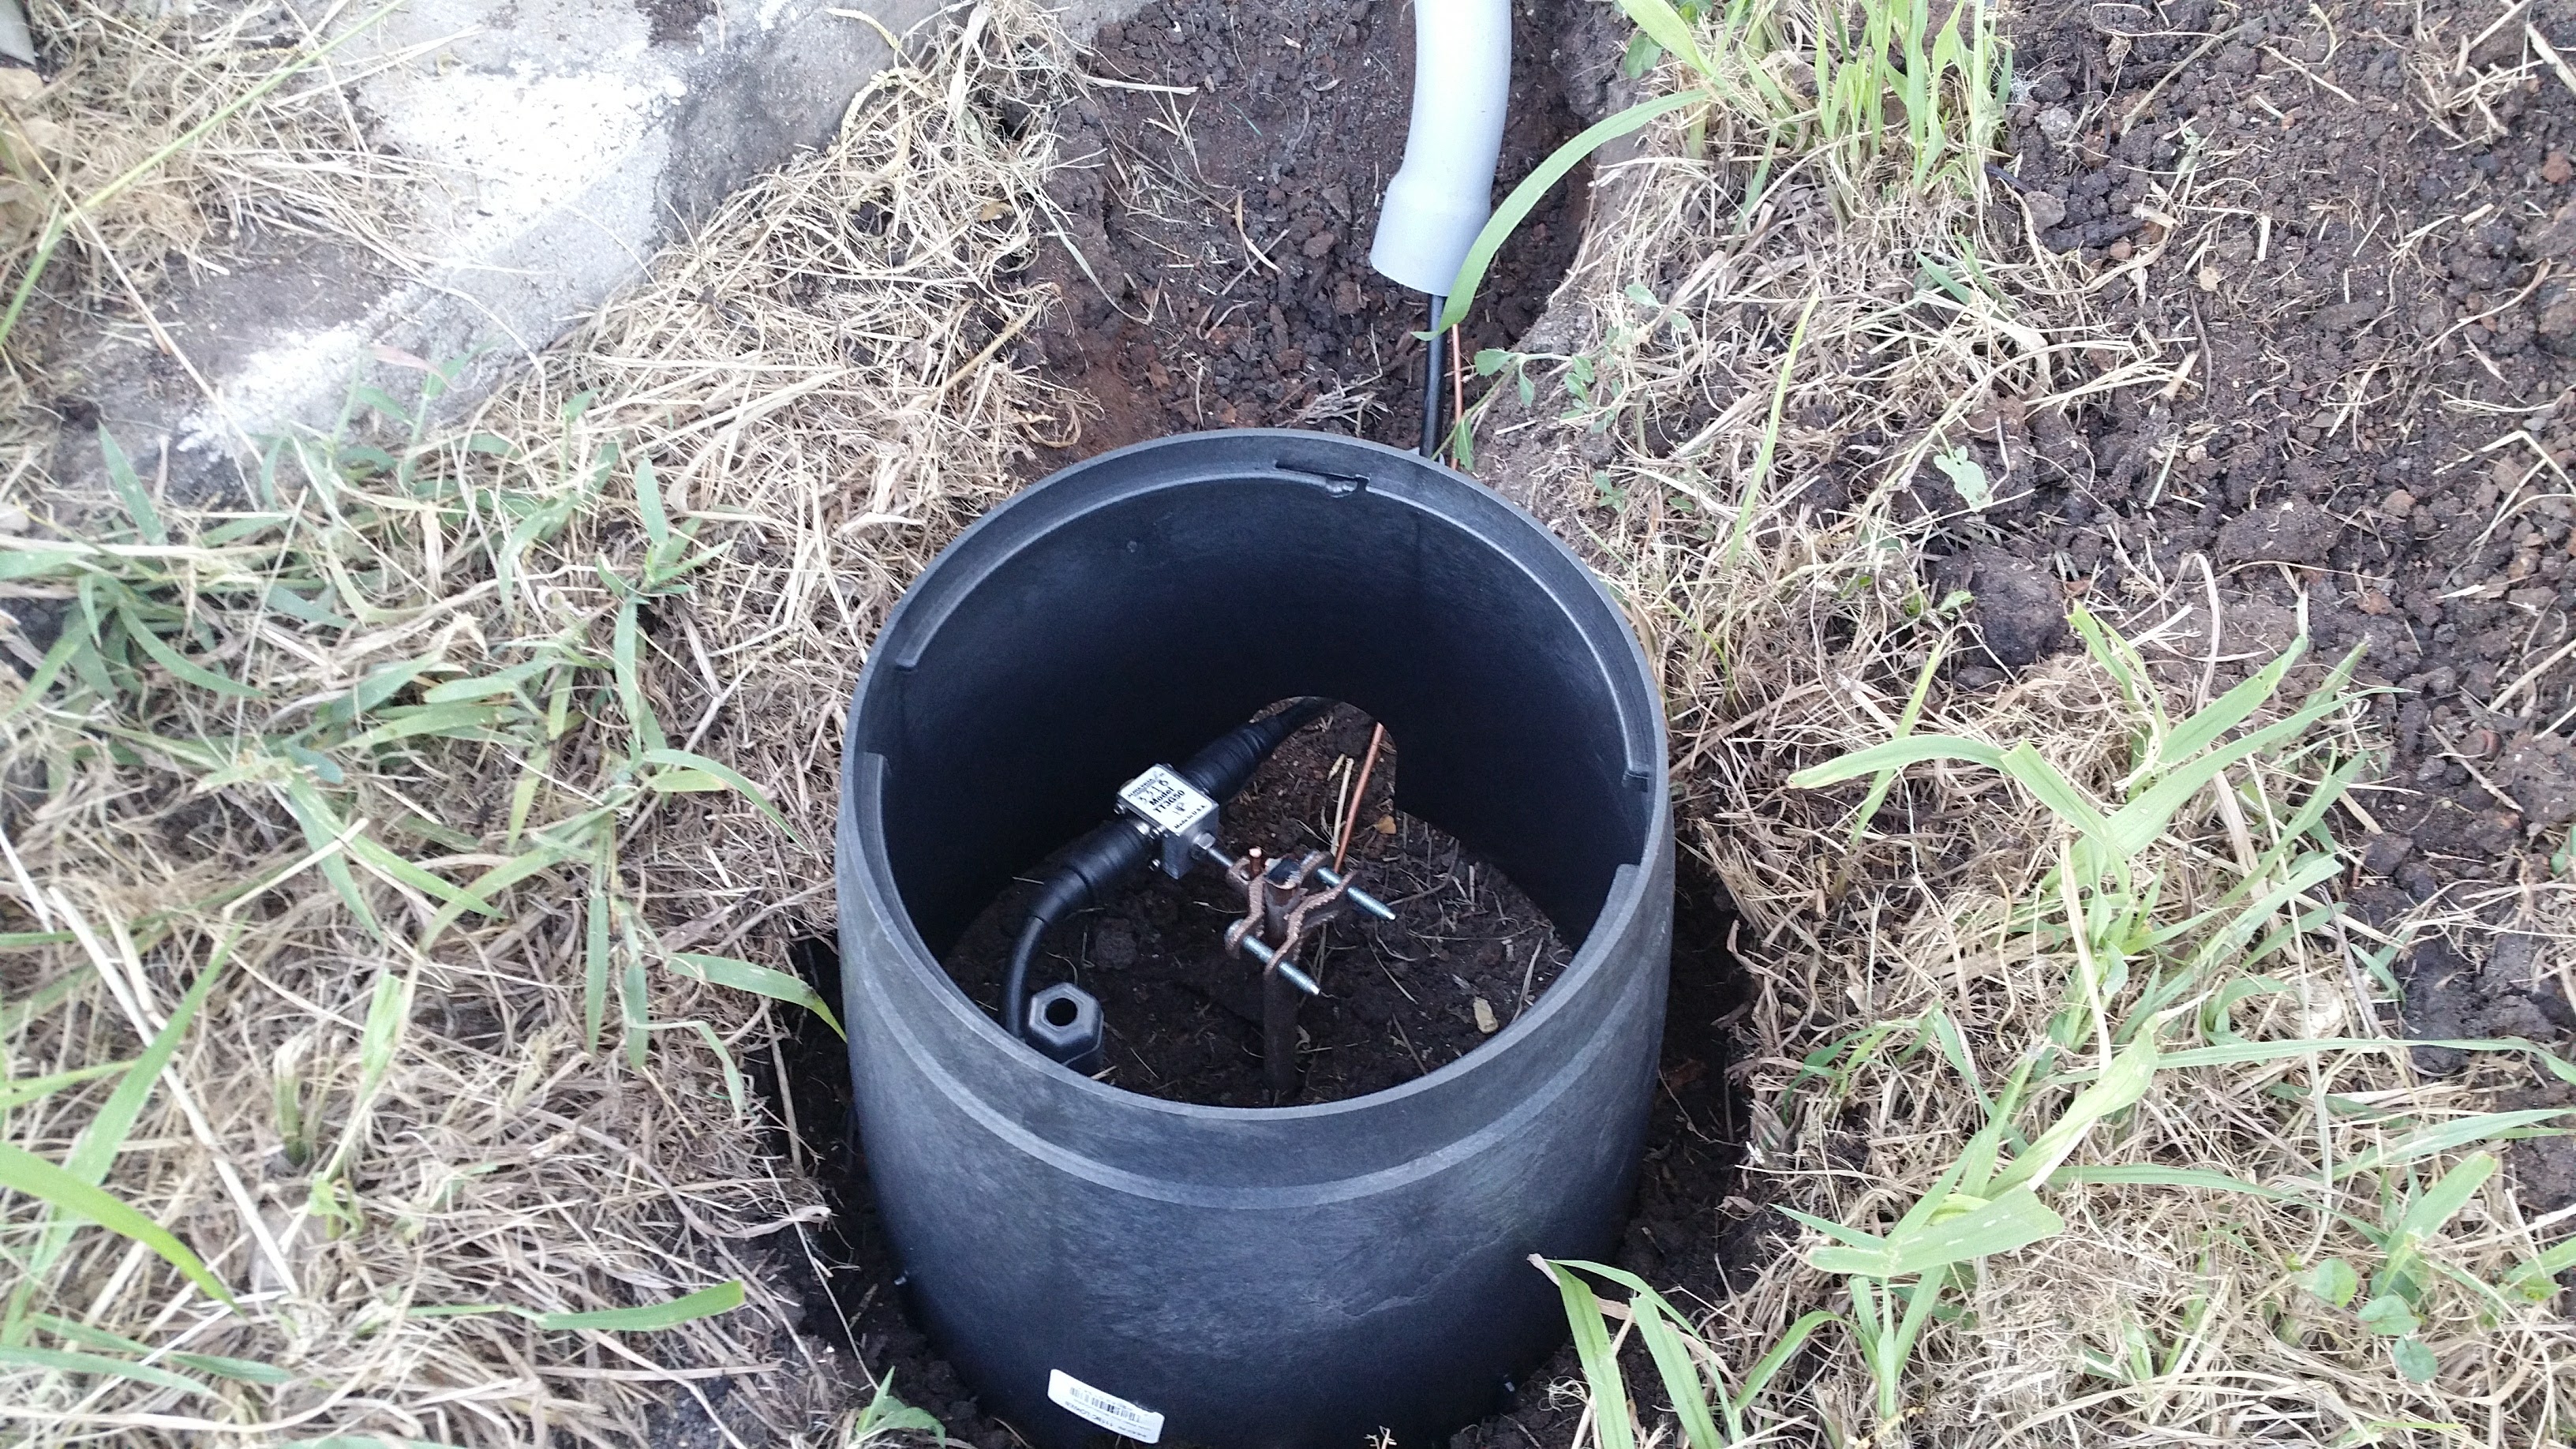
I put an Alpha Delta stud mount surge protector on the ground rod, using the provided stud to clamp the station ground wire. I sealed the connectors with Temflex tape.

20160918_185710

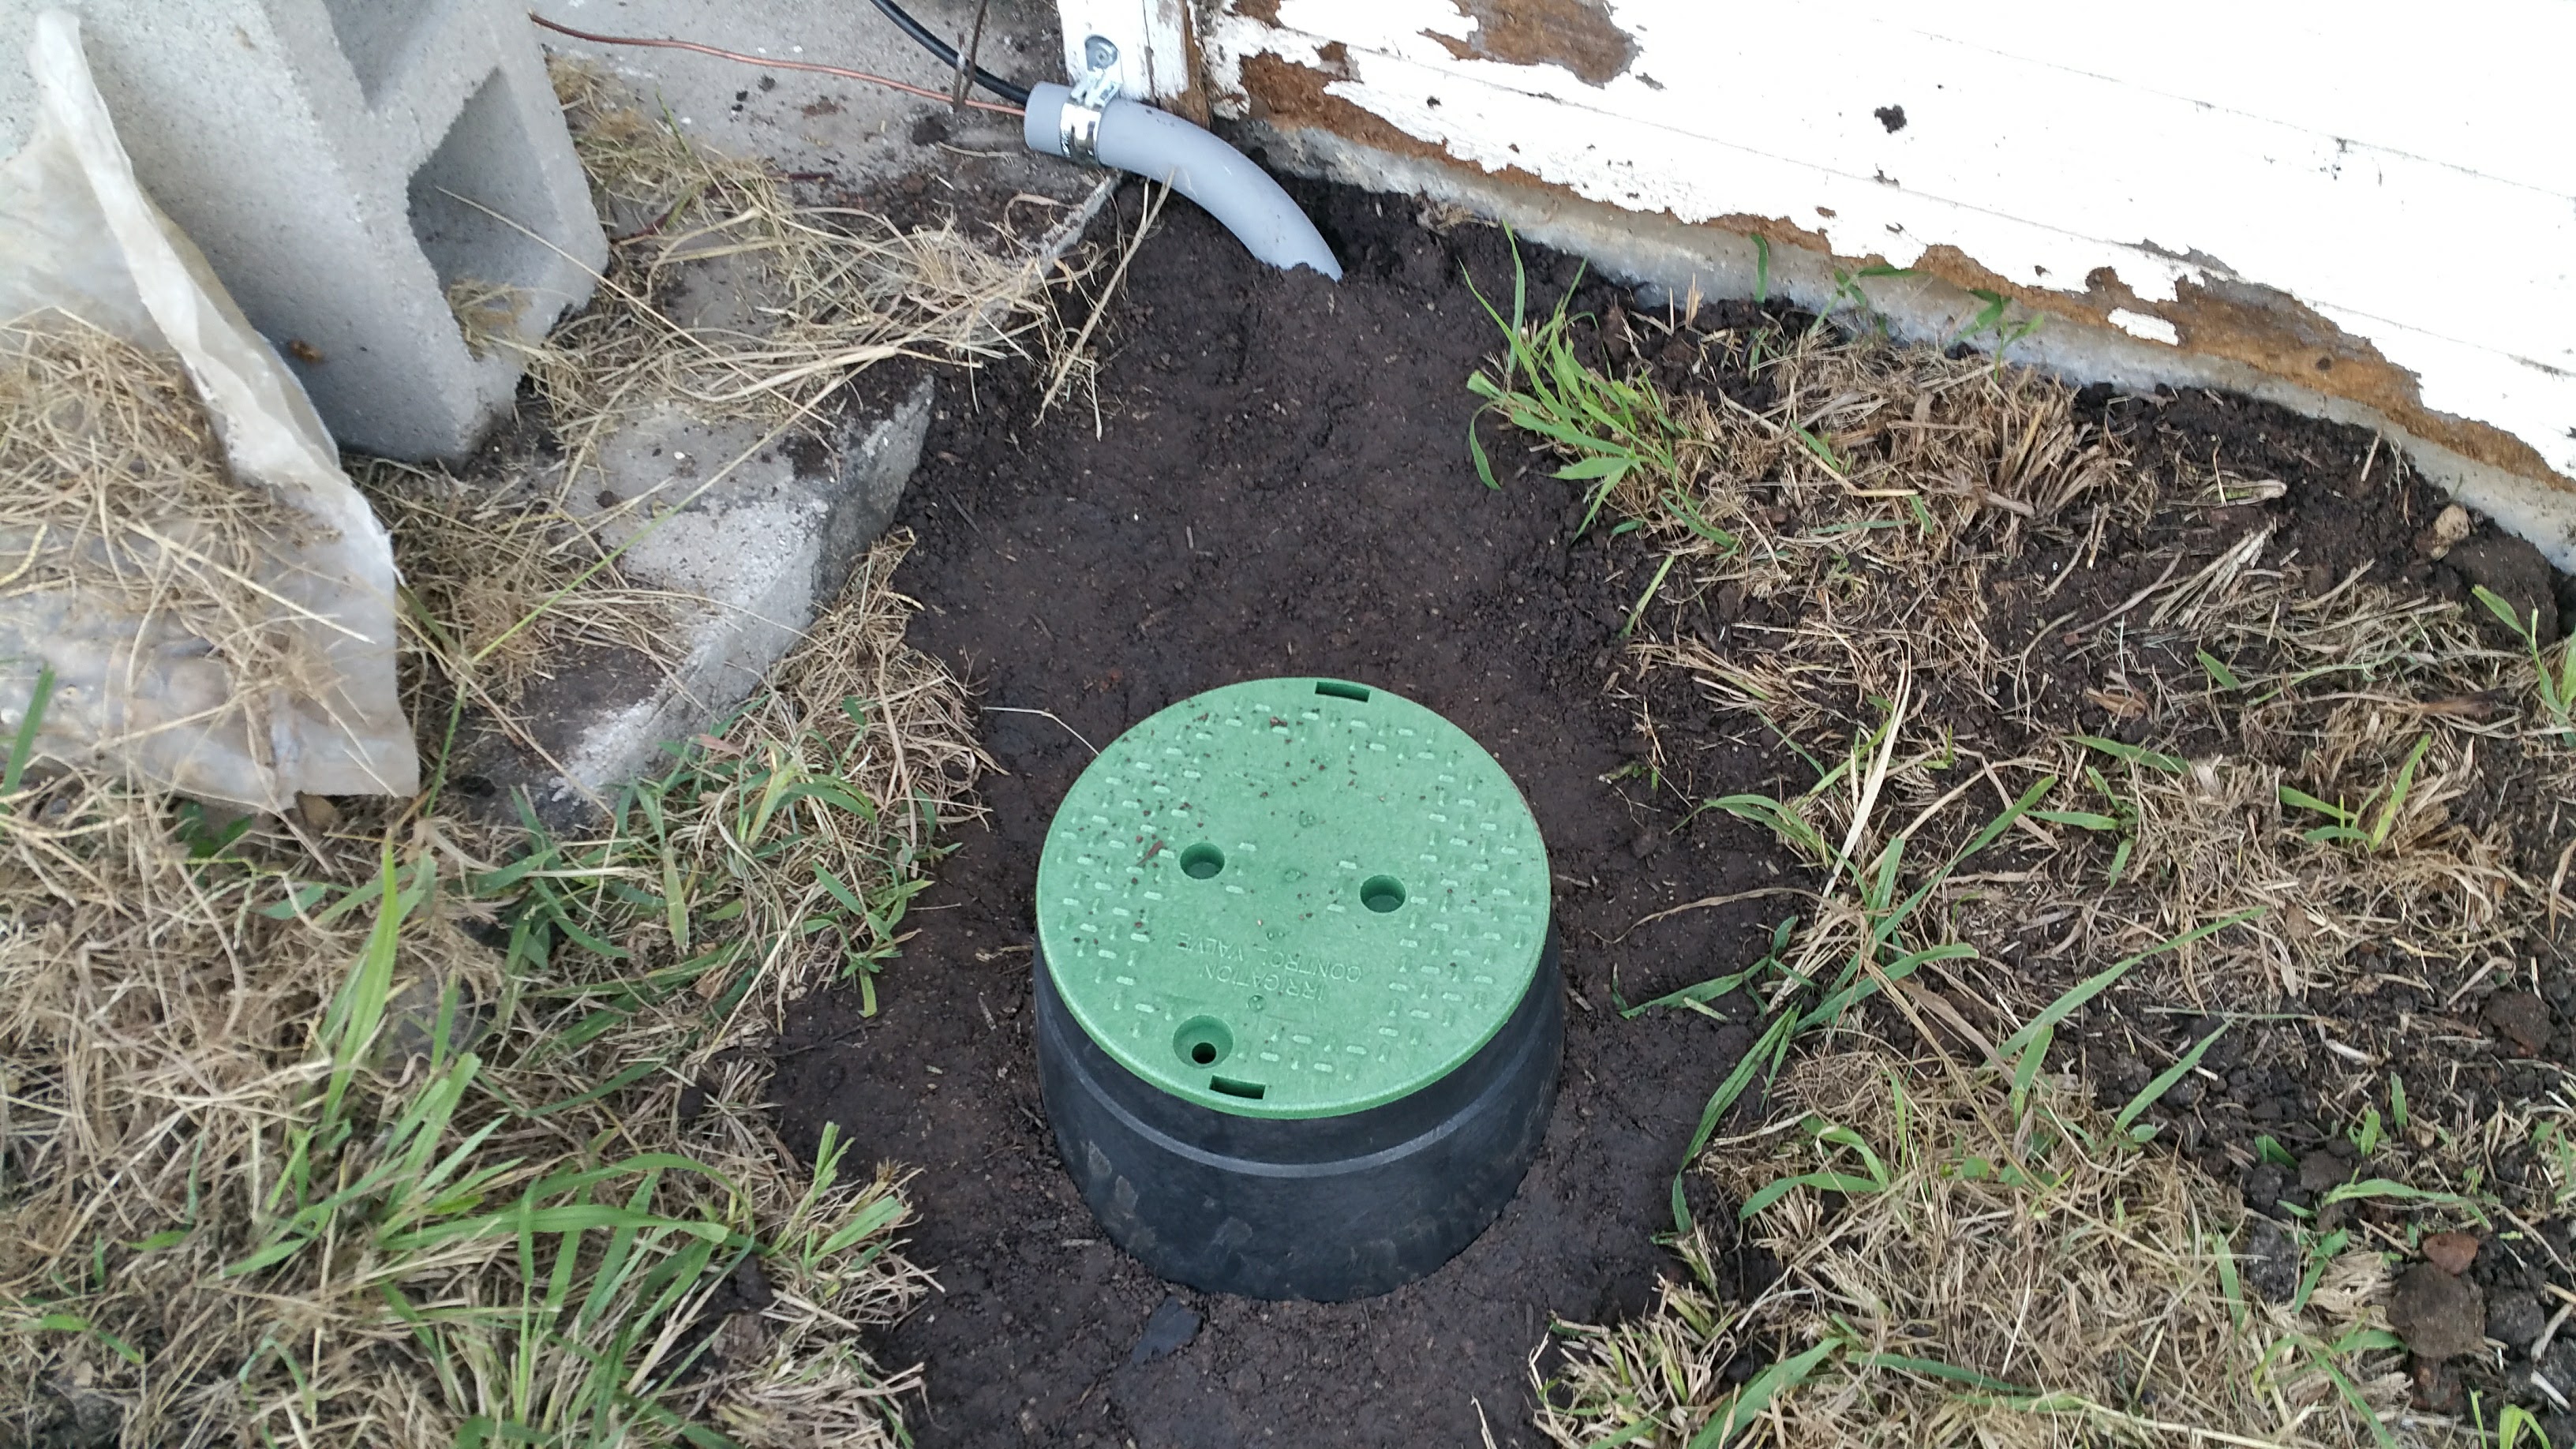
I dug out enough around the splice enough to put an irrigation valve box around it for maximum protection.

20160918_185750

Finally, I filled and packed the void with soil.

20160918_190336

Although I had a false start assuming the old intermittent transmit problem had returned, the antenna tuned up perfectly on 20m.

The Good, The Bad and The Ugly

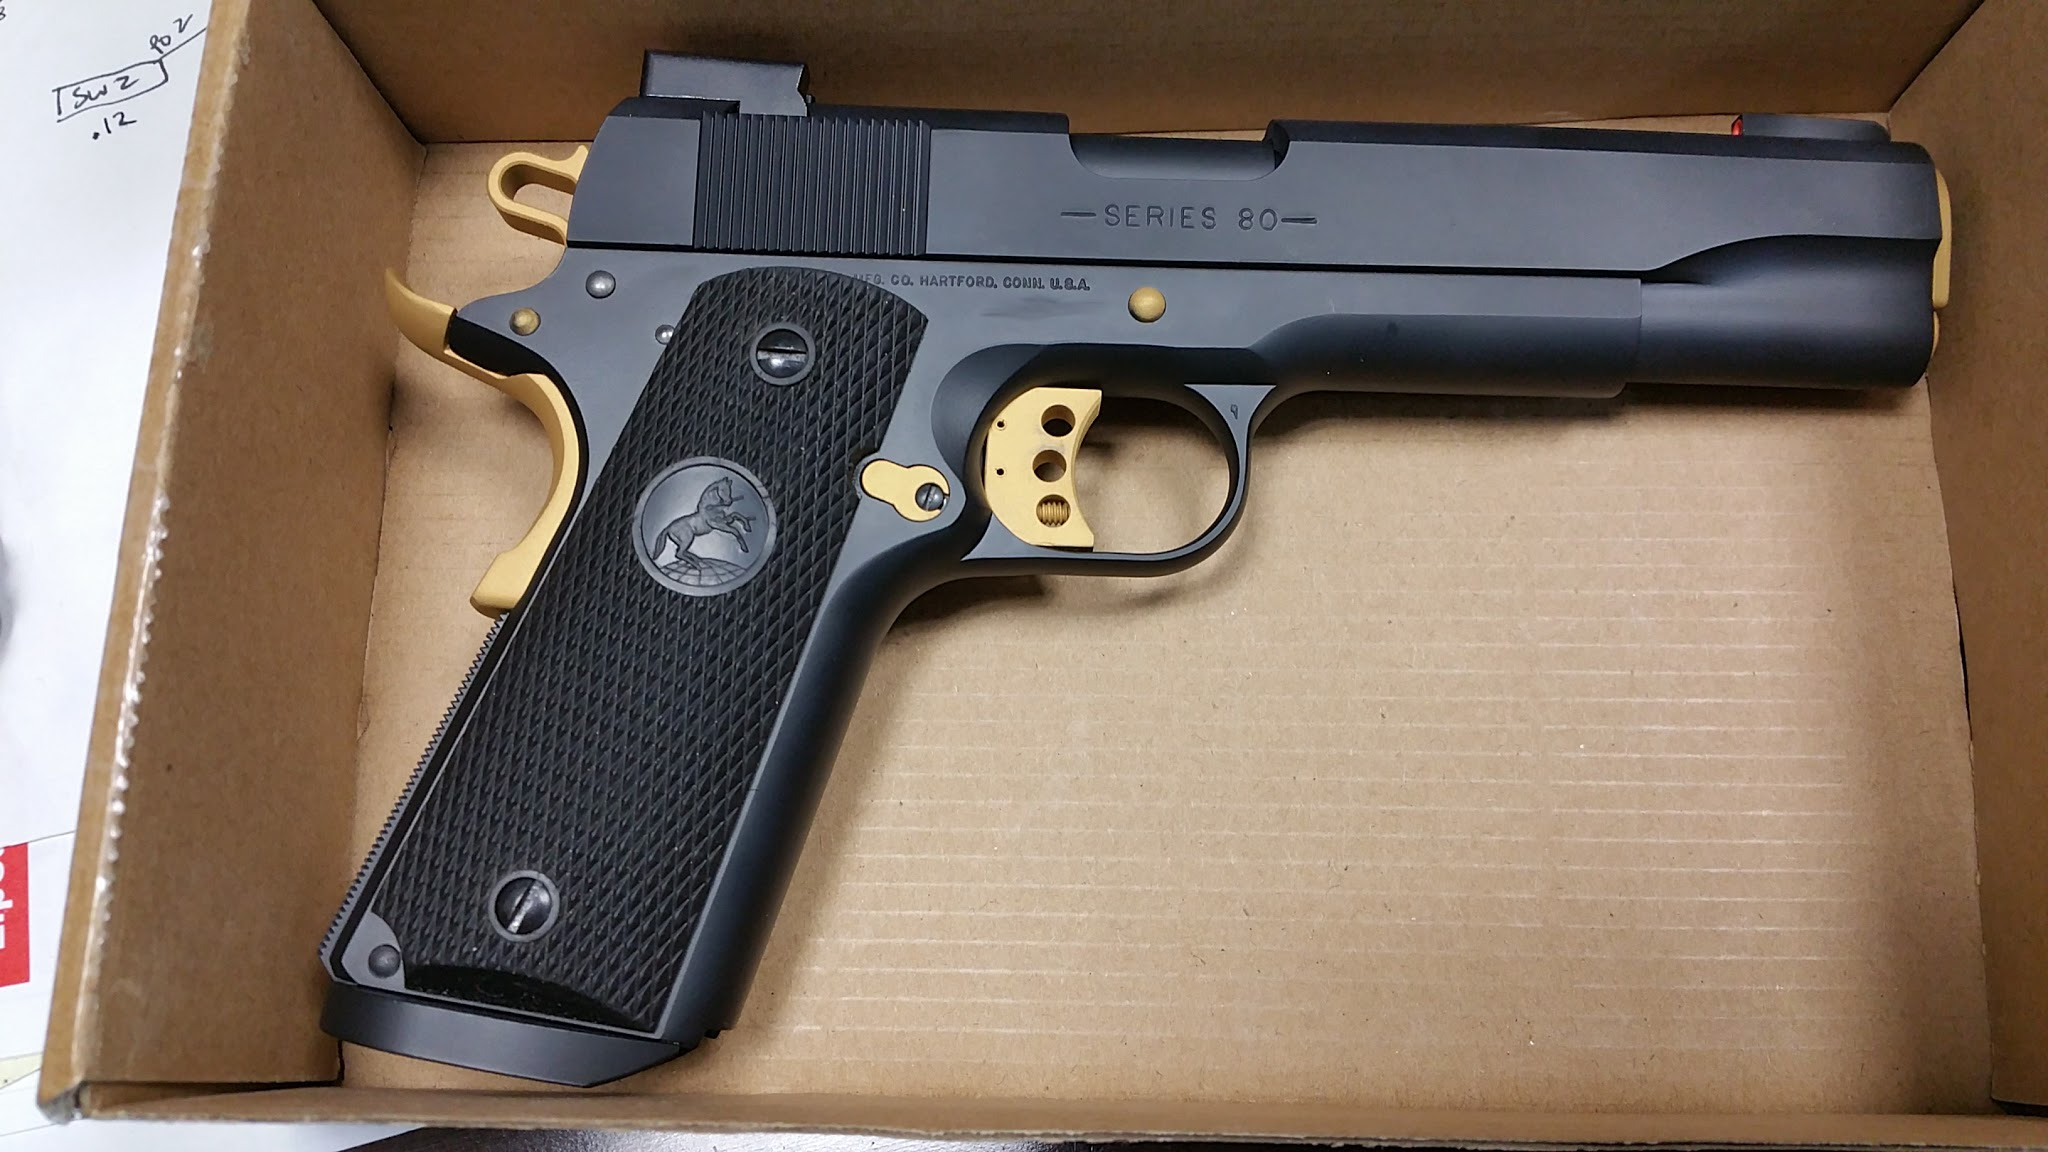
The good: The 1911 worked pretty well in its first match since the sights and Cerakote.

The bad: There is one exception in how well the 1911 worked.

The ugly:

upload_-1 (1)

We were in a pretty serious wreck last month. Took out a utility pole and landed upside down. We crawled out and walked away, though not without non-life-threatening injuries. It put a hitch in our routine, to be sure. That Kia five-star crash rating was put to the test and we’re happy to say it was not found wanting.

So now that my back is not so ouchy, it was time to take the Colt out to an IDPA match. First time shooting this 1911 since it came back with new sights and Cerakote, with new magazines, factory ammo, shooting first time after back hurt, and we were shooting in the dark with flashlights….

What could possibly go wrong?

It worked very well, sights are dead on, had no feeding or ejecting issues. The one thing it did was that about half the time, the slide failed to lock back on an empty magazine. It cost me a second or two each time as there was a click and no boom.

I intuitively knew that the addition of the Cerakote might have some effects on dimensions. In thinking about it on the drive home, I recalled that on Wednesday evening when I was lubricating the pistol and otherwise making ready for the match, the slide stop lever was very difficult to remove. Obviously, it is equally likely to resist rotating as the pin is now a couple thousandths larger and the hole in the frame is a couple thousandths smaller.

I have verified that the slide lock release indeed does not move freely and the spring in the (new Wilson Combat) magazine is not strong enough to overcome the resistance. It should be easy enough to re-fit this piece.

20160805_145905

I kinda like the pistol being a little dirty from the match.

20160805_150005

The TruGlo TFX Pro sights for a Novak dovetail are physically smaller than the TFO sights on my Glock, which means less exposed fiber optic rod and in ambient light, they are not quite as bright. The tritium works well in the dark, however.

20160805_145934 (1)

I have new Hogue grips enroute as well.

Reach For The Stars

Ok, maybe not that high….

Due largely to my difficulties in reaching in to repeaters in the DFW metroplex, I have been looking somewhat into erecting a tower. While my immediate plans are to put a Diamond X300 up on the top of it, having a structure for wire antennae or a tower mounted camera would be nice, too.

The tower itself is expected to be $1500-2000, depending on installed height.

Universal Tower has an aluminum self-supporting tower design that seems to hit all the bullet points. They use a system wherein they design a tower from 30 to 100 feet high, with wind load ratings of 3 to 35 square feet, using modular 10 foot sections of various sizes. They have straight, tapered and top sections in 11, 14, 18, 22, 26 and 30 inch widths. The heavier ratings are shorter towers with wider sections. The straight sections are, duh, a straight section of that width. The tapered section are of that width, but they taper down to the next smaller size at the top. The top sections are finished off like you expect a top section to be, with a conical bit and a place to put a pipe or tubing mast.

I have analyzed the sizes and chosen a starting point of the 9-40 tower, 9 square feet rating, 40 feet high. The entire system consists of a big block of concrete (4 x 4 x 4 feet, which would weigh just short of 5 tons) in the ground with a 22 inch base unit, a 22″ tapered section, an 18″ tapered section, a 14″ tapered section and an 11″ top section. The tower itself is about $1115, not counting the concrete and digging the hole for the anchor.

If 40 feet is not enough, I can add an 18″ straight section between the 22″ tapered and the 18″ tapered for $270, raising the assembly to 50 feet. Continuing, I can add a 14″ straight section for $155 to make the 50 into a 60 and a 22″ straight section for $409 to make the 60 into a 70.

As the height goes up, the wind load rating goes down, 9 square feet, to 7, to 4 and to 3. The 70 foot design is the tallest they allow for the 22″ base. The next size base, 26″, requires a bigger concrete base (4.5 x 4.5 x 5.0 feet) and the 40 foot tower, while rated for 23 square feet wind load, starts just a little cheaper than 22″ 70 foot. Furthermore, the 70 foot tower with the 26″ base only gets 1 more square foot of wind load rating.

I’m guessing a 50 foot tower is likely what I will need to get a better signal into the metroplex. The antenna itself is 10 feet tall and could be mounted on a 10 foot mast at the top of the tower, so the base of the antenna would be at about 58 feet and the top at about 68 feet.

I have a couple of emails out to get quotes on the concrete and the digging. I suspect that digging in our area will hit rock only a little way down, so mechanization is probably going to be a requirement.

There is another variable that I thought wise to check on. The runway at a nearby grass strip airport points pretty much directly at our house. On the fcc.gov website, there is an online tool called TOWAIR wherein you can plug in your coordinates and some details about your proposed tower and it gives a PASS/FAIL on whether your structure needs to be registered with the FAA. It basically calculates the maximum height that a structure can be, based on some rules and specifications. Because this little airport has a runway in excess of 3200 feet and is designated for Public use, a structure within 20,000 feet must fit in a 100:1 glide slope. For every 100 feet farther away, the structure can be 1 foot taller.

When I plug in the coordinates where the tower would be and specify a total height of 70 feet, the tool returns the following failure message: “FAIL SLOPE (100:1) FAA REQ – 0.0 Meters (0.0 Feet) away & exceeds by 11.0 Meters (36.0900 Feet)”

Short version, 70 feet is 36.09 feet too high.

Now I am almost certain this does not mean that the tower would be prohibited, only that it must be registered. Further, it may need to be painted or lighted. I have much research to conduct.

By easter-egging various figures, I was able to determine that a height of 32 feet 9 inches would not need registration. Also, although it would be fairly impractical, moving the tower to the farthest point away from the airport and still on our property is not far enough away to change the permitted height.

While I was snooping around with antenna heights and locations, I punched in the numbers for an 80′ tower on a property not too far away. It is far enough away to clear the requirements with 9.8 feet to spare.

He’s Young, He’ll Adjust

I had a pretty decent pass rate on ammo QA with the Lee Pro1000. I didn’t really keep any stats on it; I didn’t think I’d ever need to prove it out.

The new (to me) Dillon press had an even better rate, at least to begin with. When I did have a QA failure rate that crept up kind of unnoticed, I first blamed the brass, but in the last post I revealed that I had found the real reason, which on the surface was a loose nut. That loose nut may have been me, but the point is now I have the press all readjusted and probably even better than before.

I loaded a box worth of 40S&W night before last. If my goal is “a box of ammo”, I don’t particularly count them as I’m loading them, but I know what about a box of ammo looks like in the output tray. I happened to have loaded 59 rounds when I stopped. I put them, one at a time, into my gauge block and of the 50 rounds it holds, I had one that didn’t quite drop into the gauge block freely and it was towards the end of the block.

The thing is that I don’t think I have ever had 40-something rounds in a row drop freely into the gauge block, even when I thought the ammo QA process was going along swimmingly. This tells me that I have the press adjusted better than I ever have.

To verify the dimensions, I put the calipers on 10 fairly random rounds out of the finished box. Overall length was 1.125″ +/- 0.002″ and case mouth diameter was 0.419″ +/- 0.001″

The failed round was good on OAL, but read 0.422″ at the case mouth. This round did drop unimpeded into the actual chamber of the Lone Wolf barrel in the pistol, so I am confident that this particular degree of “failure” is not worth rejecting the round.

As for what I was loading, I finally ran out of Power Pistol, so I have put in my next experimental powder, Winchester 231. I bought a pound of it quite some time ago based on a recommendation for it as a soft shooting powder for 40S&W. They were right. With 3.7 grains pushing a 180 grain bullet, it was a joy to shoot in a match last night. I could probably reduce the charge even more, but I need to see what it’s doing on the chronograph first.

So joyous, in fact, that I made 6th overall in the standings again. That’s two weeks in a row. To fully disclose, a fair number of the club’s better shooters were down in Bellville for some match I couldn’t attend this time, and one particular Master class shooter had to leave early, so I might not have placed so well had they all been there. Doesn’t matter, 6th overall! 🙂

Crushing It!

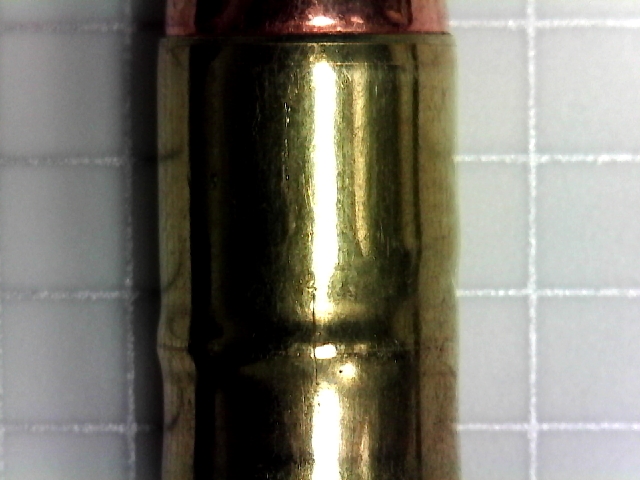
Over the years, I have had a few loaded cases that seemed “wrinkled” when they were done.

longcase

This particular one is fairly extreme as most don’t have such a clearly defined fold in the brass.

Since they were infrequent, I have always presumed that there was only some case issue, such as a case that had been reloaded a coupla times too many and lengthened from repeated resizing. Of course, 40S&W is a bit more likely to have been bulged, which makes them lengthen even more when resized.

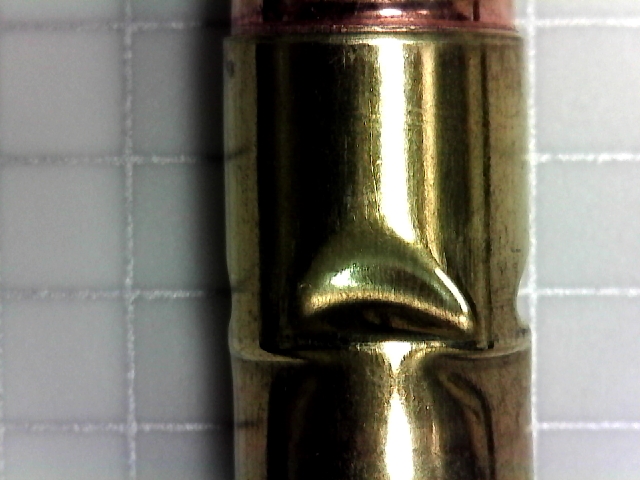
As I said, they were fairly rare. Lately, however, I have had a lot of them. I first blamed the brass, assuming it was just range brass that had been fired and reloaded a few times, but it got more and more frequent. I just set the press up to try a load with 3.7 grains of Winchester 231 and loading a whole box of 50 took 68 loaded rounds to complete because of 18 rounds with various degrees of this kind of damage, including this one:

crush

Well, duh, I finally started checking elsewhere and found it almost immediately. The lock ring on the bullet seating die was probably two turns free of the tool block and the die had simply worked down to being way too short. The fact that some rounds weren’t crushed is curious.

I am using Lee Precision dies, which I kept from my Lee Pro1000 press partly because I already had them in hand and also because the Lee factory crimp dies come highly recommended, no matter what press it’s on. I kept the 3 die set and added factory crimp dies for each caliber I load.

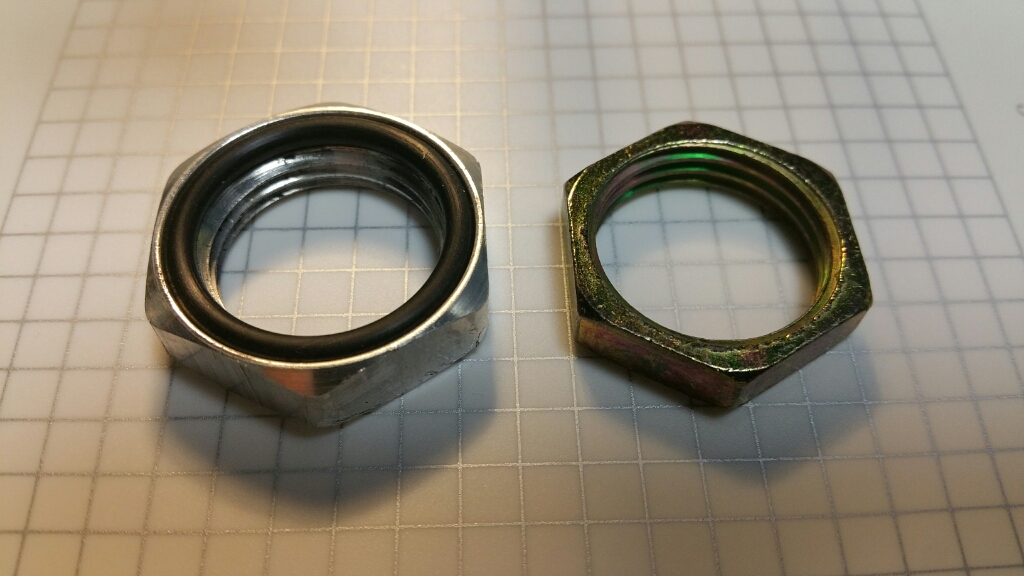
rings

The Lee lock ring (left) is an aluminum ring with an O-ring in a groove. Lee boasts thusly:

Lock Rings – Finger tighten – set and forget, they never move. Just be sure to always loosen your dies by turning the ring, not the die. These have become so popular that we sell thousands of lock rings to people who want to update other brands.

Admittedly, they have served me well on Lee presses, but there is a shoulder on the Dillon tool head that might keep the O-ring from working as Lee intends. I think this is probably what caused the ring to work loose.

Of course, I should have seen it long before it got that far out of adjustment, but in my defense, they have historically worked perfectly, so I had no reason to suspect them.

I already had a bunch of Dillon’s rings, which are also of a low profile, making them easier to work with a wrench in the close confines of the tool head. I reinstalled them, readjusted the press and, what do you know, 25 rounds error free. That’s significantly better than 1 in 4 rounds crushed beyond recovery.


Primer Pocket Swaging

A couple of years ago, I purchased a box of about 1000 rounds of 10mm brass, mixed large and small primer, at a discount. I ran them all through the tumbler together then manually sorted them out by primer size. A little more than half of them are small primers.

By original specifications, 10mm and 45 Auto brass is made to use large primers. There is a lot of ammo being made today using small primers. Small primers on 10mm or 45 Auto are not a problem to load. It can actually be an advantage. It is easy for me to switch between loading 10mm with small primers and 40S&W designed with small primers because I don’t need to reconfigure the press for large primers.

Manufacturers are using more and more small primer in traditionally large primer applications in the quest to make range ammo less harmful to the shooter, particularly those who practice indoors often, such as law enforcement and competitors. Lead styphnate is a common primer chemical component and avoiding the concentration of lead in your body is a pretty good idea, “Green” agenda notwithstanding. Non-lead primer compounds tend to be significantly more energetic; it takes less of it, so small primers make sense. Even with smaller charges in a small primer, these energetic compounds tend to drive themselves out of the primer pocket, which can lead to feeding and ejection issues and even present a danger to the shooter from gases escaping into a part of the pistol that normally doesn’t have any high pressure gases. These issues are addressed by crimping the primer into the case.

The manufacturer’s most common crimping process is basically to use a circular punch that is very slightly larger than the primer to deform the case brass around the primer to crimp the primer into the pocket. When reloading ammo. step one on the press is a die that simultaneously resizes the case and presses the spent primer out. The crimp does not adversely affect removal of the old primer. Unfortunately, the crimp does leave a burr around the primer pocket that makes seating a new primer iffy. Most often, the new primer is crushed as it snags on this burr rather than seating into the primer pocket.

That is why I still have this brass.

There are two basic ways to recondition primer pockets to remove this burr and render the case reloadable. One is to use a primer pocket reamer, a specially shaped cutting tool that physically removes the burr. I have a set of these reamers and they work quite well, though they are a little tedious to use in competitive pistol shooting quantities. It also permanently removes material from the case head, though not a large amount.

The other is to use a tool to swage the primer pocket back into the desired shape. Swaging in this case is a form of cold forging, shaping the metal under force without a significant loss of material. The process lends itself to a higher rate of production than the reamer and makes the discount price on such brass even more attractive.

In my case, I currently have several hundred rounds of small primer 10mm brass, but I am finding that small primer 45 Auto is a little less expensive than large primer. I suspect that will not always be the case as more lead-free priming becomes normal.

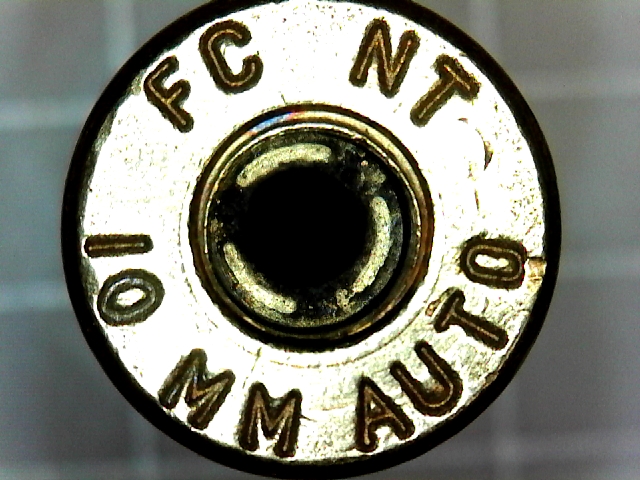
The RCBS tool is intended to be bench mounted, but for a quick test, I operated it as handheld. It is really easy to set up and adjust. The directions suggest sorting the brass by brand because the web of the case may be slightly different between manufacturers. Here is a crimped small primer 10mm case after depriming.

swage-before

Note the ridge, most visible near the “FC NT” stamping.

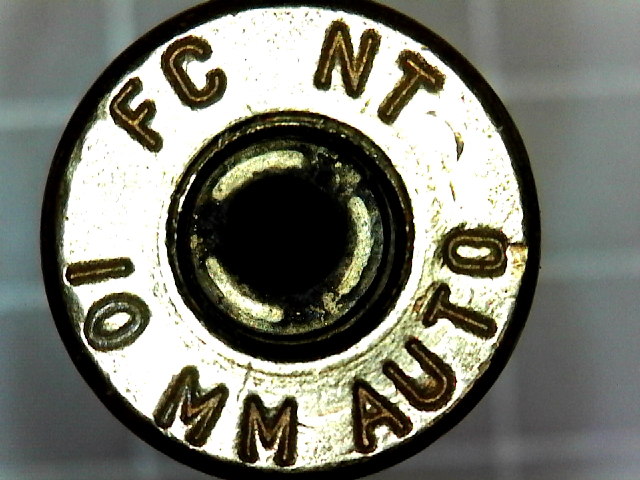
After running the case through the primer pocket swager, the same case looks like this:

swage-after

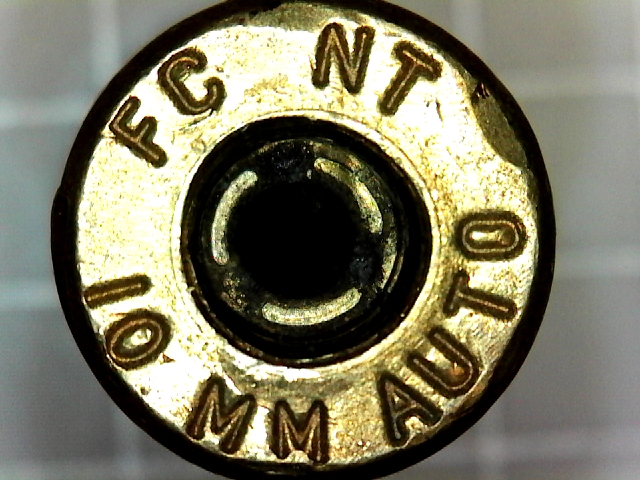
While adjusting the tool, I managed to get a case slightly off center, which put a slight eccentricity on one side of the pocket, barely visible adjacent to “FC” in the picture below.

eccentric

I don’t think this is going to adversely affect primer seating at all because it’s only the very edge of the pocket affected, but I will pay close attention when loading this case.

Defensive Carbine & A L’il Surprise

We went back to Defender Outdoors this week for CTASA’s first Defensive Carbine match, or at least the first Defensive Carbine Match at Defender Outdoors. Like the PCC match, scoring was basically 2017 IDPA scoring and penalty counts, 1 full second per point down and with modified shooting rules to accommodate rifles and carbines, like no concealment garment required, low ready start, rather relaxed cover margins, etc.

For this match, they allowed 5.56/223 and a .30 Carbine (a real 70 year old M1 Carbine) as well as pistol calibers and rimfires. I used my freshly returned to stock Ruger 10/22 with a BSA red dot optic.

rugerbsa

I had one ammo jam that I just cleared without analysis but otherwise, the rifle ran fine.

John ran the M1 Carbine, though it had an aftermarket folding stock and a red dot optic of some sort. He had some magazine troubles, so his first stage (Stage 2) ran 86 seconds raw. He got it worked out, though, and I don’t think he had any more troubles with them. He did lose the dot in the sight. I happened to have the right batteries for it, so we got him back in business. Wish I’d had a spare for my own! (see below)

Between the age of this classic rifle and it’s great look, I just want one now!

johnt

My own worst stage was my last, Stage 4. The light on my optic went out halfway through. I did ok on the array I was on at the time and the next one, which was close enough to point and shoot, but on the last array, at the farthest distance out, I did not hit them at all, 10 down, FTN, times 2. That was 30 whole seconds, plus a couple more down added to an otherwise decent raw time of 26.53.

In it’s normal around-the-house form, with a 3-9x scope mounted, it has Weaver 49711 see-through rings. For a rail mounted optic with a battery that may go out, this seems like a good idea. It’s on the way.

The bolt lock-back on the 10/22 is a little clumsy to release, requiring manipulation of the same cam/trigger needed to lock it back. Locking it back is quick and easy. Releasing it, not so much. There is a lot of info online about modifying the stock part, but chose to order a drop in aftermarket part that allows the more customary release by pulling the bolt the rest of the way back. I did not want to do the fairly detailed disassembly required to install it on the night before the match, so I will be putting it in soon.

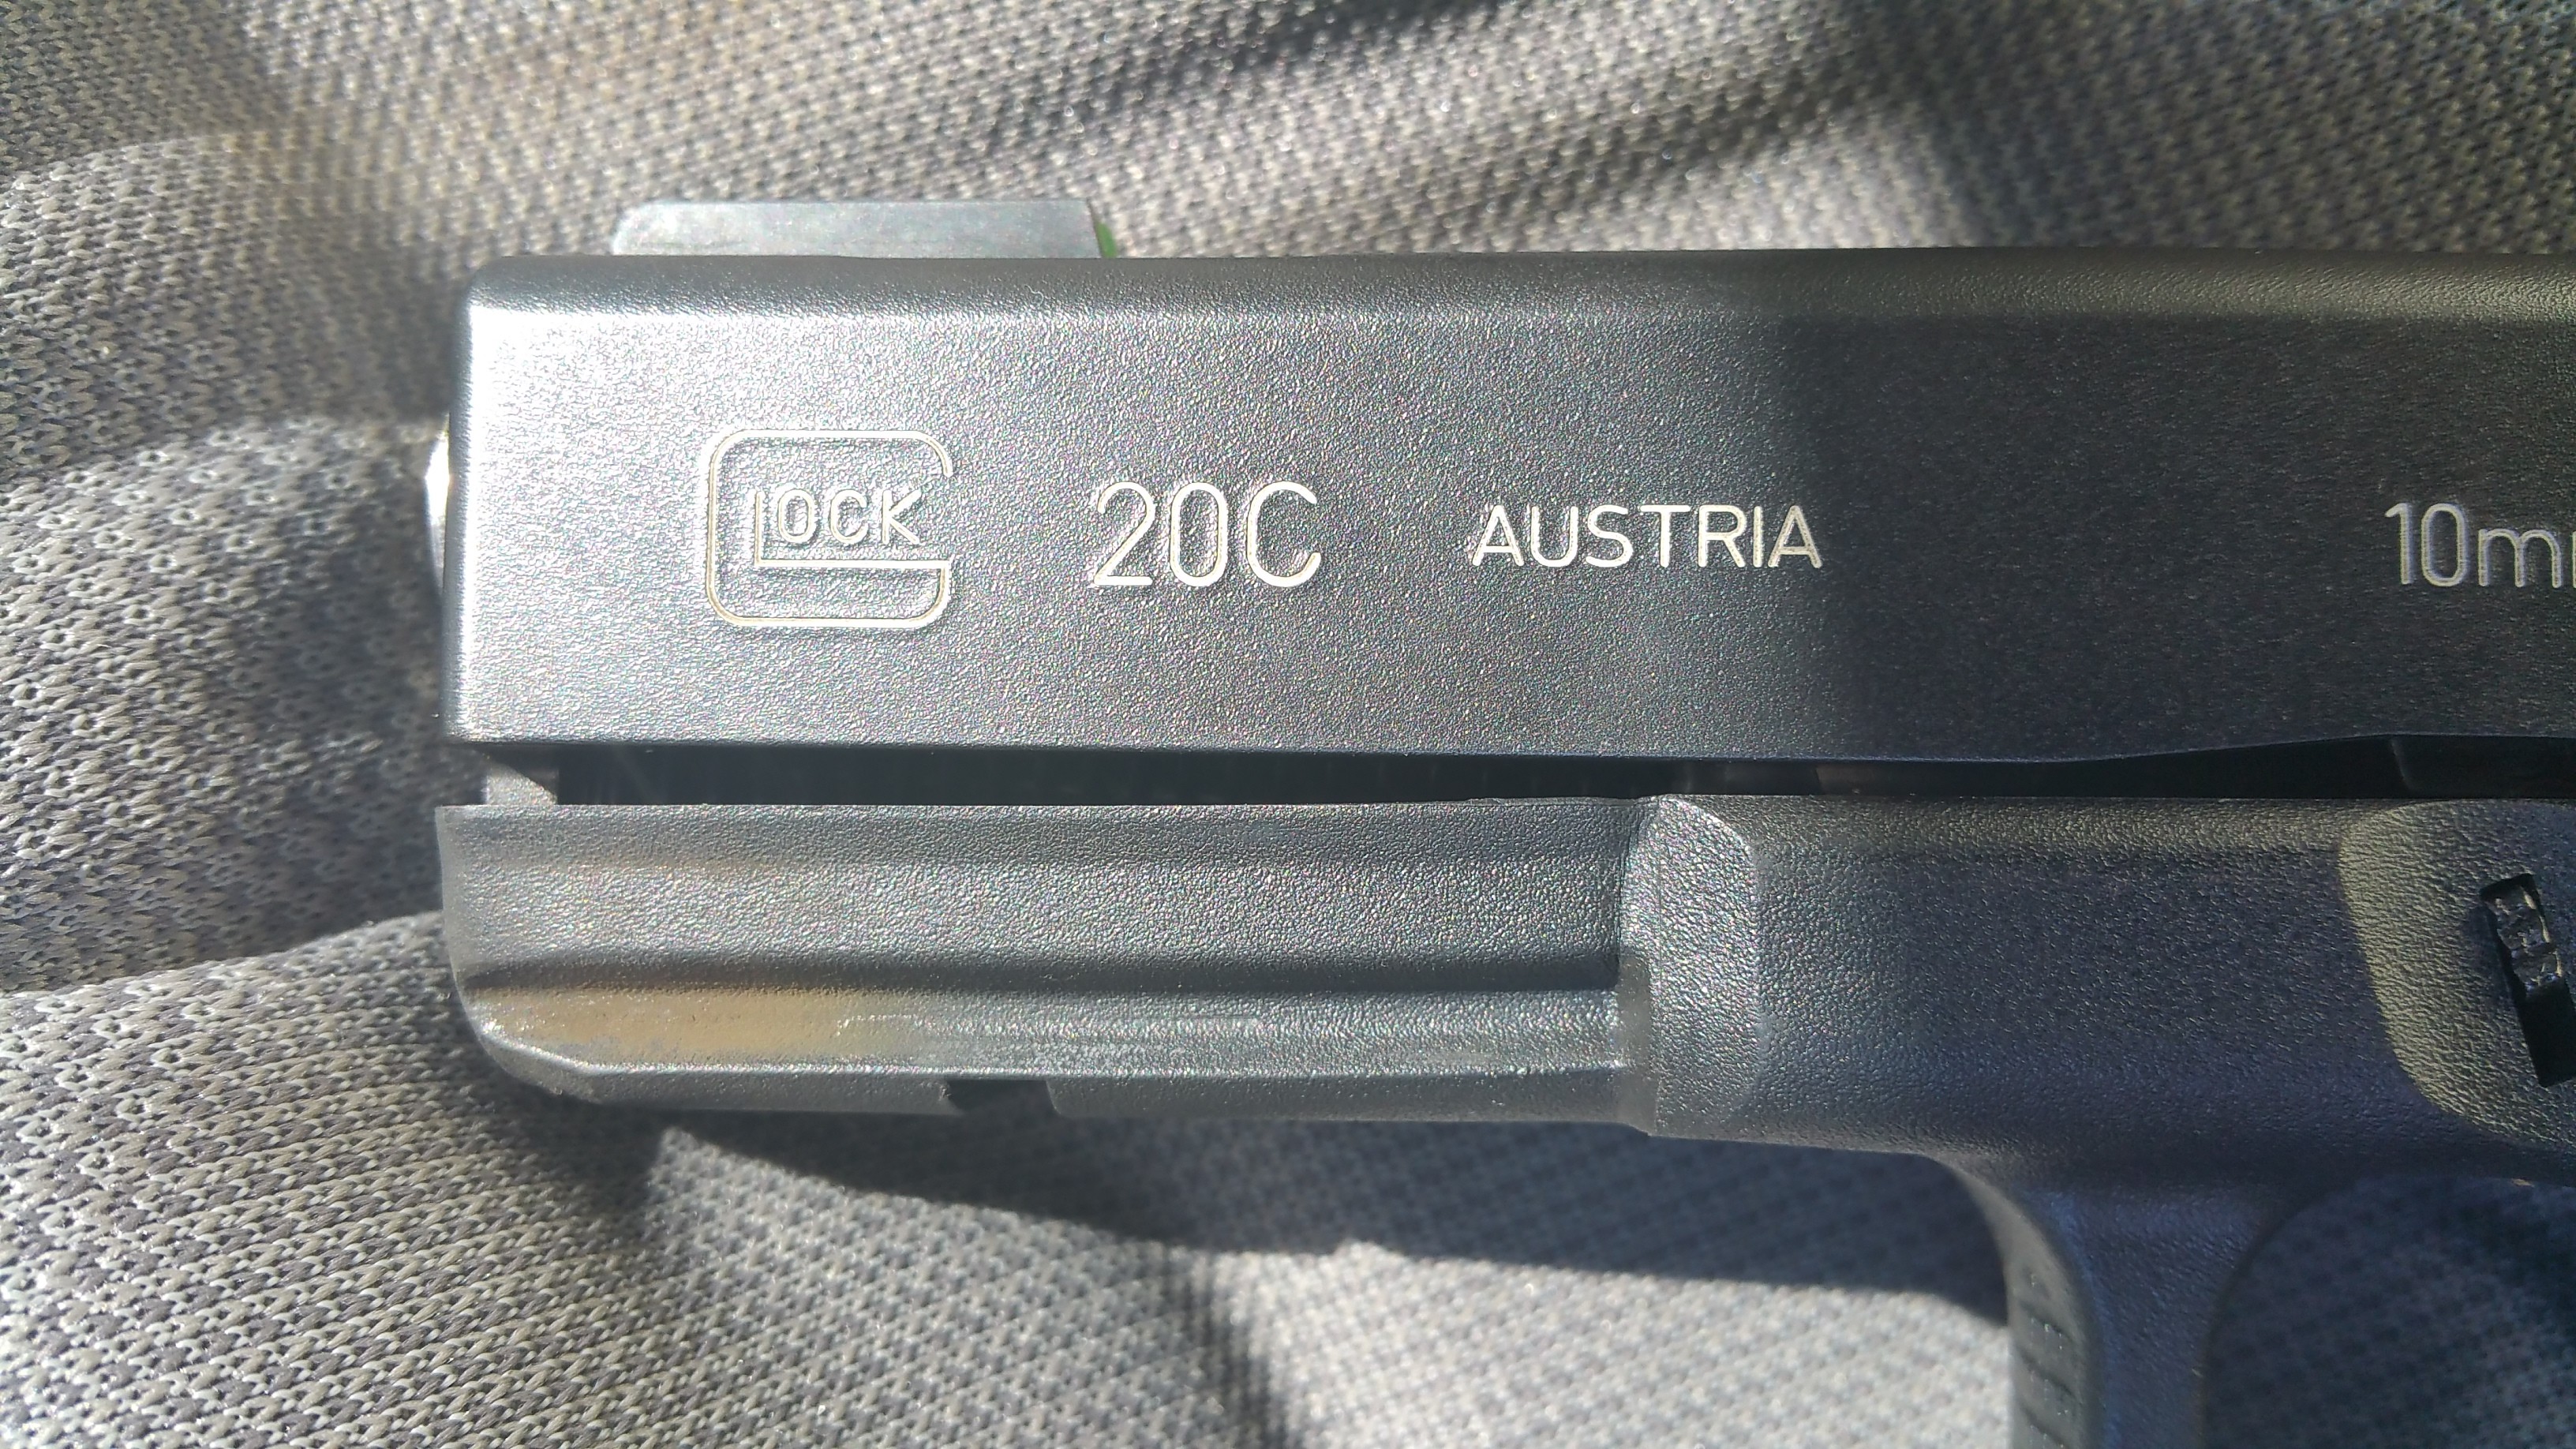
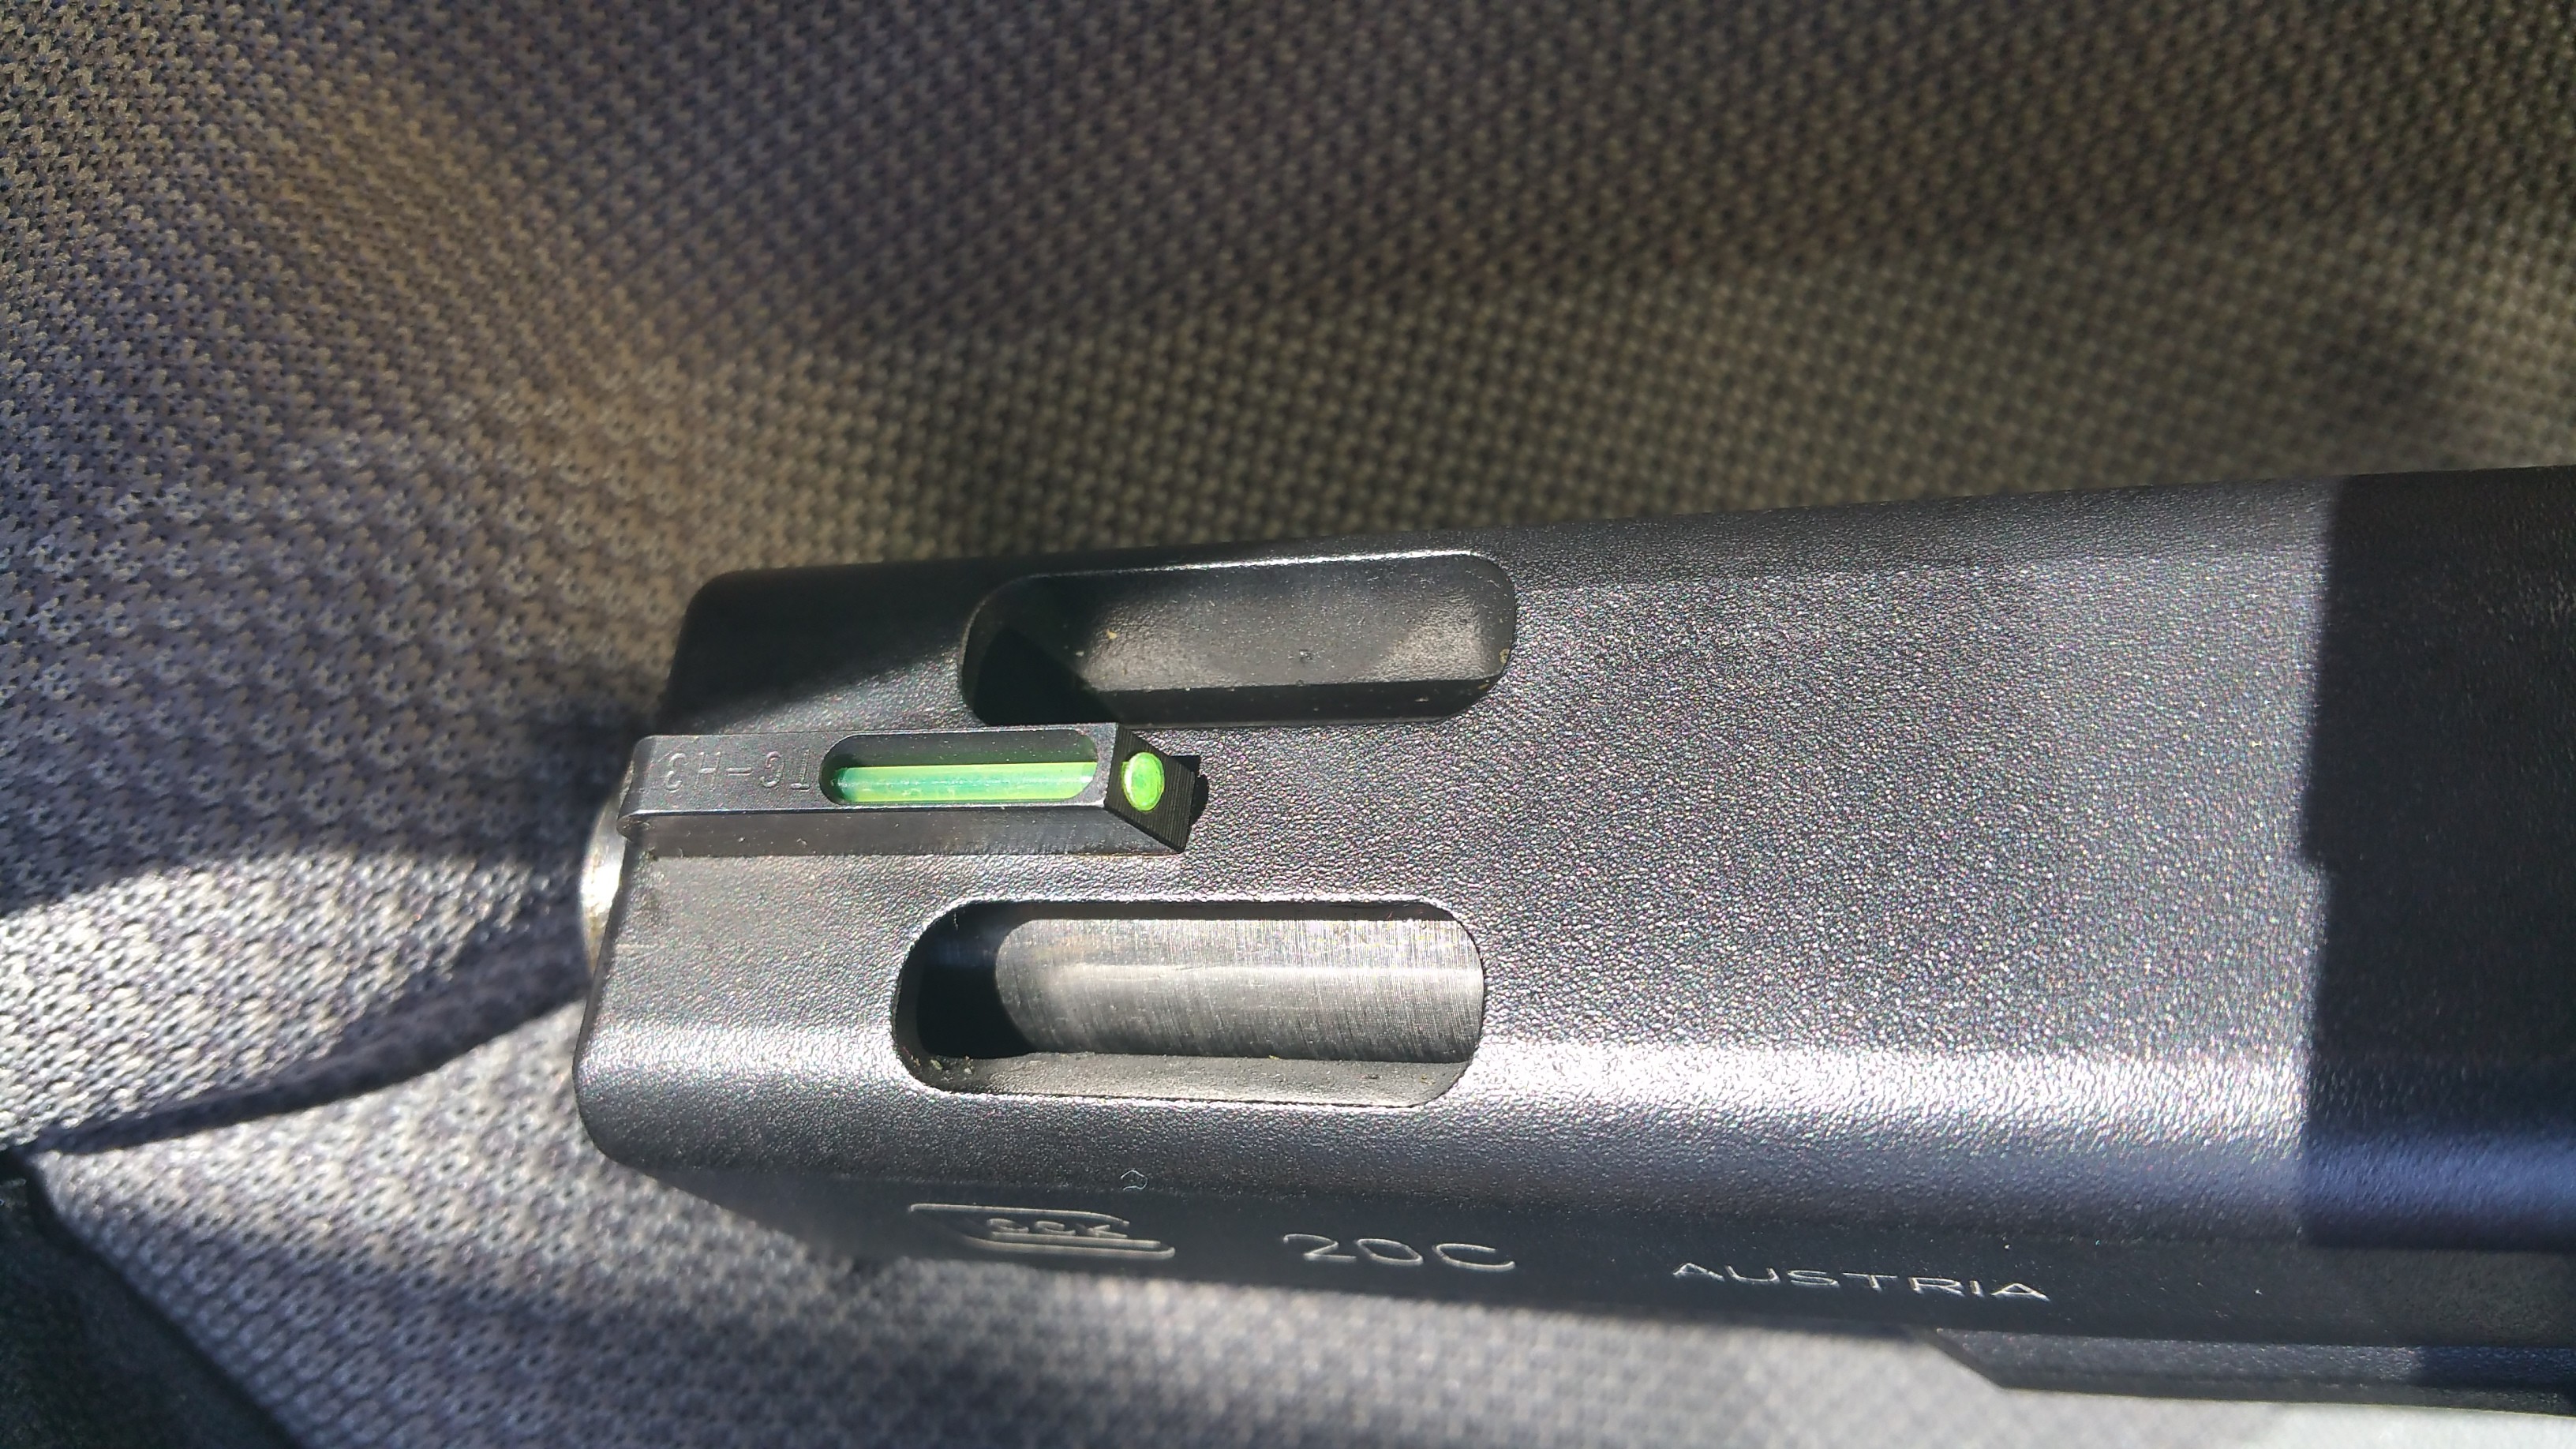
Speaking of gun parts, I have my extended magazine release for the Glock 20C. It should take only a few minutes to install. At that time, I will also reinstall the other parts I removed to restore it to SSP division legal. 🙂

magrel

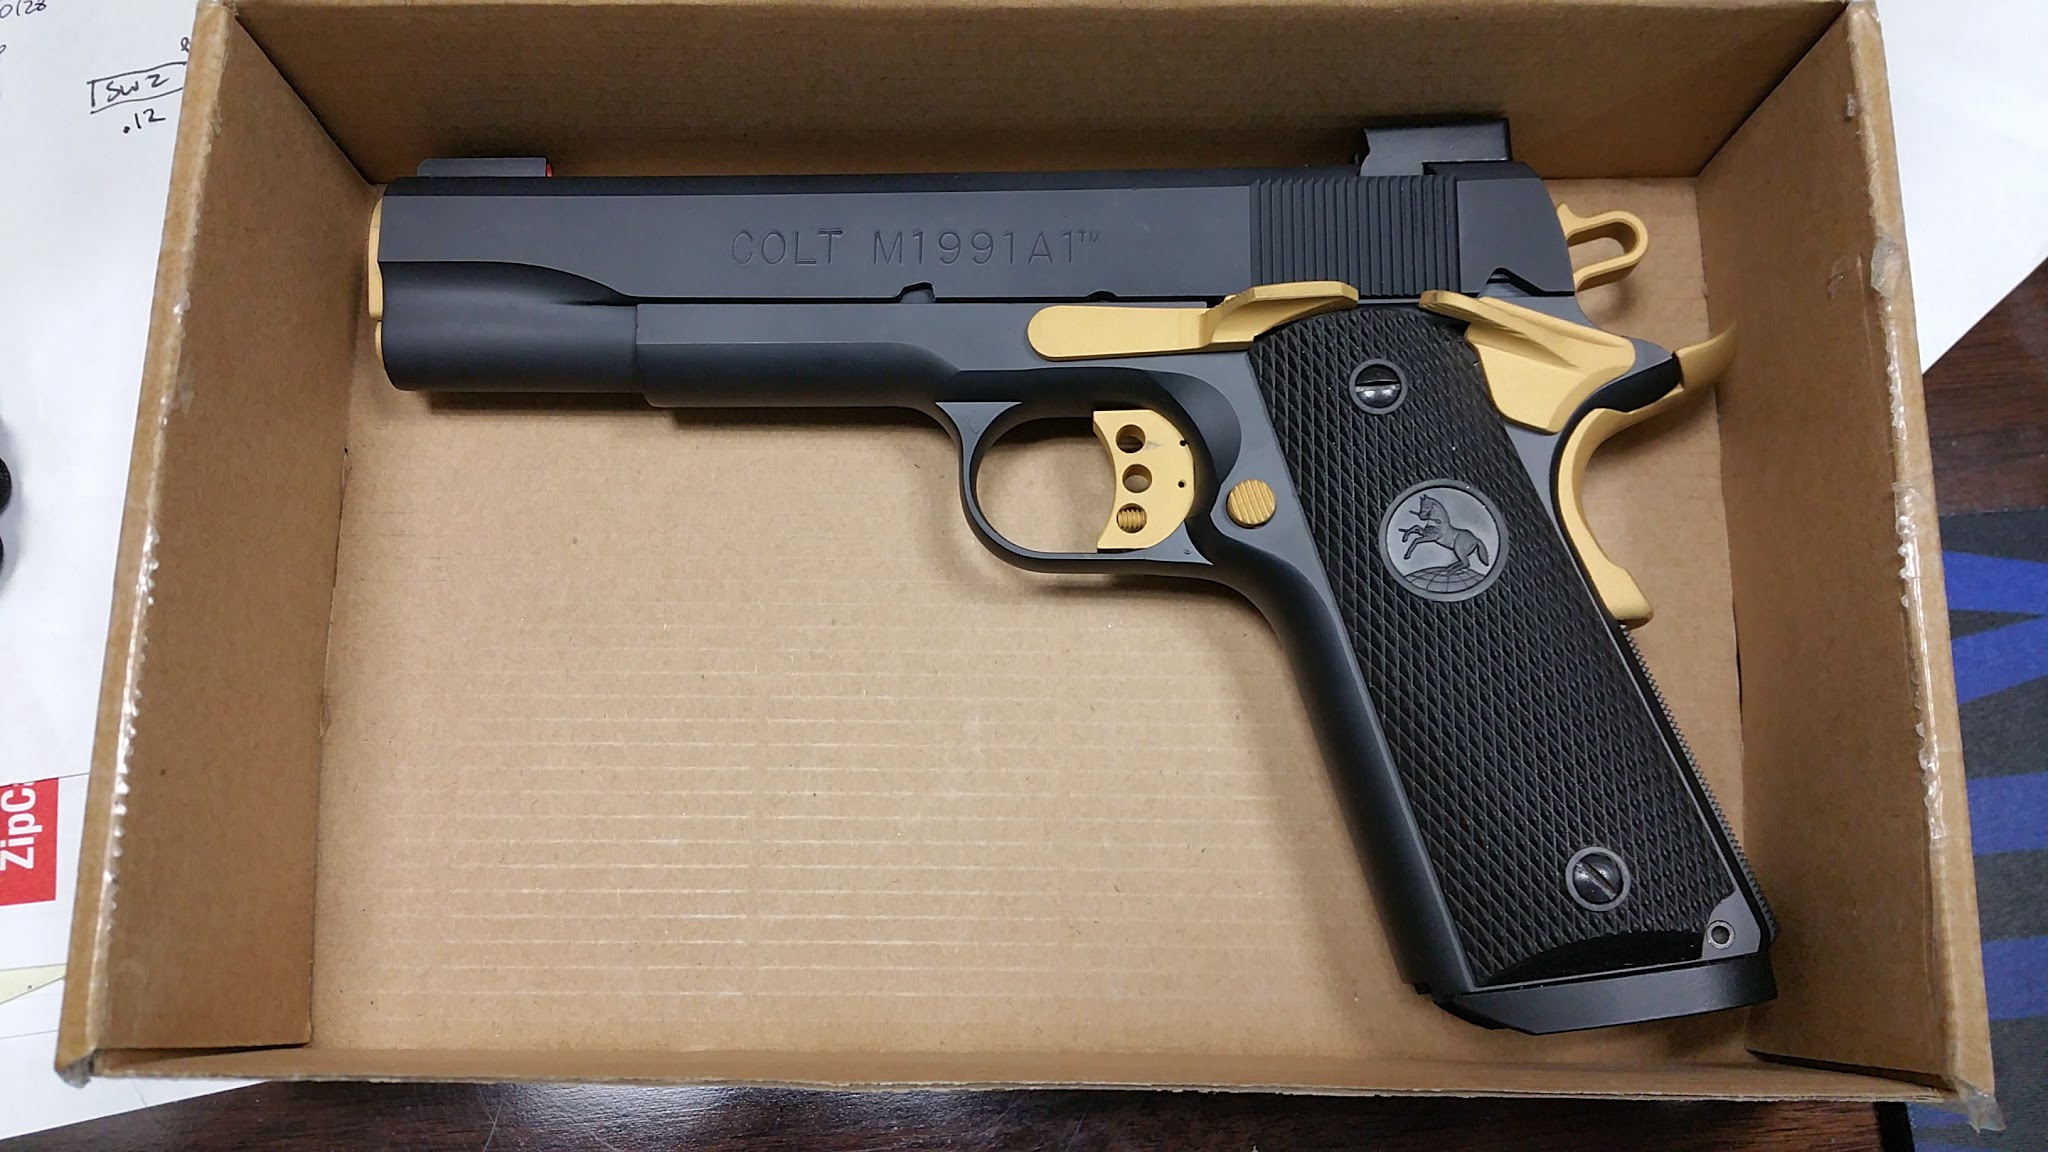
Finally, I have a little surprise about a pistol I haven’t talked about much in a long time.

Next time you see this one, it will look quite different…

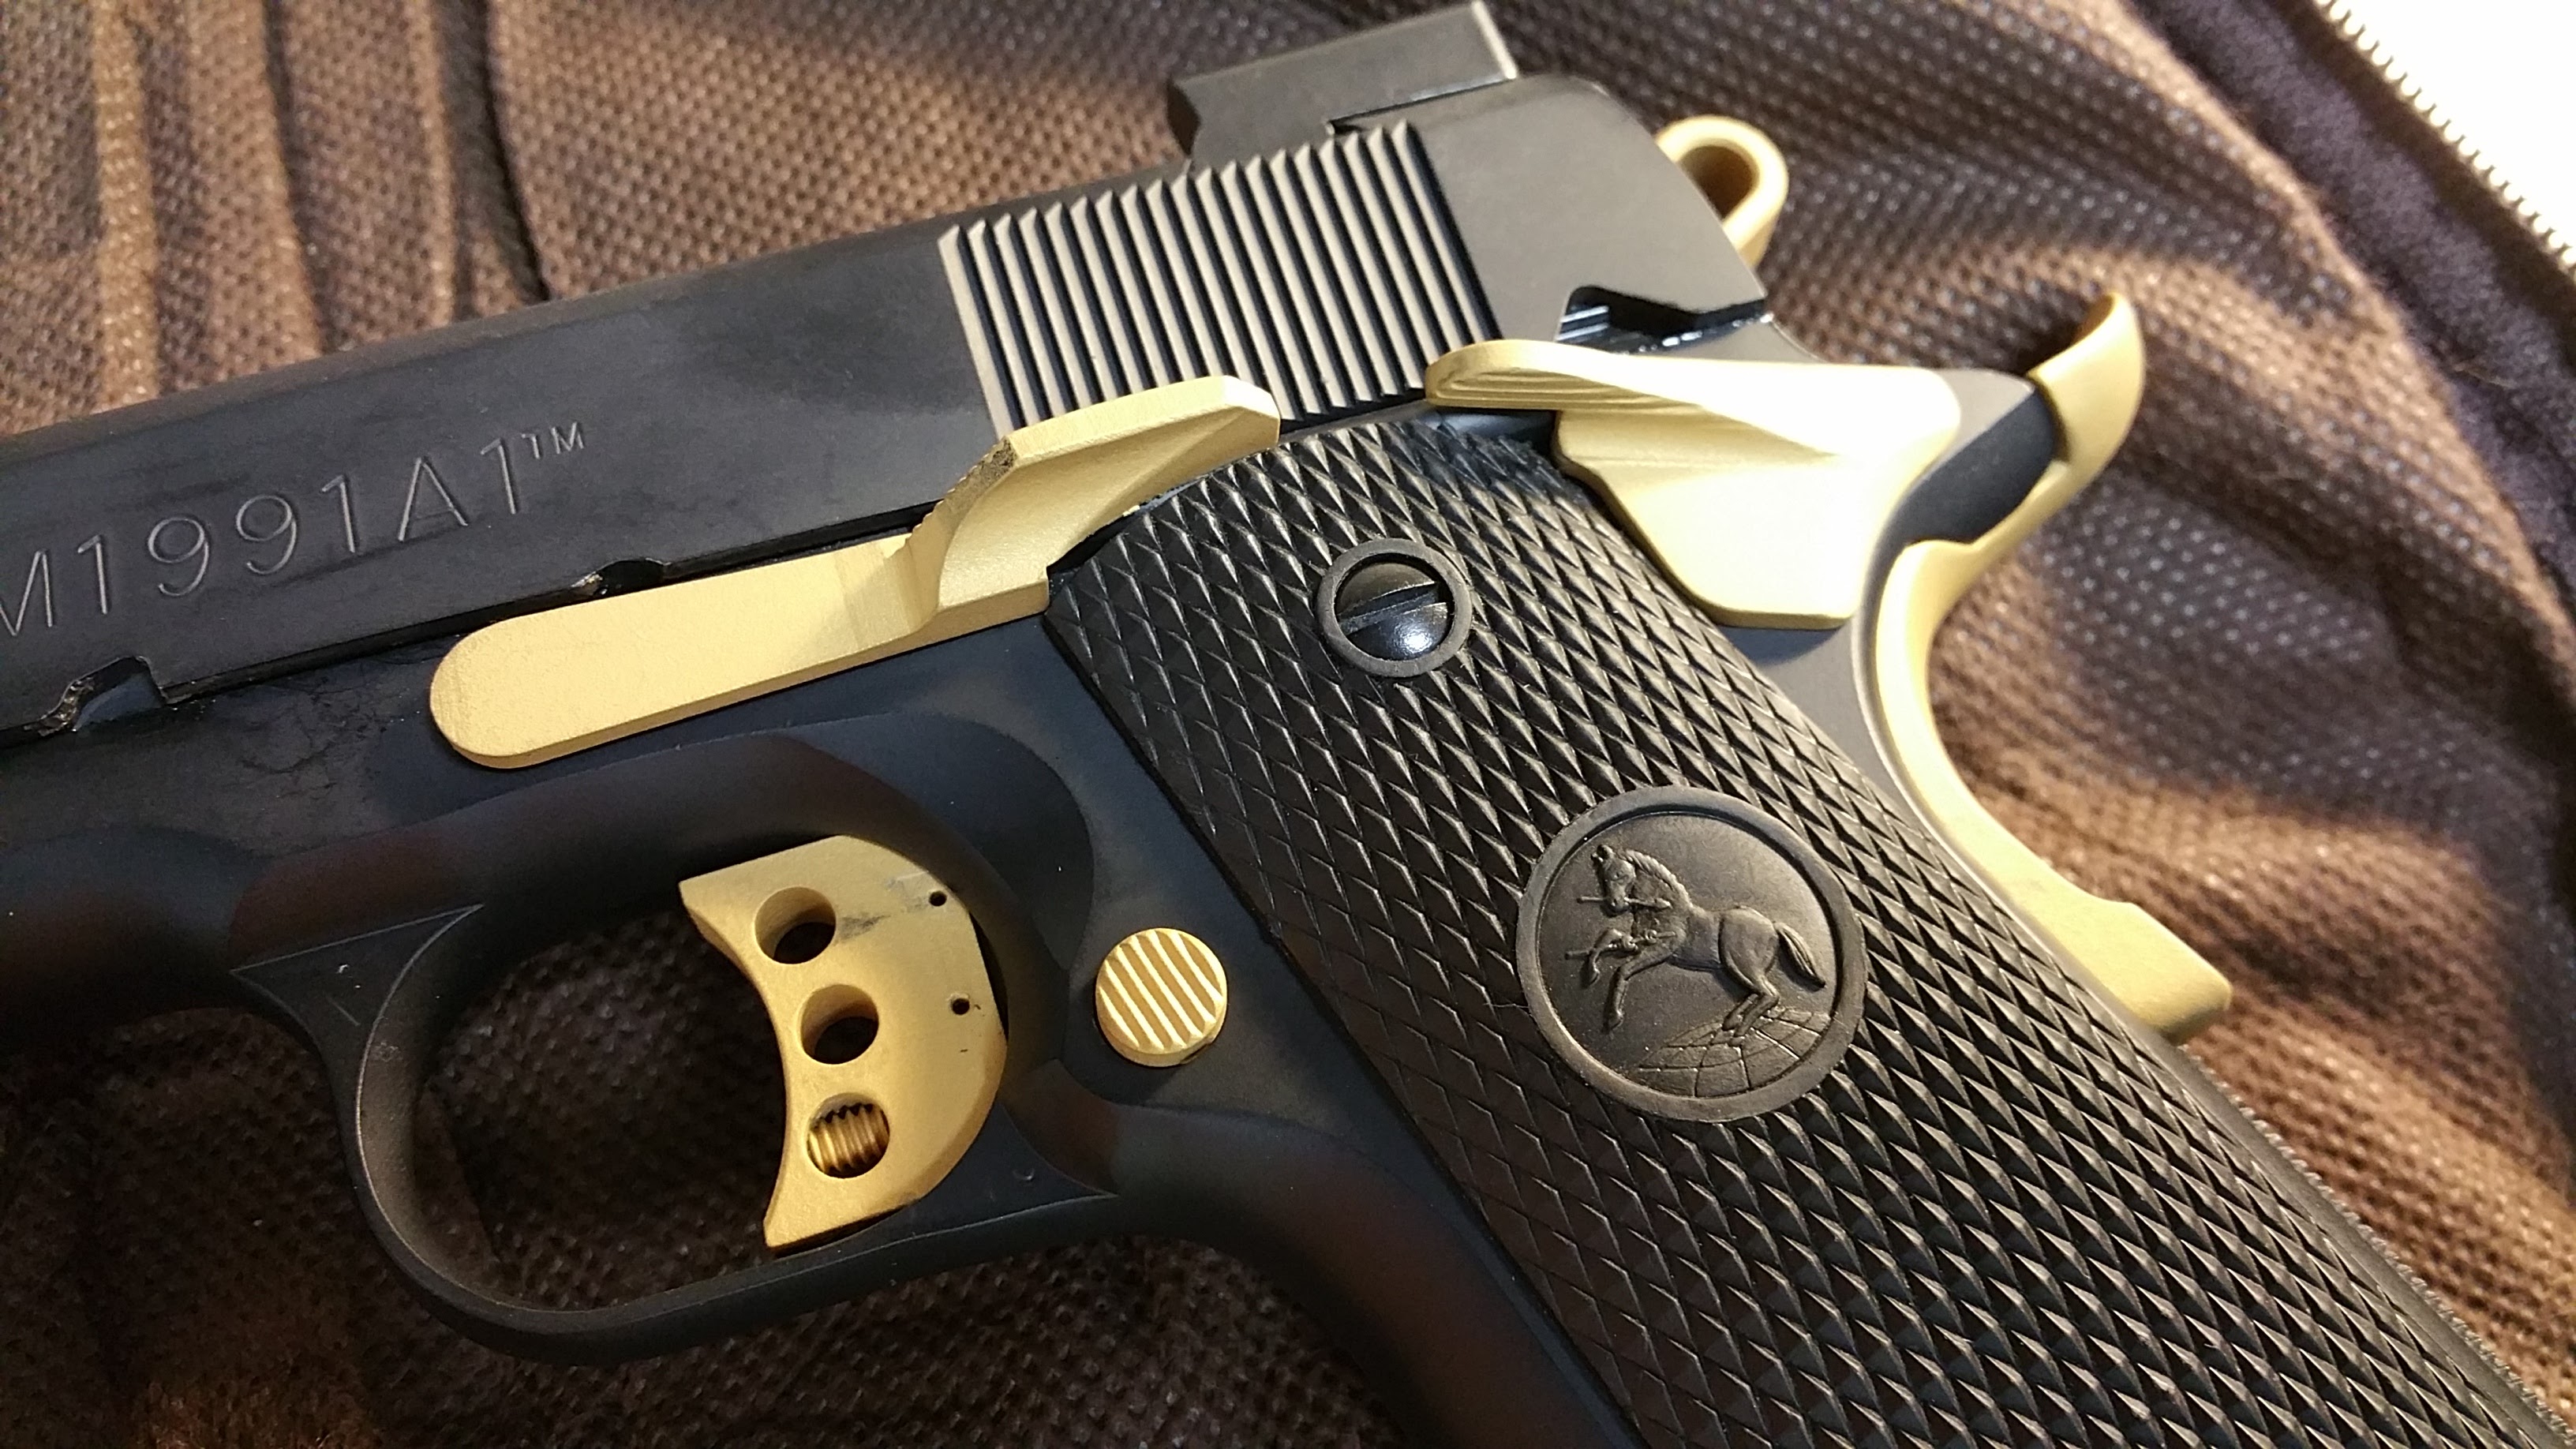
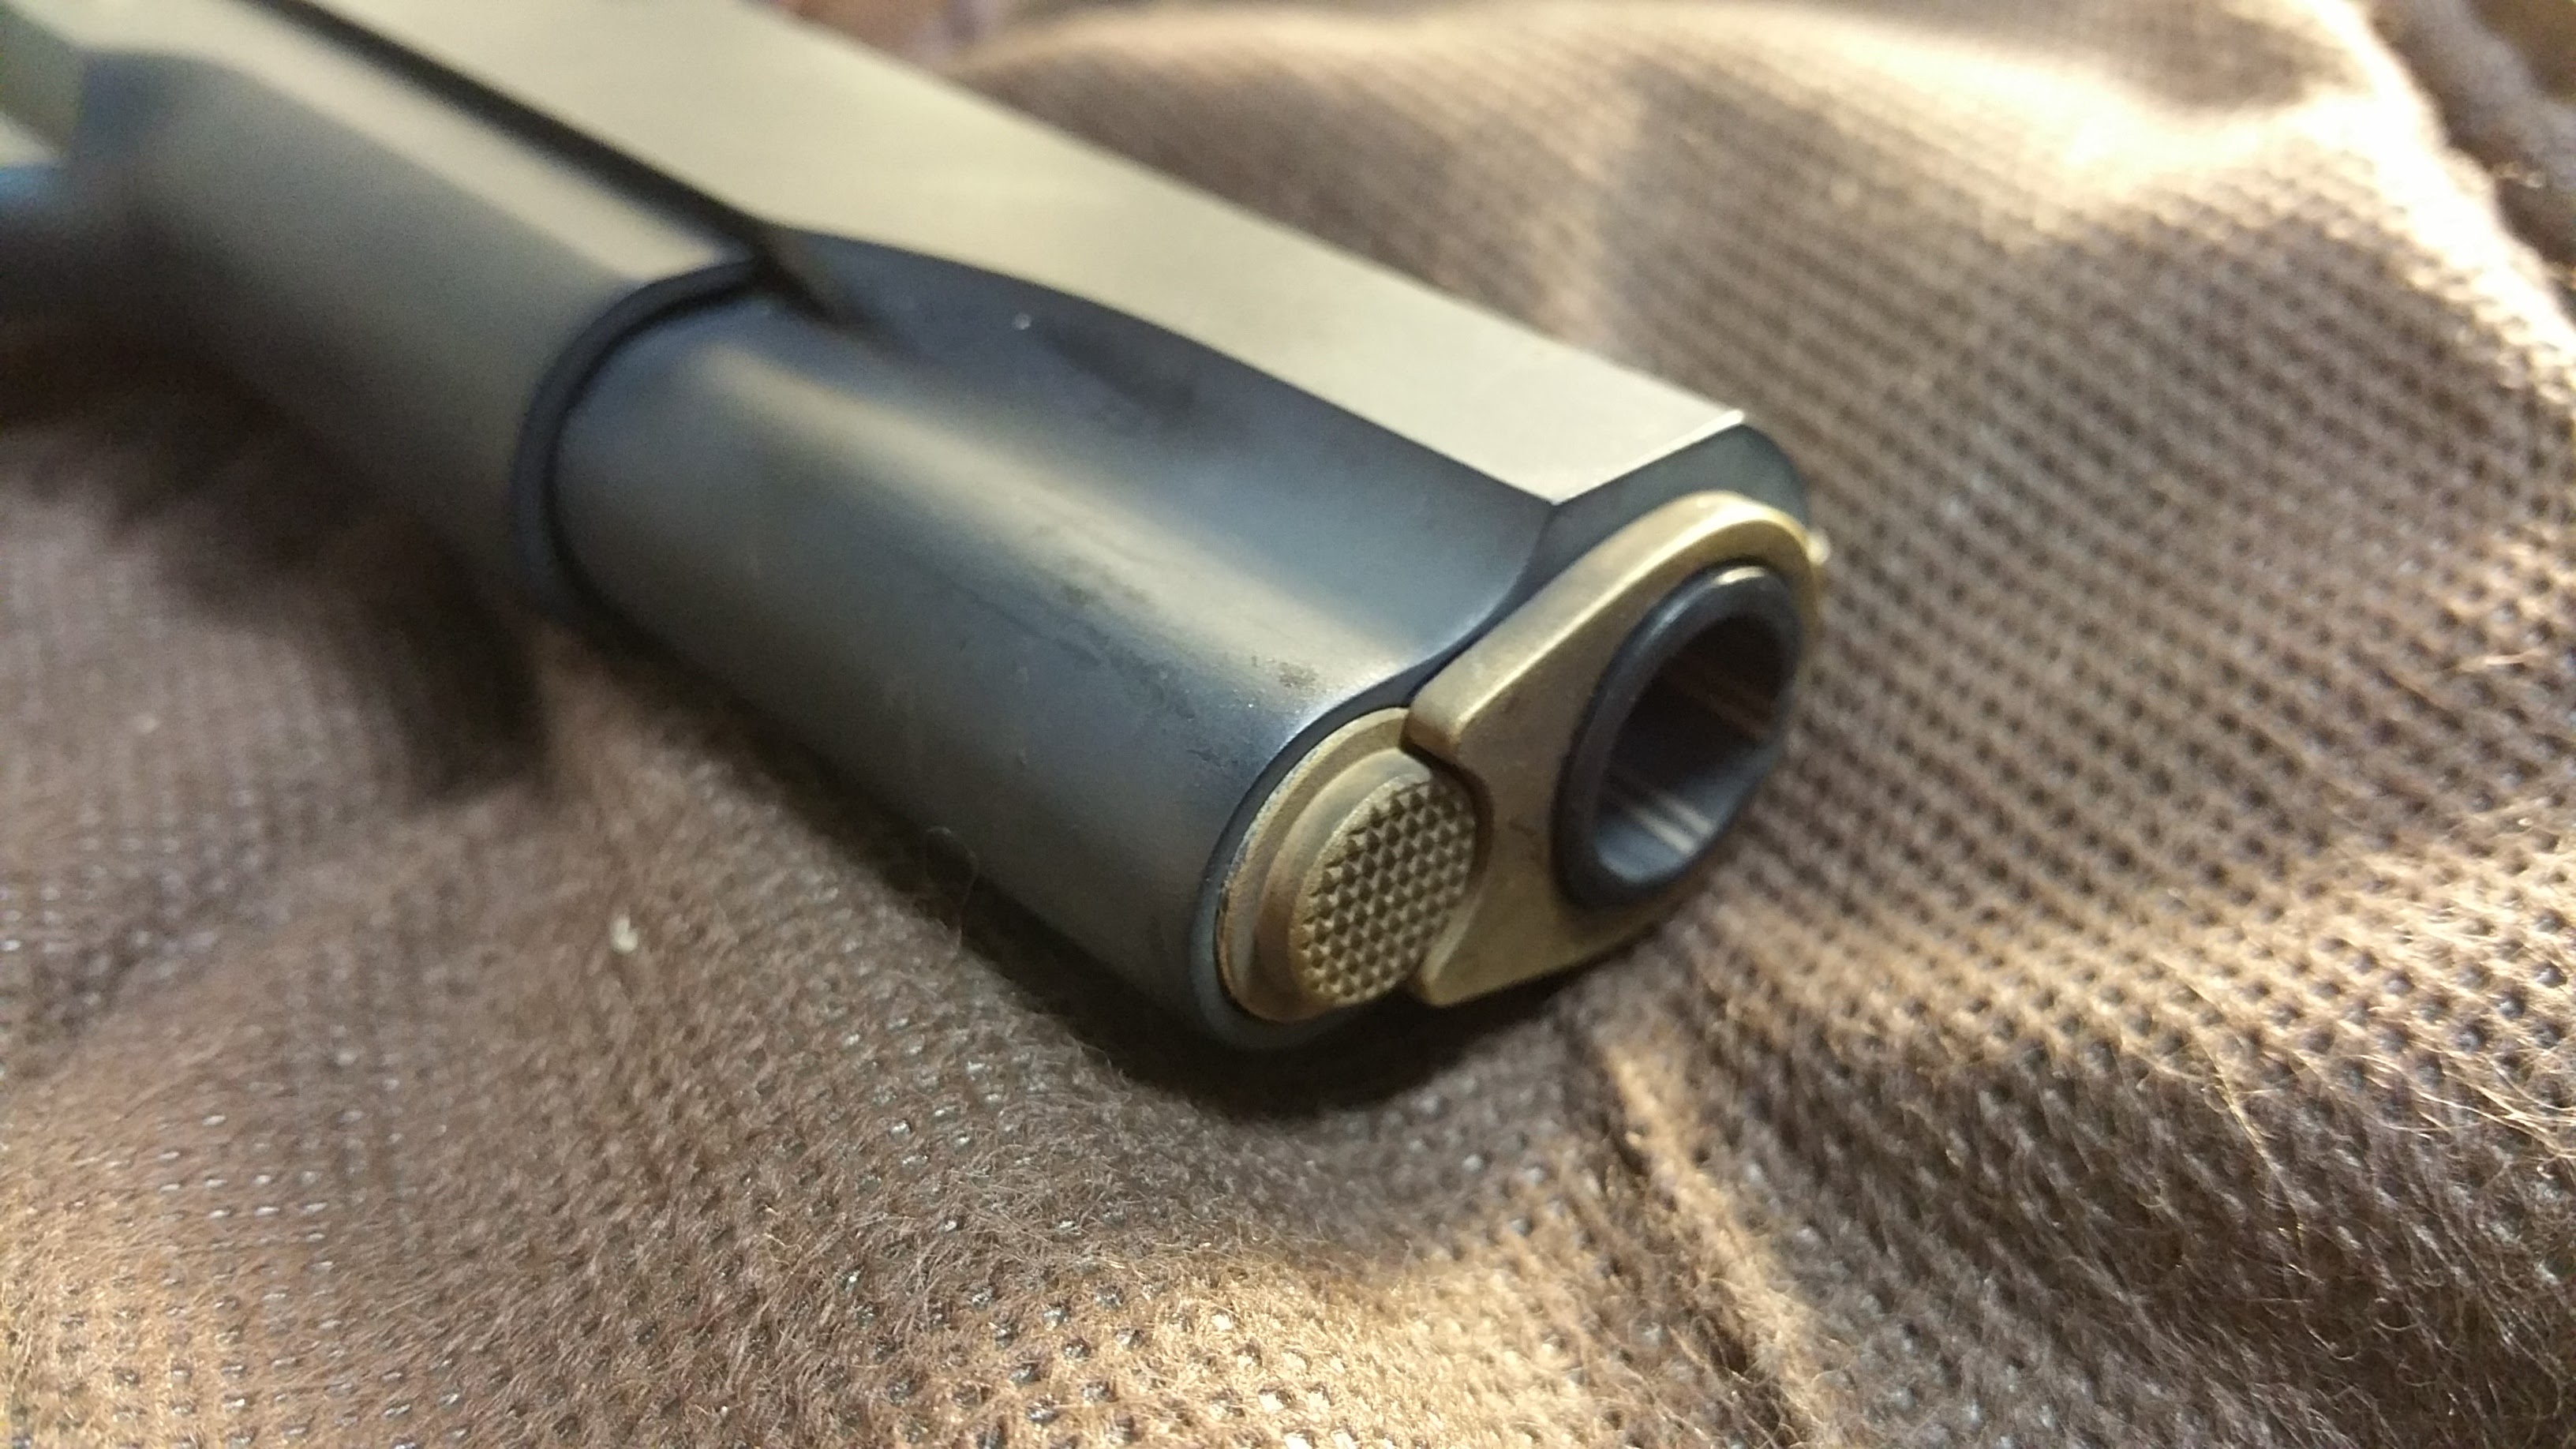
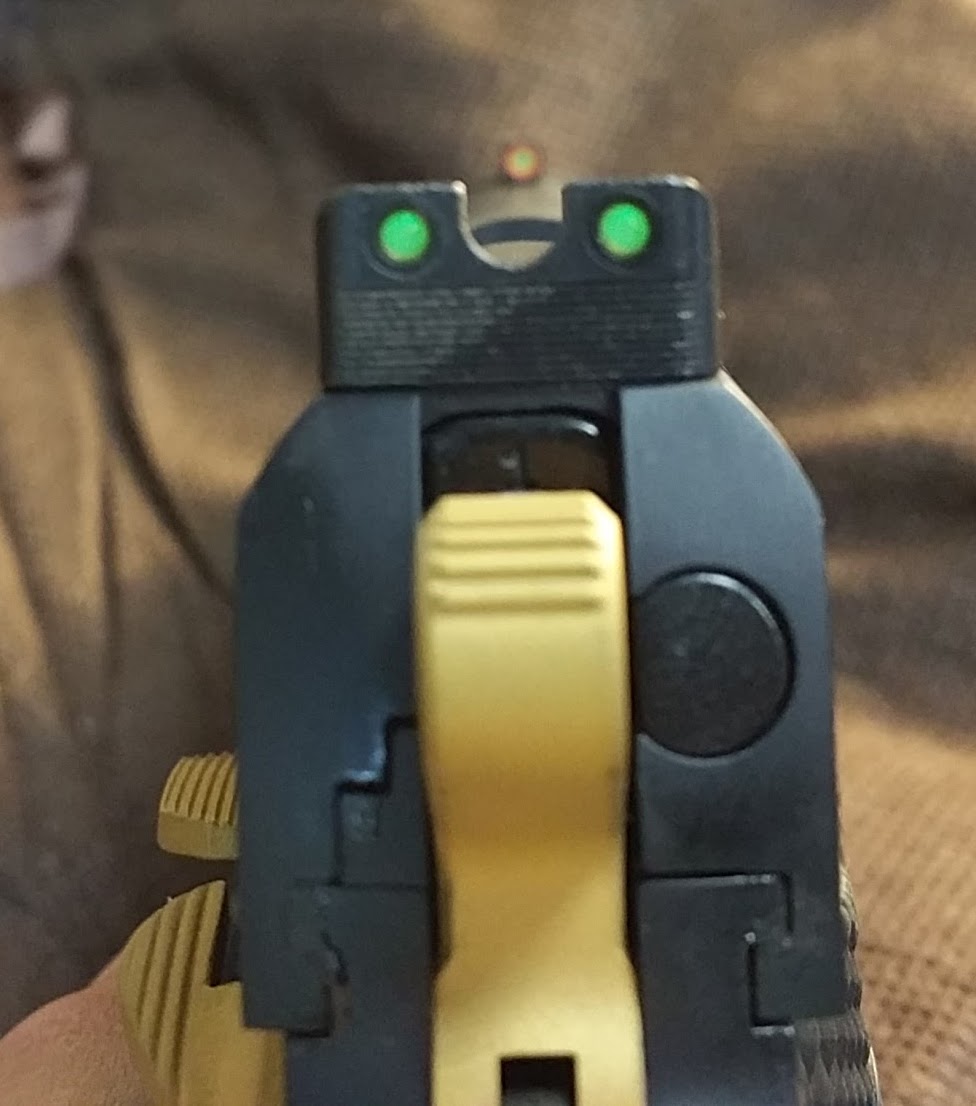
1991

Especially around this vicinity…

1991-2


Little Things

Since the inaugural match at Defender Outdoors, I shot a classifier match and, in my mind anyway, I finally earned my Marksman classification. In my first classifier, I was shooting my 1911 for CDP/ESP. On one of the stages, the raw time on a string was not recorded and the match director and safety officers discussed it and entered a reasonable time based on my performance in other strings, thus bringing my final score up from Novice to Marksman. In my second classifier, I had no suitable soft shooting ammo loaded and using factory 10mm Auto, I scored 5.11 seconds short of Marksman. Luckily, they don’t roll you back based on one poor classifier. Last Friday, however, I shot a natural and properly recorded 168.25, which is pretty much dead in the middle of the ESP Marksman range of 138.01 to 190.00, with my score dual applied to SSP & ESP.

For the classifier match, I used my Glock 20C configured to SSP legality, stock magazine release, stock slide release, a standard G20 slide and barrel, which of course means 10mm Auto. I used a fairly soft load, 180 grain RNFP plated lead bullets propelled by 5.5 grains of Power Pistol. Though I have not chronographed that particular combination, it is expected to be about 900 fps. It was boomy flashy load, but recoil was a nice push and very controllable. It was a fun round to shoot and my score mostly reflected that. My worst stage was the last stage, the longest distance. This stage has two strings that require a tactical reload, and at this point in my skilz, those cost me a lot of time. Also, my long distance accuracy was not great, 52 points down. I know what I need to work on. 🙂

I finished out loading the last of a bag of 10mm Auto large primer brass with that load, then set the press back up for 40S&W. The 5.5 grain load on the 10mm was just from not changing the powder measure from the 40S&W, so I loaded up a couple boxes of those for the regular Thursday night match.

Turns out…  When I chronographed that 5.5 grain load in 40S&W a few weeks back, I got about 870 fps on a chilly 50F morning. Shooting the match last night in the high 70’s, those rounds were substantially hotter than I remembered. Like, factory hot. Even so, I shot Stages 1, 2 and 4 with only 11 down total, but stage 3 got away from me a little, 15 down, mostly from some targets taken on the move.

magbase

Having solved the magazine drop from the frame problem, I removed the aluminum base pads on all my magazines. I now have (2) Gen3 stock magazines and (5) Gen4 stock magazines, all of which drop free of the pistol when released. I had misplaced the original plates and ordered replacements from GlockStore. I also ordered another set of numbers from Dawson Precision, so they are all numbered now.

Somewhere, likely with the missing floor plates, I have an extended magazine release that I would like to install. When I ordered the replacement plates, I also ordered a magazine release, but I inadvertently ordered the standard replacement. They are only $4, hardly worth the effort to return, so I will call it a spare. 🙂 An actual extended release is enroute, though it is not a $4 one.