The camera arrived without drama.
Before the ink was dry on my last post, I decided to deploy an autofocus system for my rig.
I presumed that sticking with ZWO for components that chat amongst themselves is probably a good idea, so I ordered a ZWO EAFN, a manual focus controller, a temperature sensor, and a Buckeye Stargazer mounting bracket, all from Agena Astro.
Since the ASIAir built in to the camera has its own ambient temperature sensor, this one is probably redundant. It is intended to let the autofocus elect to exercise focus based on a somewhat configurable change in temperature. This sensor is designed to plug in to a headphony looking jack on the EAFN, the same jack that the manual focus dingus plugs into, and it presumably reports to the automation via the USB. It could arguably be more true to conditions by sampling air temperature somewhere besides inside the cooling airflow for the SmartCamera, but point is to detect a rise or fall in the temperature, not necessarily the exact temperature *number*.
In any case, the stuff arrived, as did the camera itself.
Mechanically, the installation went well. I had only one real hiccup, and that was based on my own assumptions of how things should be, as opposed to how they are. 🙂
The T2 adapter to connect the Redcat to the Canon camera has an adapter ring that is secured to it’s base with three little grub screws. This has been in place ever since I first received the Redcat 51 in July 2022. More to the point, it had been on there long enough for me to forget that it was not connected to it’s own screw ring adapter. I tried for far too long to unscrew that single piece of nicely machined aluminum.
In the end, there is a 48mm to 42mm adapter ring that steps down the tube size between the telescope and the new camera, connected to a 21mm extension and a 16.5mm extension.
The focuser was generally a very easy installation. The Buckeye Stargazer mount components are all quite obviously 3D printed, but are also quite sturdy. The ring that goes around the helical focus ring is printed in TPU or some sort of flexible filament, so it has a tight but compliant fit over the focus ring’s rubber grip. The only thing I didn’t care for is that the rubber on the focus ring tended to flow and bunch up in front of the TPU ring while I was pushing it into place. Installation was thus a little bit fussy, but in the end, it is on there quite solidly.
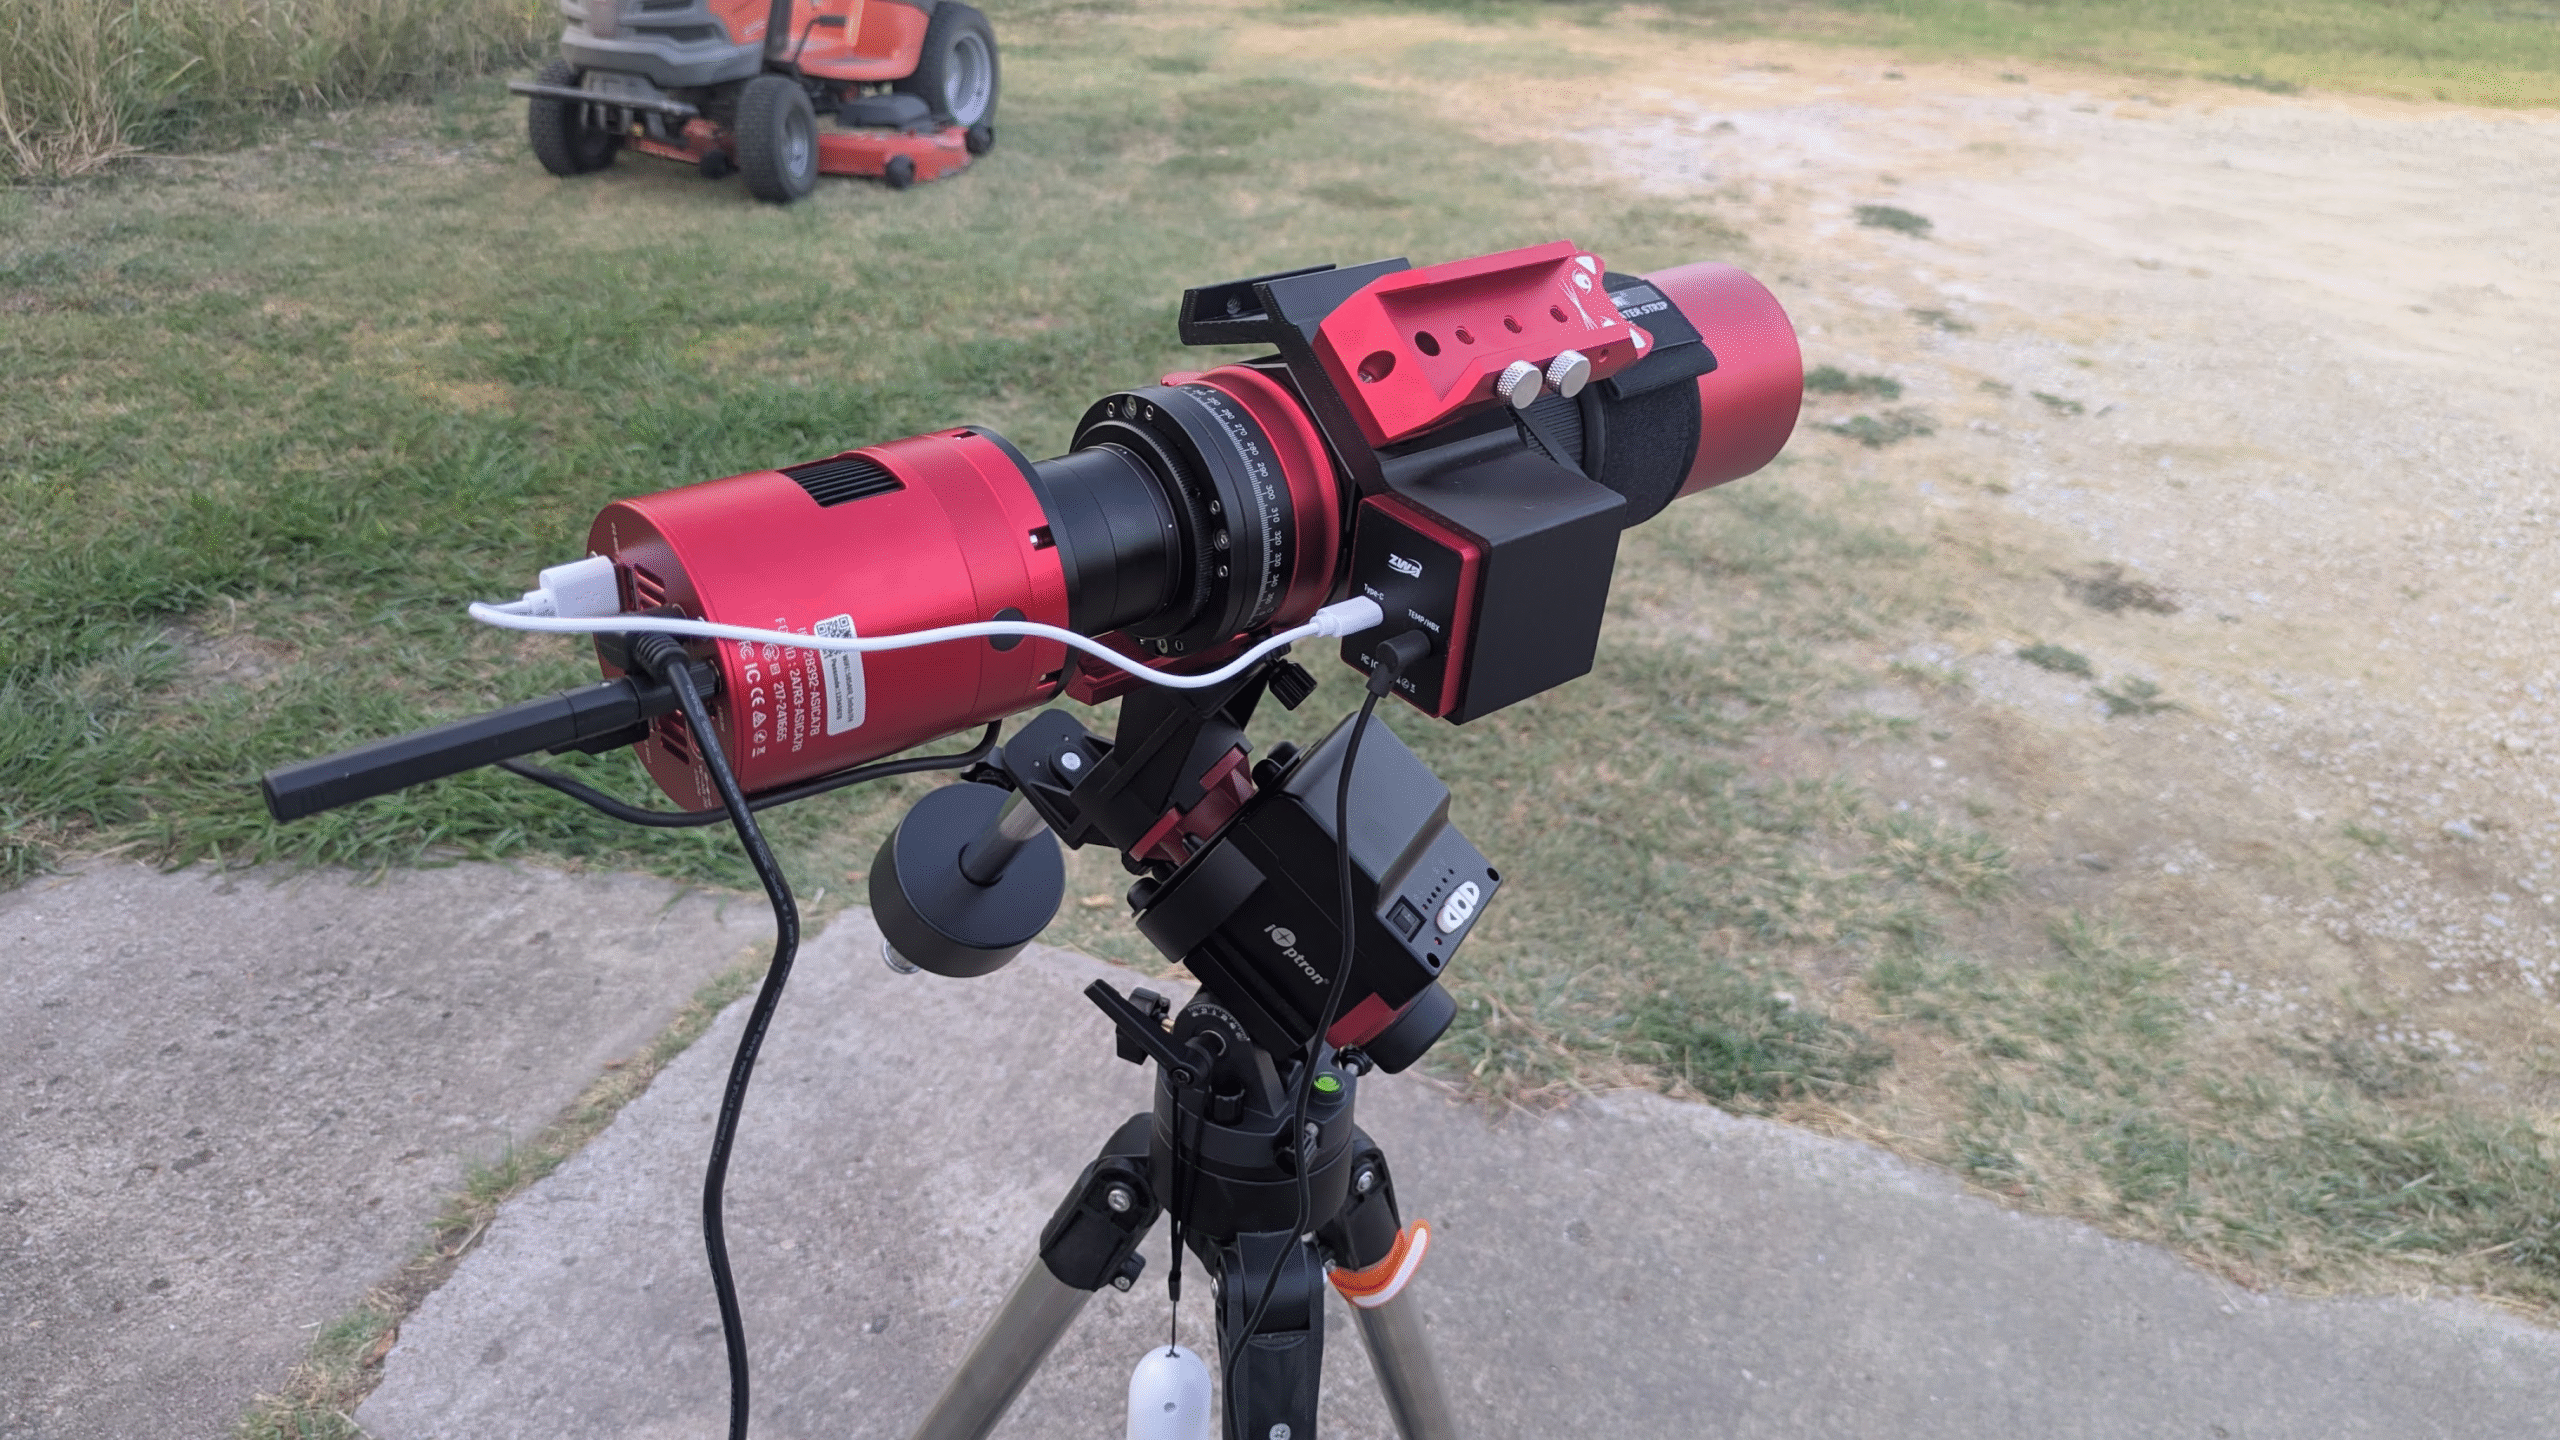
I had the rig outside setting up and getting ready for nightfall. While I had it out, I played with terrestrial images for a bit, mostly to get familiar with the camera and ASIAir. It works quite well.
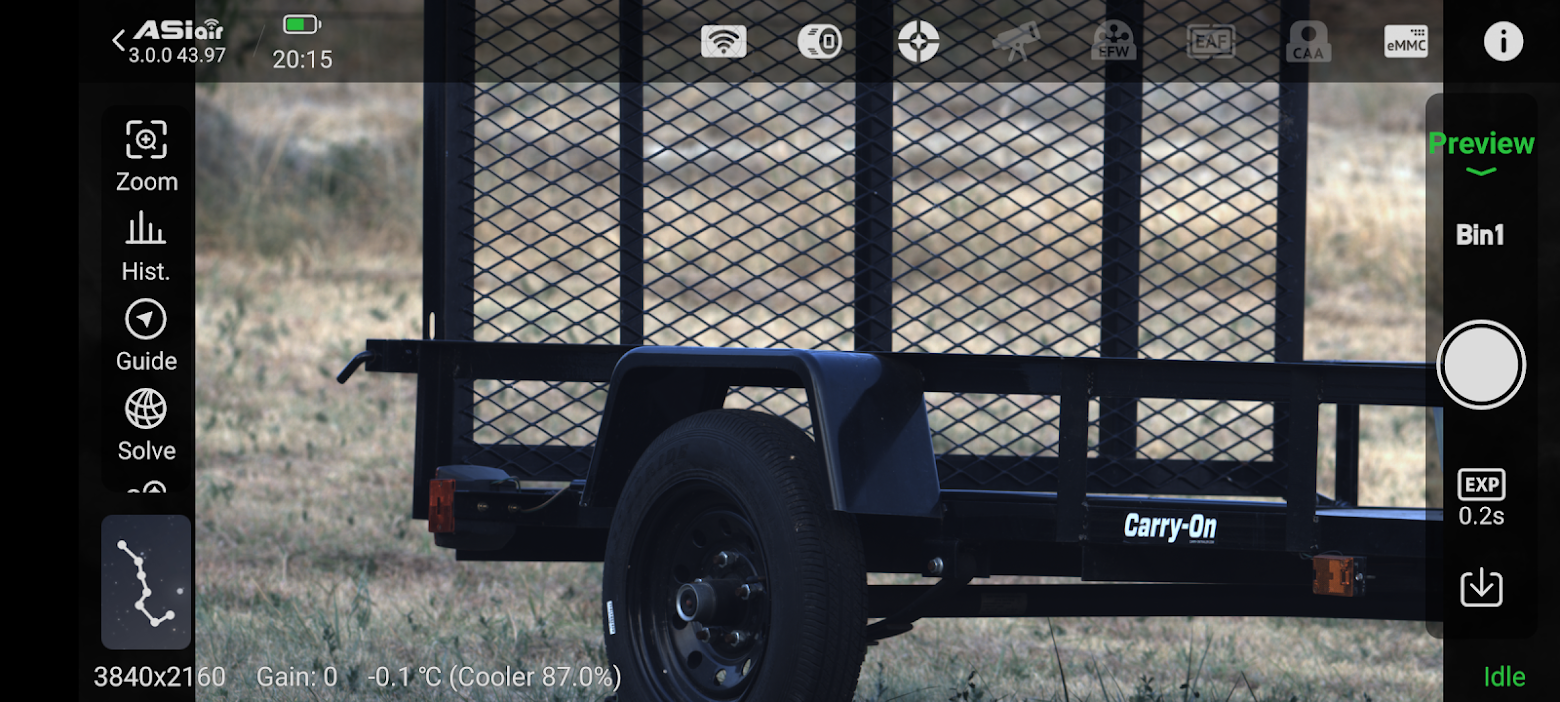
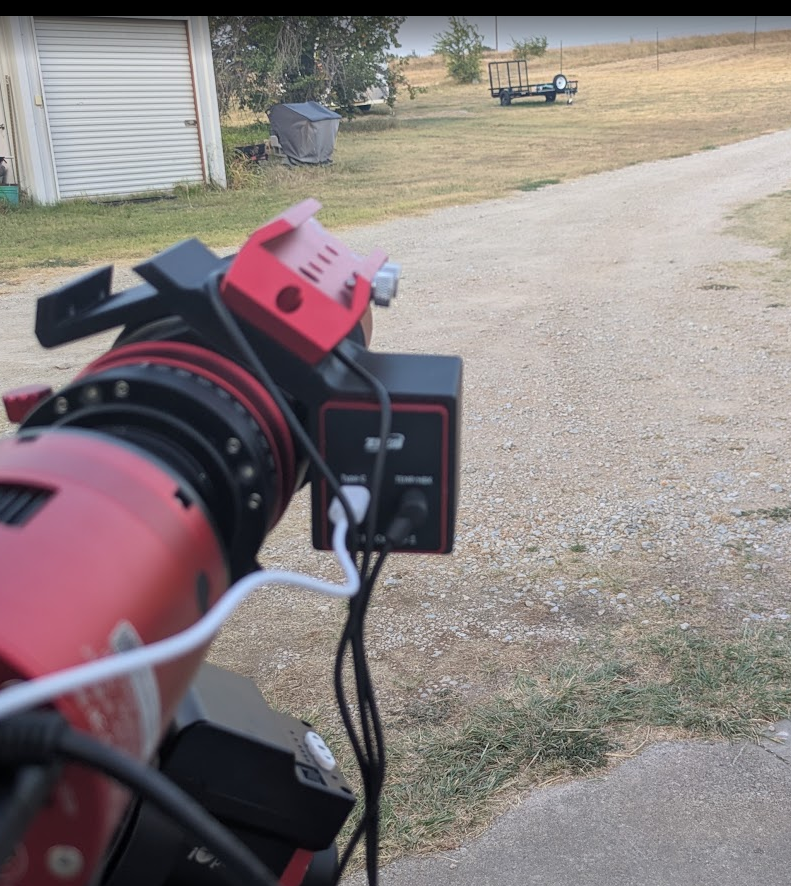
Happily, it was a clear evening and polar alignment was successful, other than the procedure’s affect on my knees. 🙂
Unfortunately, focus turned out to be the problem. The autofocus procedure needs some contrast to work with, so you need to manually focus to at least where you can see stars. It took me a while to nail down that with the focus ring nailed to lock beyond infinity, I still had fuzzy round blobs.
I took the rig inside and starting measuring stuff, backfocus in particular. Backfocus is the required distance between the sensor and the final ocular lens. Most other telescopes have a corrective pack of lenses called a field flattener. This is to ensure a sharply focused image across the flat sensor in the camera. By some agreed standard, this distance is typically 55 millimeters. The Petzval optical train design produces a flat image as is, so is not particular sensitive to the specific backfocus distance, and that if you can achieve focus, all is good. That said, most forum posts said to basically don’t worry about it as long as you can focus. There was the occasional mention of a 59.X mm distance involved with the Redcat 51. With the extension tubes I had in place, mine added up to 55mm, which *should* work but obviously wasn’t.
I elected to order an extension tube set to stretch it out. The SVBONY set from Amazon was inexpensive and includes, 5, 10, 15 and 20 millimeter tubes.
i had also ordered a filter drawer so that I would not need to disassemble everything to install a 2 inch filter inside the telescope. They are purposefully designed at 21mm to replace a 21mm extension, which is exactly what I did.
I went conservative and added only the 5mm for the next night. Turns out, I could not get it even to the round blob stage. It simply didn’t occur to me the night before to try *shortening* the extensions. I removed the 5mm and 16.5mm tubes, replacing them with a 10mm tube and tried again.
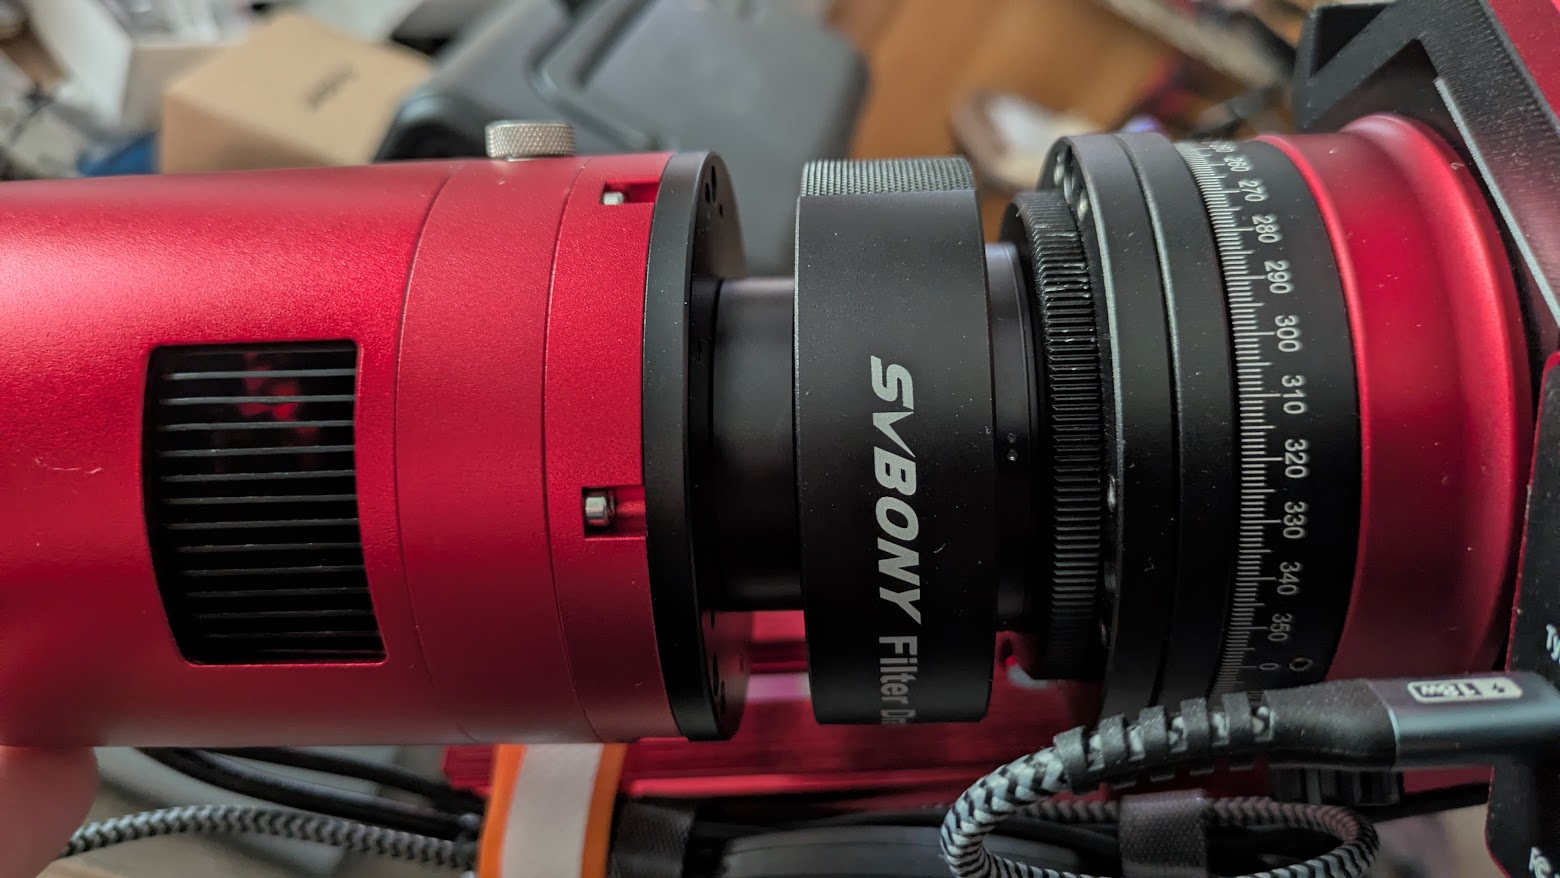
Success!
Now to try out autofocus.
Now I started taking a few randomish shots looking for the Andromeda galaxy. Upon reflection, I probably should have tried for a nebula, but the sensor size on the 585MC camera gives the rig an effective crop factor of 3.4. Crop factor is ratio of the sensor size you are using compared to the “standard” sensor size that is basically identical to 35mm film. In DSLR cameras, this is the “full frame” sensor. Because a smaller sensor is exposed to a smaller portion of the image, it is effectively magnified, assuming the pixel sizes are appropriately small. The crop factor can to applied to the focal length of the lens to determine the effective focal length of the combination. My Canon Rebel T6 has an APS-C sensor. APS-C is “Advanced Photo System type C”, something I learned today days ago. Anyway, the formula to calculate crop factor takes the pixel size as well as the height and width of the pixel field into account. The APS-C sensor gives a crop factor of 1.6. In practical terms, my 250mm Redcat 51 will perform like a 400mm lens (250 x 1.6) on the Canon. Similarly, the smaller sensor in the ZWO, with its even smaller pixels, will perform like an 850mm lens (250 x 3.4). Thus my interest in capturing Andromeda, to compare it to my previous Andromeda captures.
The plate solve feature in ASIAir turns out to be handy, though not quite as handy as I wish. Using Stellarium, I found the Ra/Dec coordinates for Andromeda. Using the plate solver, I found where I was pointed. This helped me walk my way to Andromeda maybe a little quicker. In any case, I found it.
I am new at the ASIAir thing, so I may or may not have done this the best way. I configured Autorun to get 40 bias frames, 40 flat frames, 40 dark frames then 480 light frames. The bias frames were easy, just leave the cap on the lens and pause the Autorun when they were done. For the flats, I didn’t want to move the rig since I had found Andromeda, so I used a white cloth illuminated by my LED flashlight, again pausing Autorun when they were finished. Darks were super simple, cap on and just watch the progress for 20 minutes until those were done, then simply remove the cap and let the lights go. I set it for 480 x 30 second frames.
Too bad my polar alignment wasn’t that great. It appeared solid when I set it. I generally set in in the polar scope then check it 5 or 10 minutes later to ensure that Polaris is still in the proper place within the reticle. I suspect that I unknowingly bumped the tripod after that, maybe in capping and uncapping the lens.
It wasn’t off by a gob. Andromeda slid off the screen very slowly, about an hour the first time, as in by the time I had noticed. I went out, paused the Autorun, reaimed and started it again, understanding that the capture was going to be compromised. It was, however, midnight, and I didn’t want to start over completely. This was largely going to be a shakedown cruise anyway. Looking at the lights, it seems like it took it about 2-3 hours for Andromeda to ooze out of frame. While not ideal, I suspect most of them will still be able to stack, even with very slightly elongated stars. Shorter exposures, even a lot more of them, may have avoided the TicTac stars, but the target would still have crawled off the frame.
And in the interest of full disclosure, I still haven’t processed that session.
The next morning, I found the telescope pointing very high in the sky, but the power cord had snagged on the top of the SkyGuider. It might have been able slip off had the power switch not been raised. I mused about how funny it might have been had it actually powered itself off. Sadly, it did not.