Exhaust. Again. Or More… Whatever…

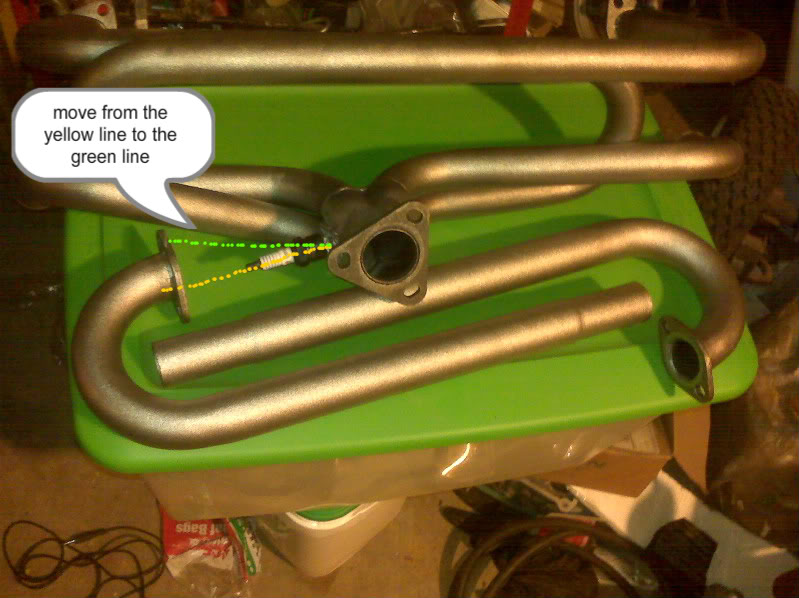
As I suggested before, I tried to heat the area around the O2 sensor bung so as to adjust the angle at which the sensor sits, due to it’s interference with the bumper. My little torch can’t heat enough area to make that strategy viable, so I decided to go with plan B, which was to plug that fitting and install a new one on the other side of the collector.

Well…

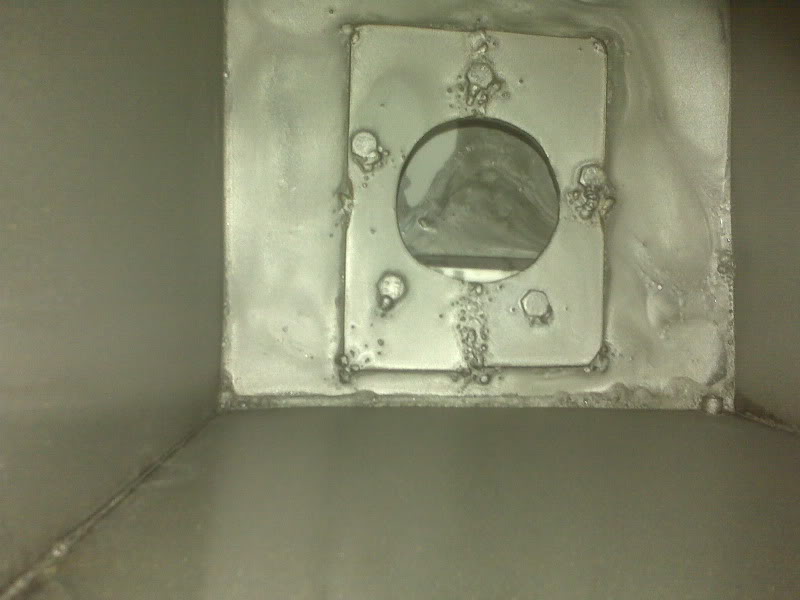
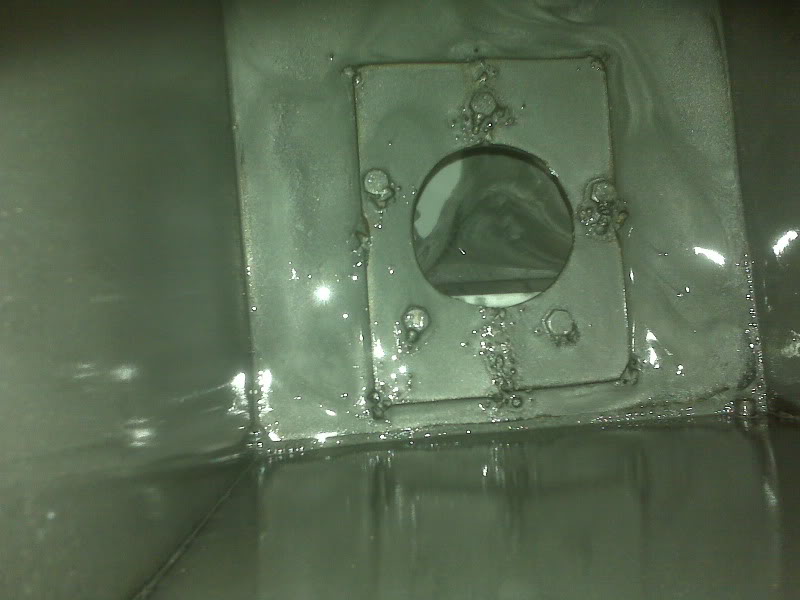
I suspect that some steel shot from the Wheelabrator must have gotten in the threads of the sparkplug, which was ironically there to protect the threads, from inside the collector. It turned about one quarter turn and seized firmly. Ratchet, breakover, 2 foot cheater and hammer impact wrench couldn’t touch it. I spent nearly an hour struggling with it before I adopted a new plan C and took it to the BTW clubhouse to use the *real* torch to cut the fitting out.

I brought it back home and welded in an actual official O2 sensor bung, as opposed to the chopped off spark plug anti-fouling device used before. Even though the torched out hole was significantly too large, I did a somewhat better job putting this one in. I think I even got the angle right. I did have to use a bit of 3/16 rod as filler around one side of the bung. Oh, and here’s a tip: don’t poke yourself in the neck with red hot metal.

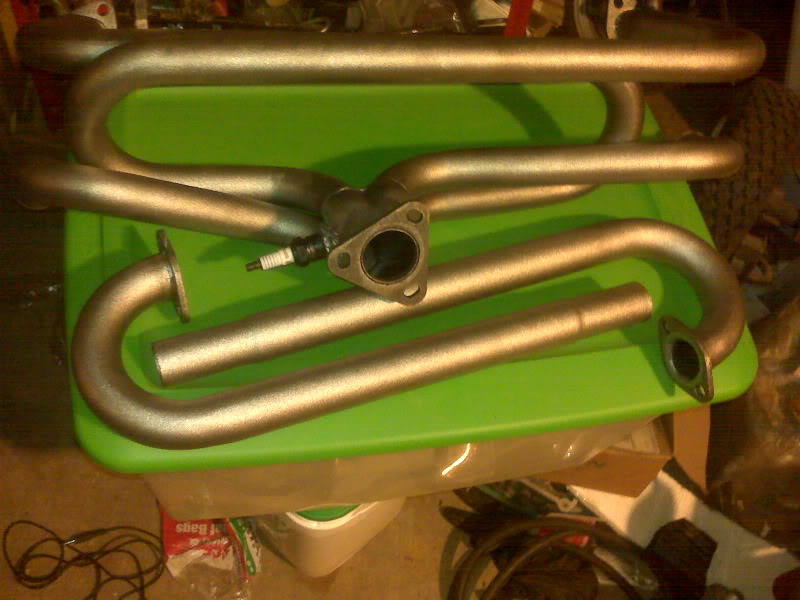
I spent a bit of time chipping  and sanding off sputter and generally cleaning up the joint. I then degreased the header and sprayed on a coat of paint. I will let that dry overnight, then flip it over and paint the other side.

So, basically I spent an entire evening working on one little thing. Ugh.

HID Converter arrives; Upholstery in the works

While the sealed beam headlight is probably adequate for the Dragon Trike, I decided that I would like to update it. Its a pretty standard 5 3/4″ headlight, probably salvaged from a current model Sportster when the trike was built in the mid-70’s. There are lots of kits to convert sealed beam to halogen, notably using the H4 bulb.

There are also kits to convert halogen lights to HID.

So, I have ordered both. I have a halogen replacement headlight coming and today I received the HID kit to convert the new headlight.

The little 12 volt supply at my desk doesn’t provide enough current to light it effectively, so I’ll have to play with it later….

 I spoke with an upholsterer of some renown. Looks like it will run about $350. He has some cool snake/lizard pattern vinyl that seems appropriate for a dragon trike….

Dragon Trike Bumper and Exhaust Stuff

I have been trying to keep subjects that are EFI specific on the EFI page and other work here. For a long time, little was done on the Dragon trike that wasn’t directly related to the EFI project, so posting has been sparse over here. Well, that’s changing. There is still PLENTY to do on the engine, but in order to have something to be riden the engine is running, I need to get crackin’ on the rest of the project.

By far, the biggest must-do is wiring. When I acquired the trike, it had just enough wiring to start and run the engine. It did not even charge the battery. There was a toggle switch and a push button mounted on a little rectangle of wood, secured to a screwhole in the left cooling tin. All the basic engine wiring was there, battery, distributor, ballast resistor, ignition coil, anti-runon solenoid, electric choke and starter. The alternator worked but was not connected to charge the battery. I had, in fact, taken it around the neighborhood where, once killing the engine with bad clutching I had to pull over, make sure it was in neutral but not rolling, get off, run around back, restart the engine, get back on and ride off.

I digress.

I’m picky about the wiring and I want a few nice features, so it will be a fairly extensive project, but it will be reliable and easy to troubleshoot. Easy to troubleshoot is important because I have DIY electronic fuel injection, an electronic gauge that includes speedometer, tachometer, fuel level and several indicator lights, a switch pod with turn signals, hi and low headlights, starter and horn and lighting will include headlights, marker lights, turn signals, driving lights and backup lights, not to mention that some kind of effects lighting will probably be done, too. Phasers and photon torpedoes will be in phase III.

All of this stuff will be wired with an eye toward computer controlling the whole thing someday.

Besides wiring, I need to make a couple of minor adjustments to properly fit the body to the frame (which will probably affect how the shifter mounts), a footrest for the short term and a floorboard for the long term and while the front wheel is kinda serviceable, I don’t really trust it for any kind of long trip.

In Texas, there is some confusion as to whether one needs brakes on all wheels. Texas Transportation Code, Chapter 547, indicates that front brakes are not required if braking performance meets certain criteria, which are pretty accessible to all the rear-brake only trikes I’ve seen. The annual inspection procedure, however, seem to require brakes on all wheels with no allowance for exceptions, at least none that I have found. I am not a lawyer; I do not play one on TV.

It needs upholstery of some sort and I have the baja bumper to mount.

Oh, yeah, the title of this post is “Dragon Trike Bumper and Exhaust Stuff”… betcha thought I forgot about that….

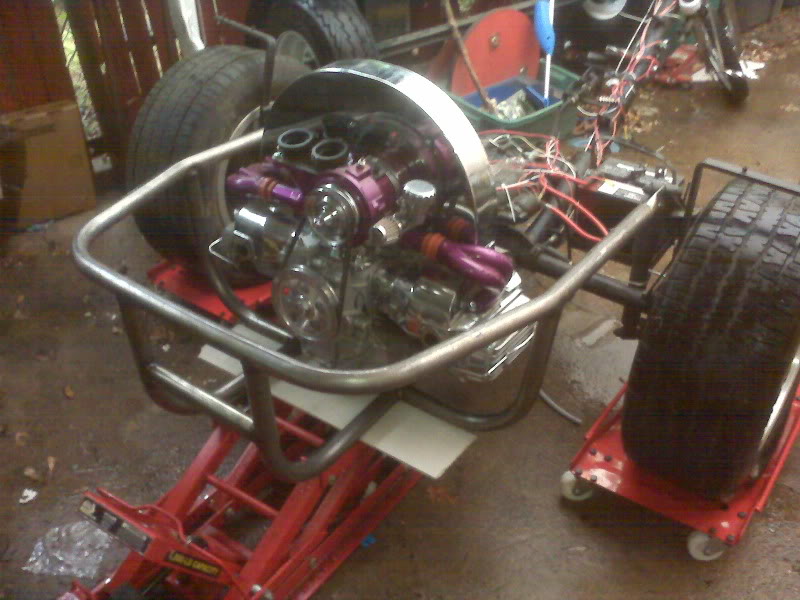
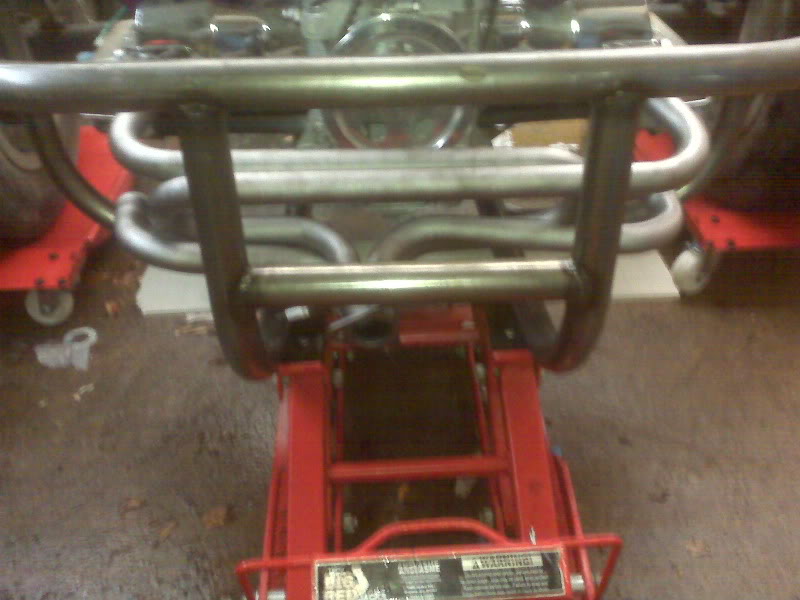
Long story short, I had my exhaust system and while I was waiting for the bumper to arrive, I welded in a bung for the O2 sensor and had the system shot peened to remove the crappy factory paint. While the bumper arrived a few days before, it was Saturday before I got to mock it up to see how it was going to fit. Then I put the exhaust header on and found that  the bumper and the exhaust interfere in two places.

First thing I noticed is that the O2 sensor hits the bumper. There are a couple of ways to get around that. I think I will try heating the area around the bung and bending to make it sit parallel to the ground. If that doesn’t look like it will work, I can just plug that fitting and put in another, probably on the opposite side.

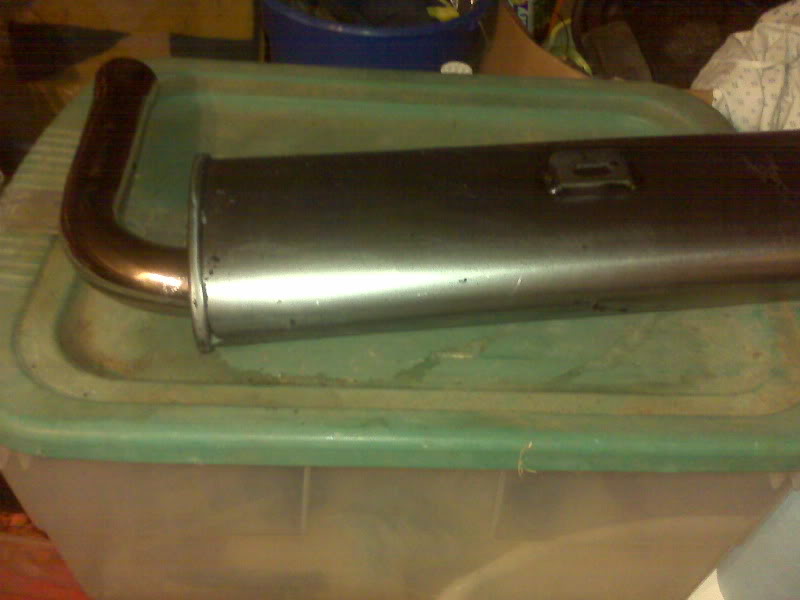
The other thing is that the muffler supplied with the header is made for a sedan and the bumper is not. The easiest solution is to ditch the muffler (probably too quiet, anyway) and bolt on something else, most likely a stinger.

The muffler and O2 sensor placement will also affect the placement of the planned receiver hitch. I have a 2″ receiver hitch tube ready to weld to something, probably the bumper. I thought about putting a ball on a plate, as it often done for trikes, but the 2″ receiver hitch leaves a lot of options. It’s not like I’ll be pulling around an RV, but being able to put on a ball, or a cargo rack or even a bike rack, not to mention more lighting, is appealing. If things go according to my current theories, the hitch tube will go a bit right of center on the bumper.
Woah! An update!

I have spent most of my trike time working on the engine of the Dragon Trike, specifically the conversion to EFI. You can see details here.

Since the speedometer was installed on and subsequently became usable, the Yellow Trike has accumulated nearly 2000 miles. It has been on a couple of road trips, generally 200 mile per day excursions. It has been pretty reliable, though not without the occasional bobble, just nothing to stop the trike.

Well, except I need to keep a close eye on the fuel level. Not the trike’s fault if I run it dry.

More importantly, the Dragon Trike is well underway, with a deadline to have it driveable by Memorial Day weekend. As of this writing, that is essentially 45 calendar days.

What Fits and What Doesn’t

Header and bumper in the former, muffler in the latter…

No good deed goes unpunished. While waiting for my baja bumper to arrive, I insisted on staying busy and moving the project forward. I welded in a bung for the O2 sensor and handed the header off to a buddy to run through his shot peen machine. The muffler did not go through the machine, so on Friday I sprayed it with chemical paint stripper, which worked quite well. On Saturday, it was wet and yucky out, but I still managed to get a couple of things done on the trike, such as mocking up the bumper to see how it would fit and temporarily bolting on the header to see how it would clear.

Well, the header clears.

The O2 sensor and the muffler don’t.

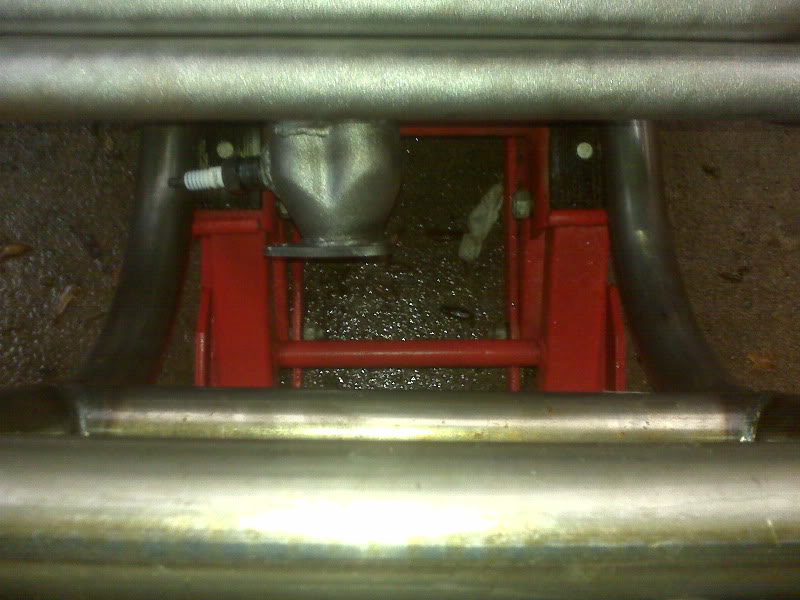
From the pic, you can see that the spark plug hits the bumper. The O2 sensor is even longer and has wiring attached, so it definitely won’t clear. Moving the bumper downward might clear the sensor, but would not look right and probably wouldn’t work with the bumper’s top mount. Conequently, the sensor needs to move.

While I hate to weld in (or probably braze in this time) another bung and plug the first one, it won’t be very difficult. Another option, however, might be to heat the metal around the bung and lever upward on the plug, making it more parallel to the ground, rather than pointing slightly downward. This may clear the bumper and my planned receiver hitch.

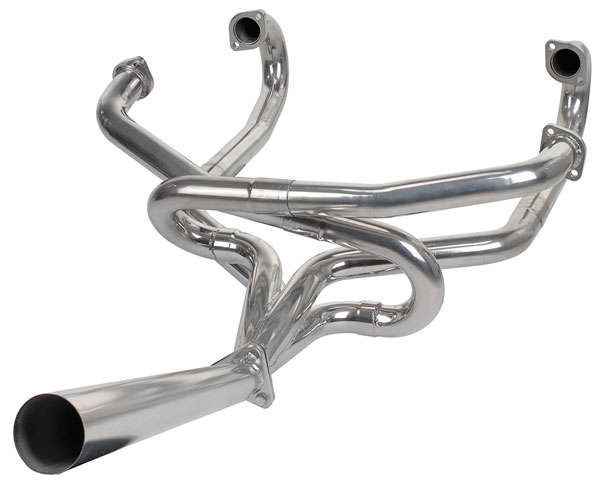
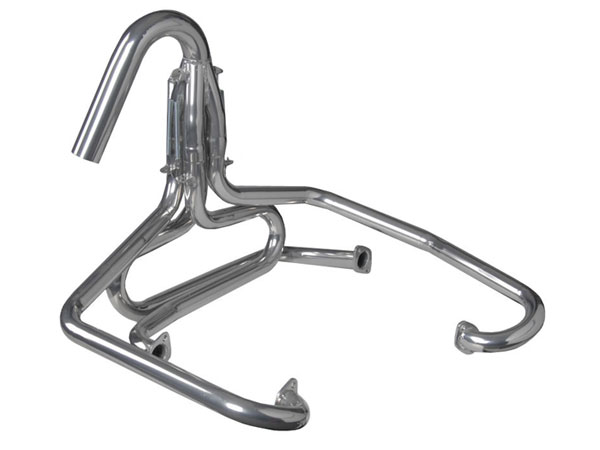
As for the muffler, I don’t really like a stinger that much, largely because you have to remember to cover it in the rain to keep water from being funnelled directly into the engine, but they look and sound pretty good and it will fit and clear the bumper.

Perhaps in the future, I can get a muffler shop to bend up a pipe for me, maybe something like this.

The fuel tank is curing well. Only two or three more days to go….

Tank Liner and Exhaust

The tank liner stuff went well. It is silvery with what I presume are aluminum particles. Now begins the waiting as it cures for 4 days.

I got the exhaust back from the peen blaster. As expected, it has given the surface a little texture. The sparkplug left in as a thread protector appears untouched. Bizarre.

The muffler was not run through the machine; the operator was concerned that it might not survive the ordeal. I picked up a can of paint stripper and it has worked really well. I need to do some touch up removal and clean the residue off and it will be ready to paint.

Trike ADD

It’s not so much attention deficit disorder as it is lots of little things needed attention and several related issues all had updates today.

The bumper arrived. I didn’t realize that it would arrive without a box, though perhaps obviously, it would have been a monstrous box.

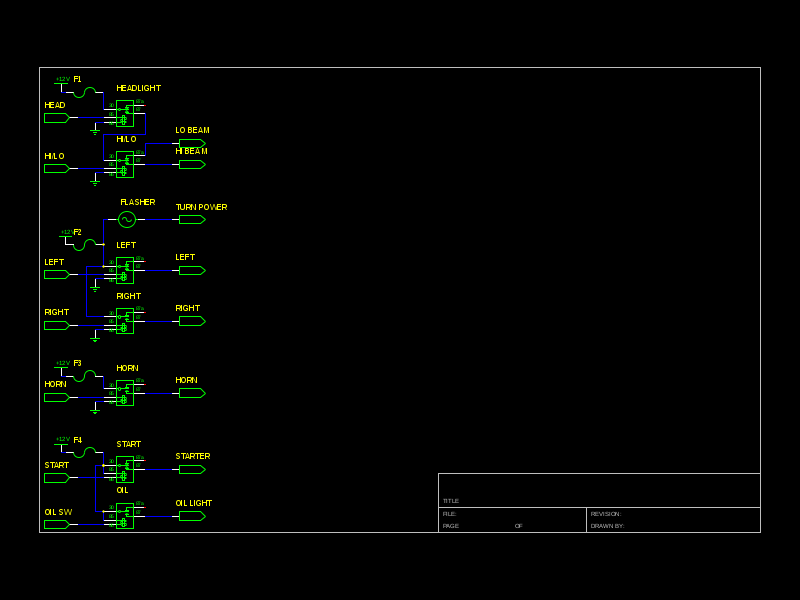
In some bits of spare time here and there, I have been working on the wiring diagram. Love open source software. This is about the third start of the diagram, but I have my head on straighter this time. :) The parts library did not have a Bosch relay, but I copied a similar relay and relabeled the pin numbers.
The exhaust system should be shotblasted bare by now, except for the muffler. The operators were concerned that the relatively lightweight metal on the muffler might not survive the Wheelabrator machine’s aggressive cleaning, so I will need to remove the paint on it another way, probably chemically.

I started the application of the POR-15 fuel tank repair product to seal and refurbish the fuel tank. This is basically a three step chemical process.

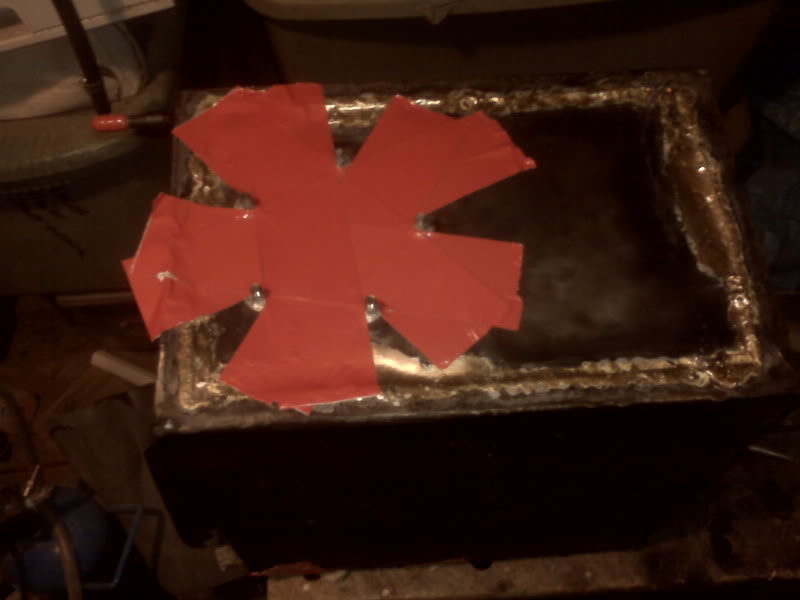
First, the inside of the tank is cleaned of fuel, grease, varnish with a powerful non-petroleum degreaser they call Marine Clean. That is mixed 1:1 with hot water and poured into the tank. The directions suggest sealing the holes in the tank with duct tape, which I did, in red because that’s what was nearby. The cleaner is sloshed around thoroughly; I turned the tank on each side and agitated for 5 minutes, probably overkill. The Marine Clean is then rinsed out very thoroughly with water. I propped the tank up off the ground, stuck a sprayer hose in the top of the tank and let the water run for 5 minutes, flipped the tank over and let the water run another 5 minutes from that side.

Next, the insides are treated with Metal Ready, a phosphoric acid etchant that will make the final coat stick extremely well. Each side needs to soak in it for 20 minutes, so I basically set the tank on one side, poured in enough to comfortably cover that side and set my phone alarm for 10 minutes.

I again sealed the openings with duct tape. When the alarm would go off, I would agitate it and hit snooze. You can reset the snooze apparently indefinitely, which is handy. When the snooze expired, hit snooze again, agitate and turn it to the next unsoaked side. I kept alternating between agitate and turn until all 6 sides had been soaked. I drained the Metal Ready into a plastic bucket then did the same 10 minute rinse as I had for the cleaner.

For the next step, the inside of the tank needs to be completely and absolutely dry. I don’t have a handy blow dryer to leave running in the thing, but I did set up my shop fan blowing through it and am leaving that overnight. If that doesn’t do it, I will set it in front of the big heater for a while tomorrow.

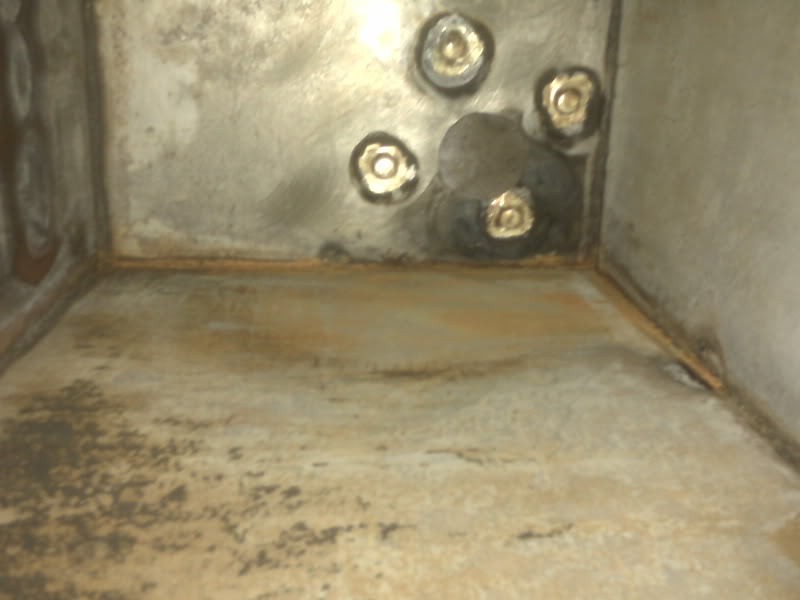
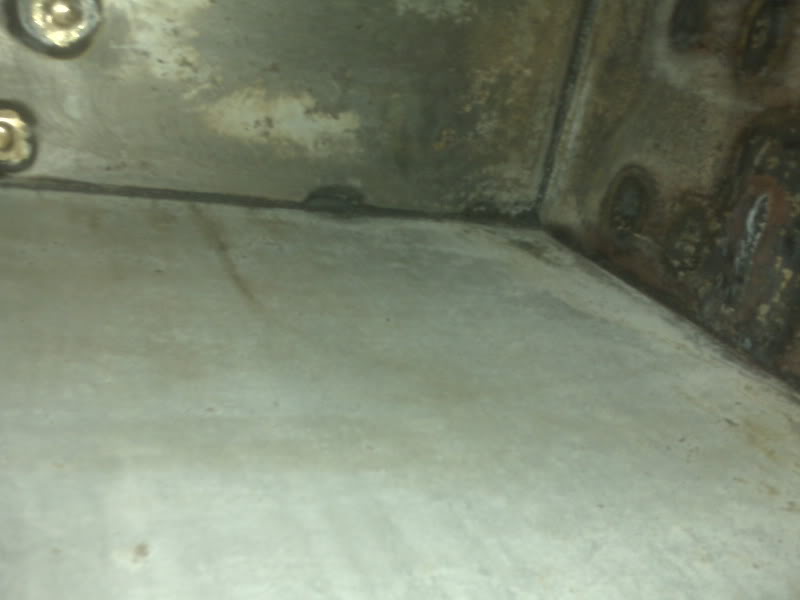
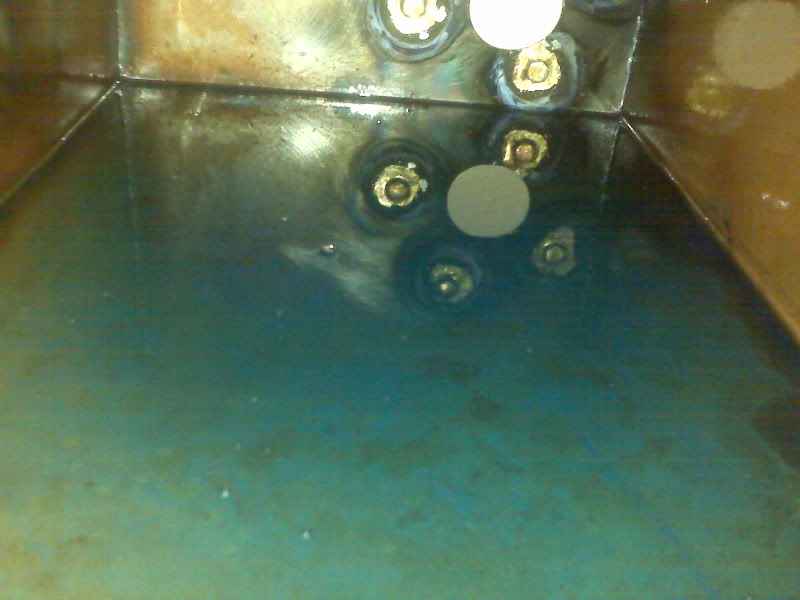
[update from Friday: The fan running overnight seems to have dried the tank just fine. Take a look at the inside!]

Once it’s dry, seal up one opening, pour in a gob of Tank Sealer, seal up the other opening and basically slosh the stuff around until you’re good and tired of it and let it drain for 30 minutes to ensure it’s not puddled. It then needs to cure for 96 hours (that’s 4 days, kids) before fuel is put in it. The waiting is the hardest part :)

During the 20 minute soaks above, I was not idle.

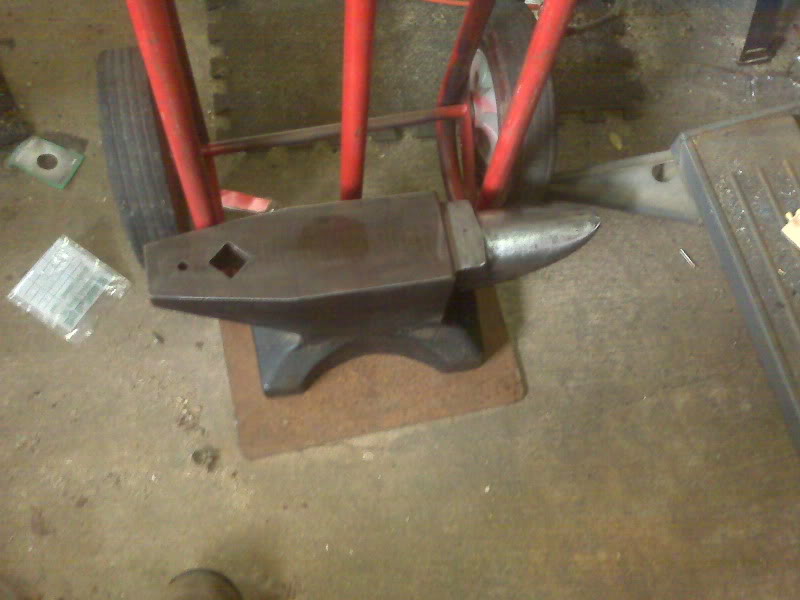
A friend with plans to demonstrate metalworking at a Boy Scout function needed to come to borrow my anvil, which is about 1/3 the weight of his and is thus MUCH more portable. Before he arrived, I cleaned up the anvil and got it ready to load.

While I was waiting for Bill, I partly refurbished the original headlight for the trike. It will be serviceable.

Speaking of headlights, I ordered a cheap HID conversion for an H4 headlight. I need to find a suitable reflector that will fit this trike. In doing the headlight refurb above, I neglected to measure the sealed beam, but if it is a standard 7″, securing a suitable reflector will be easy.

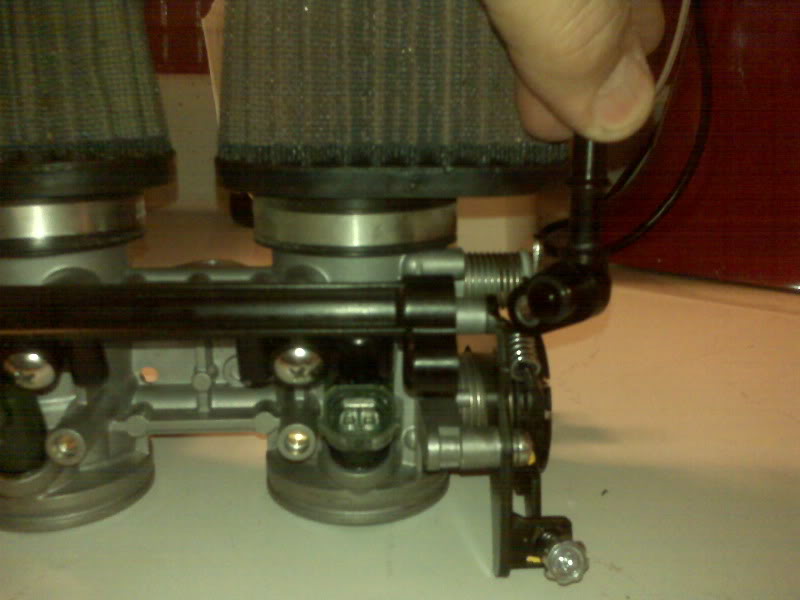
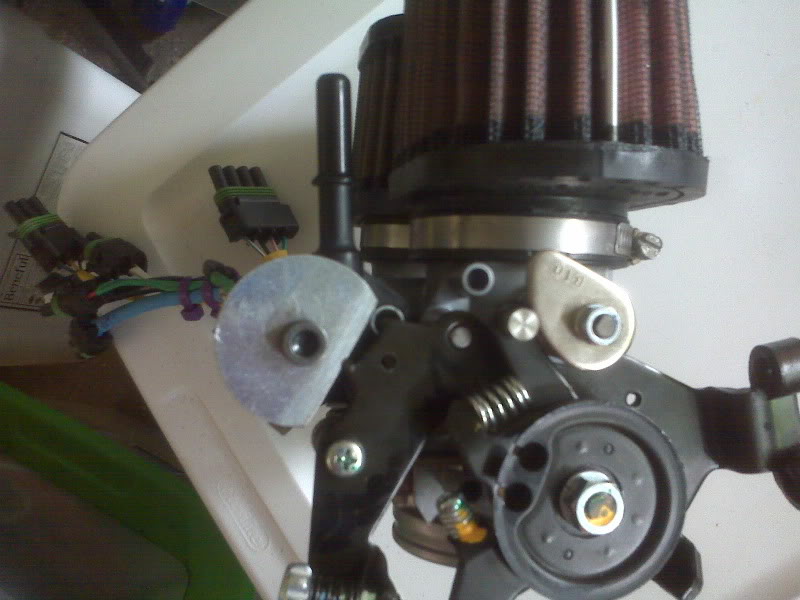
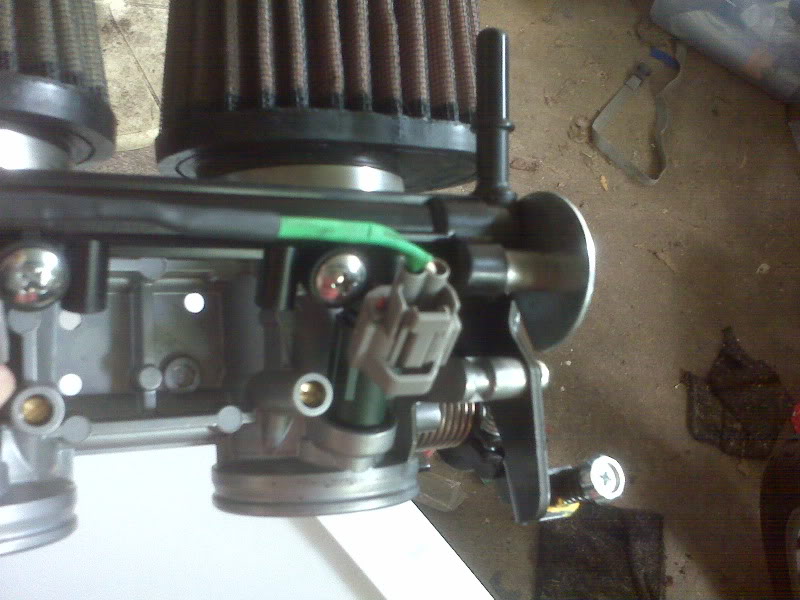
I also did the little mod needed for the fuel rail.

Basically, I had to shorten a spacer and cut a bit off the side of a fender washer so the parts would fit and now the washer retains the fuel rail fitting, which is now pointed in a useful direction.

As I was finishing that project up and monitoring the fuel tank etching, Bill arrived. We visited and I showed off the trikes and bikes that he hadn’t seen. We loaded up the anvil and stand and he headed off to procure more demo equipment.

After Bill left, I dug out the handlebars to determine how best to put on a bracket for the speedometer. I had forgotten that the handlebar is slightly bent. I spent more time trying to figure out how best to straighten it. I think I will need to borrow a rosebud to heat a large enough area of one bar to impart a slight twist to the metal, followed by another heating elsewhere for a slight bend, or straightening a slight bend, depending on your point of view. I will need to put the bars on the trike to really determine where to put the speedo bracket. I hope to do that tomorrow so I can get the bracket done and get the bars out for powder coating. I’d rather chrome them, and I may chrome them in the future, but for now, powder coating in much more cost effective for me.

Once the Metal Ready was out of the tank and it was rinsed and had the fan on it, I gathered up relays, sockets and connectors with the intent to go inside and start making the local relay interconnections that will be needed for the chassis wiring. After having a few chores to do, I decided to sit down and do this update instead of tearing into the relay wiring.

Sluggy Blogs All The Subjects