I’ll be honest. This post will probably take a few days to nail down. There are things I want to show pictures of but I haven’t taken those pictures yet. I might remove this paragraph when it all comes together.
Step one seems to be to decide if tonight is clear enough to warrant the attempt. I live in North Texas and we have pretty decent weather, most of the time. There are exceptions, of course. There is an eclipsing moon behind those clouds.
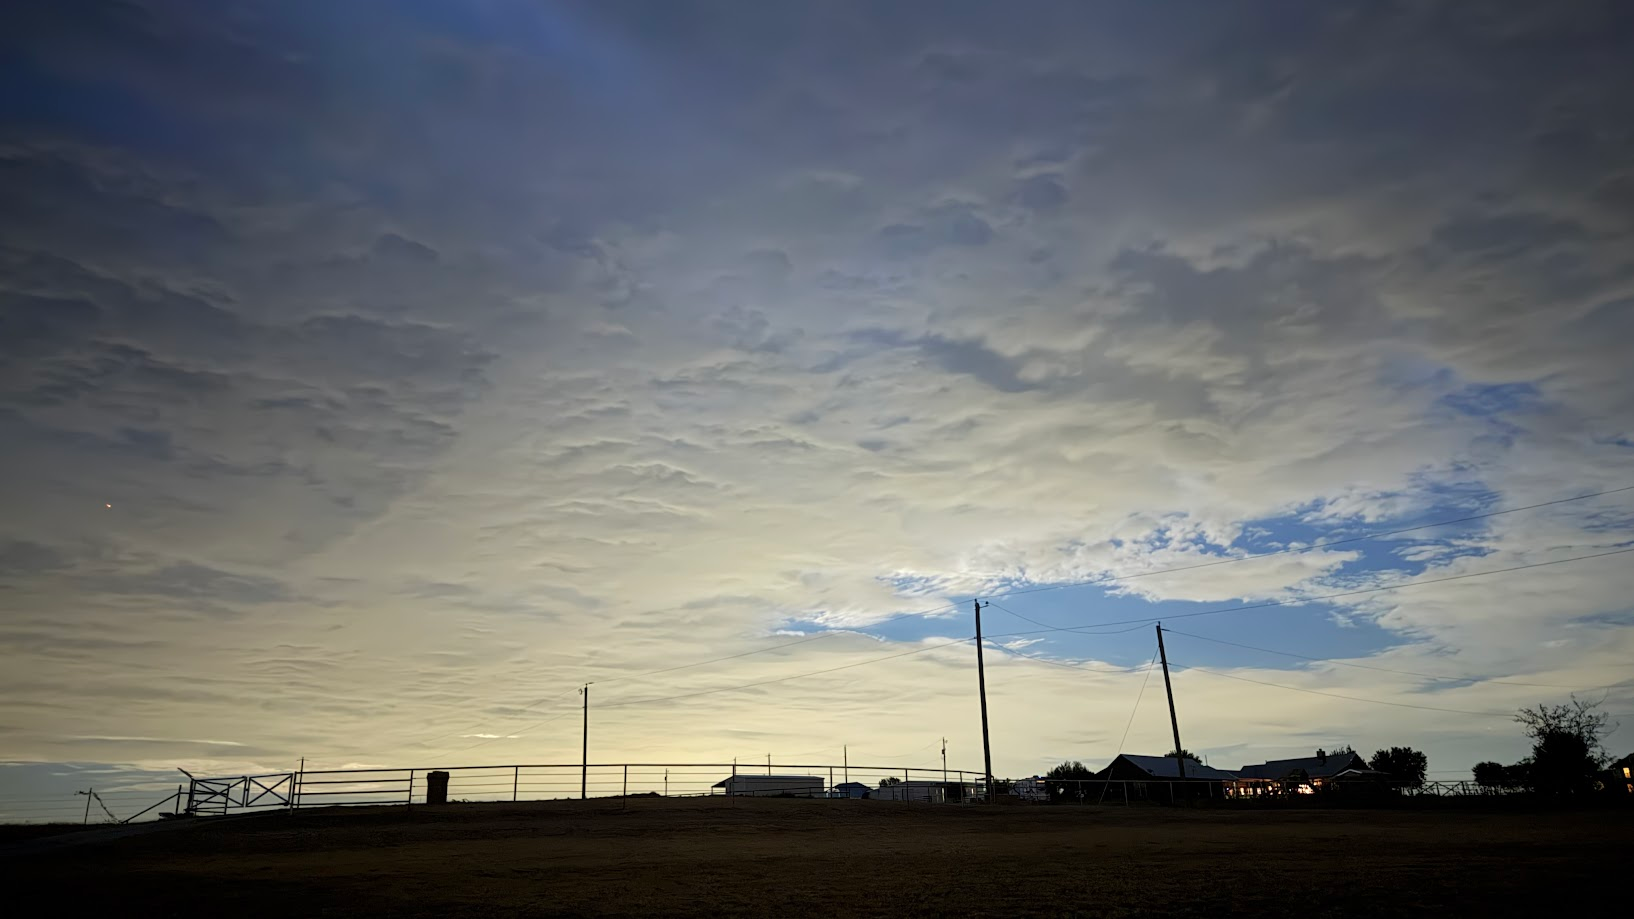
I have not scientifically tracked it, but I’d be willing to bet a small amount that we have more clear nights than obscured nights.
There are a couple of places where I might set up. Generally, I tend to set up at the end of the driveway, behind the cars.
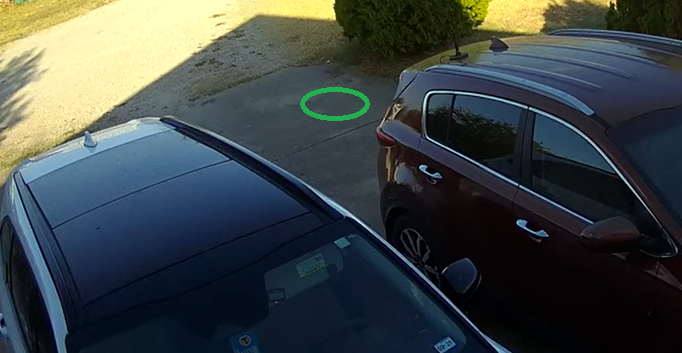
This gives me a solid and repeatable surface and the evergreen trees block at least some of the direct light from the sodium streetlight on the property. Otherwise, things tend to look like this rather extreme example.
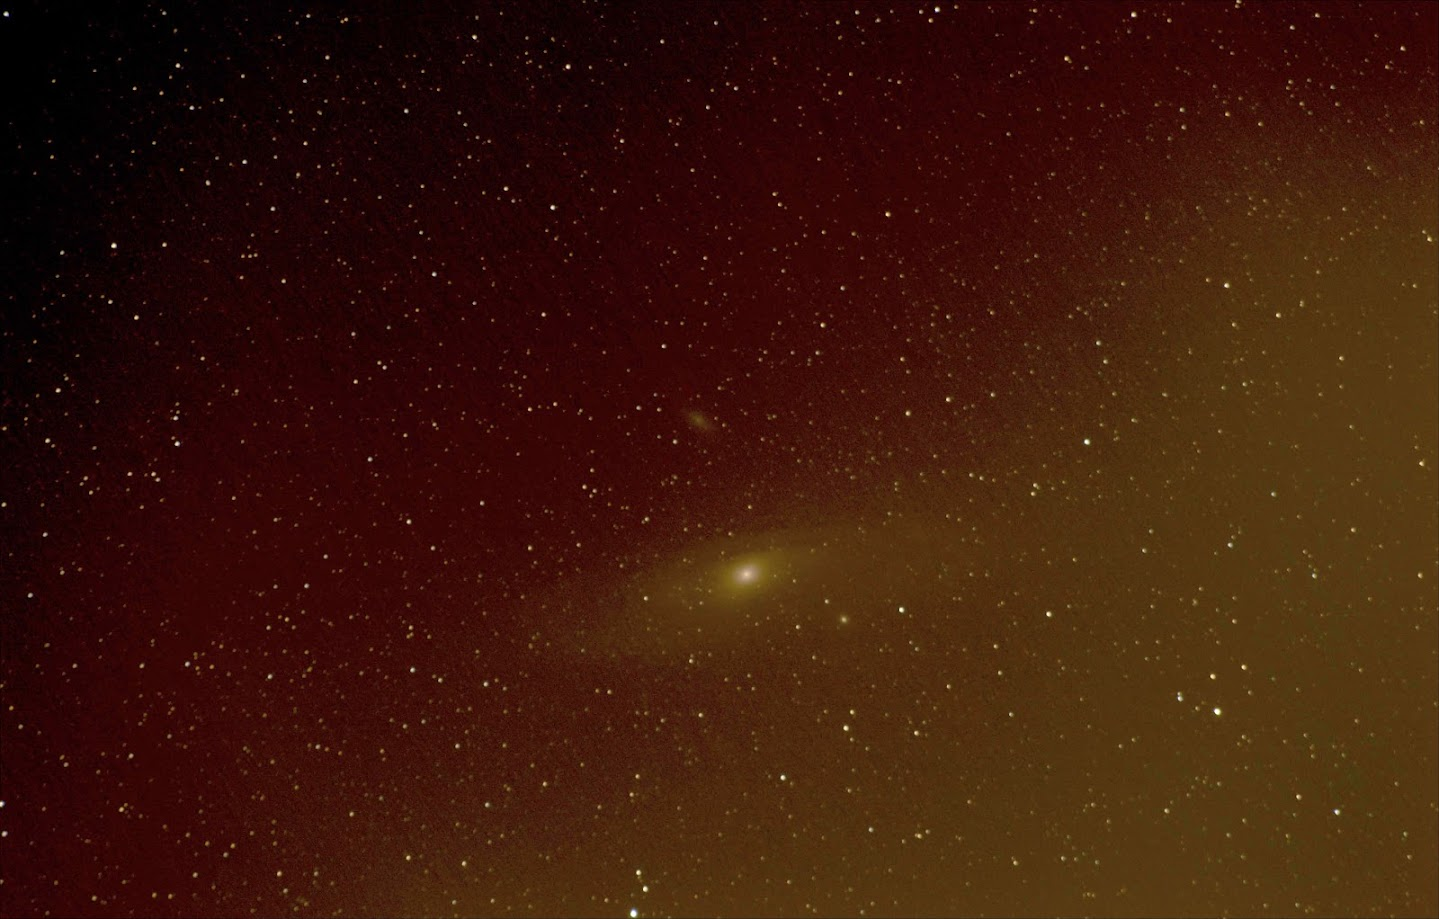
From this spot, targets southeast to northwest have the most open sky. There is a metal metal building to the northeast that limits me to about 10-15 degrees above the horizon, the house is southwest of this spot, limiting to about 25-30 degrees and a big tree is to the northwest. This has not actually been a problem thus far, but I’m sure I will need to try other spots in the future.
At this point, I have not yet traveled to a dark site.
I am also very familiar with exactly where Polaris is from this spot.
After setup, which is assembling and leveling the rig, pointing it generally at Polaris, positioning the power box and a camp chair (and sometimes a fan or heater), it’s time to polar align.
No, wait. I need to focus the telescope and camera first. The new way to polar align using the ASIAir needs the camera to view stars.
There are generally enough stars near Polaris to get focus there. And I don’t have ASIAir home the focus at the end of a session, so it’s usually pretty close already. The autofocus procedure is simple, though maybe a little time consuming. Start the process in the app and it begins by capturing an exposure and analyzing it for candidate stars to focus on. It then ramps the focus up and down over a range and plots the size of that star, optimizing for the smallest size.
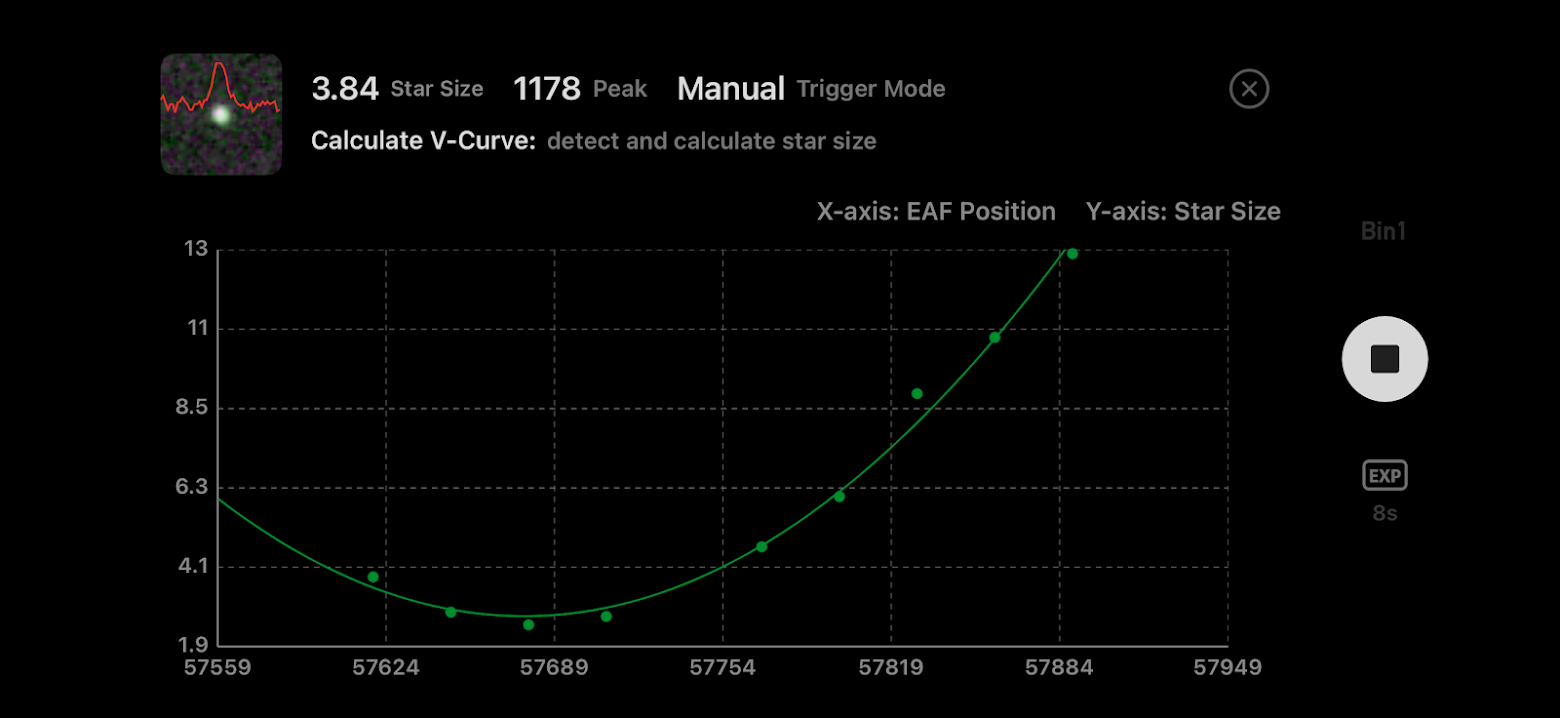
The EAF position ranges basically in a 16 bit range, 0 to 65K. Once it’s happy with focus, now I can polar align.
The old way was to start by kind of painfully kneeling low enough to peer through the polar scope on the mount. Consulting Stellarium or some other app for the correct position of Polaris in the scope, I would scoot the tripod to get close then use the wedge screws to dial it in. I would start a timer and check it again in 10 minutes to make sure Polaris is stationary in the reticle.
The new way is not necessarily faster, but it is much easier and I get much better alignment. I start with the laser. It really surprised me in how helpful it is in getting really close to alignment, but indeed it does. Plus, it looks pretty cool.
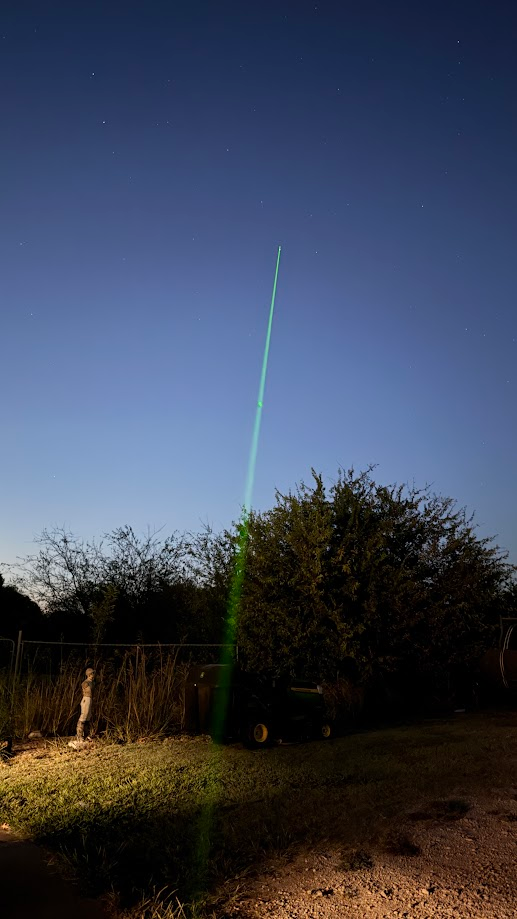
In the interest of full disclosure, I generally do this laser bit before any of the rest of it, as soon as Polaris is visible. Then I focus, etc.
Then, using the ASIAir polar alignment tool, the controller will instruct you to point toward Polaris and press start. It will take a shot and plate solve it. Plate solving is a method used to determine exactly where the telescope is pointing in the sky by comparing the star field in the image to a database of star positions. It will then move the telescope 60 degrees, take another shot and plate solve that. Then it does some magic math and shows you where you are pointed vs where the North Celestial Pole is.
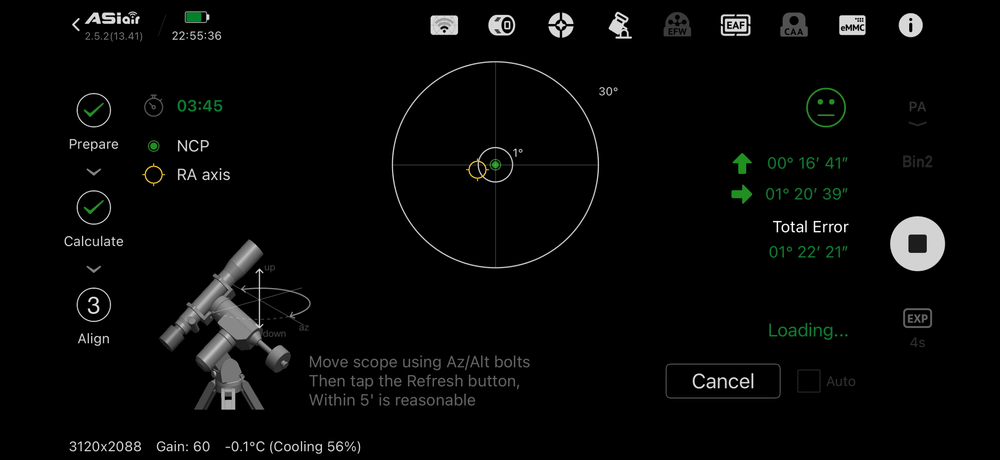
This isn’t my screen capture, but is a good example. Some people say to ignore the little graphic. I say use it and the directions on the right hand side of the screen. In this example, you need to point the telescope 1 degree, 20 arcminutes (just call them minutes and seconds) and 39 arcseconds to the right (east) and raise the elevation a scant 16 minutes and 41 seconds. A full circle is 360 degrees. A (arc)minute is 1/60th of a degree and 1 second is 1/60th of an minute or 1/3600th of a degree. We are talking very very small movements here. As the screen suggests, within 5 minutes is reasonable, but you will get the smiley face if you get within 3 minutes. Thus far, I have used only the Redcat 51 with all this. I understand that too wide of a field of view makes it difficult for the software to see your adjustments and too narrow of a field of view amplifies your adjustments, making it prone to oscillate either side of alignment. I got to 4 minutes the first time and barely under 5 the second.
ASIAir has an “all sky” polar alignment feature that does the same basic process, but you don’t have to begin pointed *directly* at Polaris. This is intended for when Polaris is obscured by something. I have not tried it yet, but I will soon, just to make sure I know what to expect.
Next, find your chosen target. ASIAir has several ways to do this. Probably the easiest is to use the onboard Star Atlas. It will sort by things that are viewable from where you are. You can scroll and choose something or search. Generally, using the official catalog names are the best way to search, “M31” vs “Andromeda”, for example. The data displayed shows the rise and set times for the object and the relative magnitude (brightness; or really, dimness. Higher numbers are dimmer). You can preview the framing of your image; it knows your telescope and camera parameter, so it can calculate the size and shape of your field of view. Then comes the reason I dropped too many dollars on equipment in August. GoTo.
The mount will slew in both axes to your chosen target, then plate solve and adjust to center the object. It is magic, compared to all the other ways.
Take a picture, long enough exposure to see the object. Once there you can preview again and from the preview, you can choose to rotate your camera to frame the object better and adjust the red ‘target’ reticle to where you want the telescope to move to and choose GoTo again. Repeat this cycle until the object is framed how you want it.
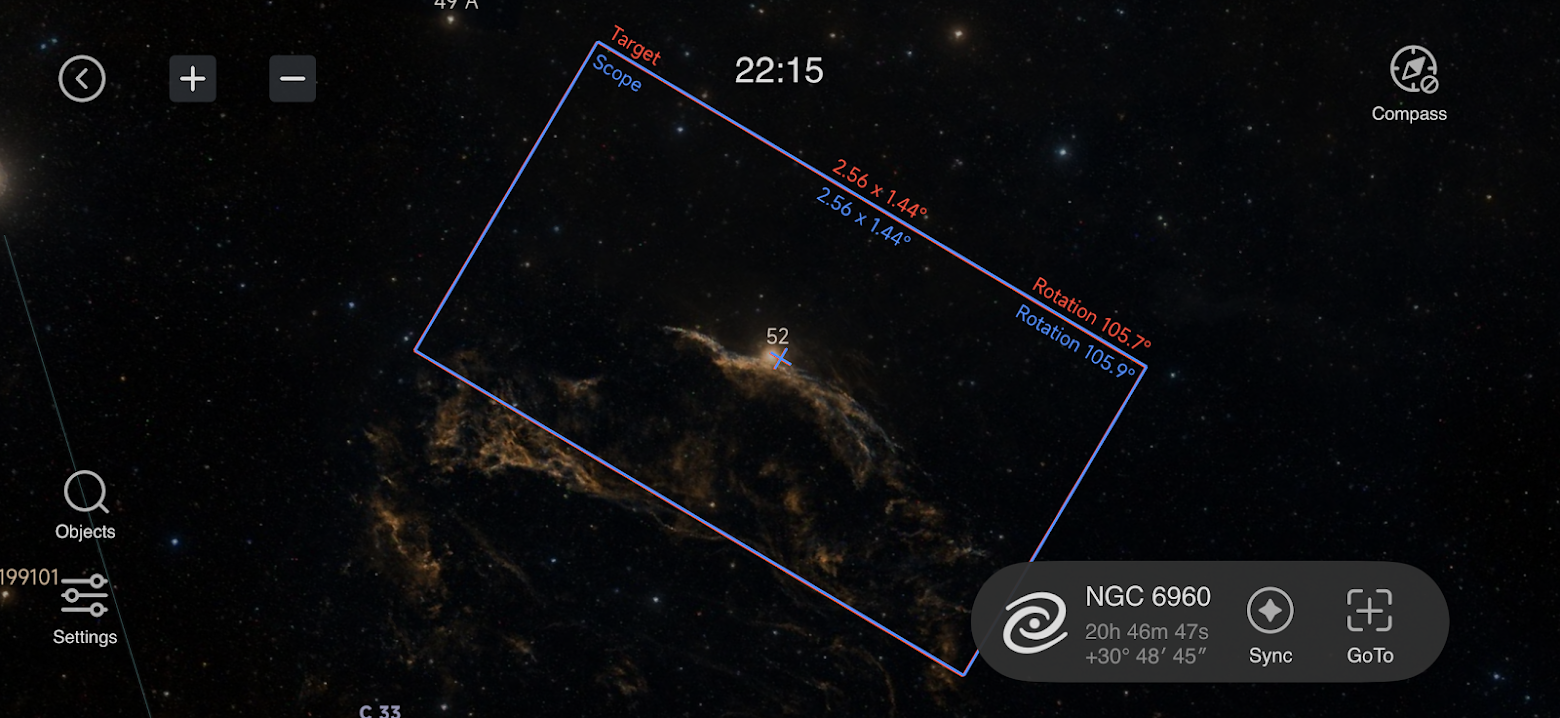
To note, the nebula image above is from the ASIAir’s library, not from the camera at this point. There must be a vast amount of data in that atlas.
Then it is time to start taking some real frames.
Maybe. One advantage of a cooled astronomy camera is that the dark frames and bias frames are going to be very consistent; their purpose is to capture the noise of the sensor at the temperature while shooting. Without a cooled camera, one should take darks and biases with every session, generally at the end. With a cooled camera, however, you can take darks and biases anytime the camera is cooled to the same temperature and reuse them as long as you keep it set to the same temperature. You probably should refresh them periodically, maybe seasonally, when the external conditions can have the most effect on the camera’s cooling capacity. I think I would take new ones if I traveled for a session.
Flats, however, you should capture for each session. Darks and biases are taken, as the name dark might imply, in darkness. Flats instead need a diffuse featureless light to allow the software to compensate for visible anomalies in the optical train, like dust, scratches, etc. There are a lot of flat illumination options, like iPad screens or LED tracing panels. The important thing is that it does not have any image data within it. It’s probably best to take them at the end of a session, but if you’re running it on autopilot and maybe you are comfortably asleep when the session ends, it makes sense to take them at the beginning. Your mileage may vary.
There are a couple of ways to start taking images. The Autorun feature is pretty usable. You can line up several segments of a session, but I had trouble getting it to pause between them. There is probably something I don’t know (as if!), so I tend to put one segment in at a time. I set up and get my flats. Then I set up and get my subexposures or lights.
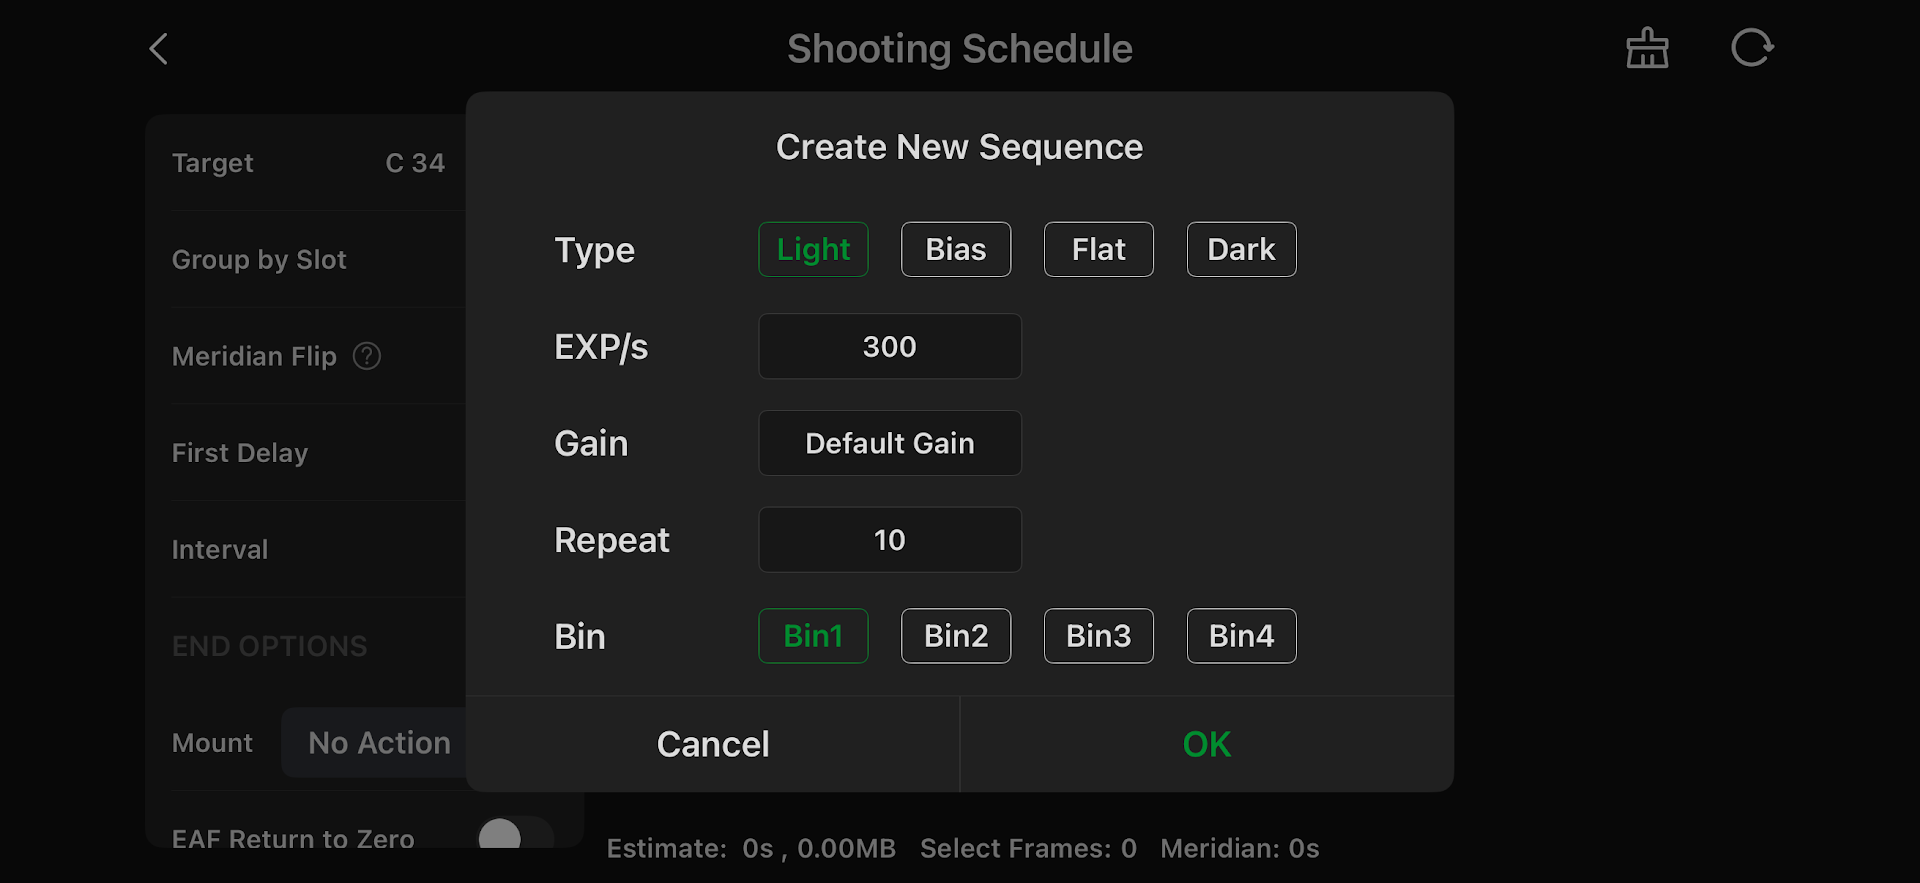
Here, we are setting up for 10 exposures of 5 minutes each. The image names will be prefaced with “Light”. I don’t fully understand the Bins at the bottom, yet, but I think they are related the use of multiple filters for the same target, for example, LRGB color images with monochrome cameras.
The Meridian Flip option is something I have not done in the past with my guider, but then I may have just been lucky with target choices and the time of day. So, there is an imaginary meridian line directly above you and when your target crosses that line, you should flip the camera over. This is to prevent it from tracking beyond the mount’s physical limits until it hits something. Interestingly, it stops taking shots a few minutes before the flip. I think there may be a “dead zone” of sorts, real or imagined and it’s giving time for the target to traverse that zone before it flips. After the flip, it will plate solve and recenter before it begins taking shots again. Also, stacking software wont care that some of your subs are 180 degrees off from the others. It will correct for the rotation.
The longer a given subexposure is, the better the signal to noise ratio is for that sub. 200 subs at 60 seconds each is not as clean as 60 subs of 200 seconds each, even though they are both 200 minutes in total time. Also, fewer subs will stack faster.
The key to really long exposures is good tracking and the golden key to good tracking is autoguiding.
Tracking, like my SkyGuider Pro does, is an open-loop process. The motor and gears in the guider run at a predetermined speed so that the mount moves at the sidereal rate, the same rate the the stars appear to move due to the earth’s rotation. You can get pretty long exposures that way. It works and it is simple and reliable.
Autoguiding closes that loop, giving the motors feedback to fine tune the motor speed continuously. Some guiding solutions have a separate small telescope with a, typically, monochrome camera. My ASI585MC actually has a built in guide camera at the same focal plane as the main camera. This eliminates the need for a second scope, ensures that the physical alignment of the guide camera is not subject to change, like a loosely mounted guide scope might introduce. The drawback to this method is that the guide camera is subject to any filters that may be installed in the optical train. In my limited experience, it hasn’t caused guiding to fail.
The guiding performance is displayed in a running graph.
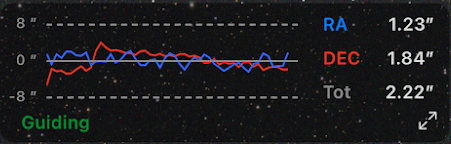
The traces show the measured error in the guide star position, how far it is off from where it ideally should be. You want both of them as small and smooth as possible. The graph auto-ranges and honestly, this chart shows a pretty wide error rate. It should be below 1 and the lower, the better. I do need to work on improving the guiding and I have some things to try. For one thing, there is a calibration routine to perform and I have learned that I am not doing it the right way. YouTube is a treasure trove of such tutorials.
In any case, I was able to get clean 240-second long subs of the Western Veil Nebula, NGC 6960. This is on of the first subs taken after the meridian flip, which is why it appears upsidedown compared to the framing images above.
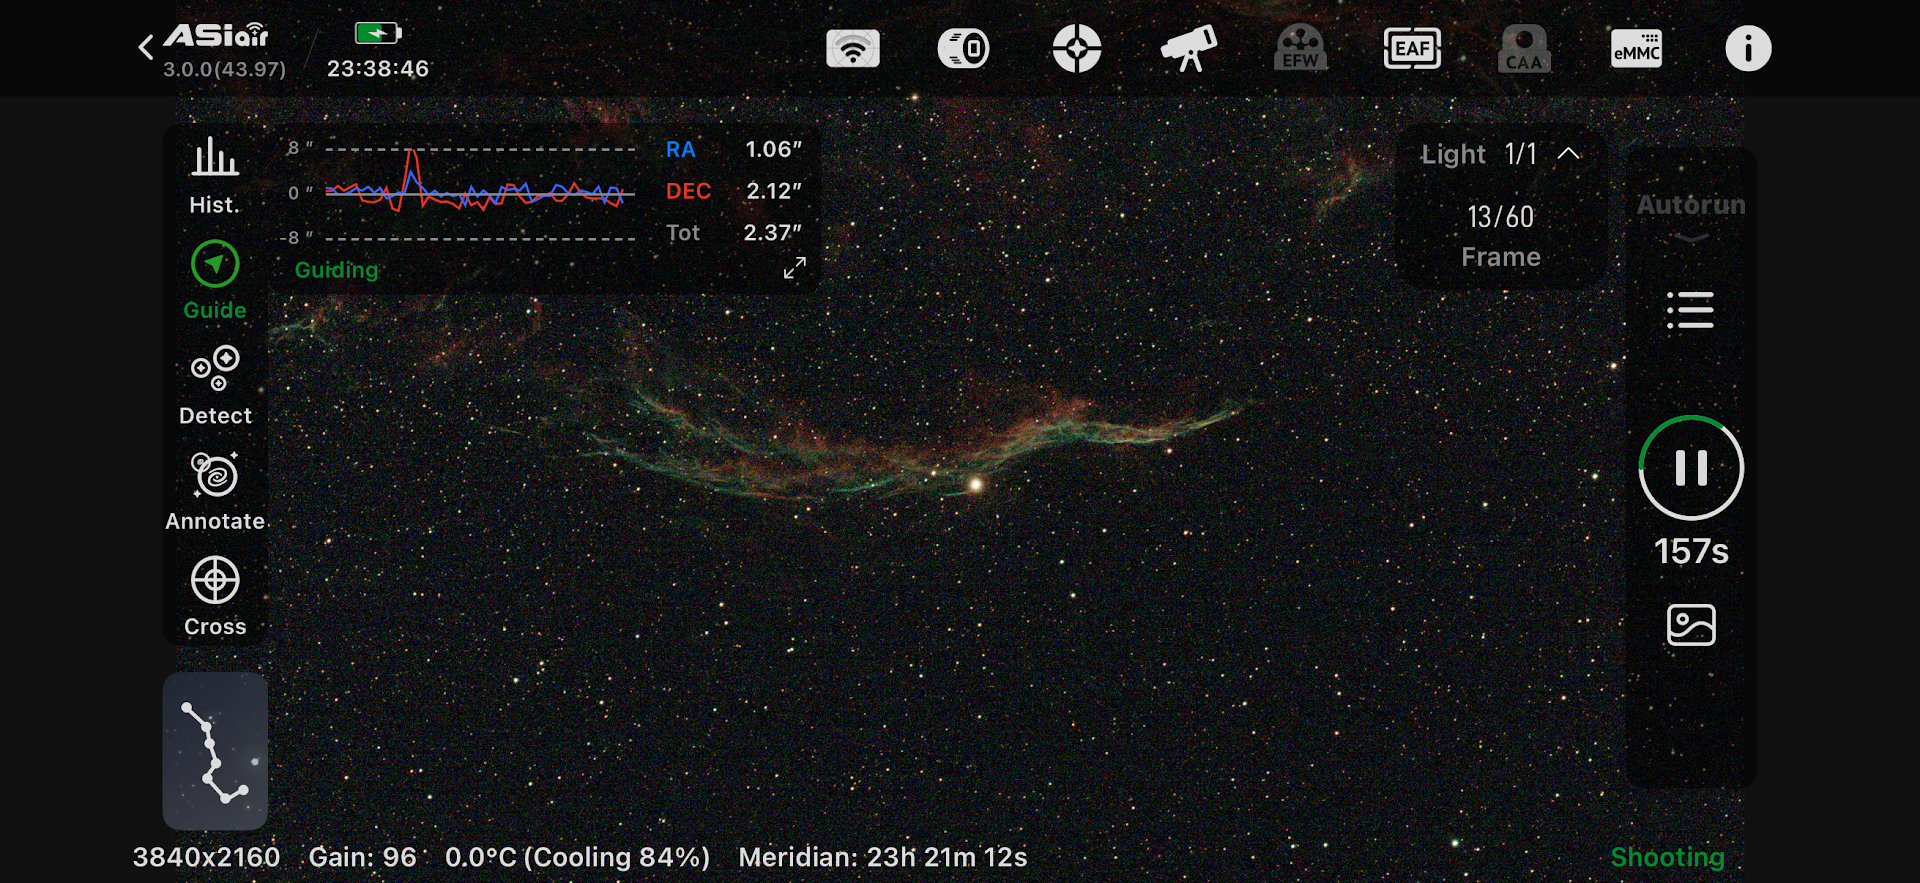
This is also my second capture of the Veil. The first was made with 240 subs of 60 seconds each, with no filters. This image above is a single 240 second sub, with a dual narrow band filter in place. This single image is almost as good as the stacked and post processed 240 images. Narrow band filters are the ticket, and they also “accidentally” filter a lot of light pollution, even moonlight.
There is another awesome feature of ASIAir that really helps with capturing the same target over multiple nights and it’s almost deceptively clever. Simply locate the last image (ideally) from the previous session and click GoTo.
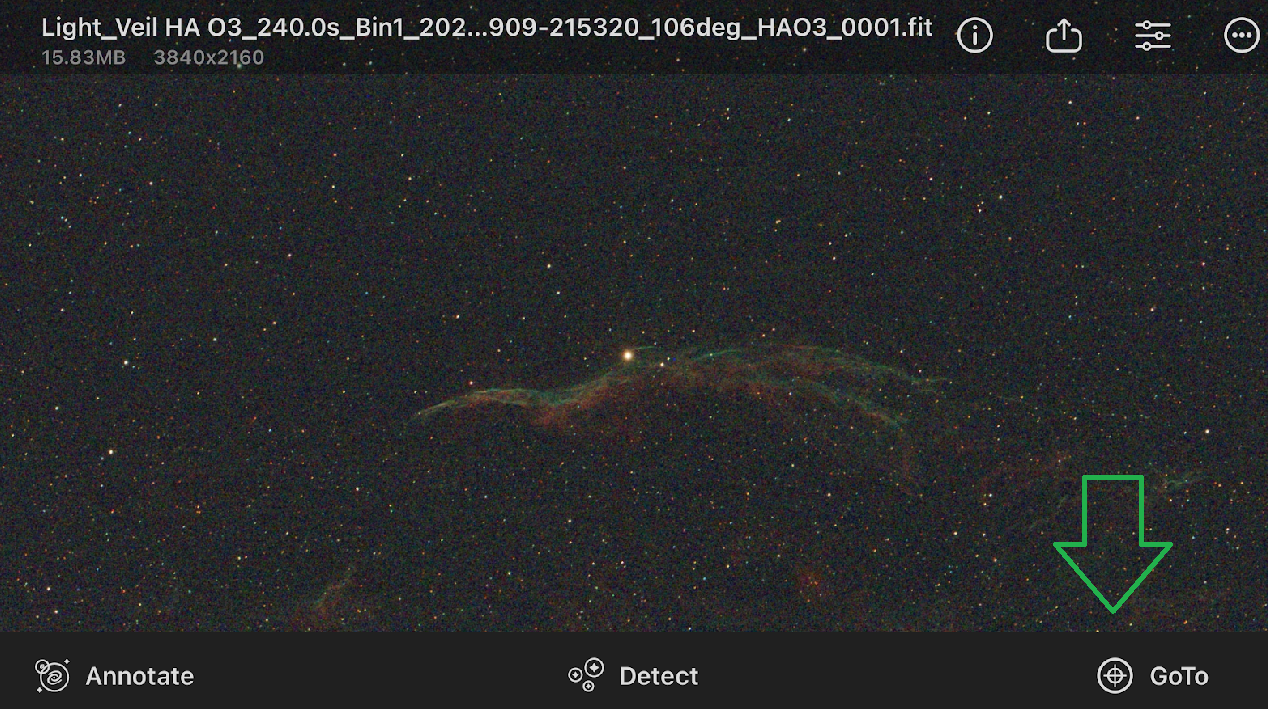
It will plate solve the image to locate it then slew the mount to the same position and centering! Now you just continue shooting. Well, as long as you haven’t rotated the camera since the last session. Even so, you can do it, you will just have to work at getting the same rotation, at least close enough for stacking registration to deal with it.
This is the stacked and processed image from my first Veil capture. It was 240 subs of 6 seconds. I had 30 each darks and flats. I took 30 flats using an ipad for illumination, however because it was a clumsy procedure, I had to discard a couple of them at processing time. Still, it’s a decent picture:
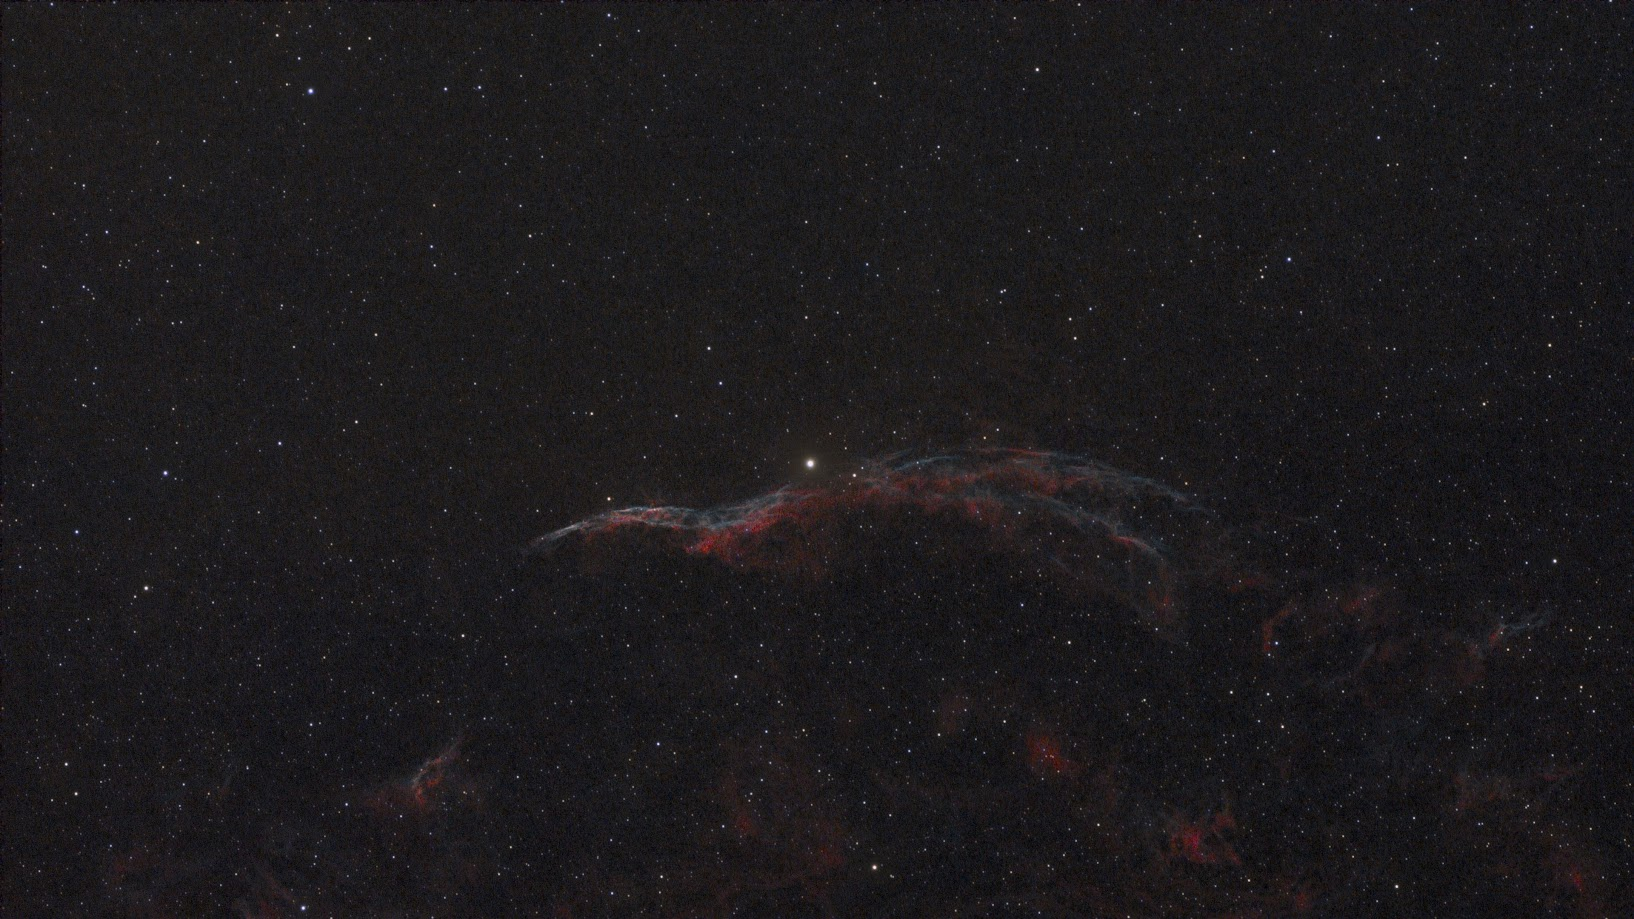
This is the second Veil capture, with 60 subs of 240 seconds and a dual narrow band filter in place. This one is cropped to eliminate some of that empty space at the top of the image, but the uncropped version is framed exactly like the original.
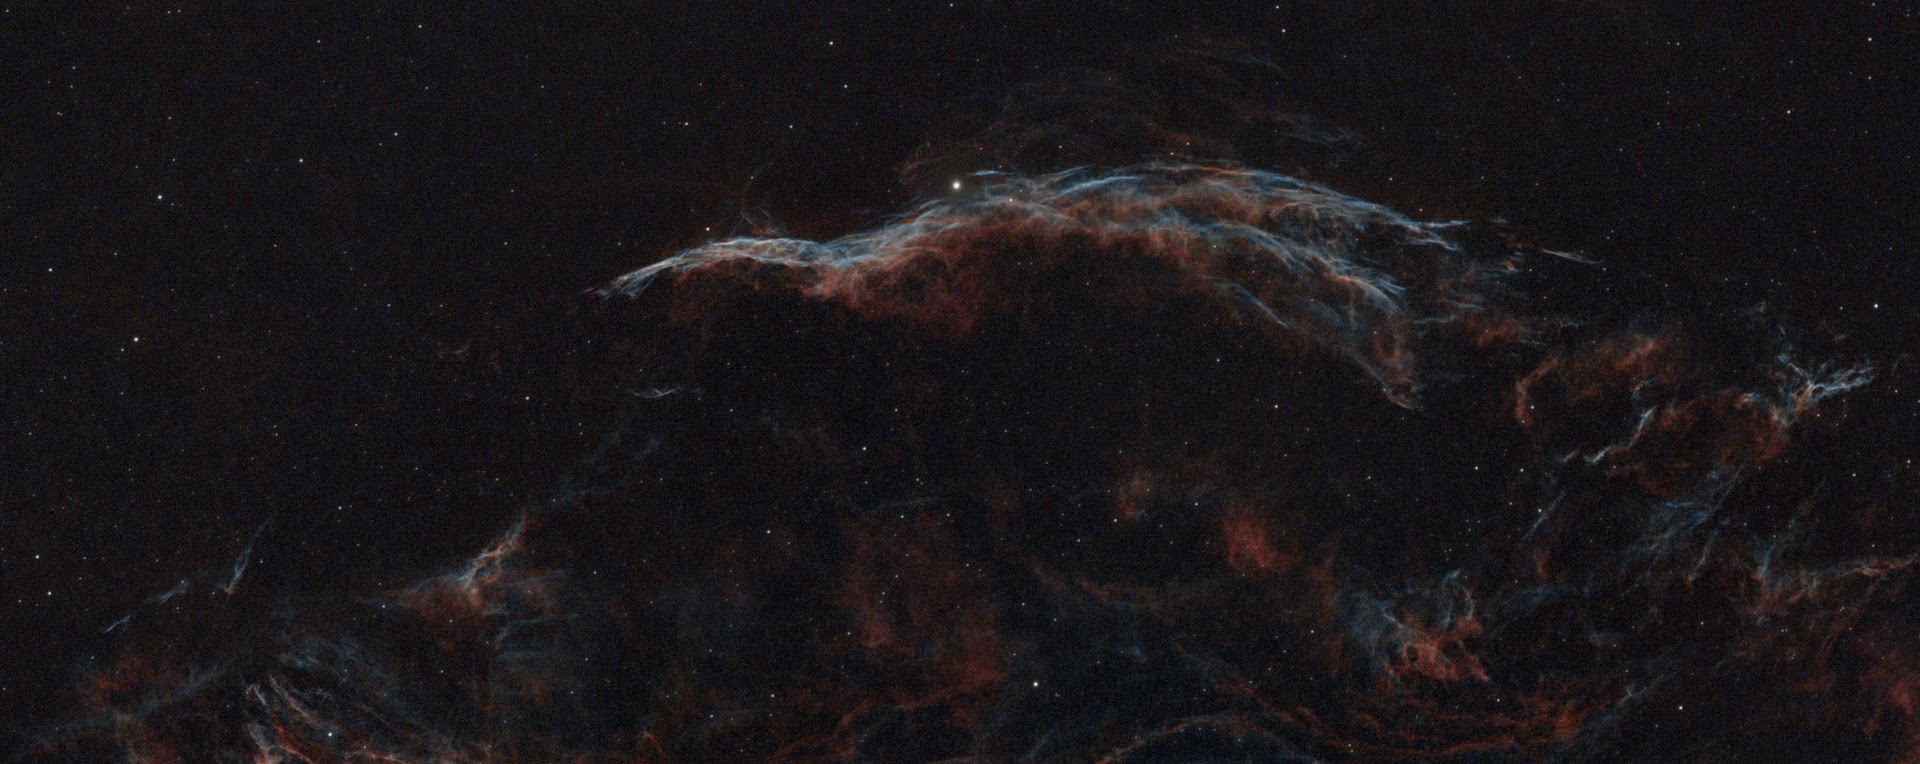
Notice how much more detail is shown, especially the wispy blue stuff.
The plan is to capture another night or two of long exposure subs. If the guiding and skies will support it, I plan to do 300 second exposures.
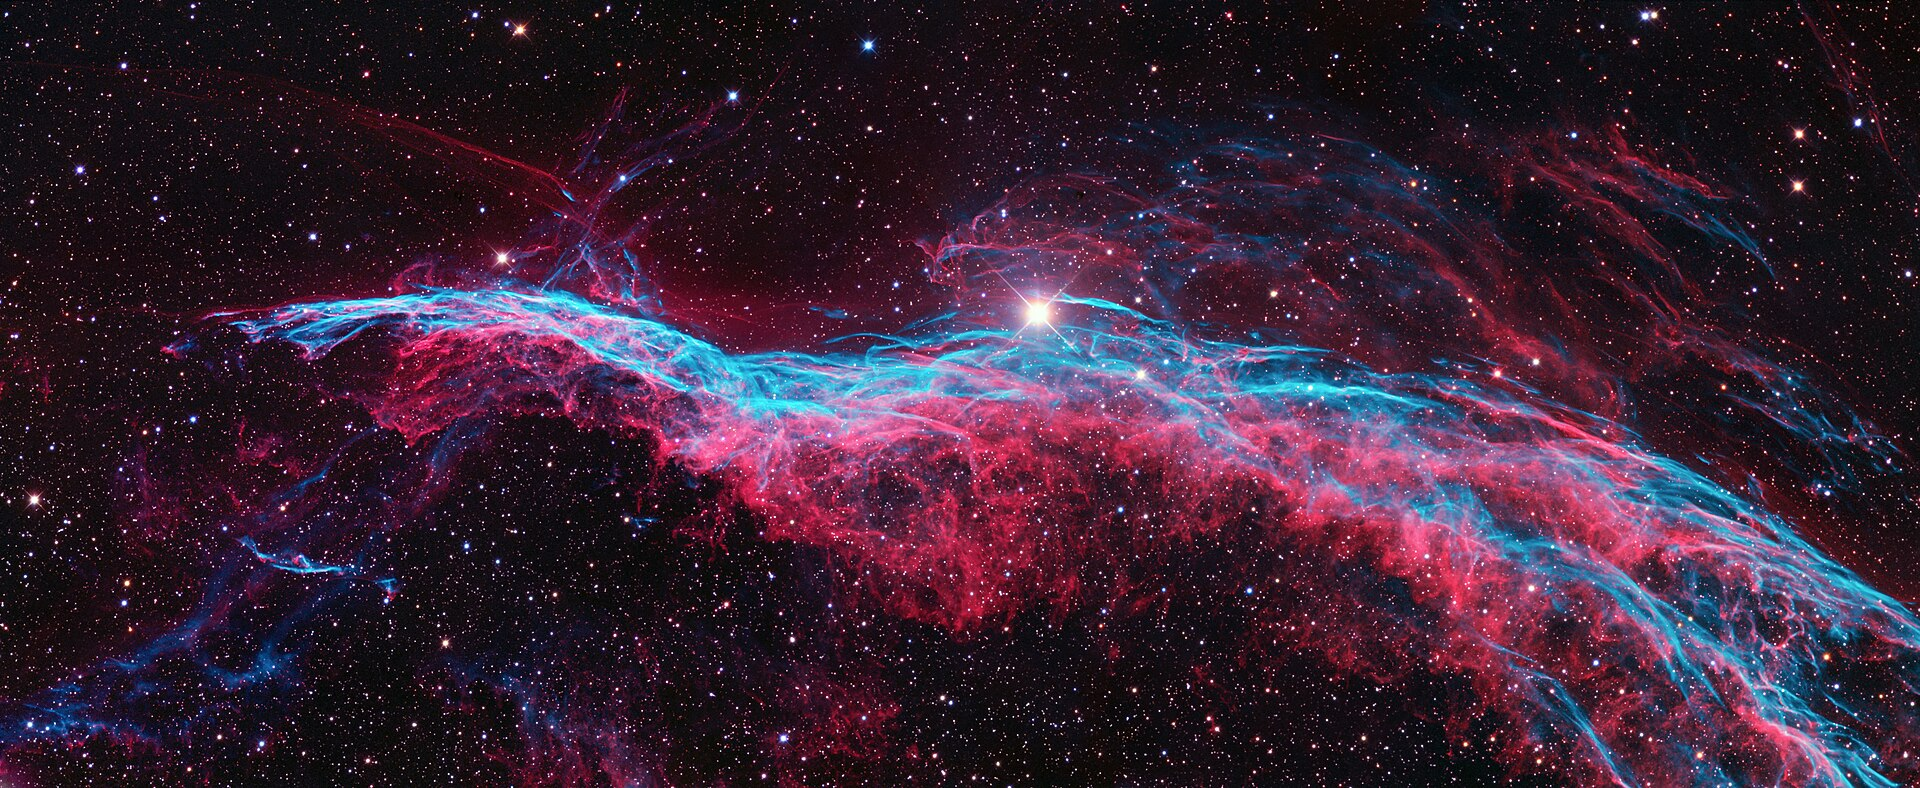
My goal is to produce my own image not unlike this one, from the Wikipedia article on the nebula. I think I just need to capture much more light to do so.