Although it was not strictly necessary in order to use my star tracker, I found decoding it’s terminology handy for finally helping me understand what acension and declination are. As a long time low intensity astronomy geek, I am embarassed to admit that I never really pursued understanding those terms. As it turns out, they are not particularly complicated. Viewing all of space as the inside surface of an imaginary sphere, right acension is essentially longitude and declination is latitude. Right ascension refers to the ascension, or the point on the celestial equator that rises with any celestial object as seen from Earth’s equator, where the celestial equator intersects the horizon at a right angle. The origin of the numbers is a point defined by the location of the sun on the March equinox; that line is currently in the constellation of Pices, but due to Earth’s axial precession, it moves about 1 degree west over a 72 year span. Declination is an extension of the earth’s equator into the celestial sphere and declination does follow the earth’s tilt and it also slowly moves in response to Earth’s axial precession.
In order to take longer individual exposures, I bought a tracking mount. A tracking mount, most commonly called a star tracker, is a telescope mount with a motor drive in it. If you set up the unit such that it’s right acension axis is parallel to Earth’s rotation axis, then the motor drive can rotate the mount in sync with the apparent motion of the sky, allowing you to capture significantly longer individual exposures with no (or very very little) distortion of the stars. This axis is generally abreviated RA for right acension and pronounced as the letters R A. This axis also usually has a clutch to temporarily disconnect it from the motor drive for coarse positioning.
Connected to the driven right acension axis is the physical mounting for your camera and/or telescope. This is called the declination mount and is usually abreviated DEC and pronounced “deck”. This mount also usually has a clutch or other release to facilitate coarse positioning the telescope.
I chose the iOptron SkyGuider Pro. I happened to purchase mine from High Point Scientific and at time of purchase, it was $488 USD. I also got the companion ball mount for my camera. This is not the absolutely cheapest tracker I could find, but it’s definitely among the least expensive options available. It’s size and flexability are well suited to my interests.
The SkyGuider Pro can carry up to 5 kg (11 pounds) of load balanced, but up to 1.5 kg (3.3 pounds) unbalanced. This is perfect for mounting a DSLR with a pretty normal lens without the complications of adding the declination mounting bracket with the counterweight attached.
It is about as simple as one could hope to set up. I have thus far used it on a decent photography tripod, though I imagine I will upgrade to a more astronomy minded tripod. However, I have not detected any issues that could be blamed on the tripod. To a point, the heavier and more rigid the tripod, the better.
The SkyGuider Pro can be set to track in the Northern or Southern hemispheres. It has 4 tracking speeds. 1X is straight sidereal tracking for astronomy. 1/2X is apparently for tracking sky and horizon together, though I have not tried this out, so I’m not sure how half speed helps either of those views. It can also track the sun or moon, as they move at slightly different speeds compared to sidereal.
It has a built in polar alignment scope with a reticle to help with proper alignment. The reticle has details for northern or southern hemisphere use and there are several apps to determine exactly where in the reticle Polaris or Sigma Octantis needs to be placed, based on the time and date and your location on the planet.
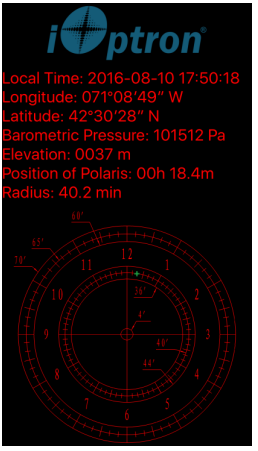
Polaris and Sigma Octantis are not precisely on the rotational axis of the Earth, just close. The crosshair is the actual axis and, for the time and date in this example, Polaris would need to be placed at the position shown by the little green cross for the tracker to be aligned with the polar axis.
It has two more features that I have not yet needed, an HBX port to connect an external control panel and an ST-4 compatible port for an external guiding signal.
The external control panel gives a little more control over tracking speed and some other parameters. The same port can be connected to a PC via an RS232 serial adapter to provide similar features that way.
The ST-4 port allows any of several guide scope/camera combos that use internal image processing to correct the tracking rate for VERY accurate tracking, which allows even longer exposures or longer focal lengths, where a tracking error would be more apparent. I am intrigued, but at this point in the hobby, I am shooting really wide fields and such additional guidance is not yet necessary.
So, for all these words, the SkyGuider Pro can be polar aligned, then the camera attached and pointed at a target and the tracker can kinda be forgotten; it just works.

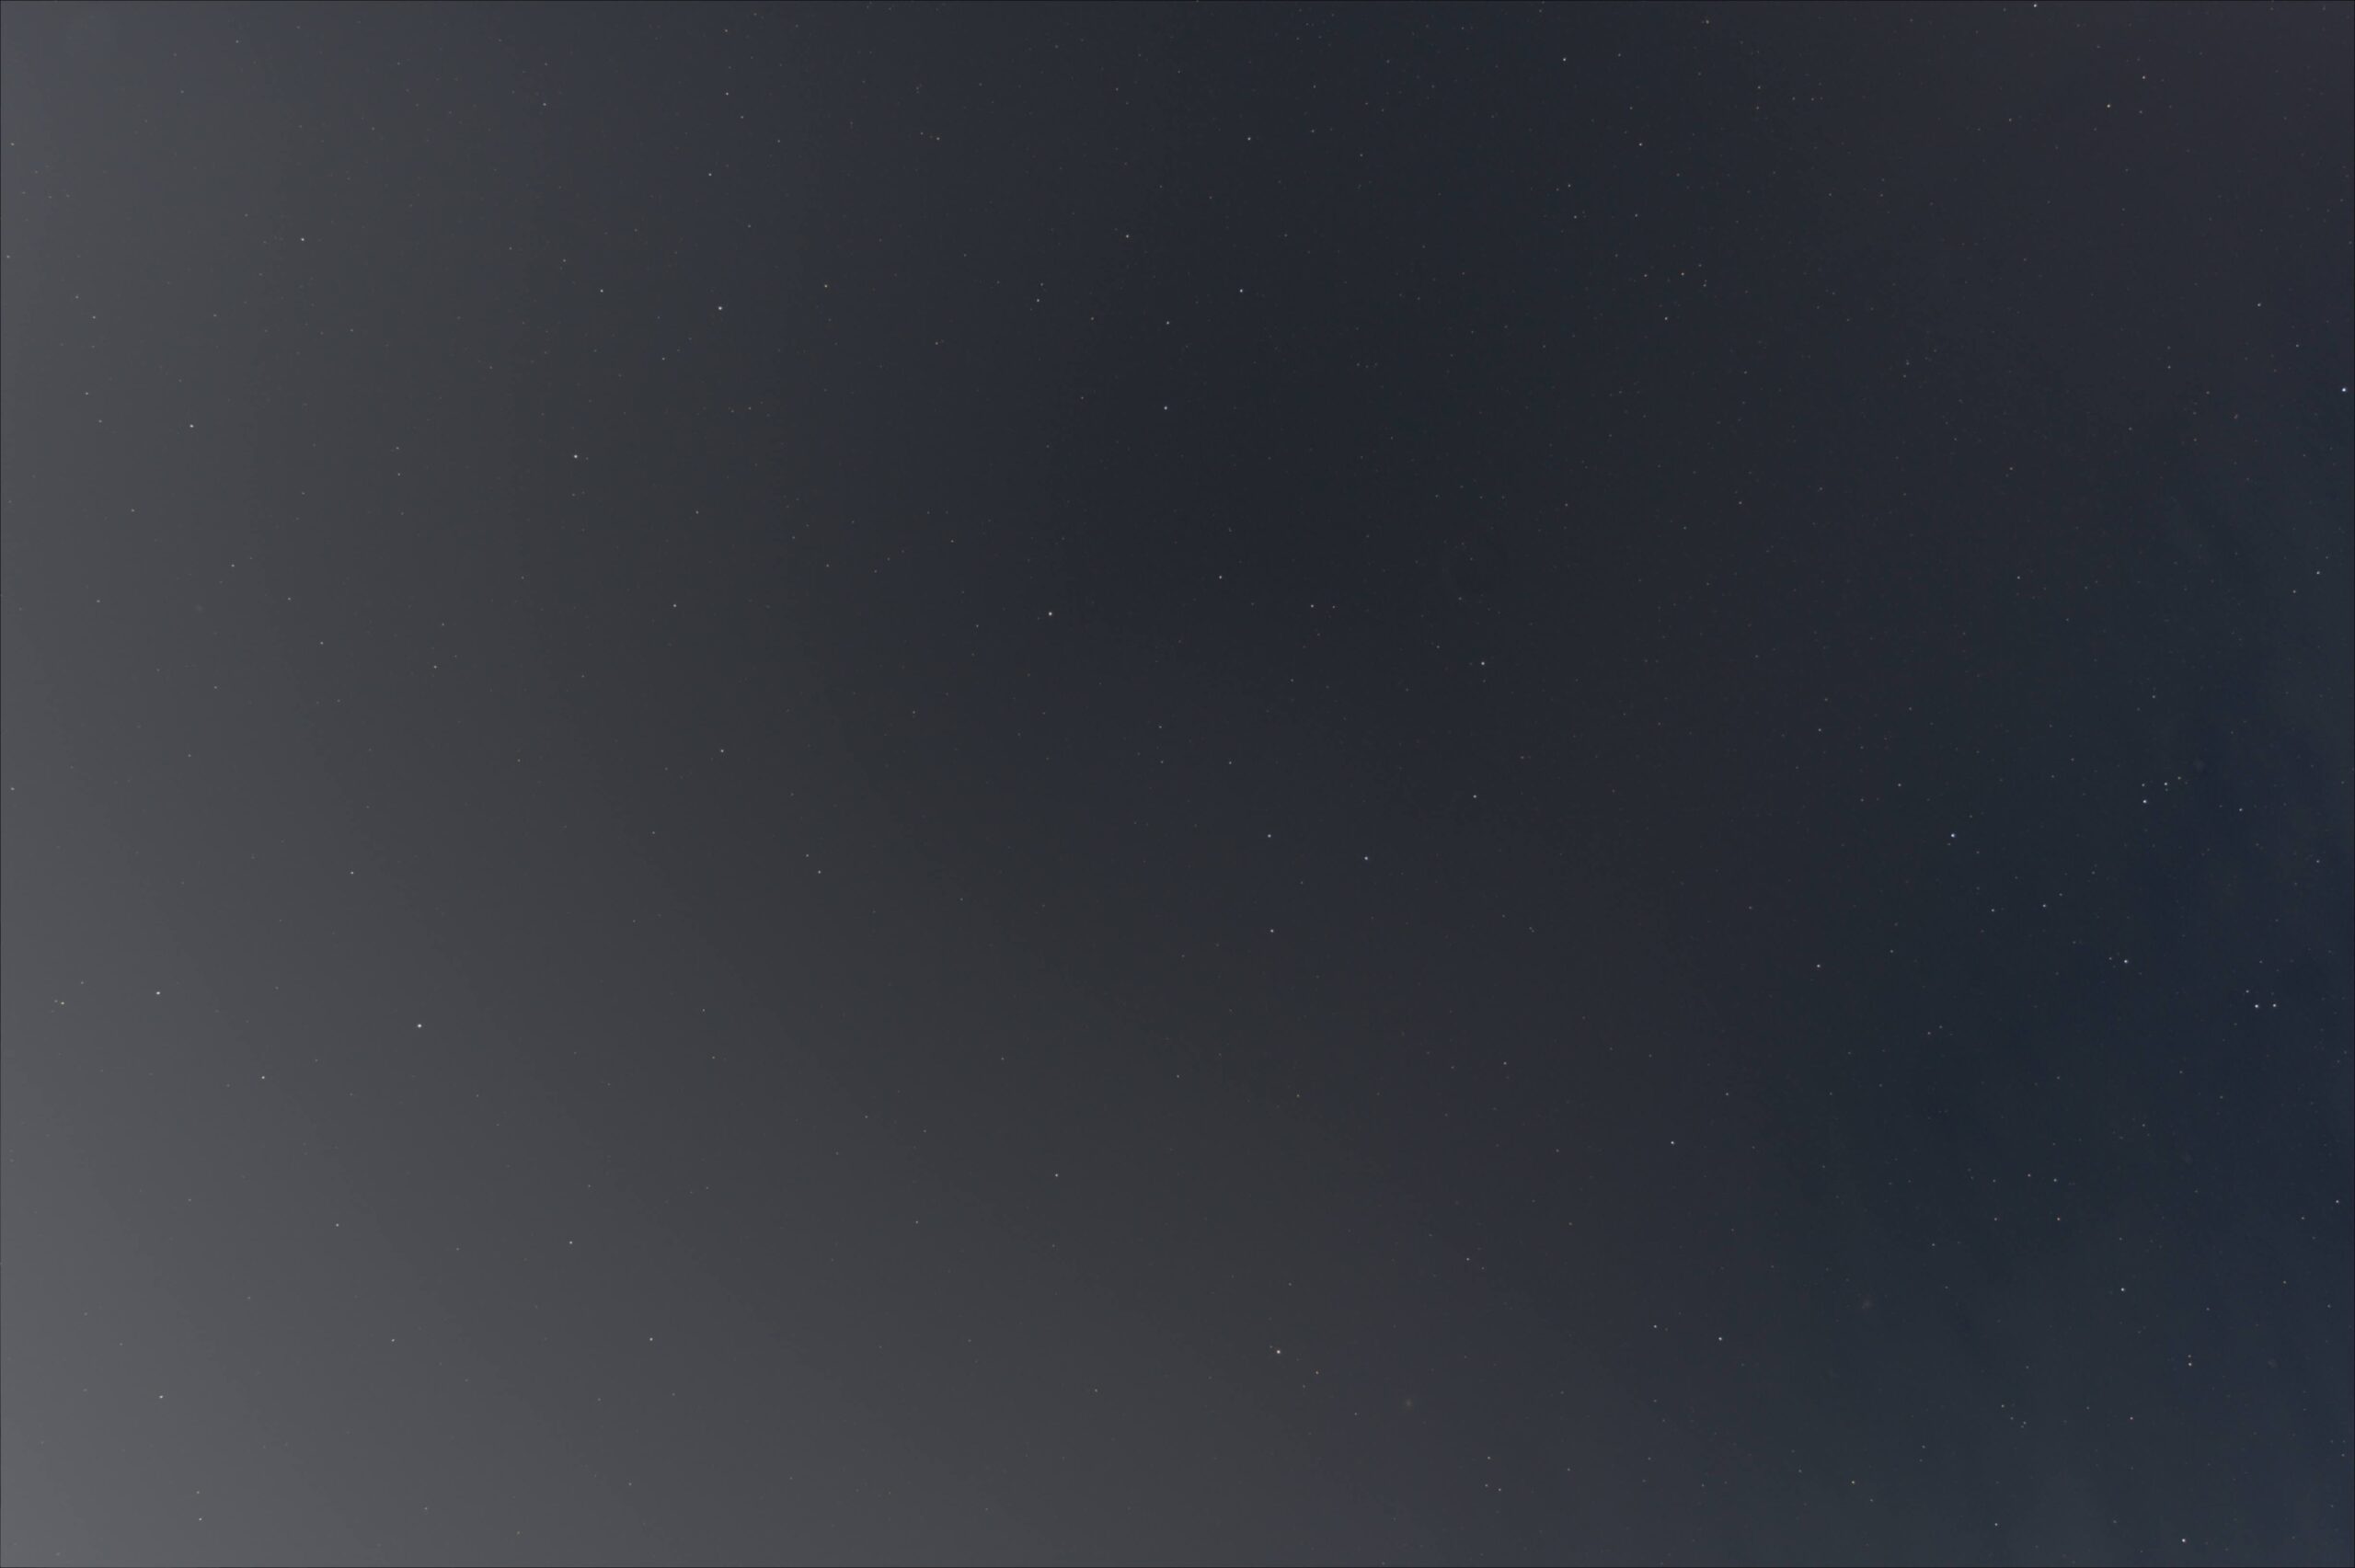
This image was made from 100 stacked 30 second exposures. Admitedly, it’s not an exciting picture. That night I had hoped to get a shot of the unimaginatively named C/2017 K2 (PanSTARRS) comet. It’s closest approach was to be the following night. However, there was also a super moon in the same region of sky and I could not find the comet due mostly to the moon’s glare. Without much of anything else to specifically capture, I pointed the camera generally where the comet was expected to be and let it run as a test. The really bright moon is why the lower left of the frame is kinda foggy. I can’t find the comet in there anywhere, but if you zoom in on the stars, they are all nice and round; no streaking or egg shaped stars with a star tracker and 30 second exposures.
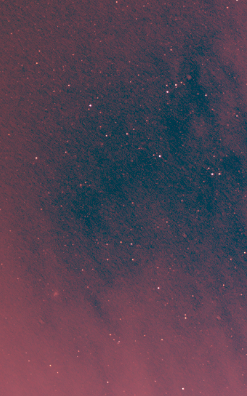
There *may* be a little evidence of nebulae in the lower left corner, but it is so overwhelmed by the moonglow that I’m not at all sure that’s what it is. By stretching it extensively, you can see a little bit of the formless form that is a nebula. Maybe. I will definitely be trying for more when the sky is darker.
I did try using the lunar speed setting and tracked the moon perfectly. I did not, however, *focus* the moon perfectly, so the moon shots were not worth sharing.
In any case, though I have not utilized it as heavily as I should, I have been very pleased with the SkyGuider Pro tracker and I will be using it much more this summer, especially after a new thing arrives. 😉