It was not my first match to observe, but my first IDPA match to shoot in. It went pretty well, with a kinda major hitch at the beginning.
I arrived, officially joined the club (which wasn’t technically required, but I see no reason not to do it) and signed up for the match. First match is free and membership is prorated annually, so I was out a whopping $5. Well, there was the discounted range fee. $8 I think. Frankly, I wasn’t concerned hehehe.
I was there with two other new shooters and it should come as no surprise that we three were the bottom scores. Then again, it was our first match ever. I’m pleased to have completed all four stages.
There was, however, a moment….
I was in the middle of the squad, so I had time to observe several shooters and I had formulated a plan. At “Load and Make Ready”, I methodically inserted a magazine, racked a round, removed the magazine, holstered my pistol, dug out a round to top off the magazine, unholstered the pistol, inserted the now full magazine and reholstered the pistol, all of course closely observed by the Safety Officer (SO). We stepped up to the first shooting position. I was ready. “Stand by”. beeeeep.
I drew my pistol, drew down on the first target, squeezed the trigger and…. click. Not bang. Click.
I cycled the slide and tried again. Click.
There was obviously something going on, so I made the weapon safe and stepped away to go troubleshoot.
Attended by a couple of experienced members, it was pretty easy to determine what had happened.
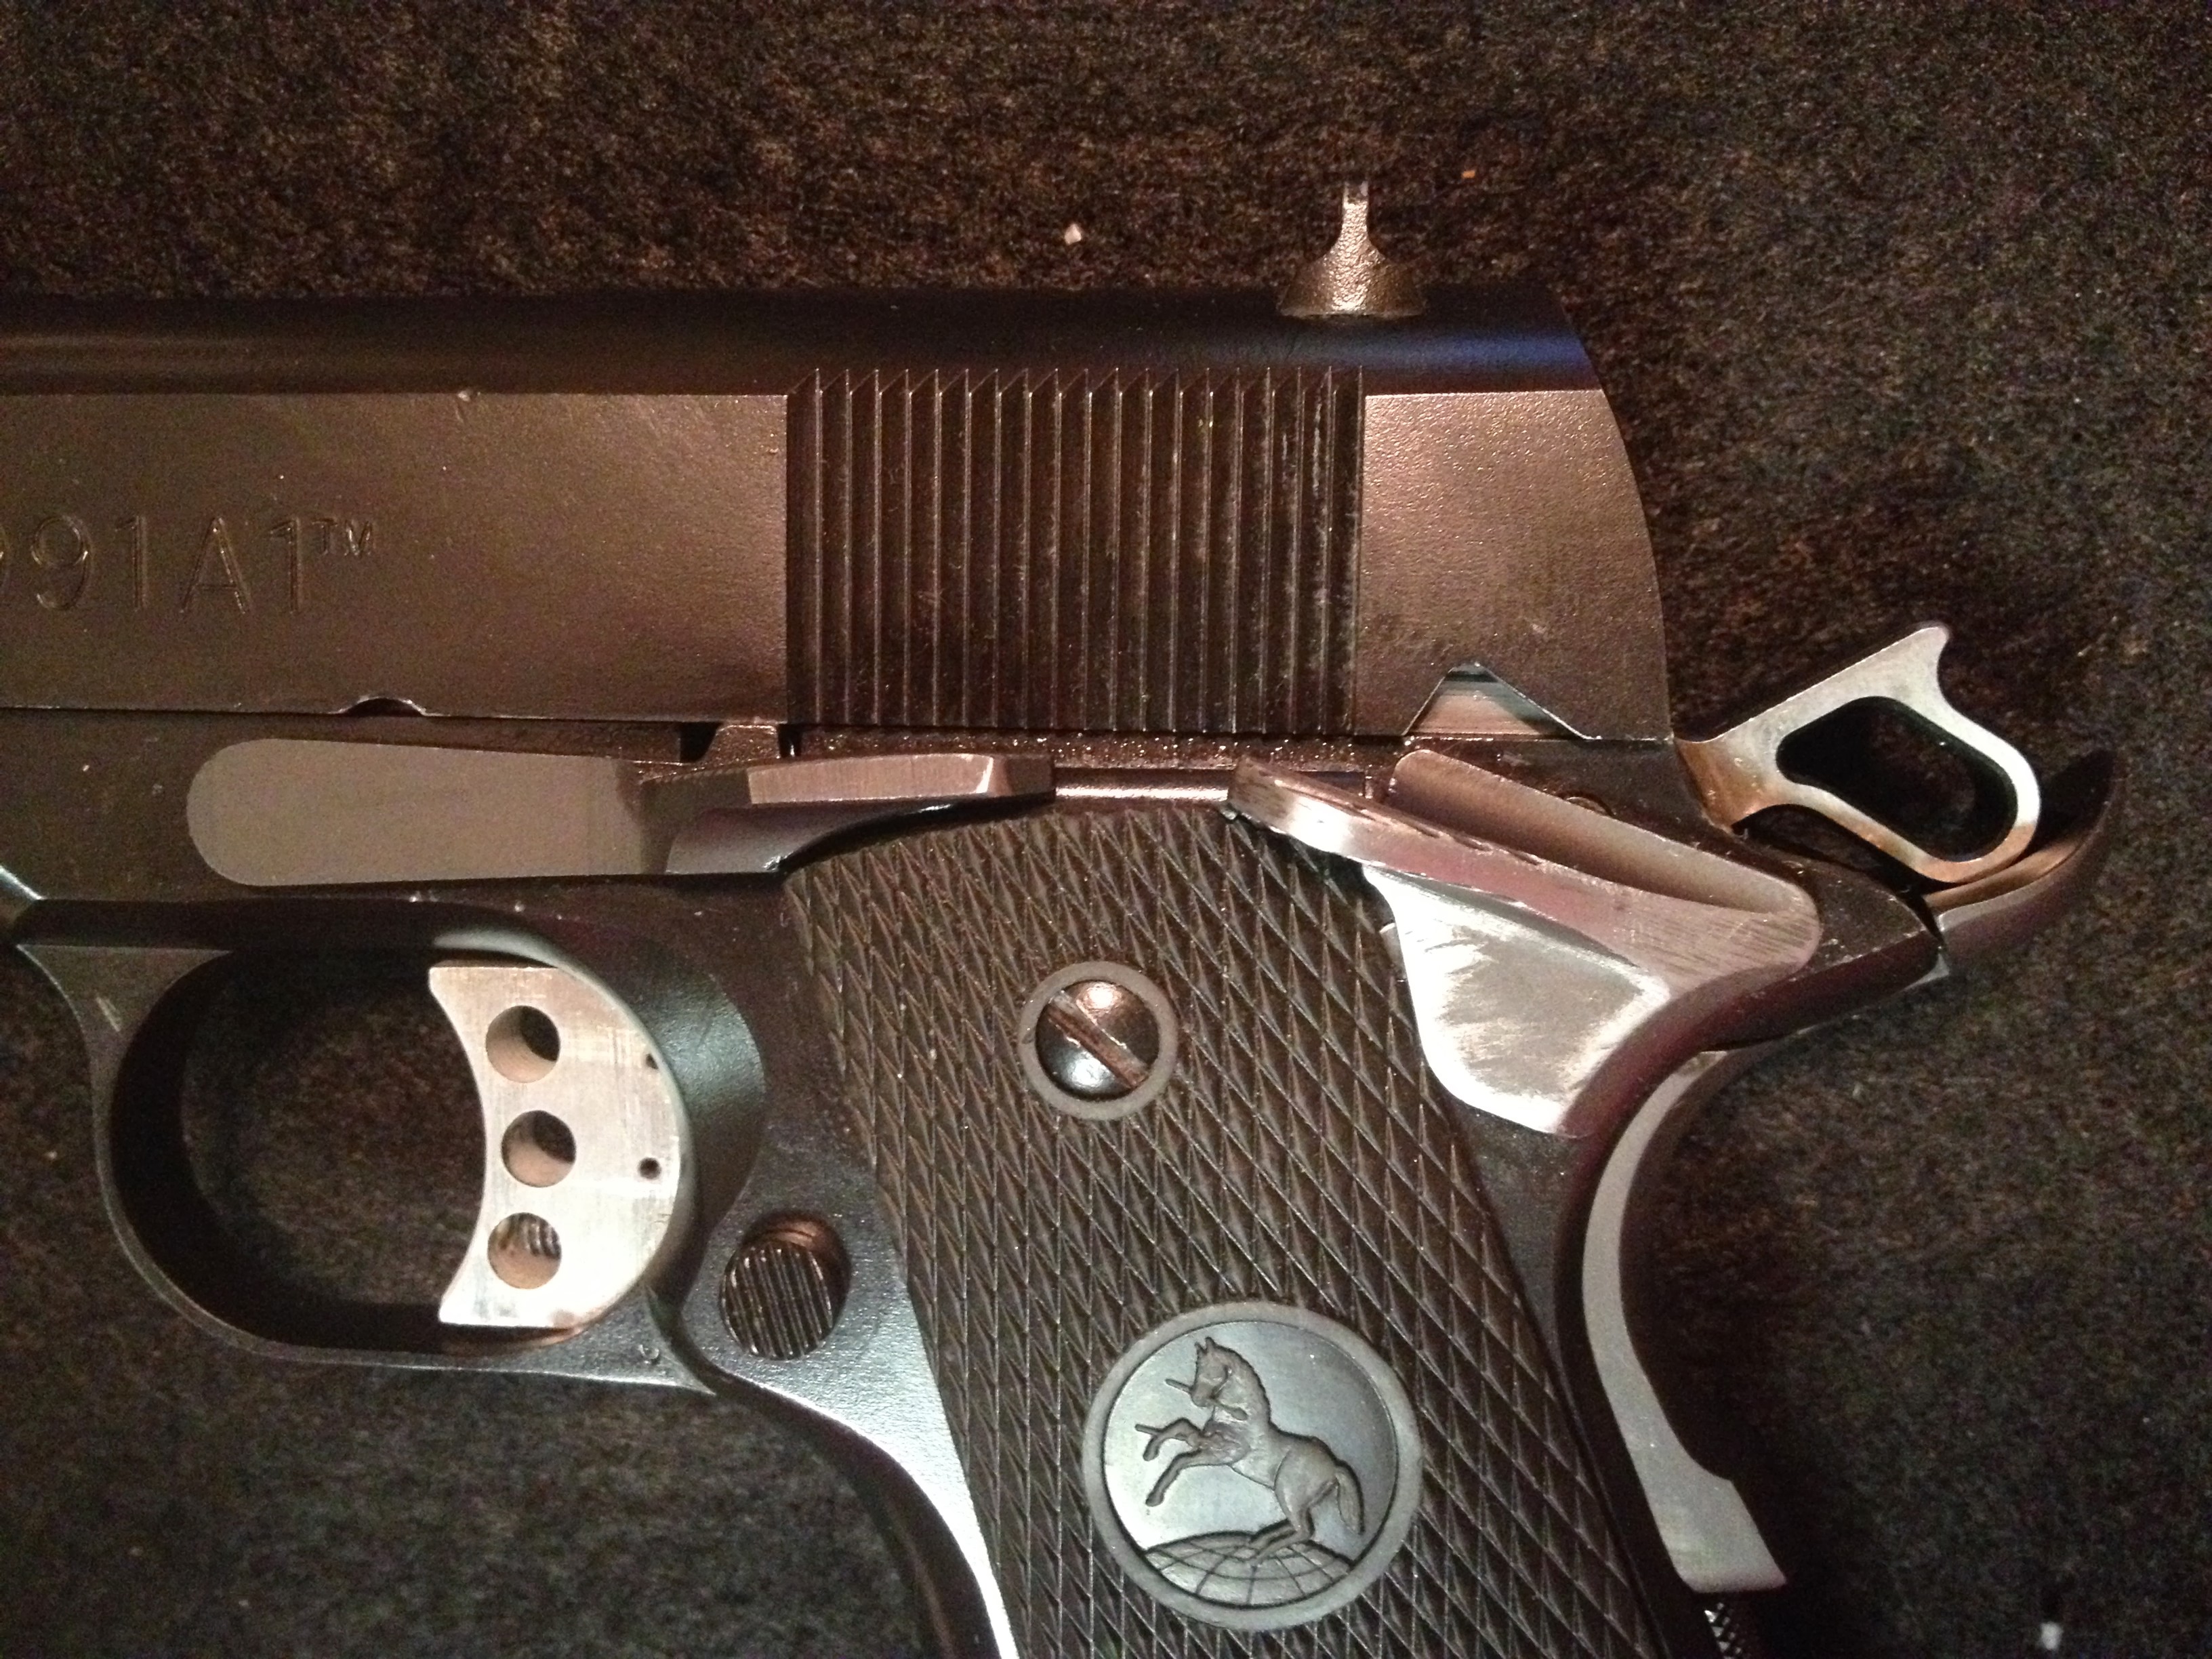
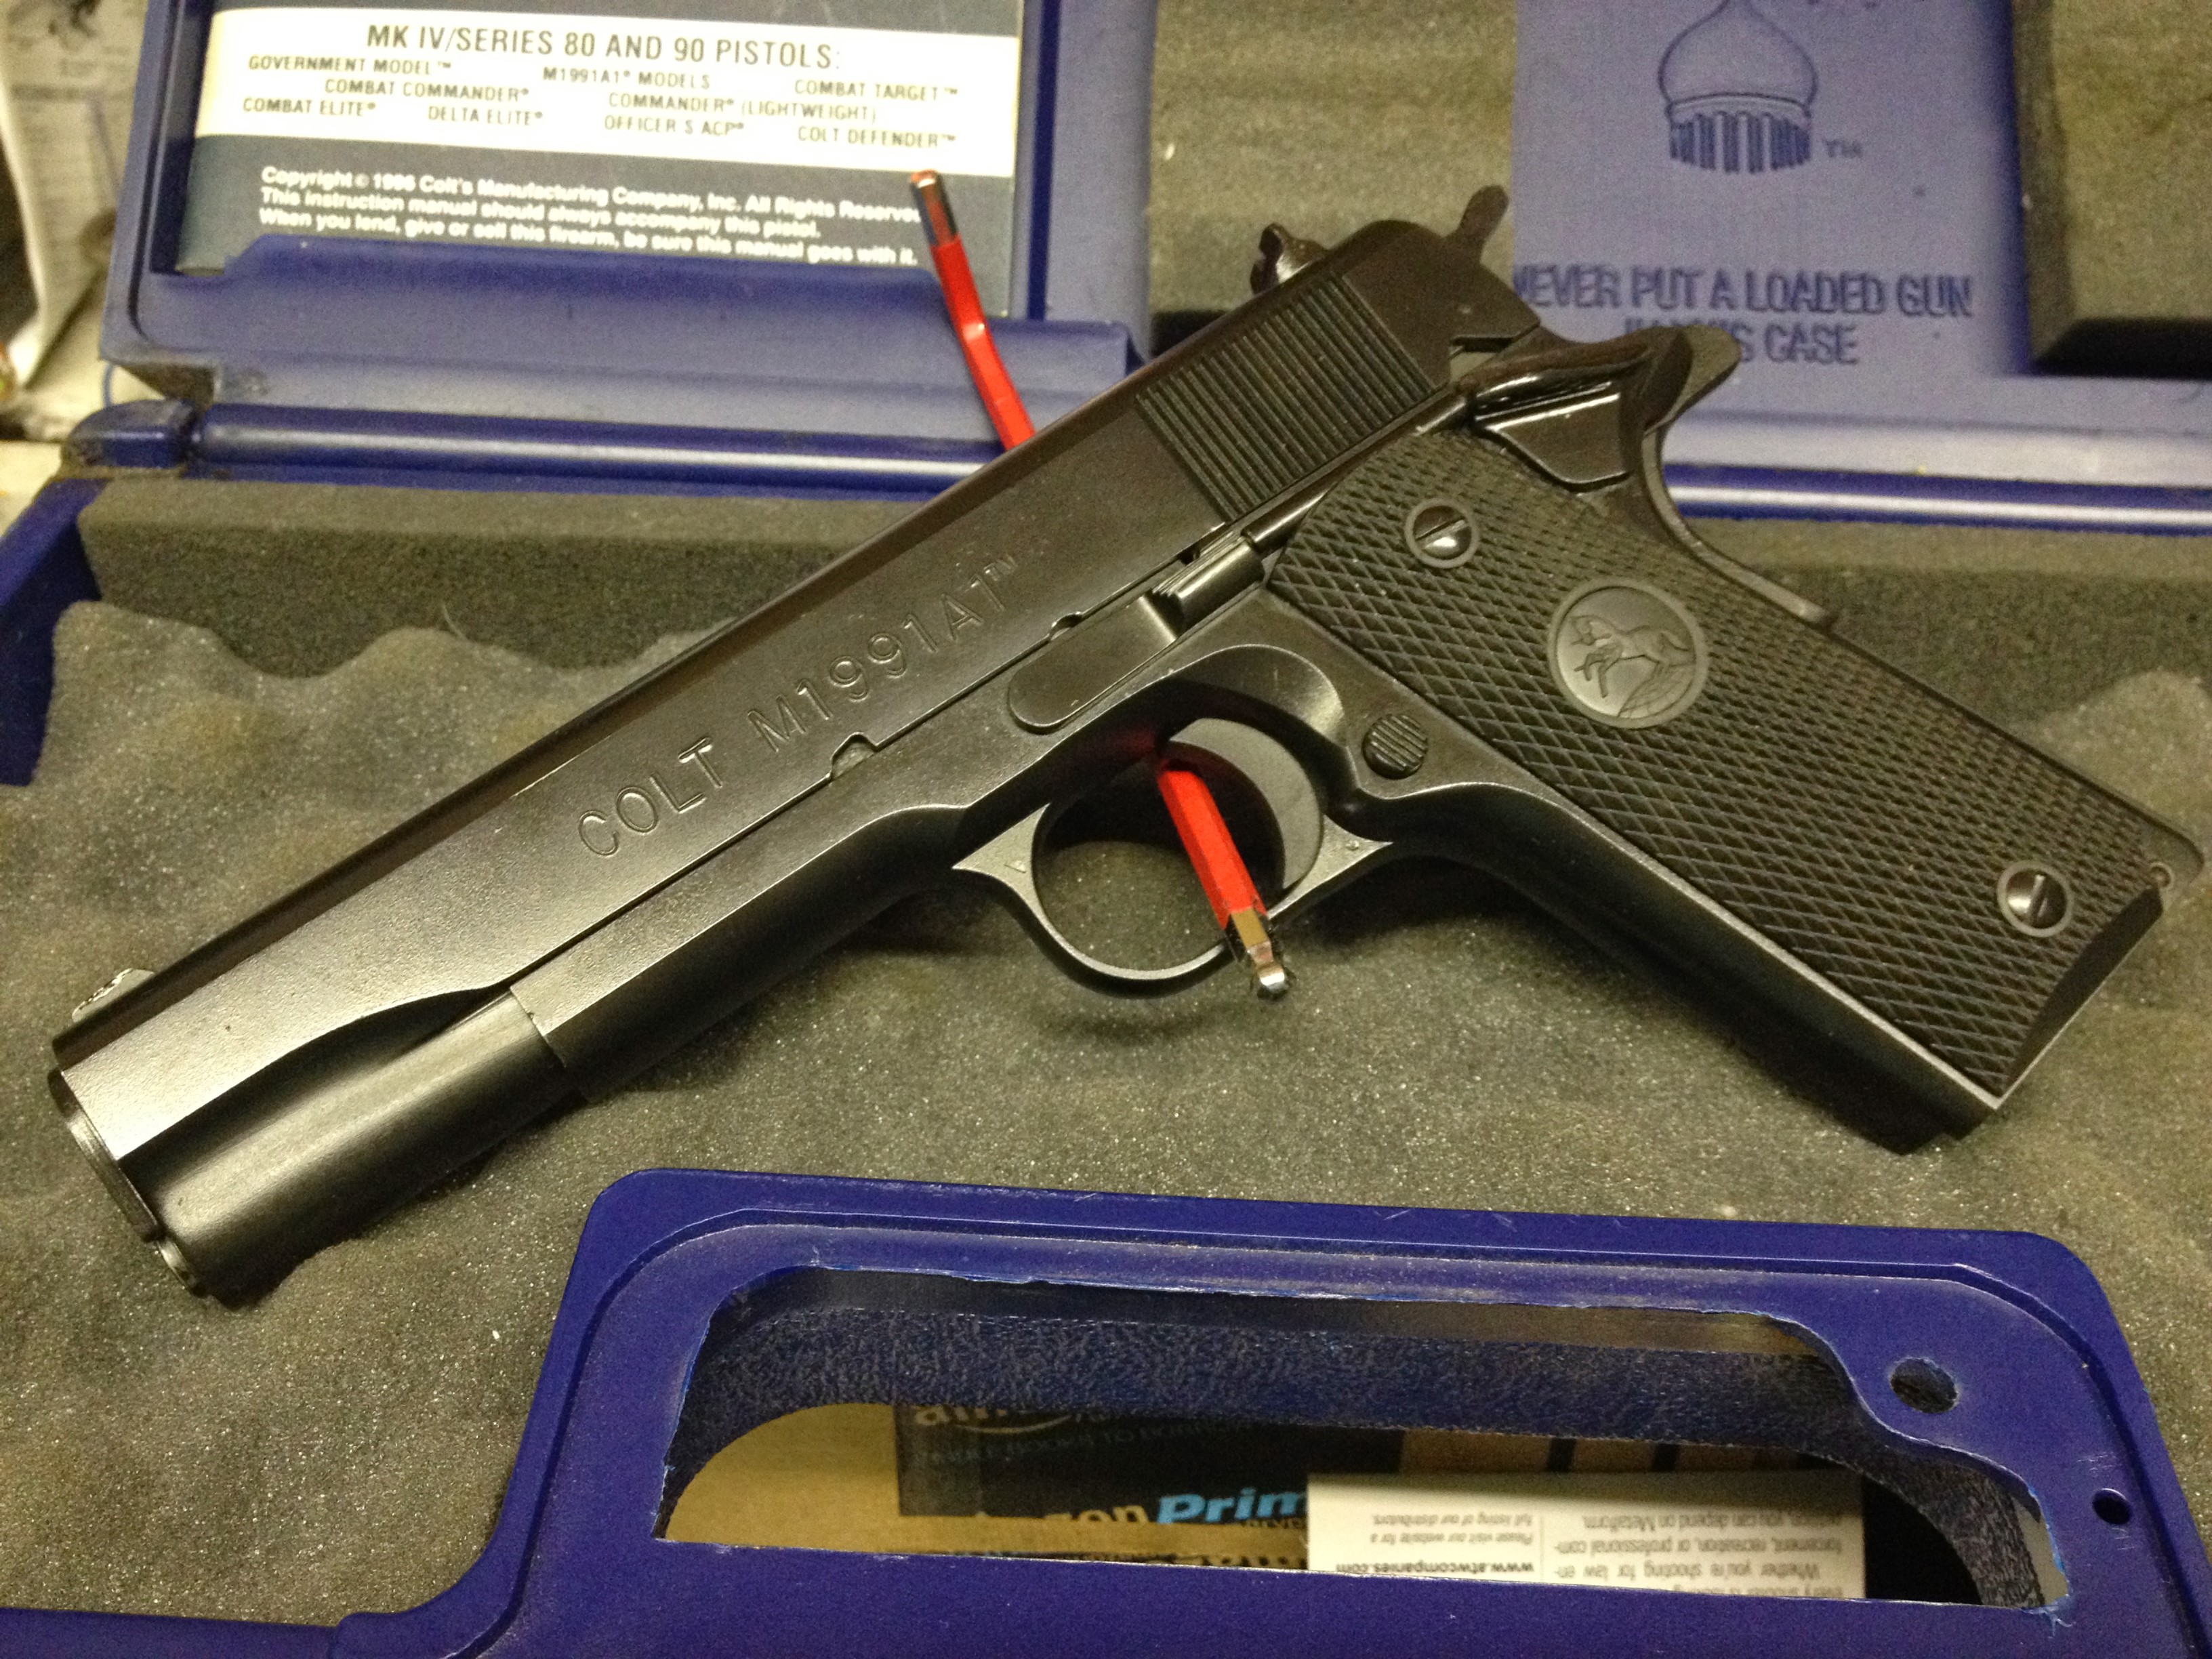
You may recall from my last post that I had done some work on the Colt. Turns out that I had reassembled the Series 80 firing pin safety with one component out of place. In proper configuration, pressing the trigger moves a lever that engages another lever that presses up on a plunger in the slide. In its resting position, that plunger engages a ring in the firing pin to block it’s movement. My specific error was that the lever that contacts the trigger bow was positioned such that the trigger would never touch it. So, the firing pin remained blocked. Click, no bang.
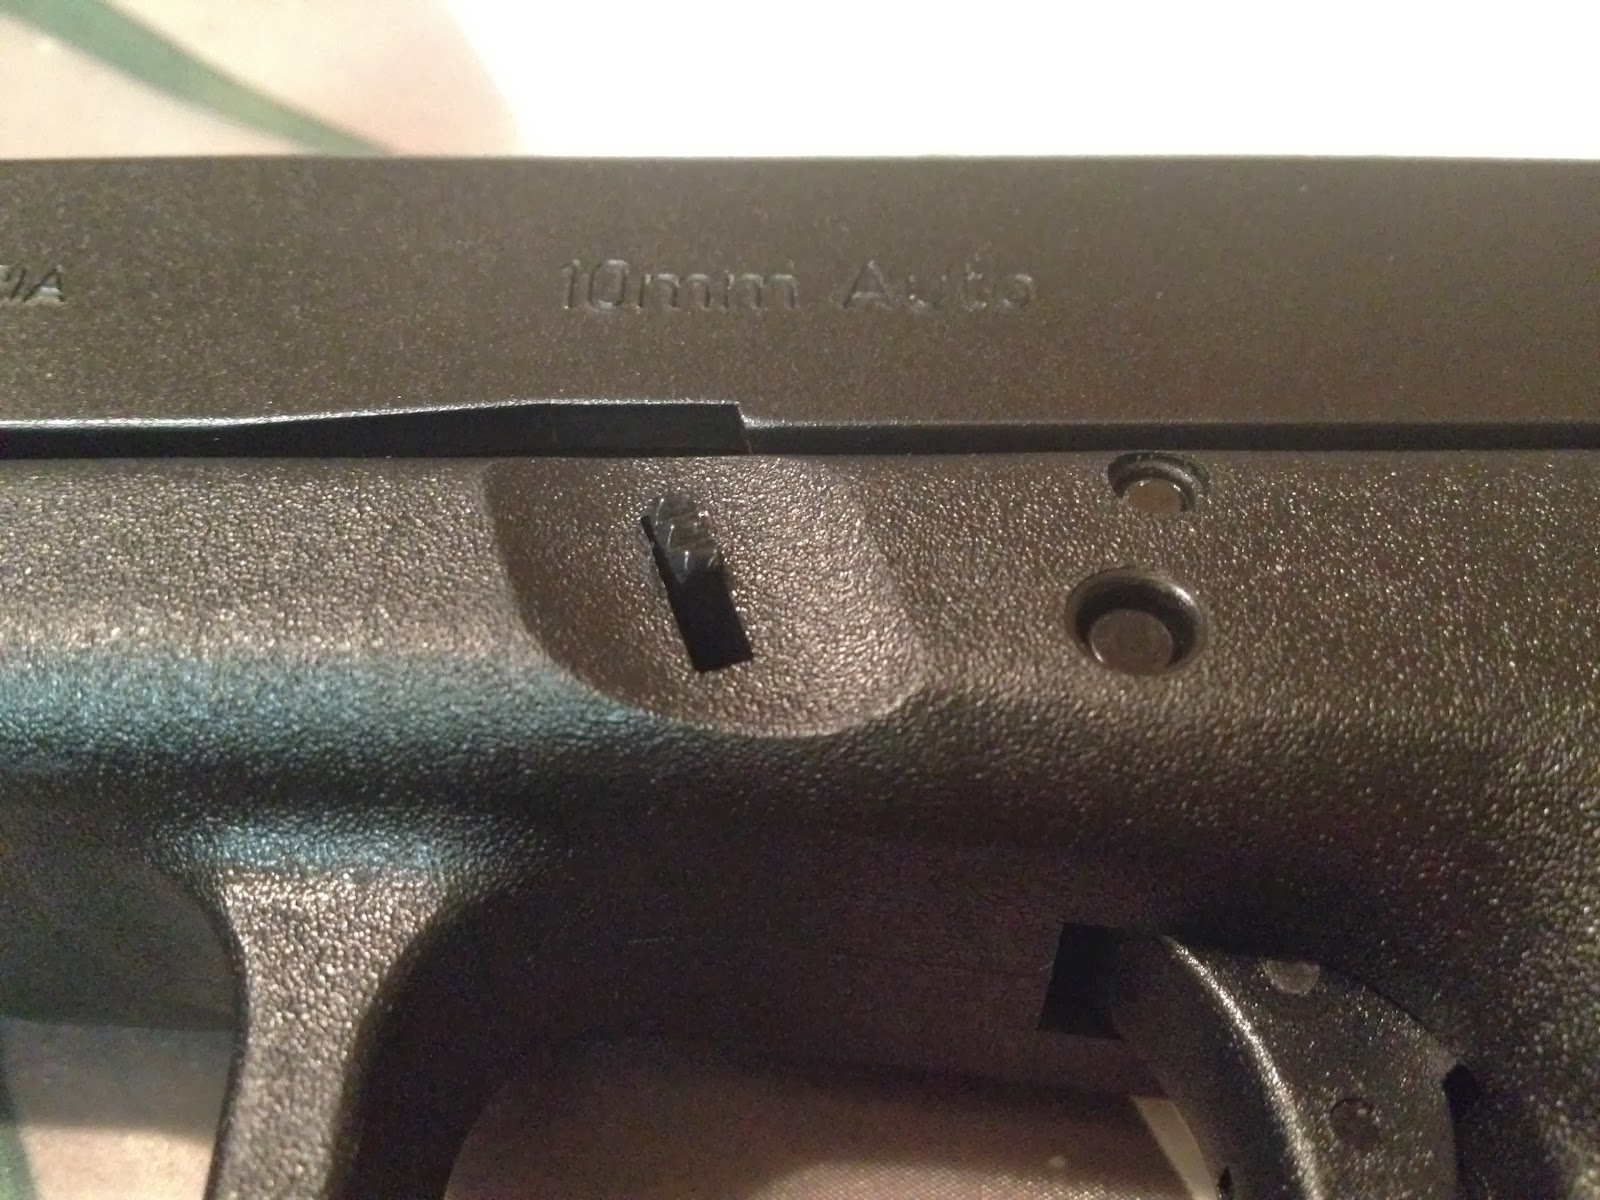
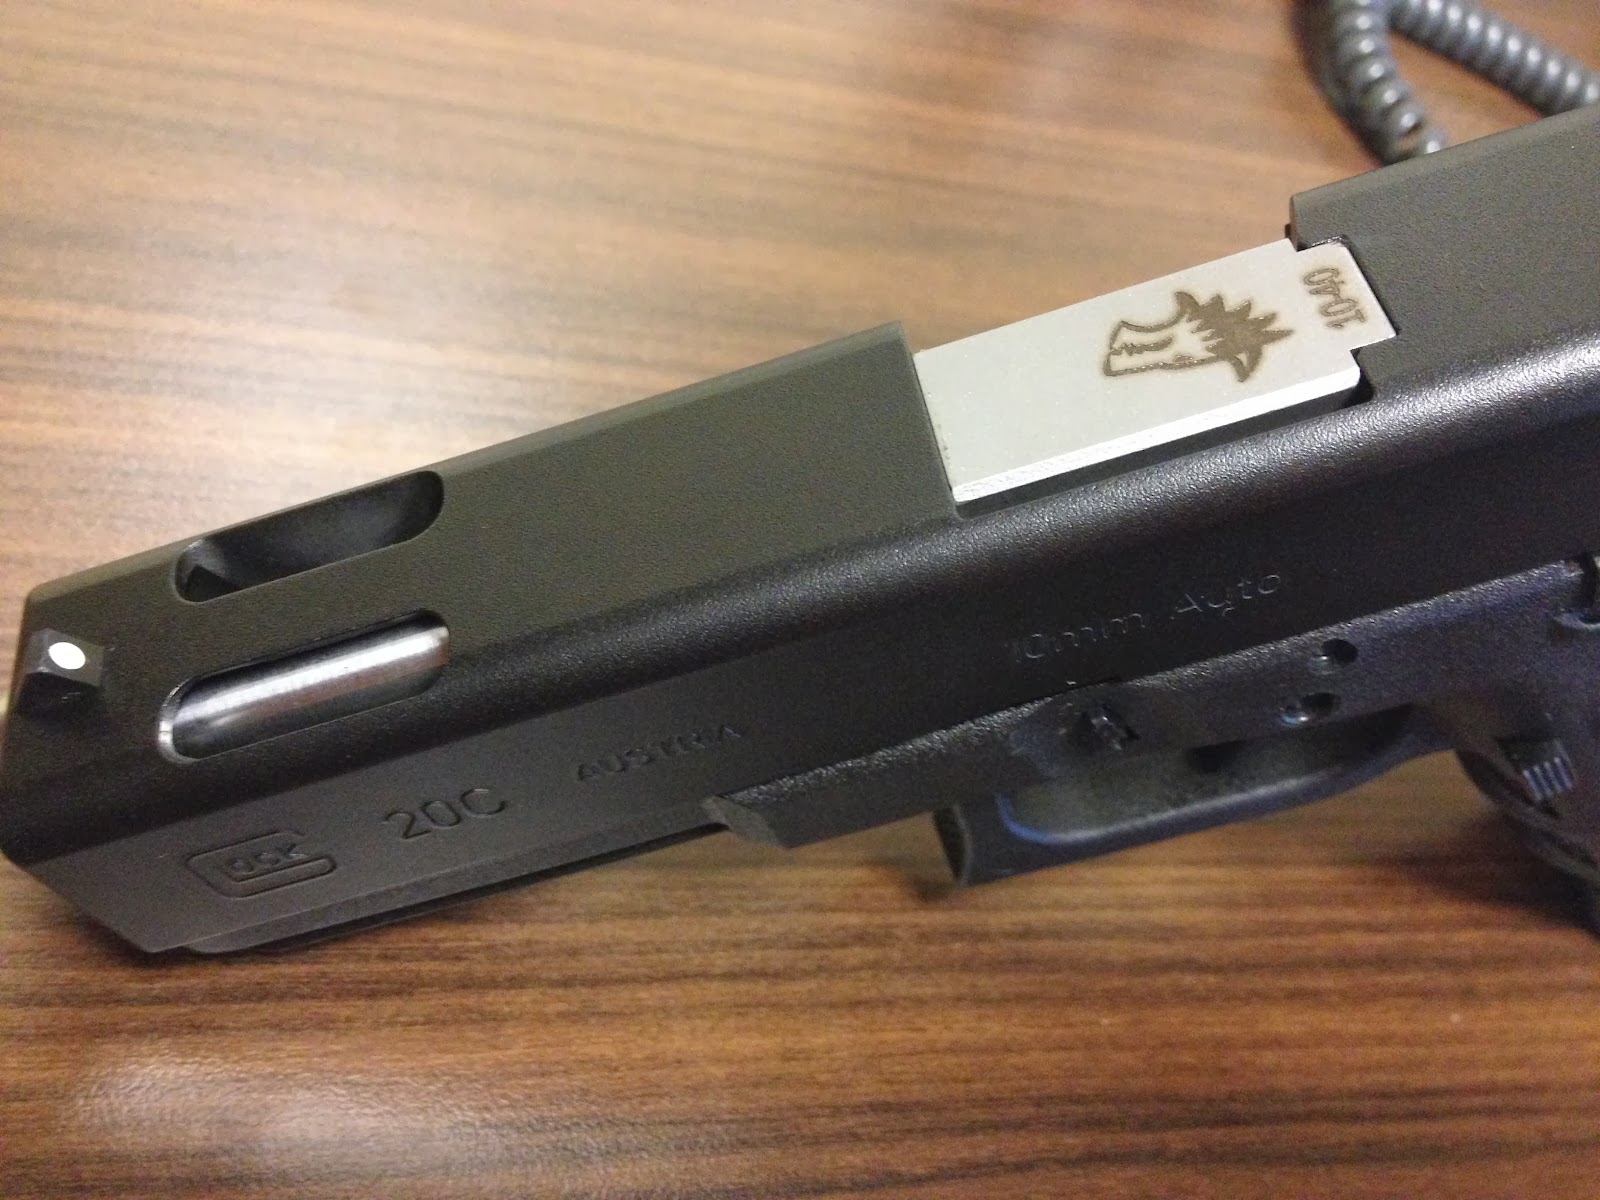
The only spare pistol I had on me was my Glock 20C, which in stock compensated configuration, is prohibited by IDPA rules (8.1.7.1 for the curious) and while I may have been able to correct this issue with some tools, it was better to accept the kind offer to borrow a pistol.
How very kind that offer turned out to be.
I was loaned an exceptionally nice pistol. He did not reveal the cost, but from what I know, it would not surprise me to find it was a $2000-3000 pistol. What a nice way to shoot my first match!
Due to the delay, I ended up shooting the first stage with the other squad, then scooted back over to my squad for the rest of the match.
For the most part, I think I did well for my first match. The shooting and even the movement was not so much an issue as the hyperawareness of safety rules.
There are really only two ways be be disqualified at a match… for being a pretty serious ass or for violation of gun safety rules. IDPA takes safety very seriously. All the safety rules are very sensible, but as a new competitive shooter, their enforcement is a new consideration for me. It’s remarkably easy to do something that, if the shooter were alone, might not be particularly unsafe. At the range, in a room full of people, those same actions present clear danger to others. Violation of those rules means you are immediately disqualified and your are done shooting for the match.
So, I didn’t DQ. I did not handle my pistol except when the SO instructed me to do so, I kept my pistol pointing downrange and not at an body parts (mine or others’), I kept my finger away from the trigger except when actively engaging targets.
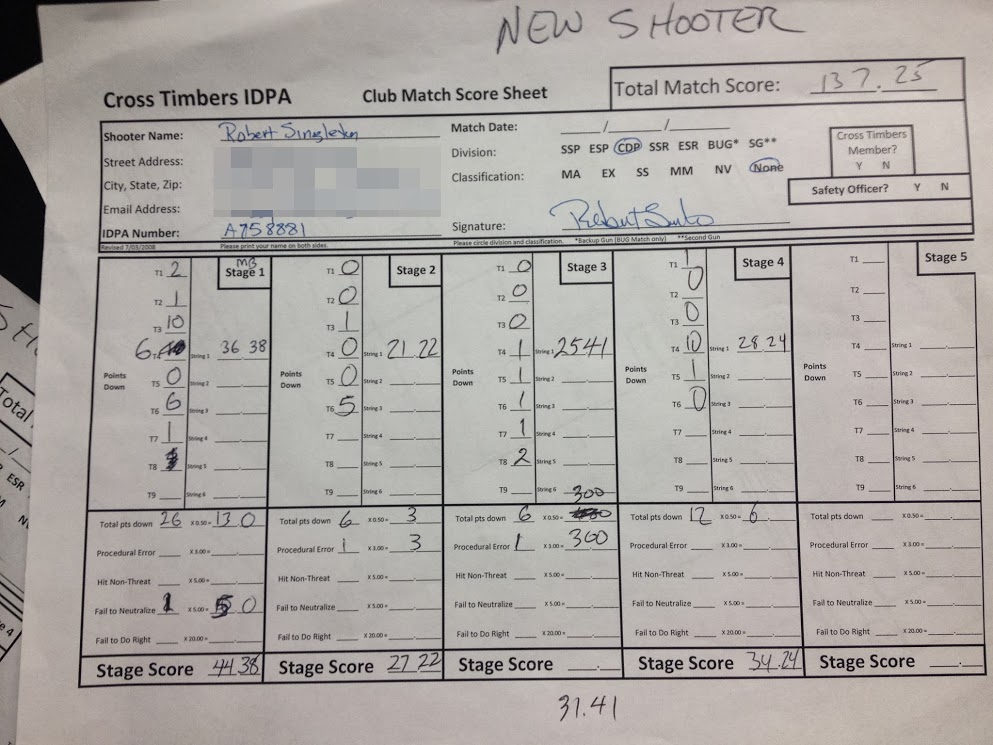
A bit on IDPA scoring. The SO activates a timer device which beeps when time starts. It counts and times your shots by detecting the sound with a microphone.The time elapsed from the beep until the last shot is your raw score for the stage. Then the targets are scored and penalties assessed, all adding to the raw time for your final score. Target zones are 0, 1 and 3 “down”. A miss is considered 5 down. The target count adds a half second for each point down. Other penalties include Procedural Errors (minor violations of the stage description, 3 seconds each), Failure to Neutralize (no 0 or 1 hits on a target, 5 seconds each), Hit Non Threat (some stages have targets that are specifically *not* to be hit; 5 seconds each) and Failure To Do Right (basically, cheating; 20 seconds first time, DQ for second).
I did suffer some procedural penalties. Specifically, one stage required engaging a target while retreating and I simply forgot to start moving. In another stage, I violated cover. The rules require that you shoot from cover if cover is available. In that particular stage, cover was a “Bianchi Barricade”, a 2 foot wide panel. It’s real easy for your feet to come out from behind cover, especially if you take a relatively wide stance. Another penalty was a Failure to Neutralize (FTN). assessed when a target has no hits in the -0 or -1 zones. You can have two hits in the -3 zone, so no misses, but still get an FTN. I had a target that I managed to completely not hit. So, not only did I get 10 points down (5 seconds) for missing it, I got an additional 5 second penalty for FTN.
All the stage times are summed for the final score. My overall score was 137.25, placing me 2nd from last 🙂