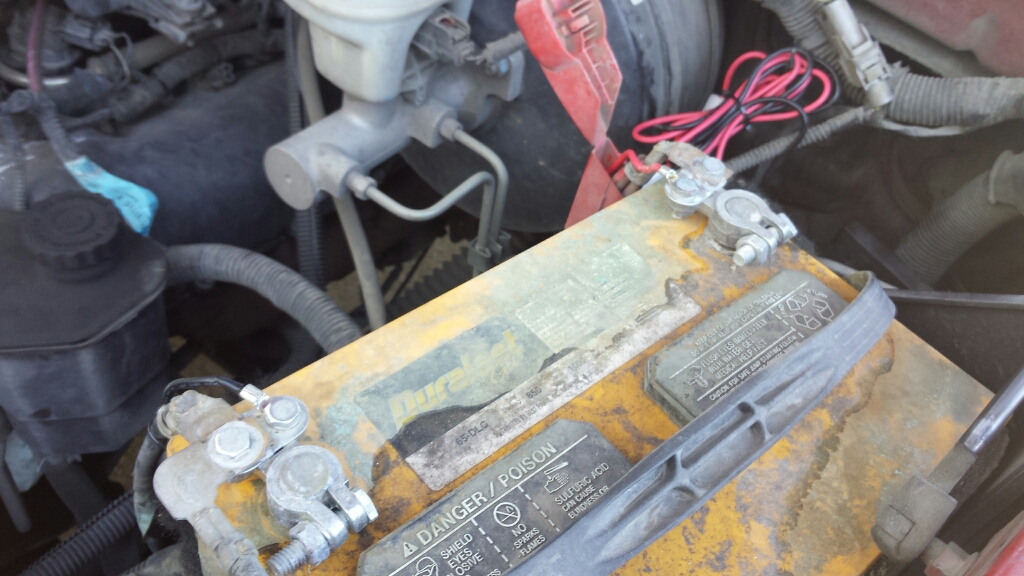
In a previous post, I noted some EMI in the truck I am temporarily using while mine is being repaired. I have noted a peculiarity to the noise that leads me to think it may not be the truck after all.
Foremost, it occurs to me that I didn’t hear the noise at all during the day in town. If the truck was the source of the noise, I think I’d have heard it all the time.

We are fortunate to live in a neighborhood that is out in the country. The main street into the neighborhood leads to a county road, which itself leads to the US highway.
Last night, I noticed that the noise returned when I got off the highway and onto the county road. It occurred to me that I sometimes have trouble picking up AM broadcast stations when I am on this road, particularly in the evenings and early mornings when the stations are running at low power. I have always thought it was likely due to the power lines along this road. However, I had not noticed it happening with the 2 meter before.
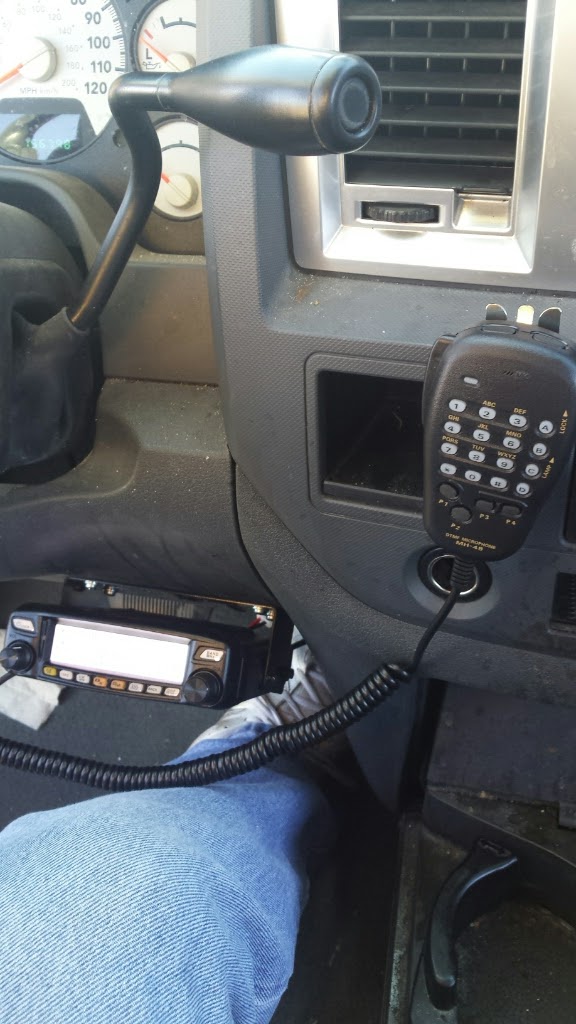
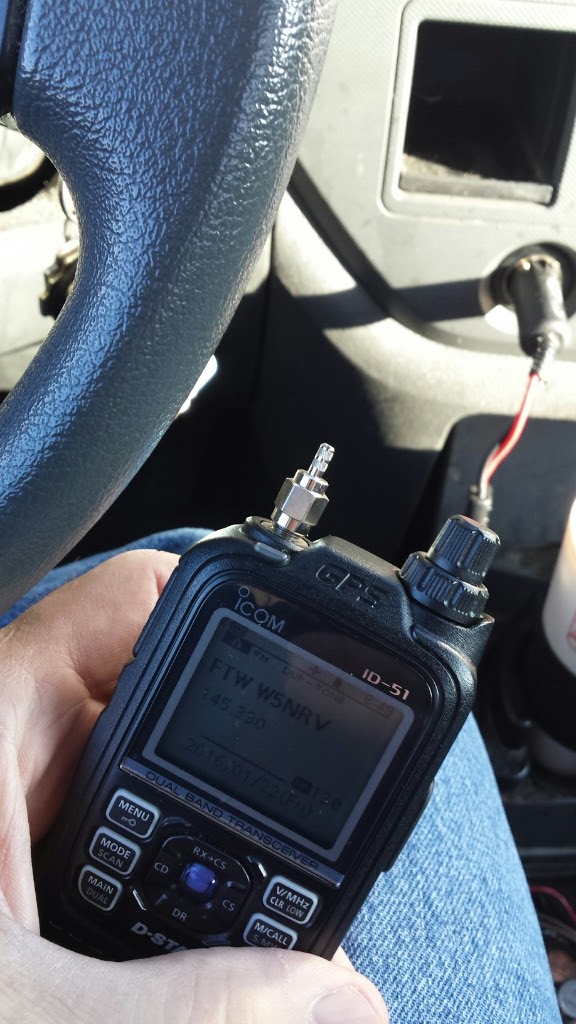
This morning, I was going north on the neighborhood street, listening to a conversation on the 145.33 repeater. I noticed a high pitched background tone that I presumed was coming from the station speaking or maybe a heterodyne from a double, but then the next station comes on, the tone is still there and it really doesn’t sound like a typical double. I also noticed that the pitch of the tone was dropping as I approached the intersection with the county road until I am actually stopped waiting for traffic to pass. There is still some noise, but I don’t hear the tone within the noise. During that time, I unplugged the power to the amp and it didn’t change. I rev’ed the engine, it didn’t change. Since I was stopped, I shut off the engine and the noise still didn’t change.
The traffic on the road passes and I turn onto the county road. A short distance down the road, the pitch of the tone within the noise starts go up again until it is beyond speaker/hearing. Here’s the weird bit. At that point, I was about the same distance down the county road when the tone got too high to hear as I had been up the neighborhood street when I noticed it.
I’m kinda suspicious that the noise is coming from near that intersection, maybe even from one of the houses on that corner. Or maybe one noise source is the power lines and a separate noise that comes over as a superimposed tone is coming from something at or near the intersection.
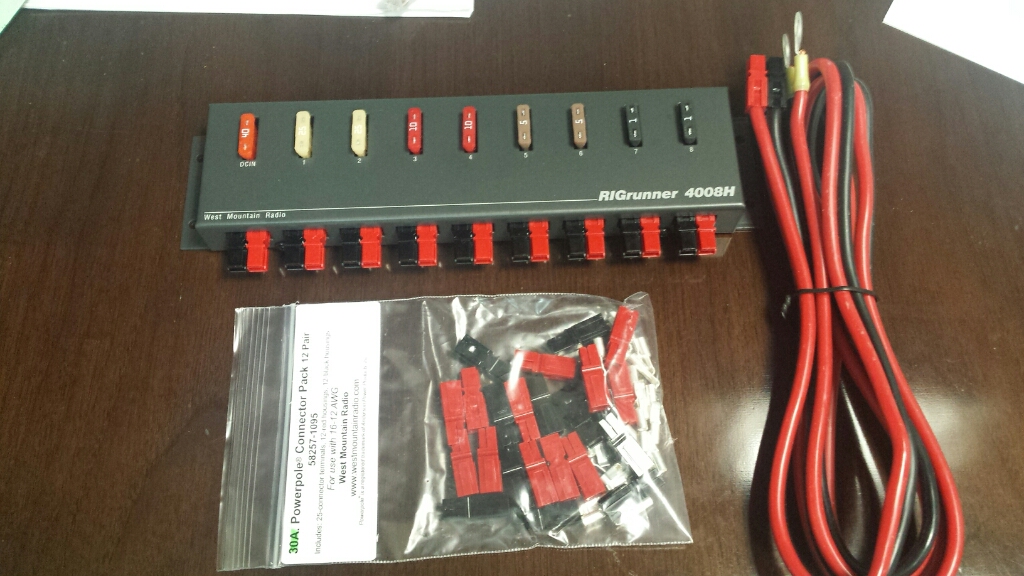
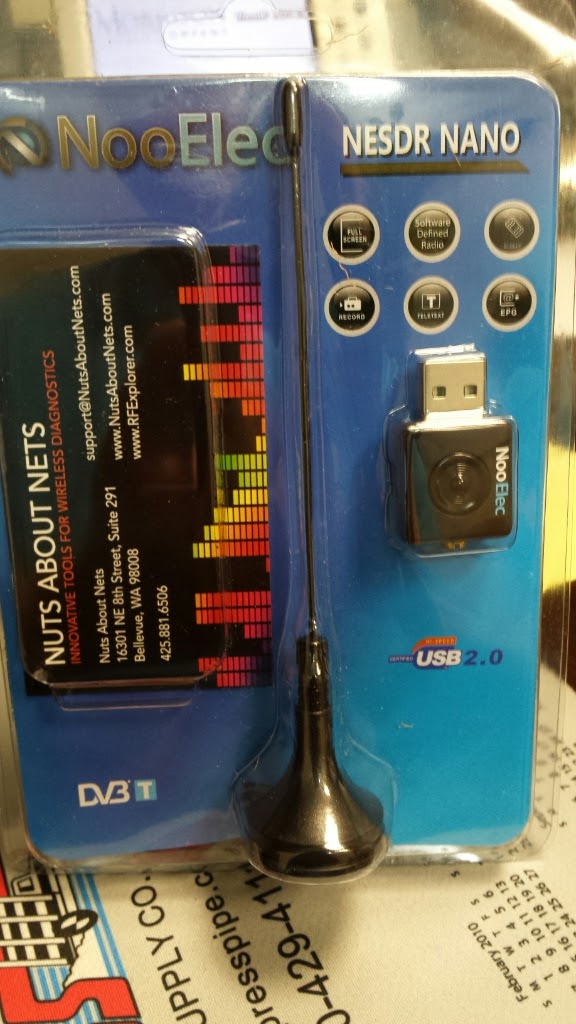
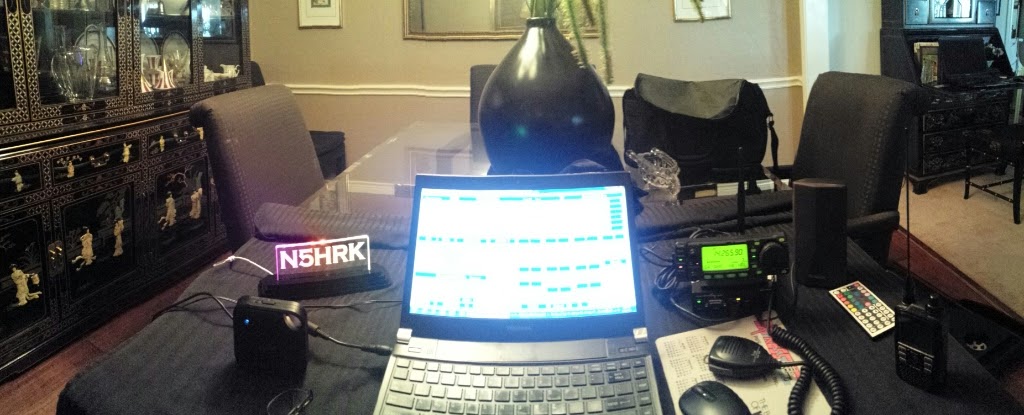
I am now very curious about it and will investigate further. As luck would have it, I now have a likely suitable tool for just such an investigation.